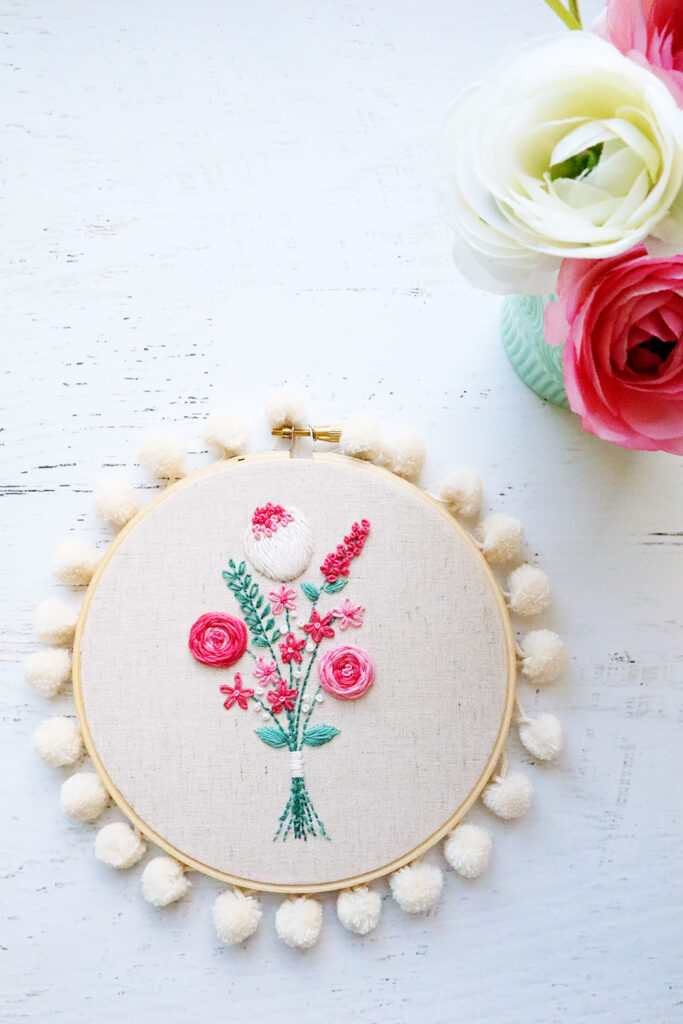
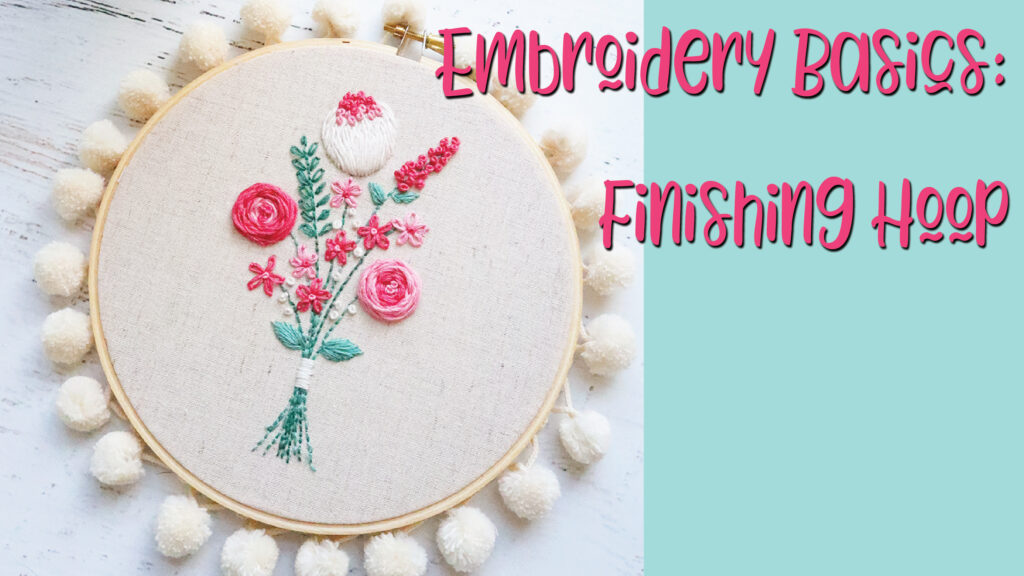
It is the last week in our fun stitch along! This week we are learning the Embroidery Basics – Finishing a Hoop!

We have had such a great stitch along with this sweet embroidery bouquet sampler! Here are all the stitches we’ve done in the series.
- Transferring a pattern (click here for the Embroidery Pattern)
- Back Stitch Tutorial
- Satin Stitch Tutorial
- Lazy Daisy Stitch Tutorial
- French Knot Tutorial
- Woven Rose Tutorial
- Long and Short Stitch Tutorial
I love finishing embroidery hoops in the hoop and of course, I love adding a bit of pom pom trim to the edge. It makes it so fun and adds a bit more color around the edge, like a frame!
Embroidery Basics – Finishing a Hoop
How to finish an embroidery hoop project in the hoop:
- Make sure that your fabric in the hoop is nice and tight and the screw is tight on the hoop. If you need to iron your fabric, place a towel or something soft on your ironing board and place your embroidery face down on the towel. Press the back of your piece, making sure not to catch any of the threads with the iron.
- Trim the fabric outside the hoop to about 1/2″ past the edge of the hoop.
- Fold the fabric to the inside back of the hoop. Run a line of glue inside the hoop and glue the fabric down. I like to use hot glue – it dries very quick and holds the fabric really well.
- If you are adding pom pom trim, glue the braided edge of the trim to the back side of the hoop so the pom pom trim extends past the edge of the hoop.
- If you are giving the hoop as a gift, it is a great idea to finish the back of the hoop by cutting a piece of felt or scrapbook paper the side of the hoop and gluing it to the back of the hoop.
I’ll be sharing a tutorial of the hoop finishing today (Monday, March 7) at 2 pm CT in my Facebook Group and on YouTube.

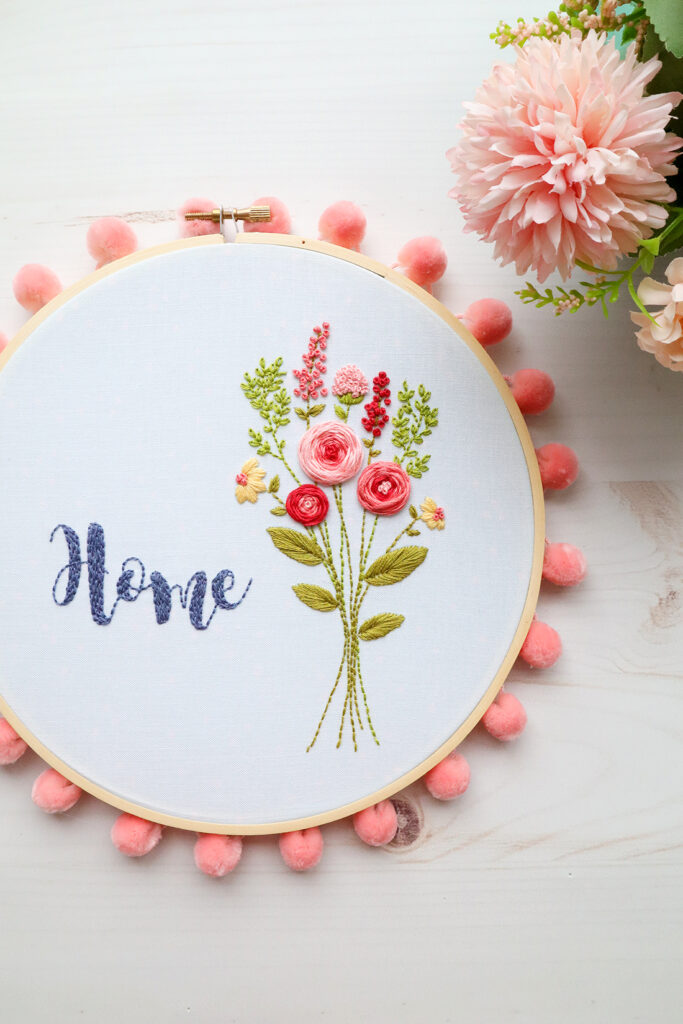
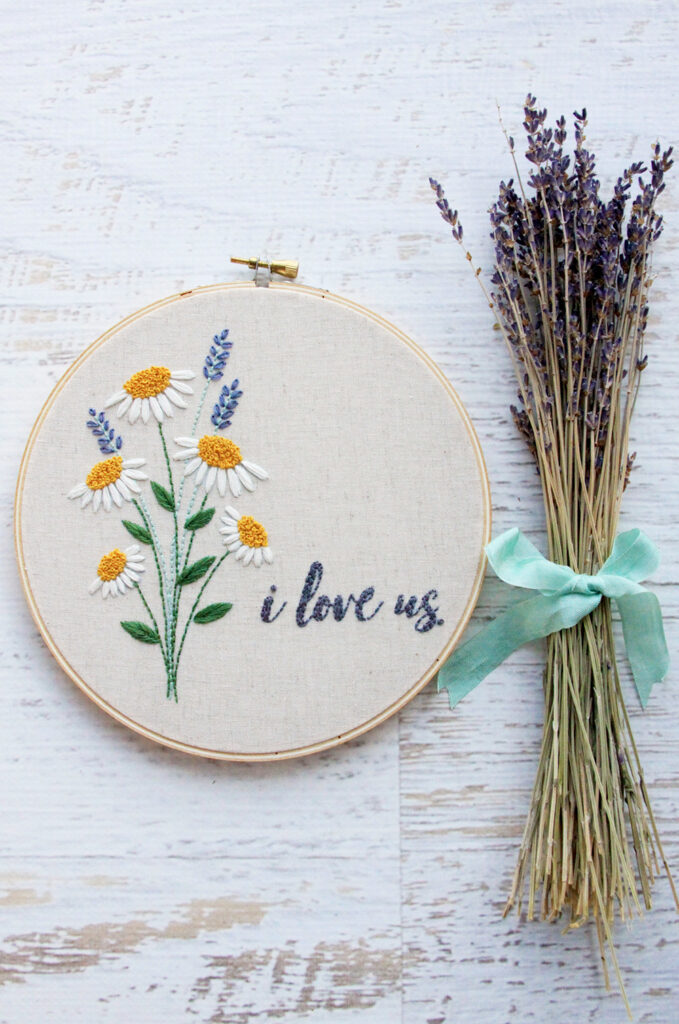
Now that you’ve stitched together this fun project, you might enjoy making these up!
Floral Home Embroidery Hoop Art


Leave a Reply