We are going through a fun stitch along series with all the embroidery stitches! We are starting with the Embroidery Basics – Back Stitch!
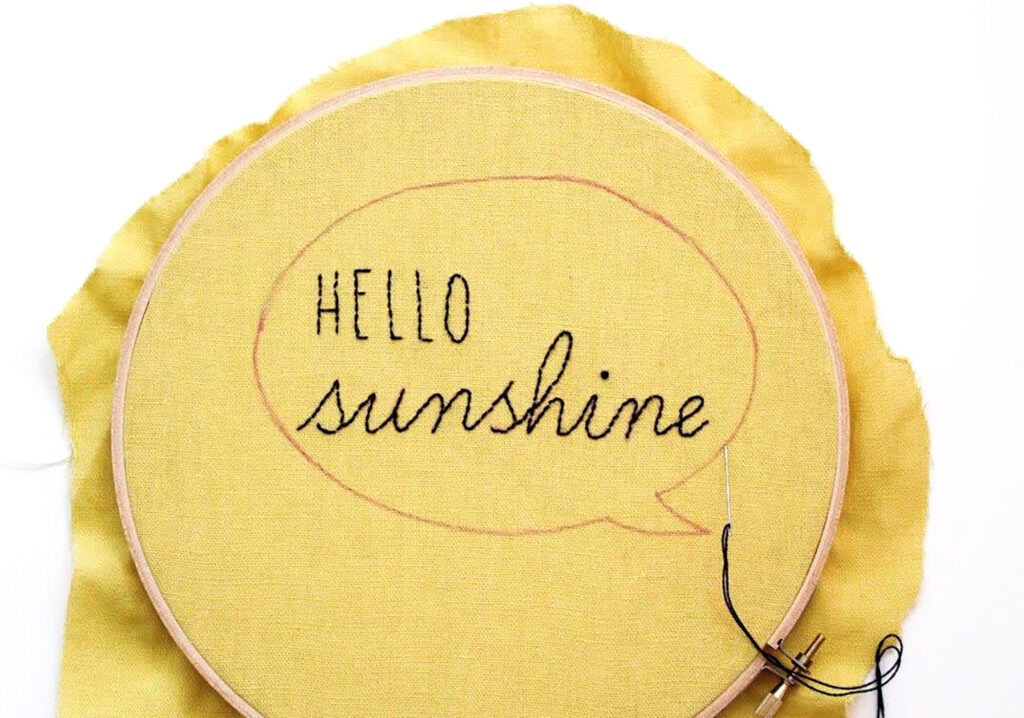
The Back Stitch is an amazing, versatile stitch that you can use for so many things! It is great for outlining, lettering, flower stems, and more. It is one of the easiest stitches to learn and it is a great building block for your stitch library!
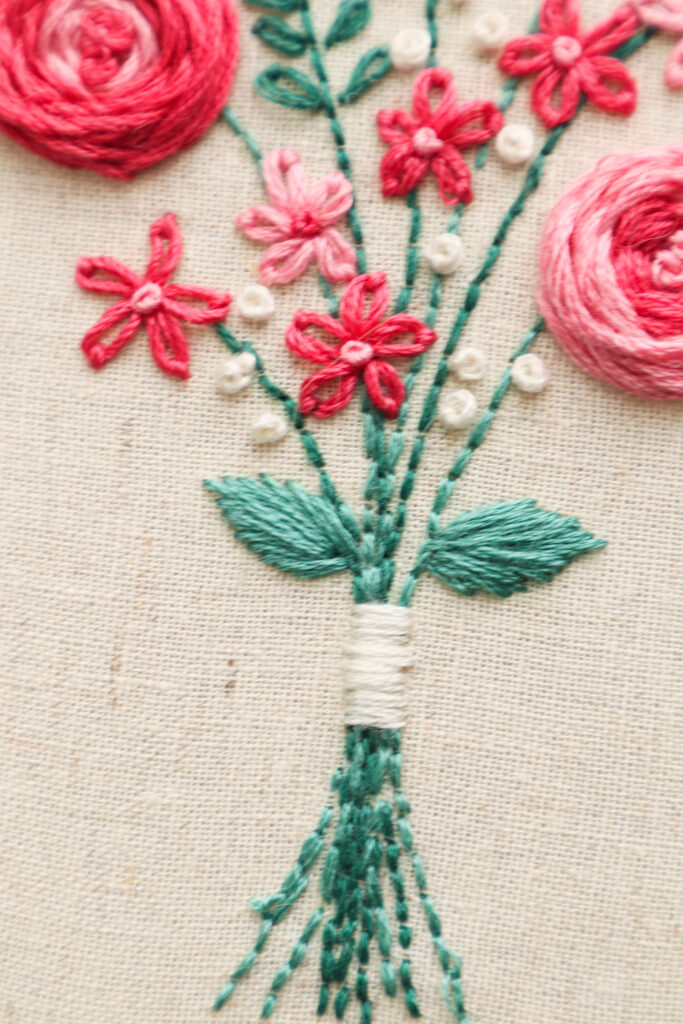
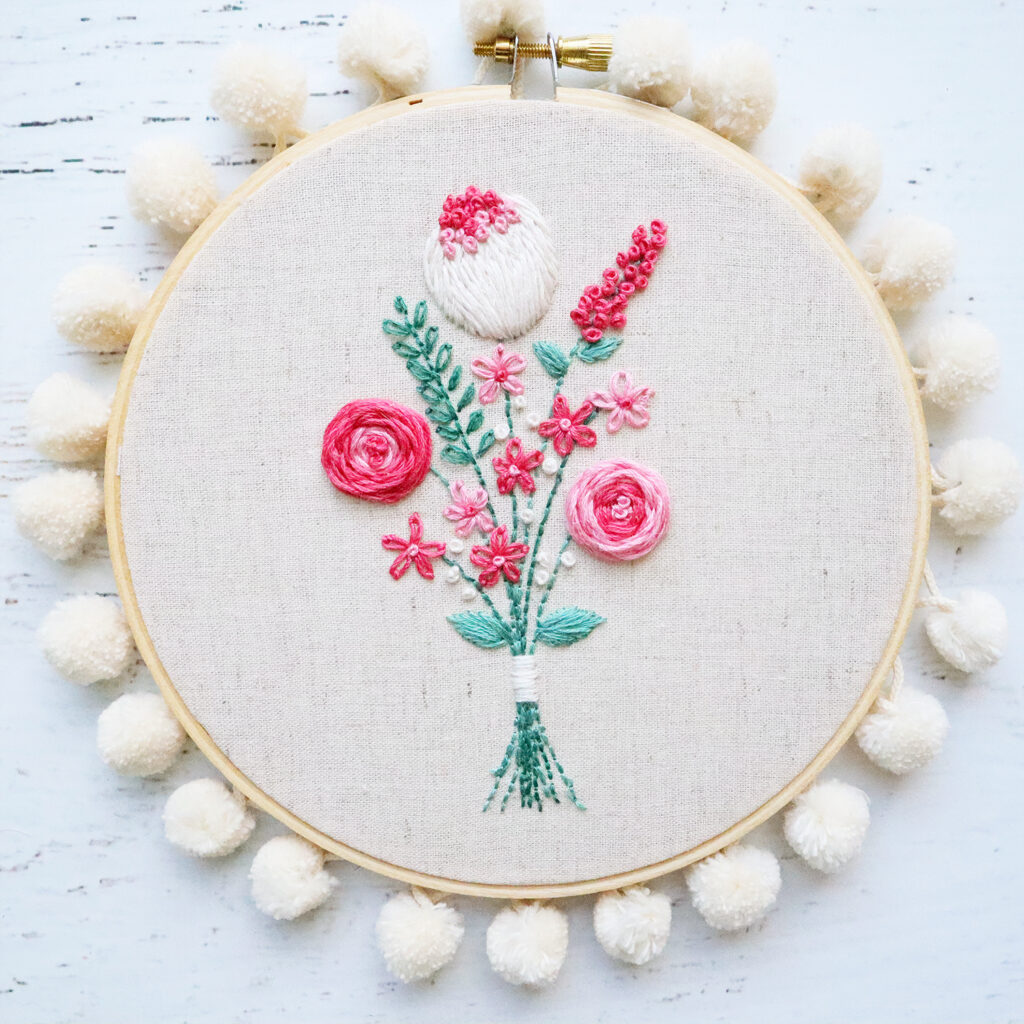
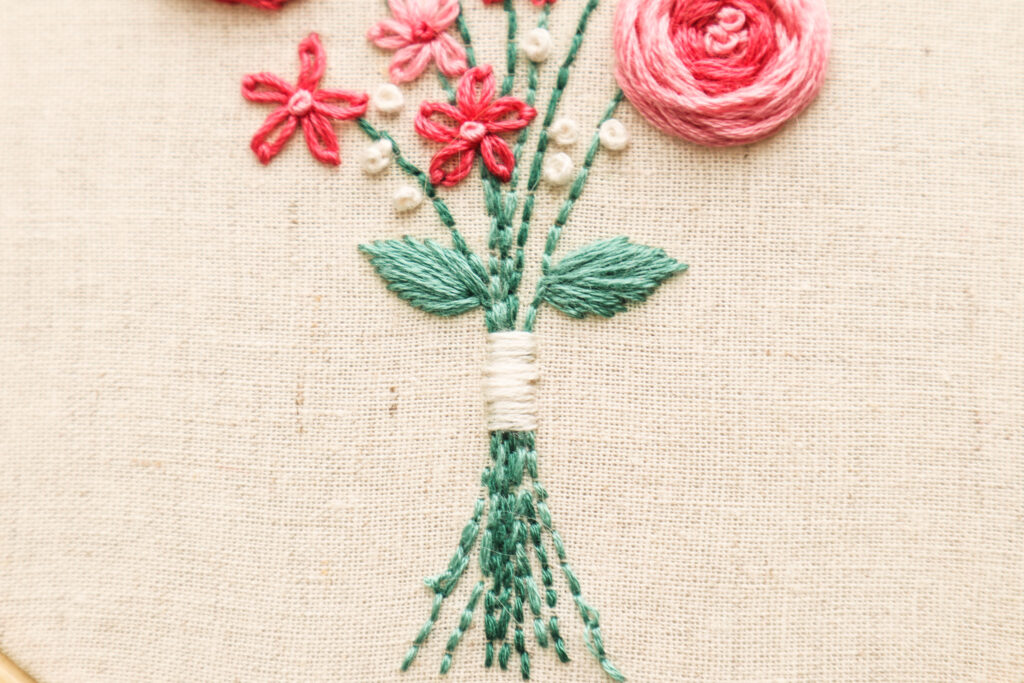
We are in the process of stitching our way through this pretty floral bouquet embroidery hoop, taking a stitch each week. Last week we went over several methods of Transferring an Embroidery Pattern. There are videos every week and I’ll be doing live stitch tutorials on Mondays as well!
Embroidery Basics – Back Stitch
To Stitch a Back Stitch:
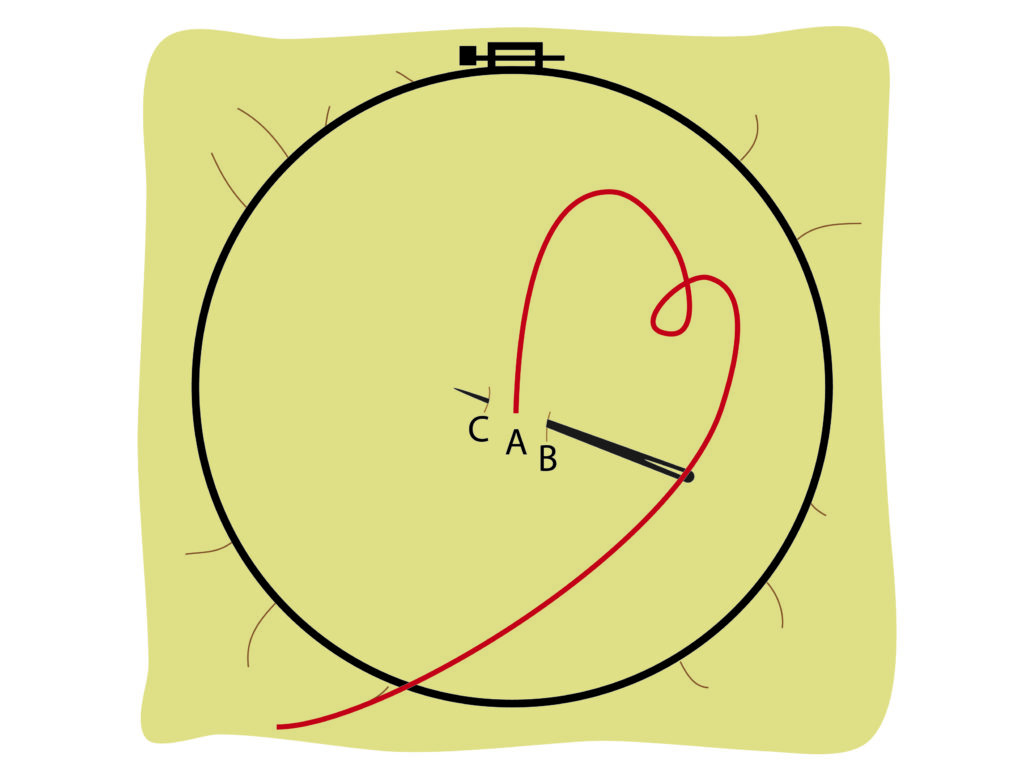
- Thread your needle. Bring your needle up from the back of the hoop to the front at point A. If you are starting a row of stitching, bring this up about 1/8″ from the end of the line.
- Following the line of stitching, place your needle in to the fabric from front to back at point B, then bring the needle back up at point C.
- Keep the distance between A and B the same as between A and C. This will keep your stitches regular and help you to keep your lines straight as well.
- When you are working with small lines or going around tight curves, make your stitches smaller to ease around the curves.
Check out this week’s video here!
Come stitch along and make this fun bouquet sampler!


Thank you for the very clear tutorial. I haven’t done any hand embroidery in a long time and appreciate the refresher. I bought the pattern pack this week and and all of the patterns are beautiful. Thank you to all of the designers who participated. At this price, it’s more of a gift than a bargain.