Today we are learning one of my favorite stitches in our Embroidery Basics series – the Lazy Daisy Stitch!

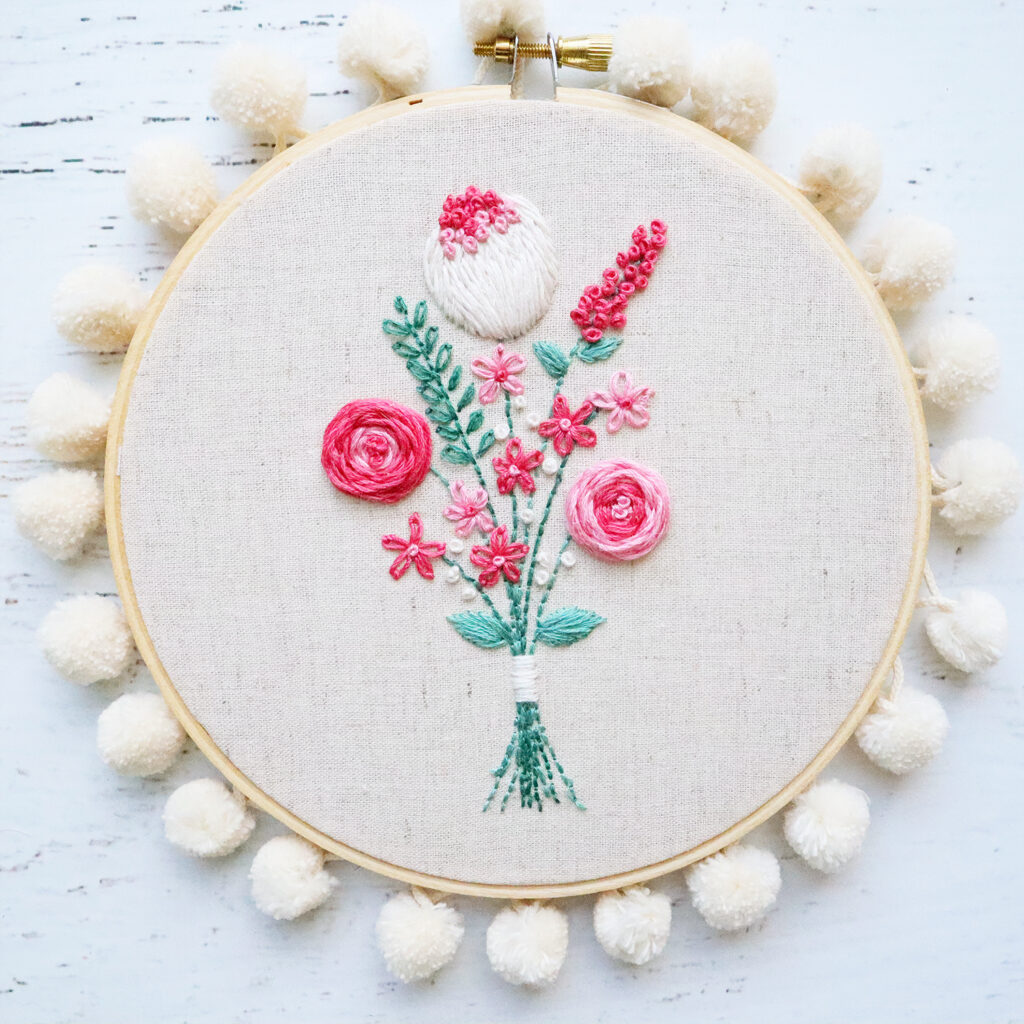
We are stitching our way through this darling floral embroidered bouquet sampler and learning an embroidery stitch each week. This week we are learning those sweet little flowers and small leaves made up with the lazy daisy stitch!

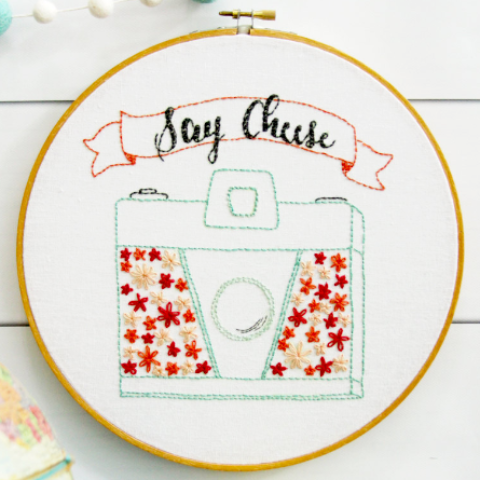
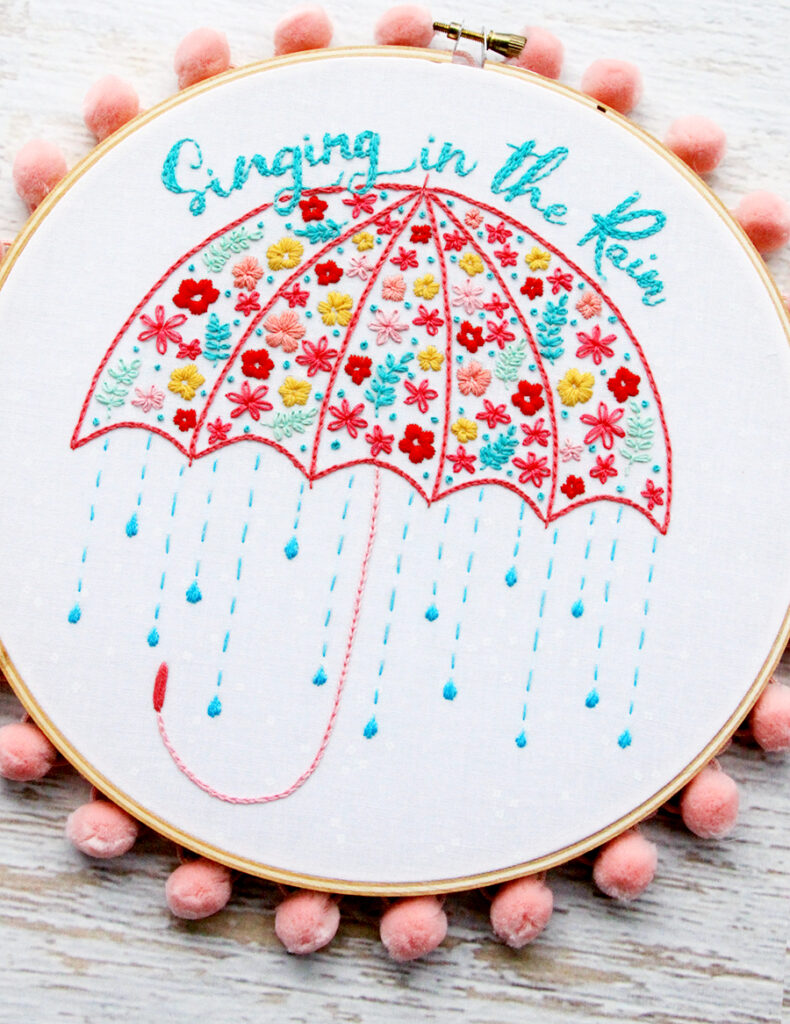
Lazy Daisies are just the cutest stitch and they are so versatile! They make the sweetest little flowers and leaves. You can also use them to fill areas of a design like the fun, Say Cheese Camera hoop above! You can also add in other small satin stitched flowers along with lazy daisies like this Singing in the Rain umbrella design.

You can find the stitch tutorials we’ve done so far here:
- Transferring a pattern (click here for the Embroidery Pattern)
- Back Stitch Tutorial
- Satin Stitch Tutorial
Embroidery Basics – Lazy Daisy Stitch
How to Stitch a Lazy Daisy Stitch

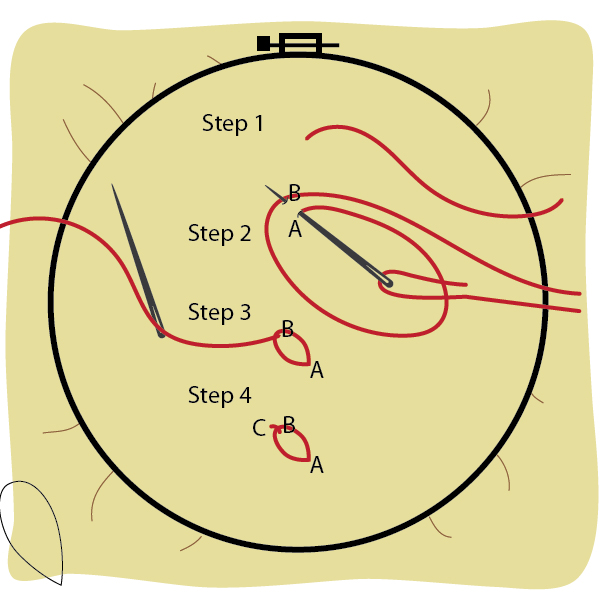
- Bring you needle up from back to front at the bottom point of where your lazy daisy stitch will be.
- Take a small stitch with your needle front front to back and back out again, keeping the length of the stitch the length you want your lazy daisy stitch to be. Don’t pull the needle all the way out – as shown in Step 2. Wrap the floss loosly around the end of the needle above the B point as shown.
- Pull the needle out gently, so the loop of floss forms a teardrop shape. Don’t pull too tightly or the floss will form two straight lines and you’ll lose the shape of the stitch. Your thread will now be coming from back to front at point B.
- Take a tiny stitch just above the top curve of your lazy daisy stitch (point C). This will anchor the stitch in place. Again, don’t pull too tightly or you could lose the curve of the shape.
Here’s the video tutorial for this stitch!


Leave a Reply