We are continuing our embroidery series with one of my favorite stitches! This week we are learning the Embroidery Basics – Woven Roses!
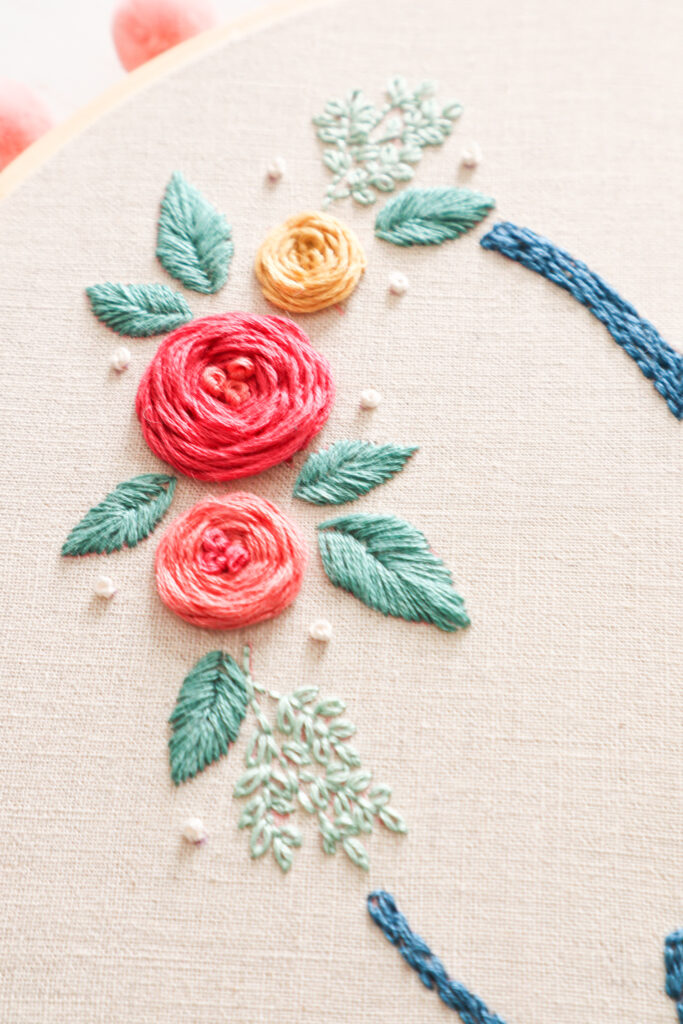
This is a big showy stitch that makes a really pretty rose in your stitcheries! These Woven Roses make a great centerpiece for any stitching project and they are so easy to make. I’ve used these in my All You Need is Love embroidery hoop art above but there are lots more ways to use them!
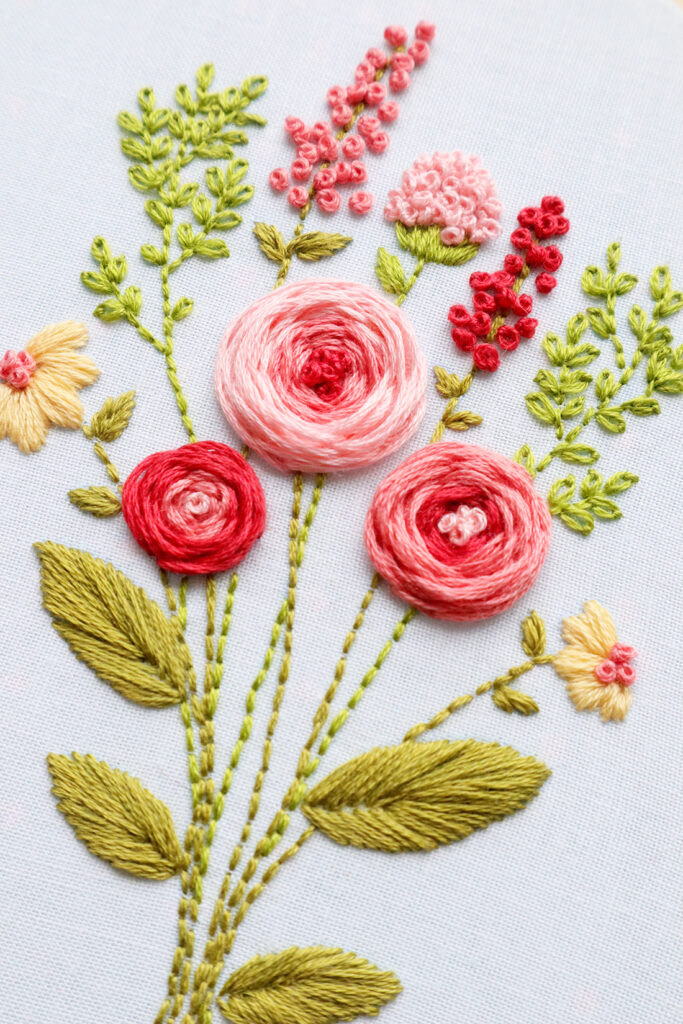
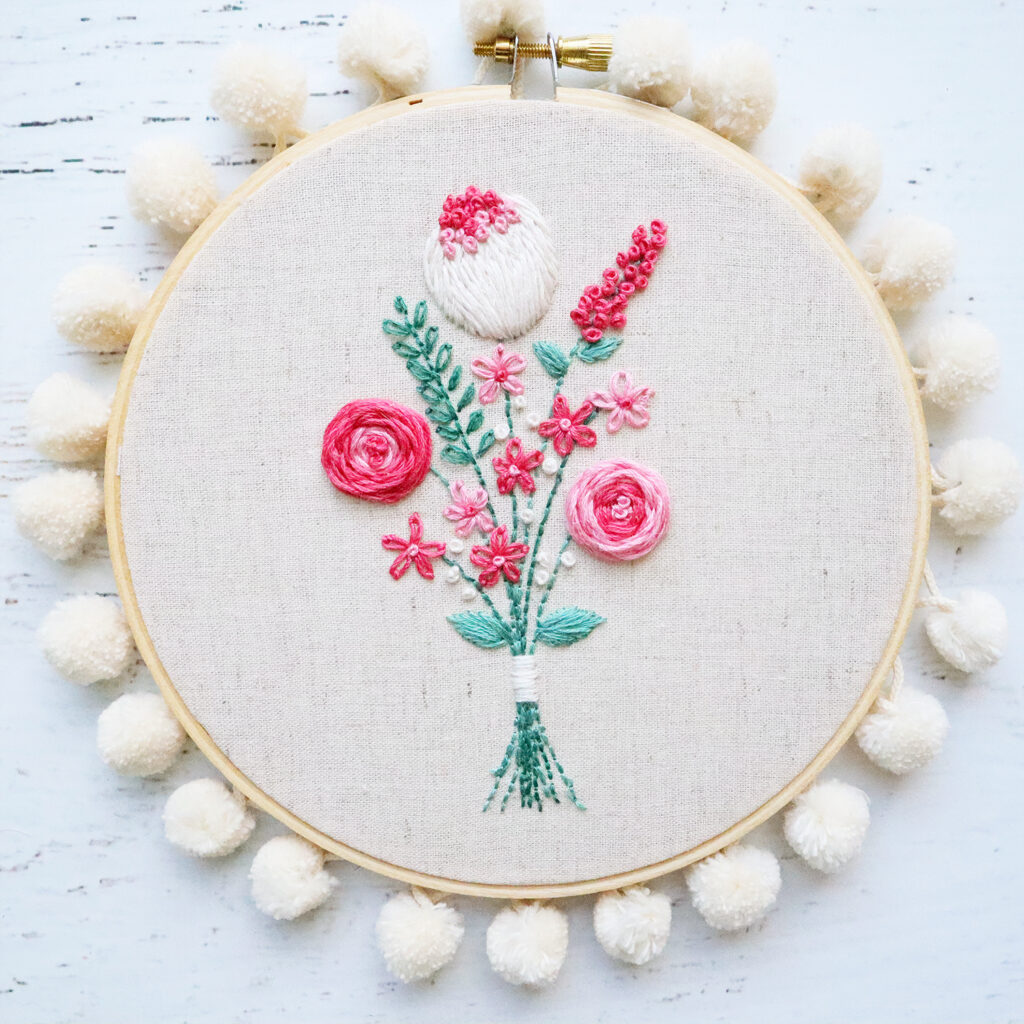
In my Home Embroidery Hoop Art, the Woven Roses make a great addition to the bouquet on the hoop. These are two color roses which are just as easy to make – you just change floss colors halfway through the rose.
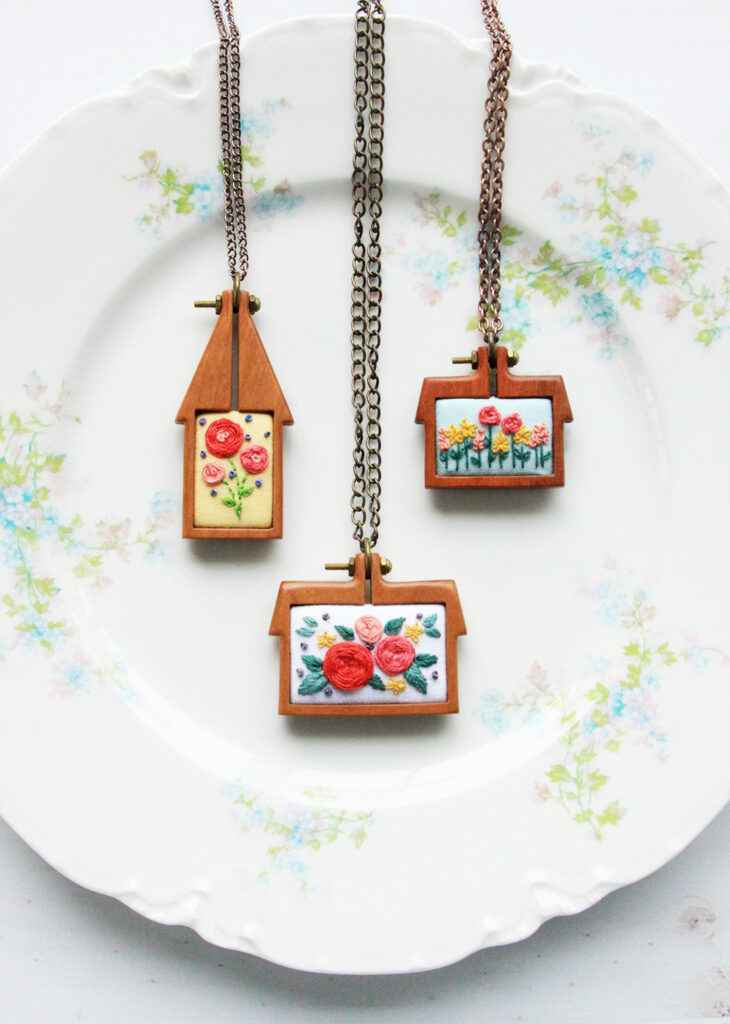
These look great as big, showy flowers but you can also make tiny versions of them like in my Embroidered Mini Hoop Necklaces!
Embroidery Basics – Woven Roses
How to Stitch a Woven Rose
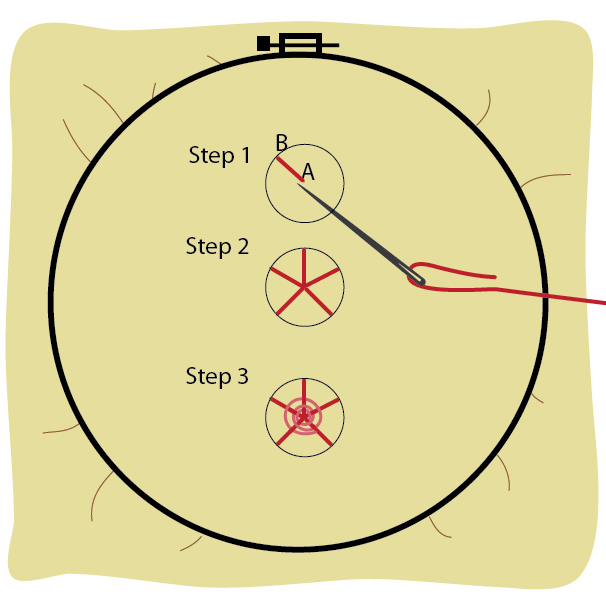
- If I am stitching a larger woven rose (at least 1/2″), I use all 6 strands of embroidery floss. It makes the flowers quicker to stitch. Bring your needle up in the center of the circle from back to front (A) and make a straight stitch to the edge of the circle (B).
- Make 5 straight stitches from the center of the circle to the edge to form a “wagon wheel” look. These stitches won’t show, but it’s a great idea to use the same color of floss as the rose.
- Bring your needle up from back to front in the center. Begin weaving the floss over and under the spokes, wrapping the floss in a circle to form the rose. Make sure you are keeping all the floss on top of the fabric.
- If you want to make multi-color roses, Wrap your floss around the spokes the desired thickness, then bring the needle back down and knot on the back.
- Tips – Keep your wrapping nice and loose, so the stitches don’t pull the circle too tightly.
- Tips – These roses are very loose, so I don’t recommend using them on projects that receive a lot of wear or would be laundered.
We are stitching through this sweet Embroidered Bouquet Sampler Hoop Art!
You can find the stitch tutorials we’ve done so far here:


Leave a Reply