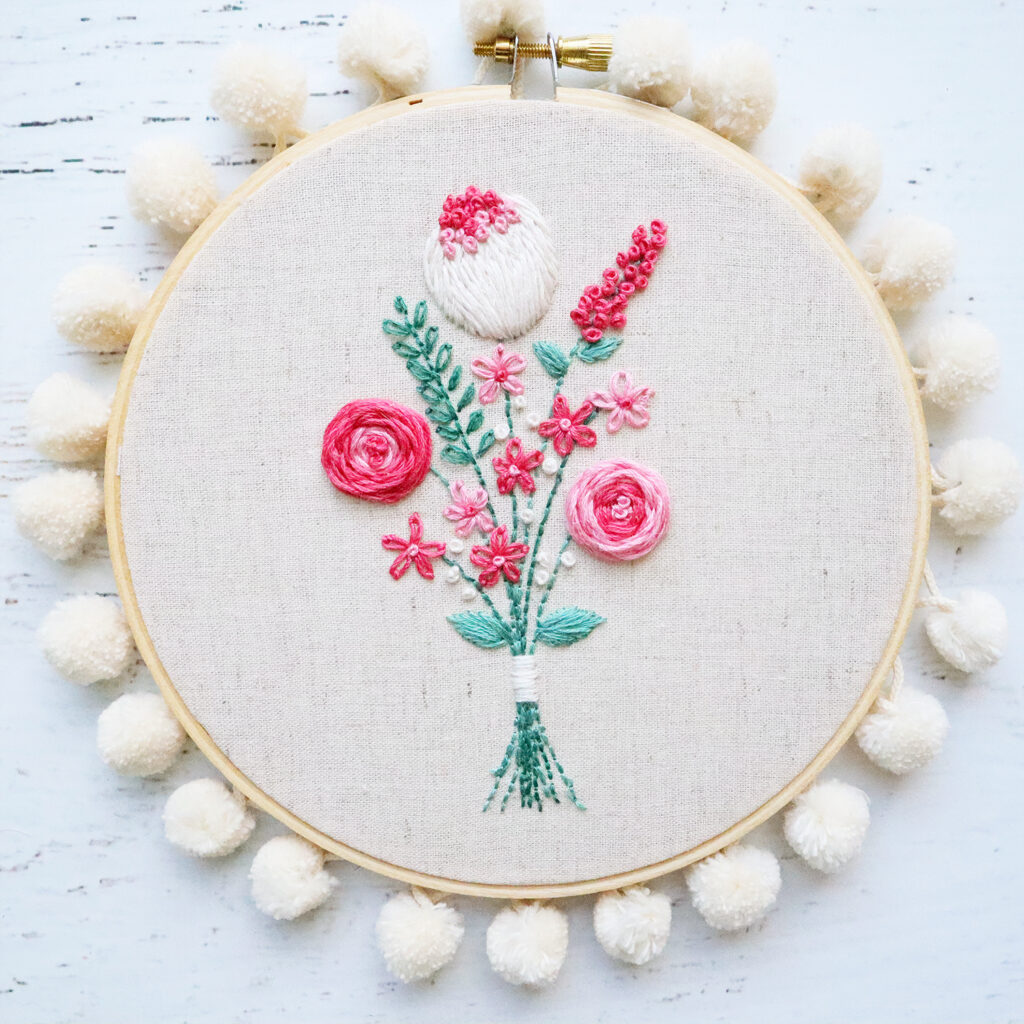
We are having such a blast in our stitch along and it’s time for our final flower! We are stitching up the Embroidery Basics – Long and Short Stitch Flower this week!

We have been stitching our way through this fun Embroidered Bouquet Sampler project, learning a stitch every week to make up this sweet floral design. This is our last stitch to learn, this week we are making the big flower at the top of the bouquet.
This flower is stitched with the Long and Short stitch. This stitch is perfect for filling large areas that are too large to use a satin stitch on. The stitch also adds a little more texture than a satin stitch which can be a fun, different look!
Embroidery Basics – Long and Short Stitch Flower
How to Stitch a Long and Short Stitch

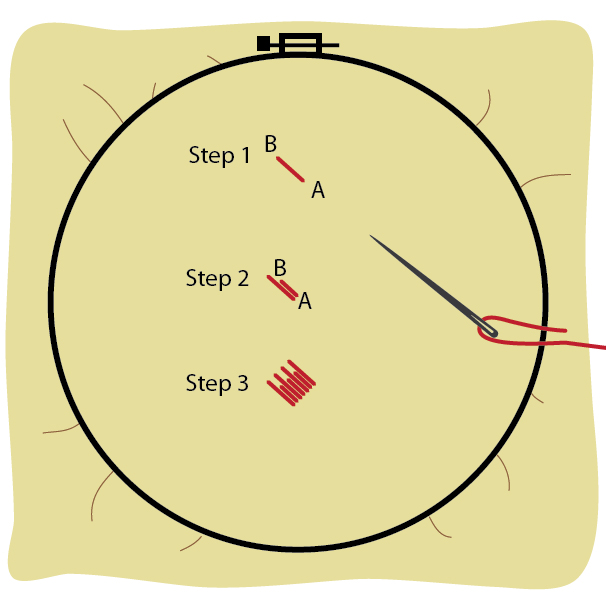
- Bring the needle up from back to front at Point A. Take a stitch and bring your needle back down at point B.
- Repeat Step 1 with another stitch, right next to the original stitch. This stitch should be half the size of the original stitch.
- Repeat this pattern with long and short stitches to fill the lower area of the design you are stitching.
- Fill in the next row of stitches with long stitches, all the same length. This will repeat the long and short pattern. Continue filling the area with this pattern.
For this flower, I filled the area with long and short stitches, then I covered the bottom section of the flower with another row of stitches. That row gives the flower a little more depth and a 3D effect!
I’ll be doing a live video tutorial of this stitch on YouTube and in my Facebook Group today at 2 pm CT – I’d love for you to join me!

You can find the stitch tutorials we’ve done so far here:


This looks like the perfect pattern to get me back stitching. I love the colours.