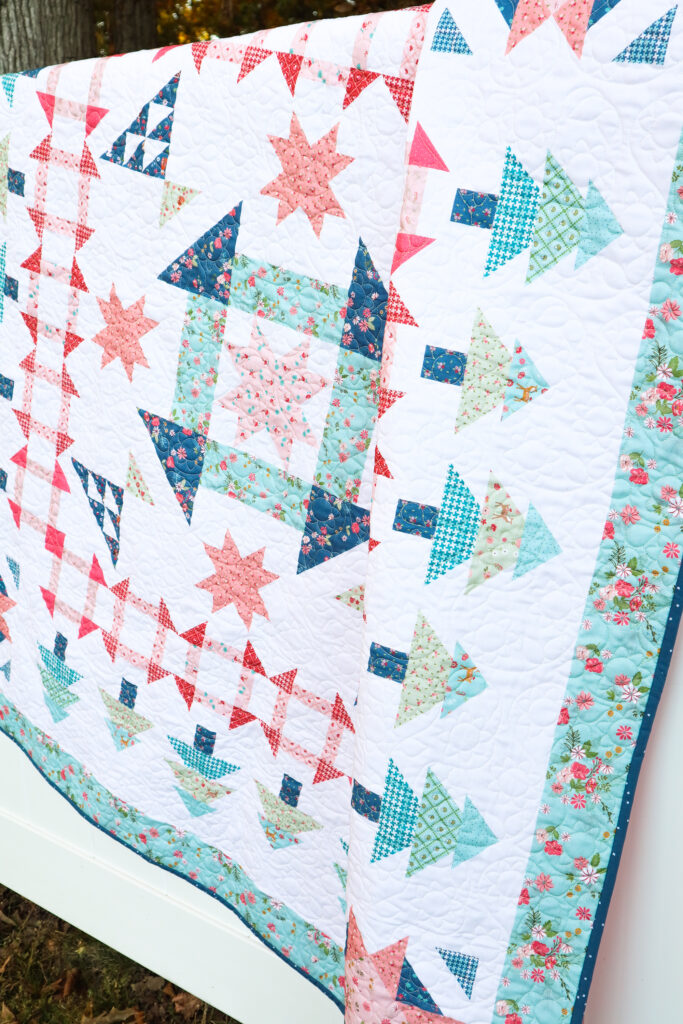
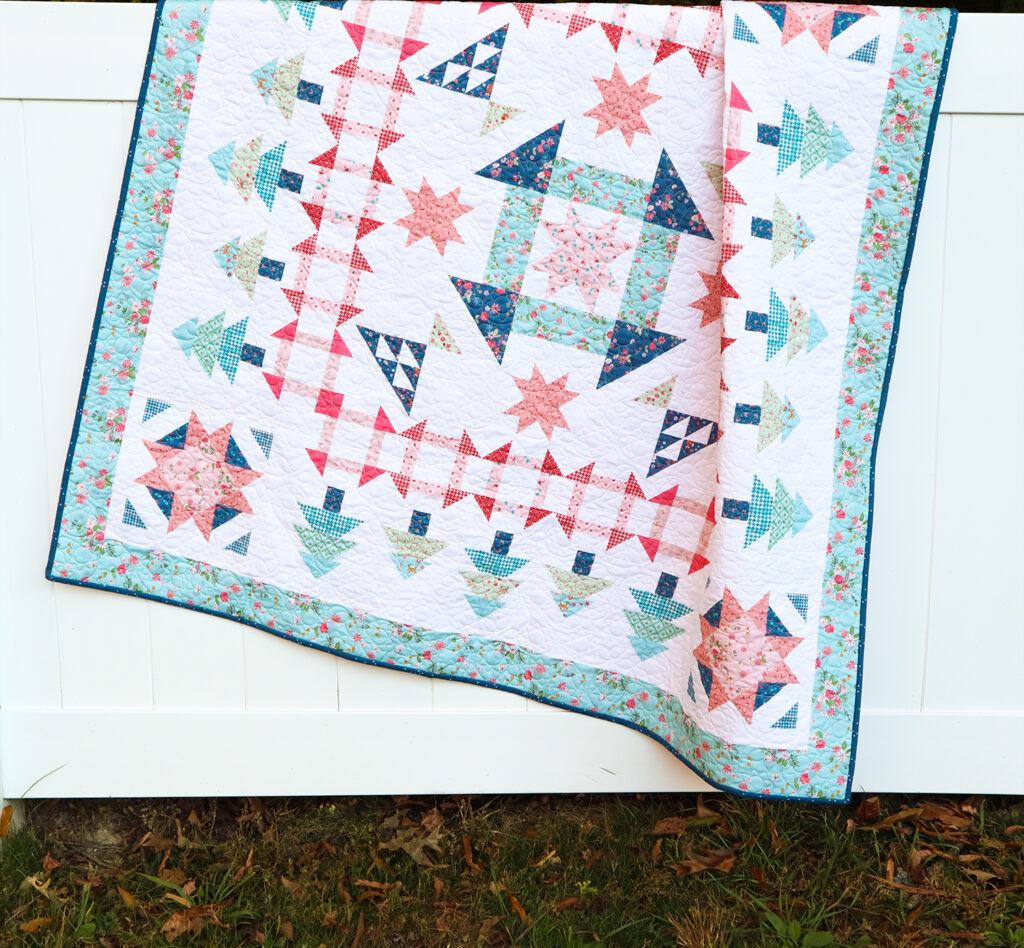
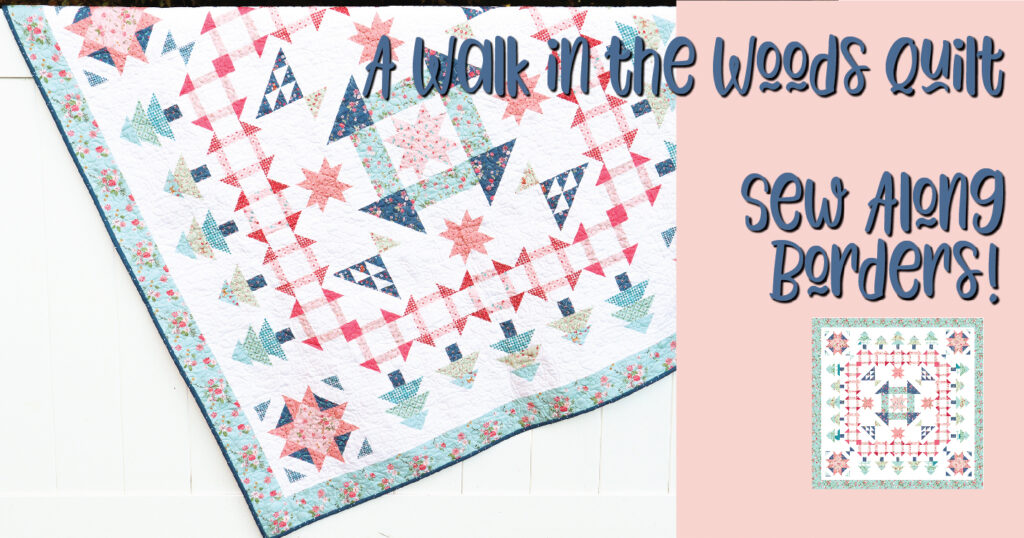
I can’t believe we are on the last week of our sew along! This week we are sewing our A Walk in the Woods Quilt Borders!

This has been such a fun sew along! I have had a blast sewing up each section with you over the last couple of months.
My version of the quilt is made up in my Enchanted Meadow Fabrics. I am loving seeing your versions in those fabrics as well as all the others you are using!
This week we are adding the borders to our quilts to finish up the quilt tops. After this, we’ll be ready to quilt, bind and cuddle under our sweet quilts!

A Walk in the Woods Quilt Borders
You can check out the other weeks of the sew along here:
- A Walk in the Woods Week 7 – Center Assembly
- A Walk in the Woods Week 6 – Corner Stars
- A Walk in the Woods Week 5 – Trees
- A Walk in the Woods Week 4 – Churn Dash Week 2
- A Walk in the Woods Week 3 – Churn Dash Week 1
- A Walk in the Woods Week 2 – Stars and Flower Basket Blocks
- A Walk in the Woods Week 1 – Center Churn Dash and Star
- A Walk in the Woods Kickoff
In this week’s video, I’ll be going over tips for borders. This will be our last video for the quilt along! I’ll be live at 2 pm CT on YouTube and in my Facebook Group. Join us for lots of fun, tips, and giveaways!

Brooke from Lady Belle Fabric is offering a 20% discount for anyone sewing along and making the A Walk in the Woods quilt! You can enter the code QAL walk in the woods in the comment section when filling out the form for quilting. (Code is good through July) Brooke and I are also partnering on a fabulous giveaway for those participating in the sew along! We are giving away Long Arm services for one person who makes up the A Walk in the Woods Quilt! To enter, you need to share photos of your progress each week and use the hashtag #AWalkintheWoodsSAL! We’ll keep track of all the entries and announce the winner at the end of the sew along. Yay!


Leave a Reply