Sew up these Easy DIY Phone Charger Holder in almost no time as a cute way to keep your phone near your charging outlet without having to worry about cords to trip over!
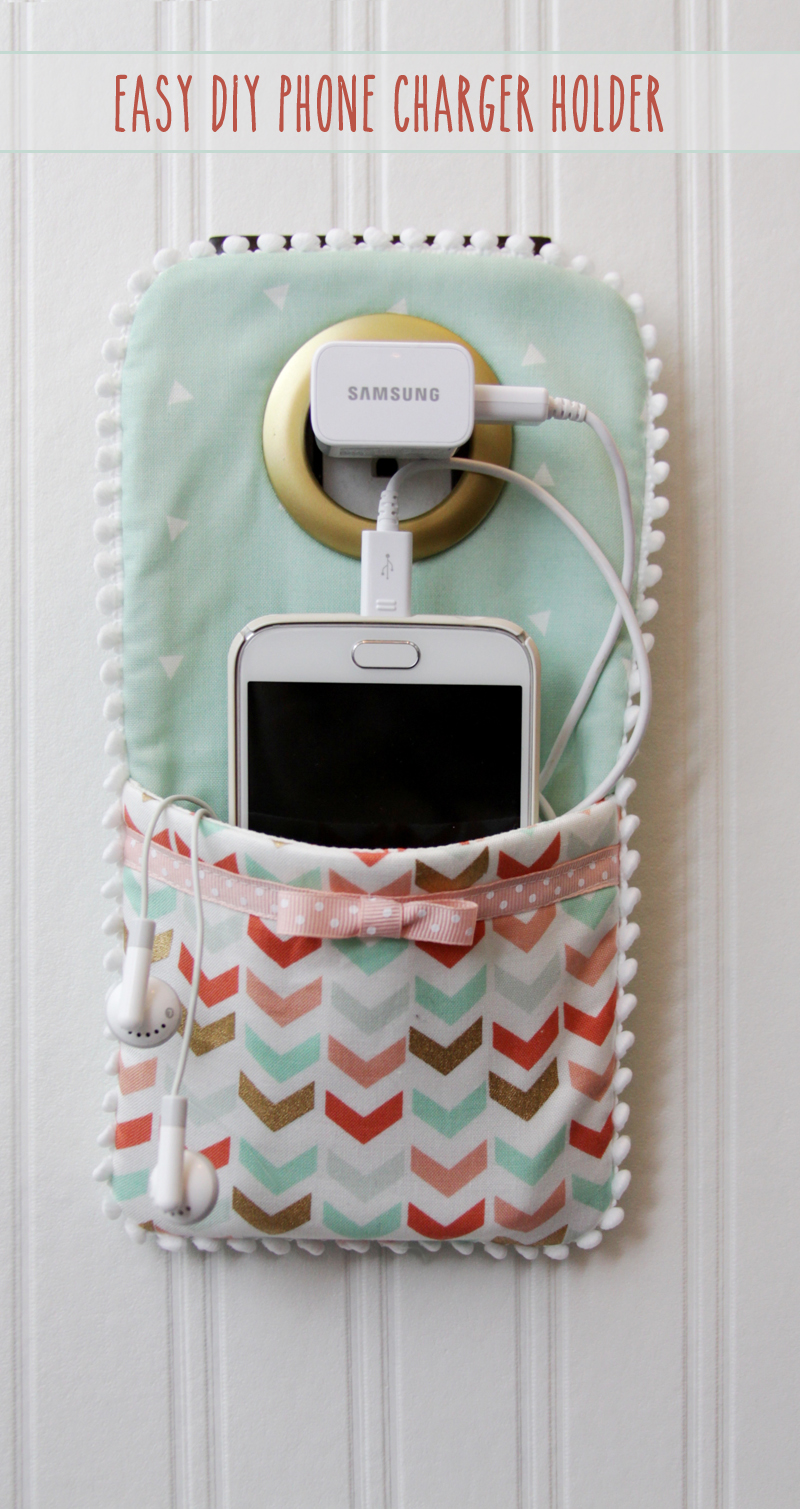
I don’t know about you but I’m finding my phone battery runs down fast during the day. I think it’s probably the fact that I play Amazon music all day while I’m working, and possibly that I’m checking Instagram, emails and more all day. Oh and that doesn’t even count actual phone-type stuff like calls!
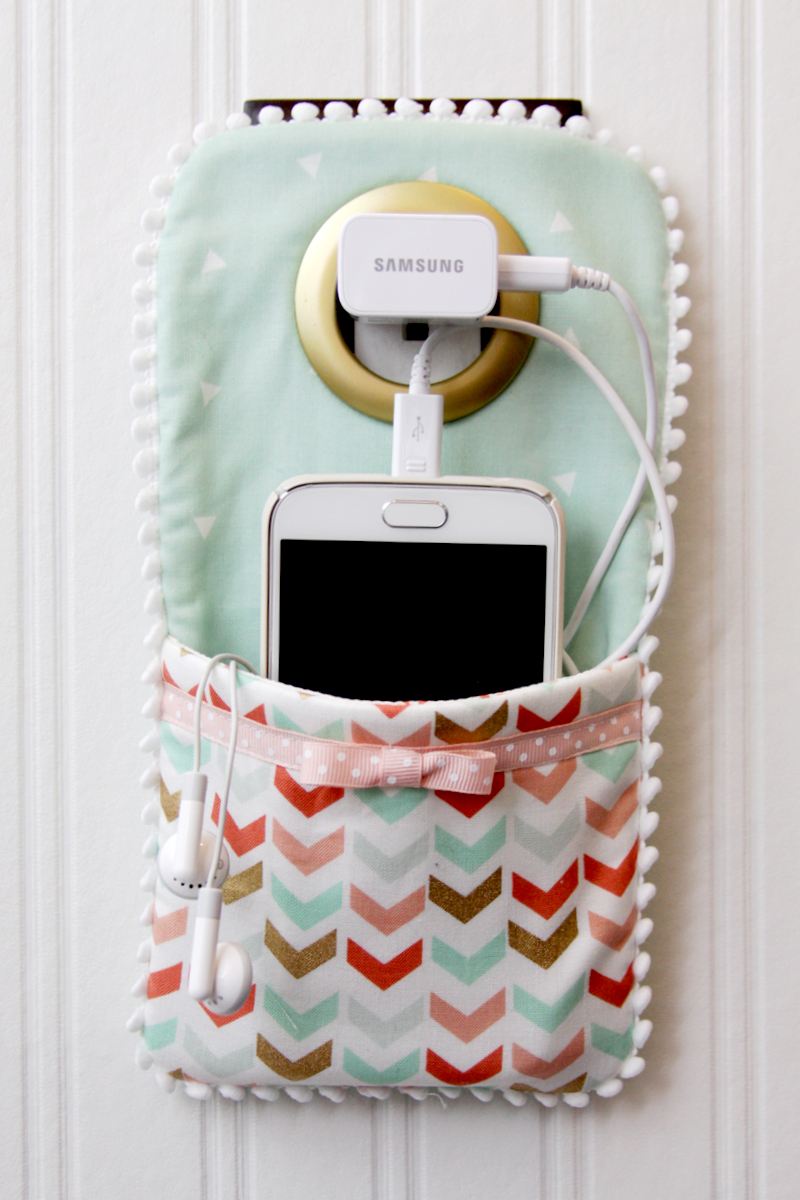
So I’m needing to charge it lots and I’m excited about this new easy DIY Phone Charger Holder! It keeps my phone up off the counter and all tidy, plus I can move it around to whatever room I’m in – super easy! I hate to confess the number of times I’ve tripped over my phone cord and flipped my phone onto the floor. We’ll keep that our little secret though k?
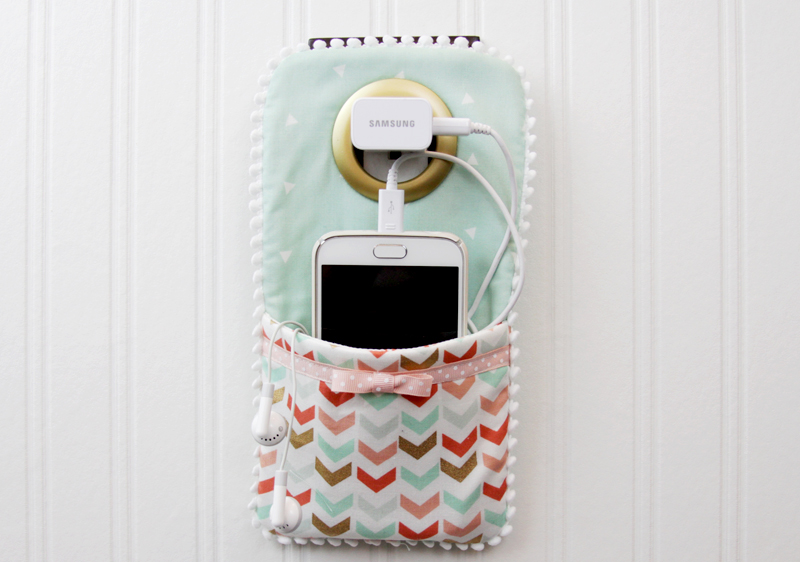
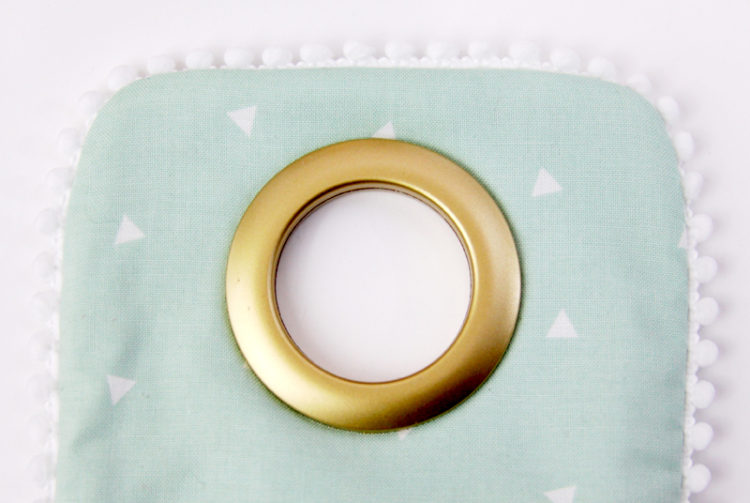
It doesn’t take long to sew this up, you can make one up in about 30 minutes! And don’t be nervous about the little grommet at the top – that couldn’t be easier to install. You don’t need any tools!
Note: I don’t really recommend hanging this for any length of time from your charger, you don’t want to put a ton of weight on that. I keep a Command Hook next to my outlet and hang it there – it’s super convenient and doesn’t put any stress on your charger or the outlet!
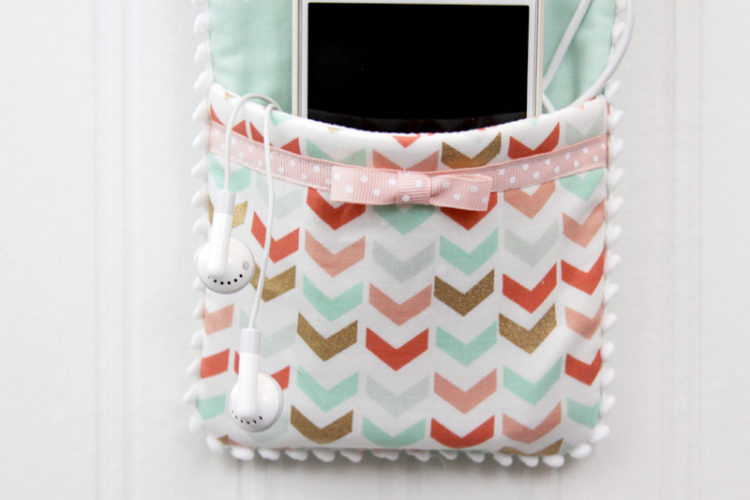
This sweet little pocket all dressed up with a bow is the perfect size for holding your phone, tucking in your charging cord, and even a set of earbuds! Wouldn’t that be a fun gift? A cute little wall charger holder and a matching set of earbuds!
Let’s get started!
Materials Needed for your DIY Phone Charger Holder:
(contains affiliate links)
- Fabric
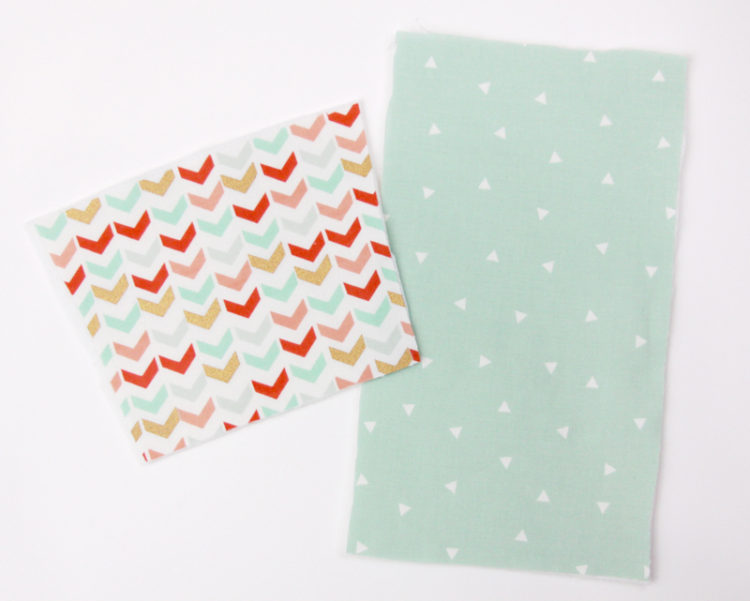
- Main Front and Back – 2 pieces 10 1/2″ x 6″
- Pocket Front and Back – 2 pieces 7″ wide at top and 6″ wide at the bottom, and 5″ tall
- Fusible Fleece – one piece 10 1/2″ x 6 and one piece 7″ x 5″
- Ribbon – 10″
- Pom Pom Trim – 30″
- 1 Plastic Curtain Grommet
To start, cut out all your fabric and fleece pieces. Iron the fleece to the back side of one of the pocket pieces and one of the main pieces. I like to fuse it to the pieces that will be the front, it keeps everything looking nice.
Sew the two pocket pieces together just along the top edge, with right sides together and a 1/4″ seam allowances. Fold the pieces so the right sides are out and press.
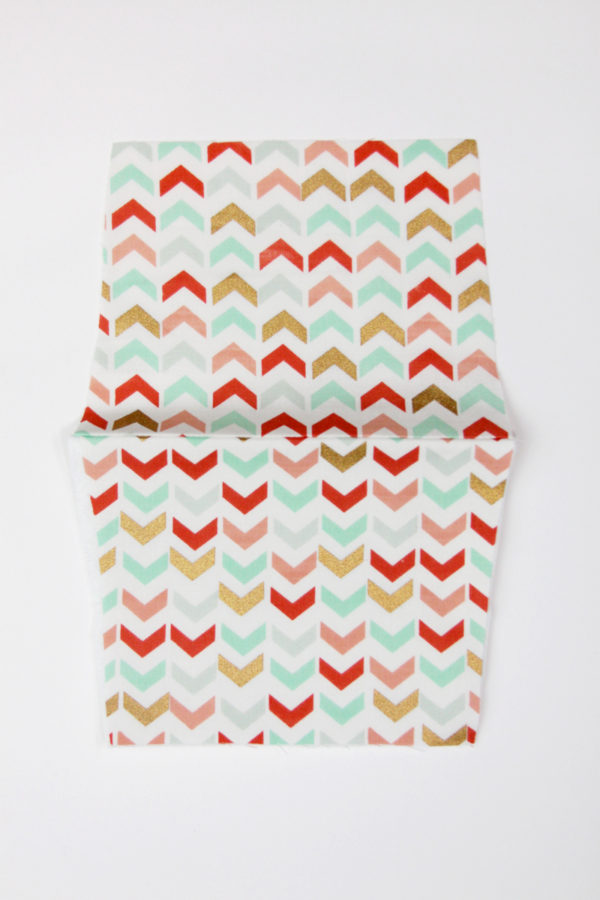
Sew the ribbon 3/8″ down from the top edge, along both sides of the ribbon. Form a little bow with the extra ribbon and hand sew the bow in place.
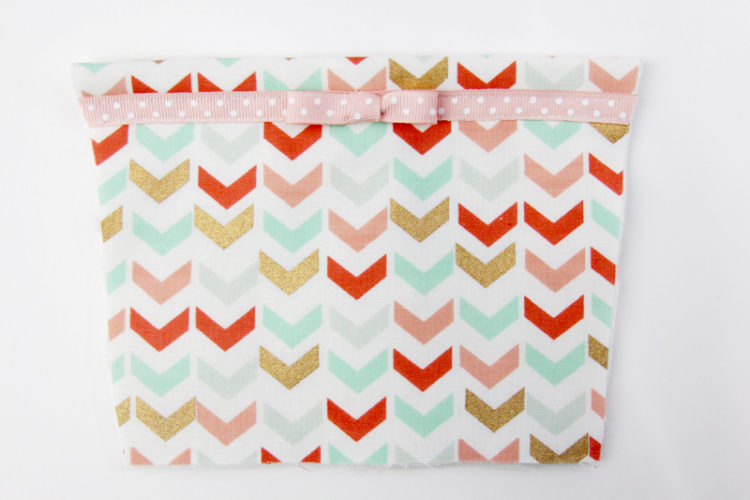
Place the front pocket on the front main piece (the one with the fusible fleece on the back side) and line up the bottom edge and the sides. Sew the sides and bottom down with a 1/4″ seam allowance. Because the top of the pocket is wider, the pocket will stick out from the main piece just a bit.
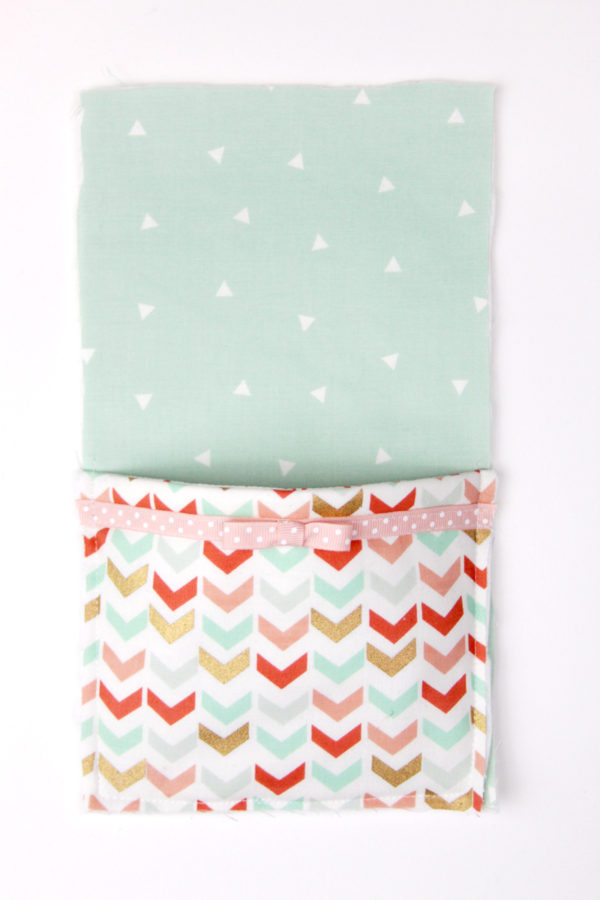
Use a spool of thread as a guide and trim all four corners so they are rounded. Sew your pom pom trim around the edge of the holder, 3/8″ in from the edge. Make sure the pom poms are pointing towards the center. Overlap the trim at the bottom and point it towards the edge, you’ll sew over this but it makes a nice tidy look once you turn everything right side out.
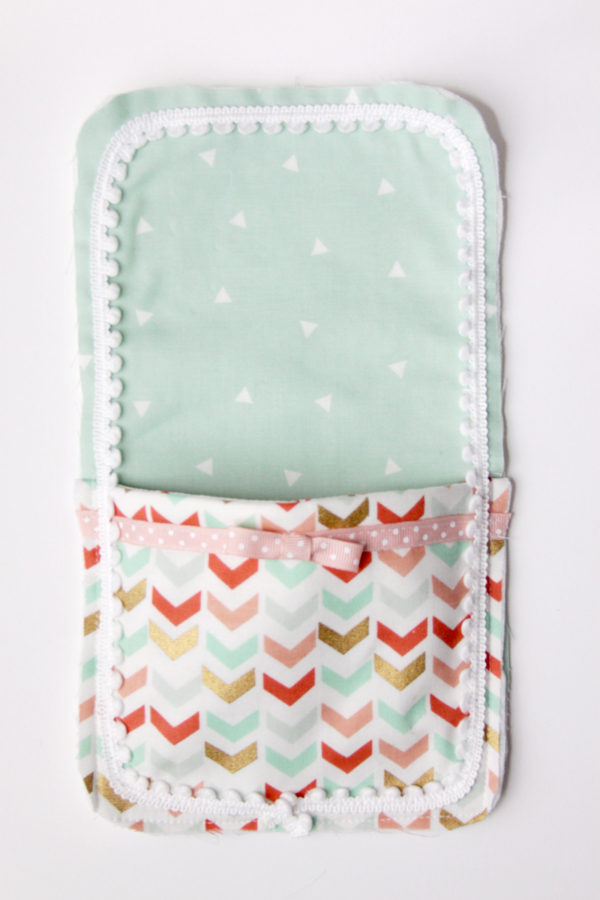
Pin the back main piece to the front main piece so that the right sides are together. Sew around the sides and leave an 2″ opening on one side, above the pocket. Turn the holder right side out through the opening. Press everything, then hand sew the opening closed.
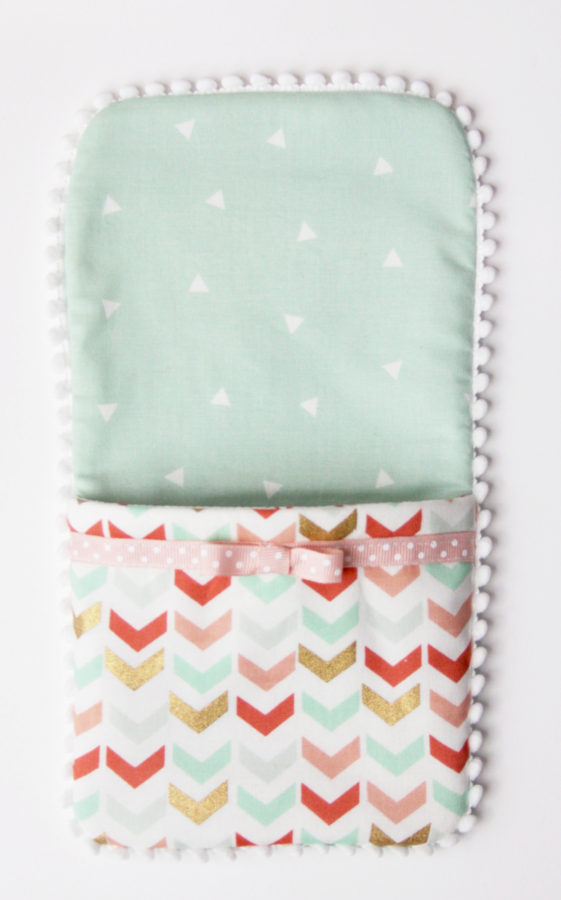
Put the plastic curtain grommet in place, following the instructions on the package. These just snap into place, super easy. There are lots of grommets in the package so it works out great to make up a bunch of these for friends!
And that’s it! You have a super cute place for your phone while it’s charging – and a super safe place too!
I’d love to see a photo if you make one!
You may also like
How to Add Grommets to a Tote Bag
Sweet Fabric & Felt Lavender Sachets


Bev, this is really cute (and useful). Thank you for the great tutorial and for sharing this quick and easy gift idea. Happy New Year.
Bev, This is a great idea! I like to make and give gifts for every and any occasion Valentines, Easter baskets, birthdays, stocking stuffers – but who can afford a weeks time to every gift? Thanks for sharing something quick and easy to make.
This is great! I will certainly be making a couple of these. Thank you for the tutorial!
Like it!
Great idea. Really cute, and useful. I am a little worried about the metal ring, though. It seems like it might slip down and connect the two prongs of the plug and short circuit it. I think you’d have to be very careful to hold the grommet in place while you plug it in and again as you unplug it. Hate to be so negative, but we do have to be careful around electricity.
Thanks for your comment! The ring is plastic, it’s just painted gold. So no worries on electricity there. But I agree, it would be better to hang it to the side from a command strip if you’re going to use it often, it would put less wear on the charger. :)
Bev, your projects are fantastic. You have such a talent for picking the most beautiful fabric. Thank you for sharing with us at Snickerdoodle Sunday! Pinned and tweeted :)
~Laurie
Thank you so much Laurie!! I so appreciate that!
What a cute project, perfect too because I’m always hunting down the phone charger. Would also make a great gift, thanks for the tutorial.
adorable!!! I love it- thanks for sharing with Monday Funday xo
Very Cute idea! Super helpful for all those short cords we have lying around we can’t seem to use without putting our phone right on the floor. Thanks so much for sharing! :)
This is super cute! I love your choice of fabrics and what a great idea! Thanks so much for linking this up to the Bewtichin’ Projects Block Party this week! Hugs, Lisa
That’s so pretty! And so much better than having wires everywhere and losing your phone and your charger (something I do at least 20 times a day!).
Hello,
It’s really pretty! I want to do it for my niece and I want to know your phone’s dimension to adapt this DIY for my niece’s phone.
Thank you
This is the best one I’ve seen! This tutorial is wonderful (and well photographed). Where did you get the plastic grommet from?
Thanks so much Jane! The grommet came in a pack from Jo-Ann – you might want to use a coupon for it! But you’ll have lots of grommets left over for gifts lol. ;)
Thanks! That’s where I found them-in packs-but the ones I found didn’t have instructions with them and I didn’t know if I needed a tool for them or not… /: JoAnn’s has like three different sections of different kinds/brands of them, so I thought I’d ask. (:
They include a template. You trace the template, cut out the circle, and snap together.
Great project for a beginning sew-er! I made one this afternoon and am excited by how it turned out. Wish I could figure out how to post a picture!
I want to make this SO badly!!
What size grommets do you use? I see 1″ and 1 5/8″ options on Amazon and Jo Ann’s.
Love the project. Made 2 already but having trouble making the bow…any tips?
Bridget
Great project. How does one download the cell phone pattern? thanks
I made one last night. It was really cute, however the 1 9/16 grommets do not fit all chargers. Trying to come up with alternative idea. One charger needs 2 ” and the other 2.5″.
Hi. Do you have this video tutorial? I do not understand how it is done in the end
I agree with Yanina… I’d like to see a video… I can’t follow the part where you turn everything to “the right side” be cause it doesn’t match the picture ._. I’m not a usual sewer, just a casual, so I apologize for my short knowledge in the field u.u
Hello, you know how it is done so that it is well? I still do not understand
Instead of cutting two of the front pockets, would it be okay to cut on the fold so the seam wouldn’t be needed?
hi was checking this holder out. would love to make. but i am confused on if i sew on riibbon on step 3 then later you mention to turn right side out. can you help me on this step. thank you
Love this project just made my first one today. I am going to make for some gifts. But i did leave off all the frills. It was too much for people i intend to give this to. Thanks so so much for the instruction.
i love this and made one
Thank you for sharing your pattern and easy to follow tutorial.
It’s a good ideas thanks
Bev!!! This is super cute, I am definitely going to try this diy. I’m wondering if you sell these, so I can have one to look at while I’m trying to figure out how to make it.
Awesome, I will try to make it.
Thanks for this great tutorial. We have different sized plugs in the UK so I’ll make a strap with a popper instead of the ring :)
Hi, thanks for a lovely Christams gift tip! Made eight of them in four different colours, had to do some adjustments (like insert a piece of cardboard in the middle as I couldnt get fusible fleece so quickly), and it was great fun to make them! Hope my friends will like them and find themas useful as I do (made one for me as well :-D)
Have a nice Christmas!
Love this! Turned out so cute! I couldn’t find any pom pom trim locally, so I just made some quick piping. Going to send it to my sister as a birthday gift. Thank you for sharing this!
What a cute idea for a Christmas gift/stocking stuffer!
Super cute idea! Definitely make it clear that 1. Don’t hang it from your charger boz. and 2. Make sure nobody trys to add a metal ring. Because with a metal ring and hanging from your box is definitely an accidental fire waiting to happen. Love! Love! Love though the idea of hanging on a command hook! I would’ve added a picture that way instead..
Super cute project and fun to make. I had wanted to make one for some time. Unfortunately it doesn’t work as pictured…slides right off. But still cute and will have to use a hook to hold on the wall….that may work.
Hi, thanks for a lovely Christams gift tip! Made eight of them in four different colours, had to do some adjustments (like insert a piece of cardboard in the middle as I couldnt get fusible fleece so quickly), and it was great fun to make them! Hope my friends will like them and find themas useful as I do (made one for me as well :-D)
Have a nice Christmas!
Hi,
I just finished making this as a gift for a teen friend – it looks great !
However, I just can’t find a curtain ring, and I don’t know what to replace it by….any ideas ?
Thanks so much for this tutorial !