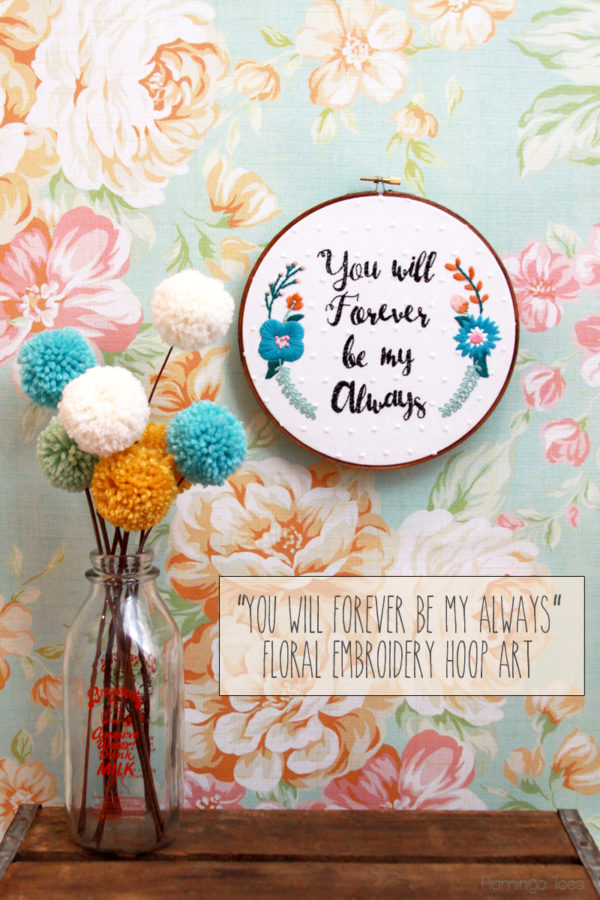
I have a new Embroidery Hoop Art to share with you today!
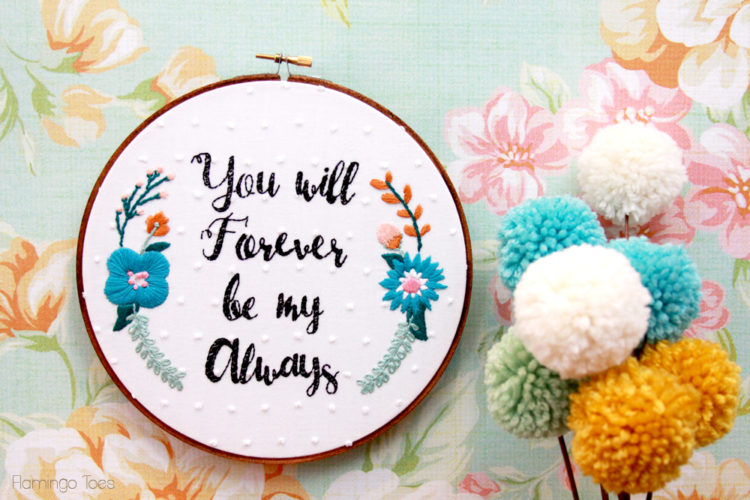
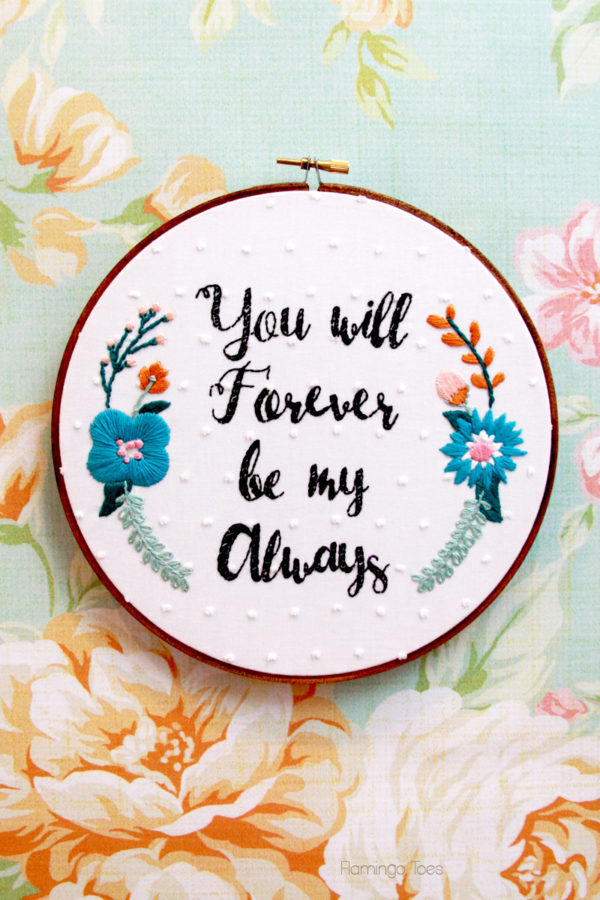
I’ve been wanting to do a hoop art with some pretty satin stitch flowers for quite a while. I think there’s something kind of luxurious about them.
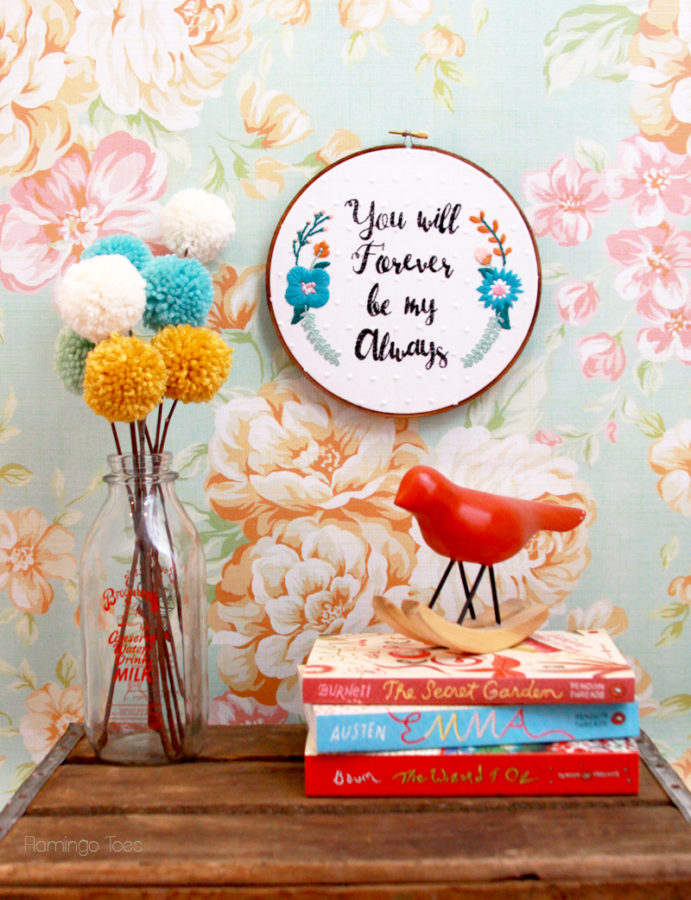
All those straight little stitches making up the flowers. They almost look like fabric – I guess that’s where the “satin” in the name comes from. They aren’t hard to make either, they just take a little time. It’s so relaxing sitting and stitching and filling in all the little spaces with those even rows of thread.
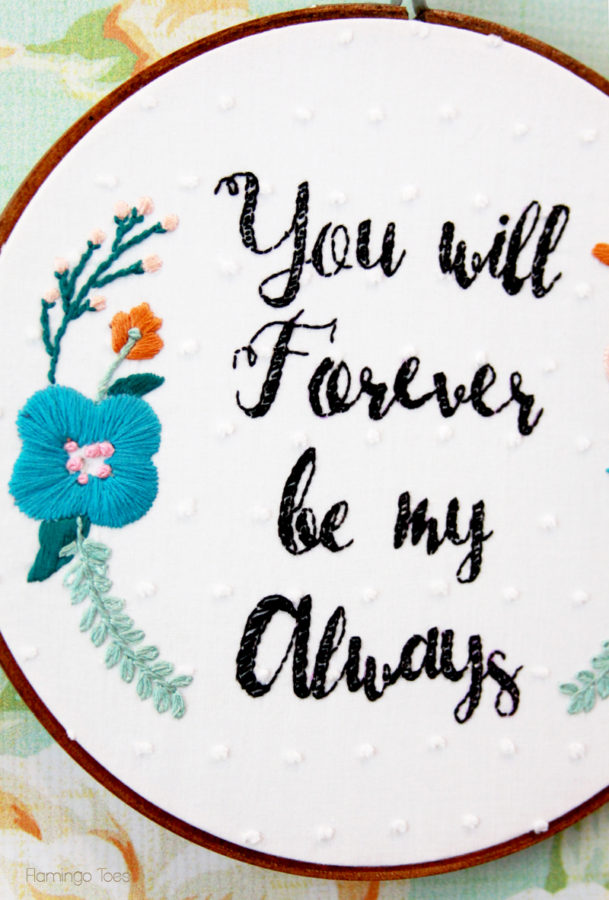
I’d seen this phrase around and I thought it would be perfect for a sort of Valentine’s hoop – but not so much that you couldn’t leave it up year round. Which I’m totally doing. The letters are filled in kind of similar to my Chalk Hoop Art Ornaments, with a sort of “sketched” look to them. It looks almost like it’s handwritten I think.

I tried something new with this hoop and I think I’m kind of addicted to it. I stained the outer ring of the hoop darker and I’m so in love with the way it sets off the fabric and embroidery! I will definitely be doing this more in the future. It is such an easy addition to the hoop.
So let’s get started! Here’s what you’ll need:
- Fabric for background – 10″ x 10″
- Lining fabric (if needed)
- 8″ embroidery hoop
- Embroidery floss for flowers and lettering
- disappearing ink marker
- Stain for wood hoop (optional)
- Hot Glue/Felt for backing
- You Will Forever By My Always Pattern – For Personal Use Only
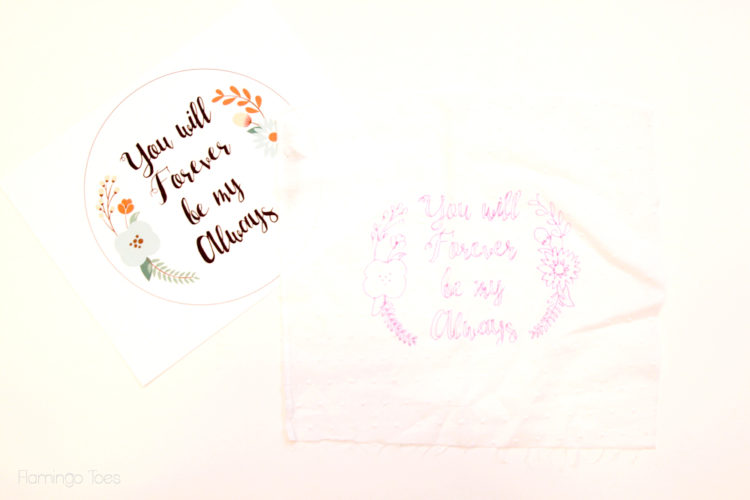
Begin by tracing the design onto your fabric. I used this really thin swiss dot so I just laid the fabric over the pattern. But you could also tape the pattern to a window and place the fabric over it.
Place the fabric in your hoop. Add a lining if you are using a really thin fabric. Outline the letters with a backstitch. As you stitch fill in the wider sections with a diagonal satin stitch, but leave spaces in the stitching to create a “sketched” look. Make sure you keep the diagonal stitches all going the same direction though or it will look a little messier than you are going for.
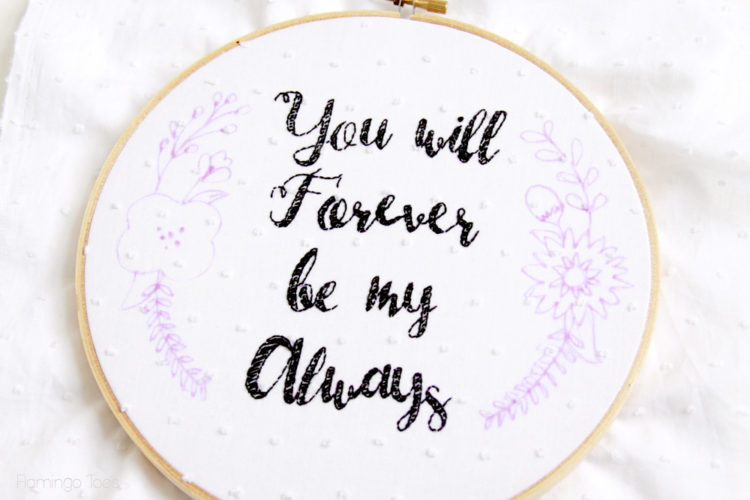
Start stitching your flowers. For the flowers and large leaves use a satin stitch. For the stems on the flowers and the leaves, use a stem stitch. Fill in the leaves on the lower fern-type plants with lazy daisy stitches. Fill in the center of the left flower with french knots. You can find embroidery stitch tutorials on the How To Do That Embroidery page.

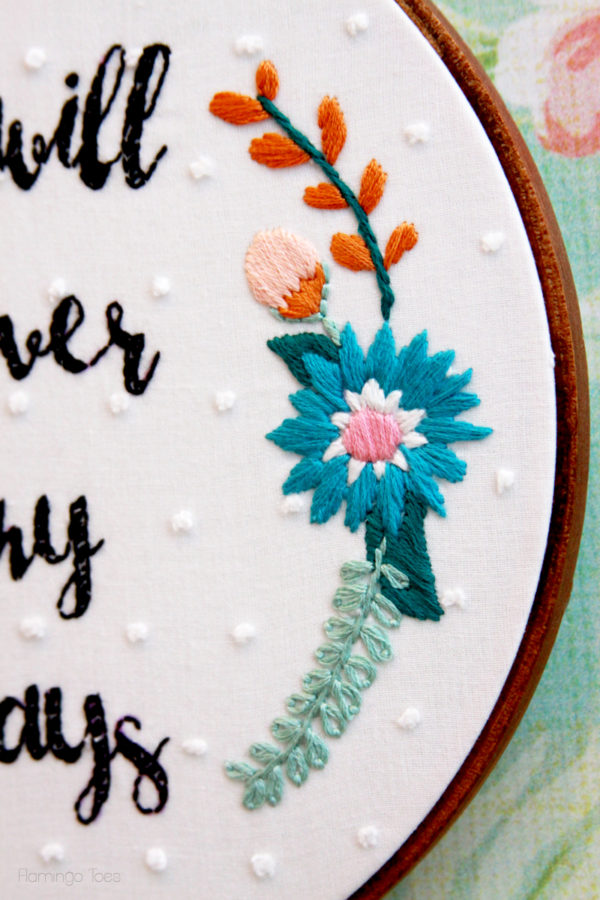
Remove your fabric from the hoop and dampen the design slightly to remove any marker that is showing. Stain the outside ring of your hoop. Make sure the hoop is completely dry, then place the fabric back in the hoop.
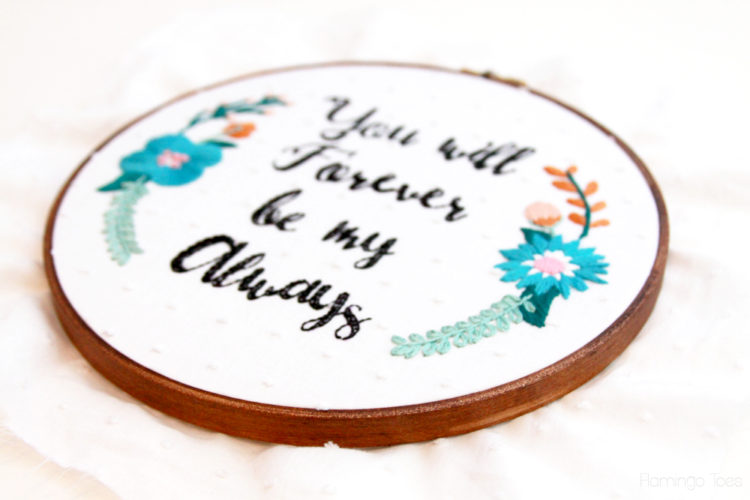
Trim the fabric around the hoop to about 1″. Glue the fabric to the inside of the back of the hoop. Cut an 8″ circle of felt and glue onto the back of the hoop as well.
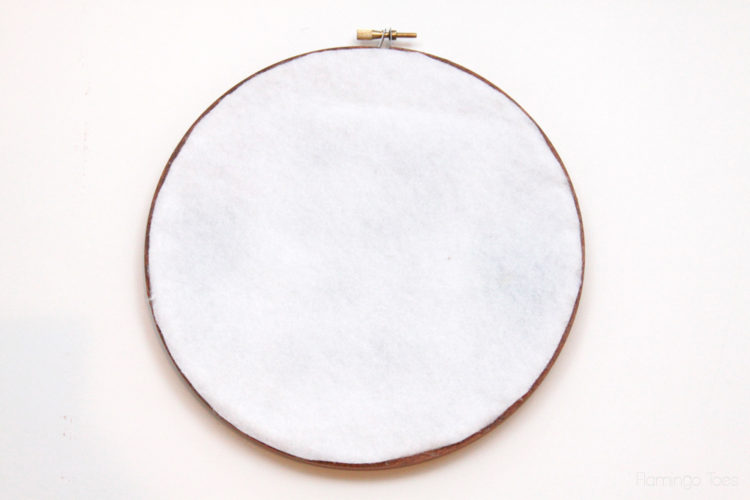
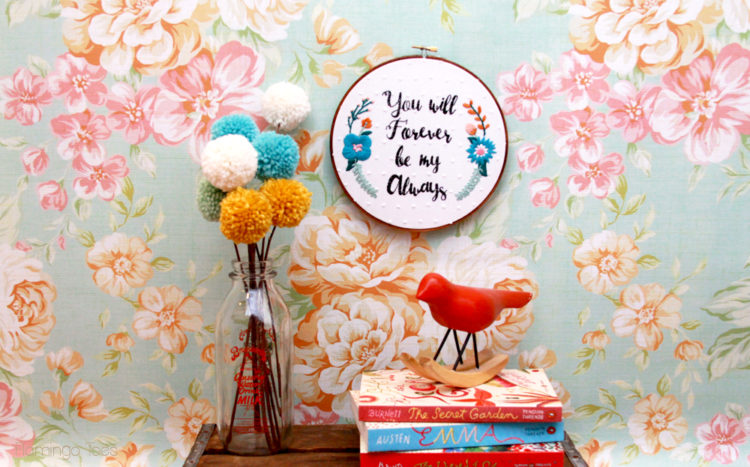
That’s it!! You have a really fun new hoop to add to your gallery wall or to make a cute display with!
I hope you give it a try!
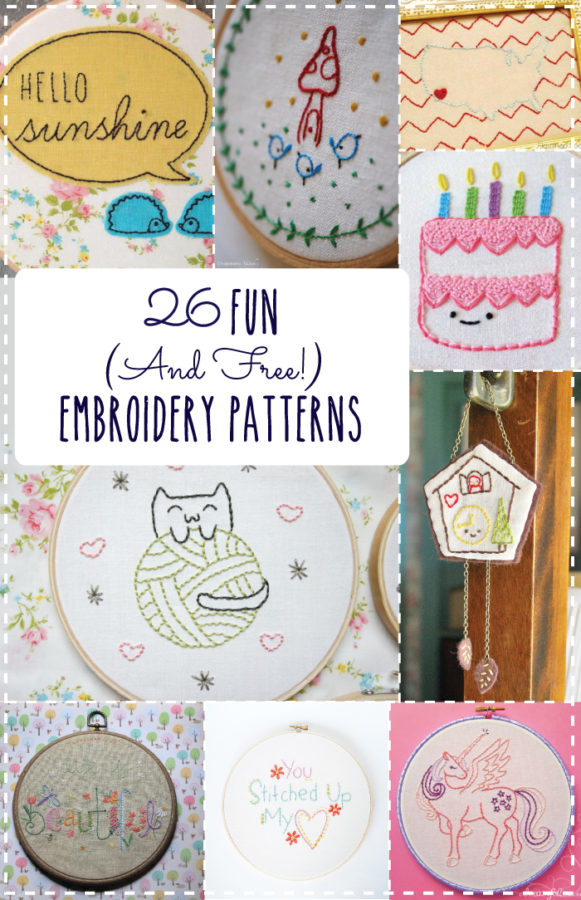
You can also check out these for a little more embroidery inspiration!

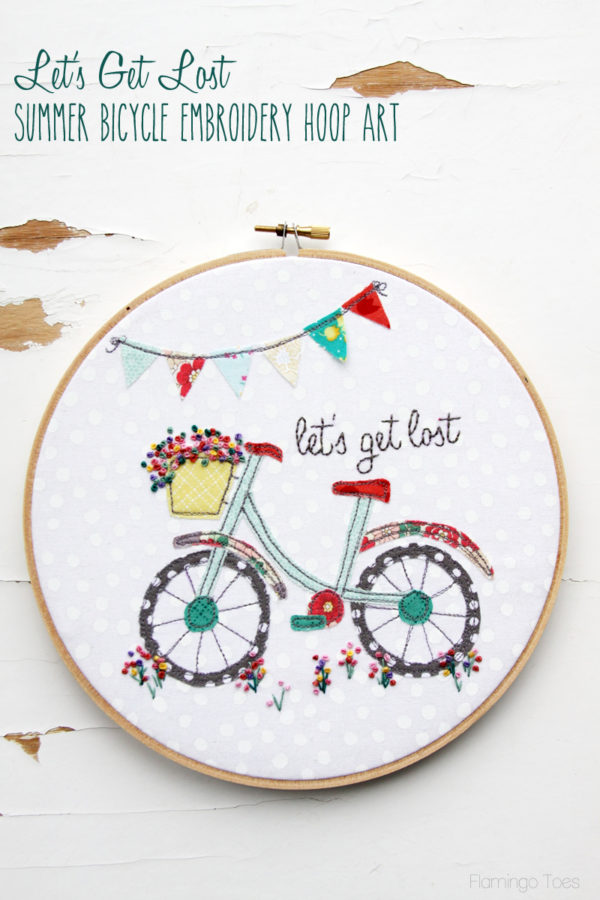


What nice embroidering you do, I love the bicycle, so cute!!
Did you know that I featured your DIY Fabric Heart Valentines on my Friday Feature Linky Party?
Hope you have a great week!
Karren
I love to embroider and this is a wonderful pattern. I am looking forward to making it and when I get it done I will let you know. Thanks so much for sharing.
Beautiful! I love the uses of the dotted swiss & the stain! Really add something extra special.
Bev – I love this! I must make this soon. Thanks for the inspiration. Your blog always brightens up my day.
Judy
I like this one!!
Oh my goodness, this is adorable. Thank you so much for sharing this tutorial! Love that swiss dot fabric too!
This is adorable!
Your hoop art is lovely. I have never tried satin stitches before. Might take some practice.
Love your yarn pom flowers. Did you make? Tutorial?
Everything you share is so special Bev. Love all of these wonderful patterns, projects. They’ll all be getting made by me very soon. Have cleaned out and organized my sewing room so for few days or so will be doing what I enjoy and can still do. Due to arthritis my crafting ability in hands/wrists has been limiting me more all the time. Even typing has gotten more difficult.
You’ve shared several incredibly great projects to make, sure appreciate the patterns. Will be a busy embroiderer for while.
Have wonderful Sunday and week
Your work is amazing! I love it.
I love embroidery! Haven’t done any in ages. Your amazing work might be just what my fingers ordered! Marvelous!
This is so pretty. My granddaughter is picking up embroidery.
Thanks for sharing at the inspiration spotlight party @DearCreatives pinned and sharing.
I absolutely love this pattern. I do have an inquiry tho – how many strands of thread do you use for each component (flowers, stems, letters etc.)? Other than that, I’m incredibly happy to be able to try this pattern out! Thank you!