This Sweet and Simple DIY Pocket Pillowcase is such a fun project to sew up for kids!
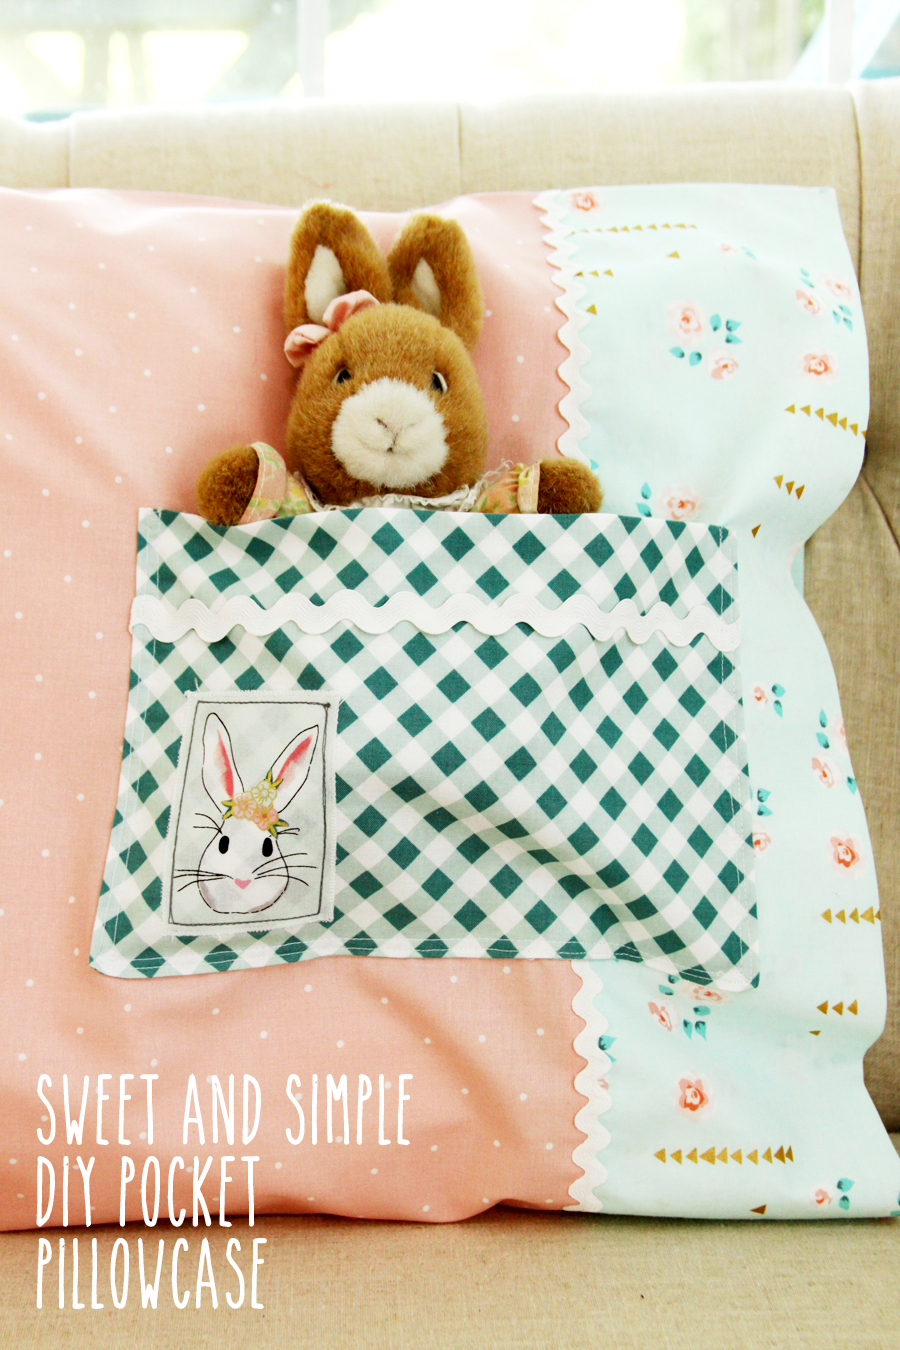
I have such a fun project to share with you and such a sweet reason for sharing it! It’s my turn to post in one of my favorite series of the year – Skirting the Issue hosted by Simple Simon and Co.

Every July at Simple Simon and Co the girls host a series of tutorials featuring skirts, quilts and pillowcases made for children in foster care. You can find all the details in the link above if you’d like to participate! There are a ton of fun projects for inspiration or you can make your own. They have a donation address and you can upload your creations to them and enter to win a Babylock too!
I’ve made skirts in the past but this year I wanted to shake things up and make a cute pillowcase!
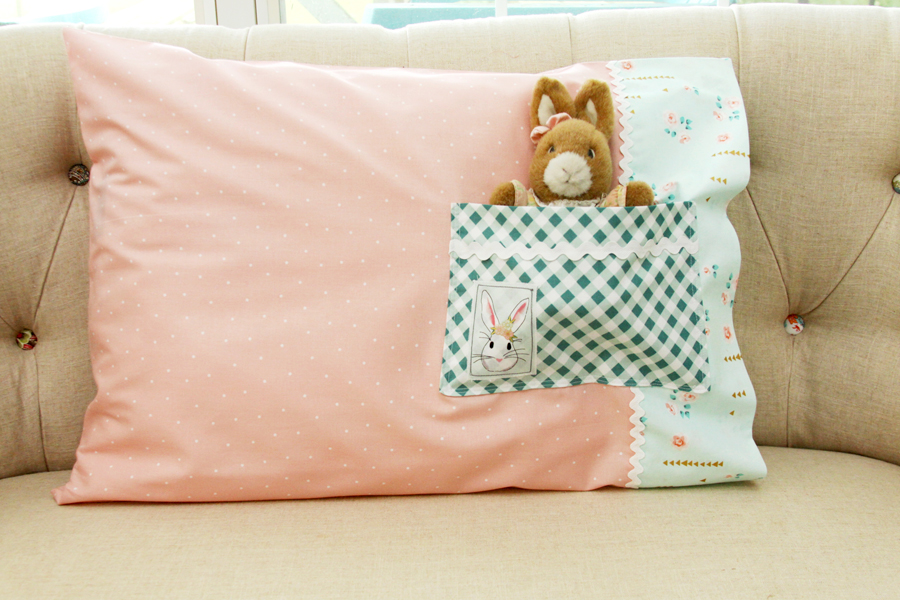
I made up this cute Pocket Pillowcase – isn’t it fun? The little pocket is perfect for holding a small stuffed animal, book or even a phone if you’re stitching one up for a teen!
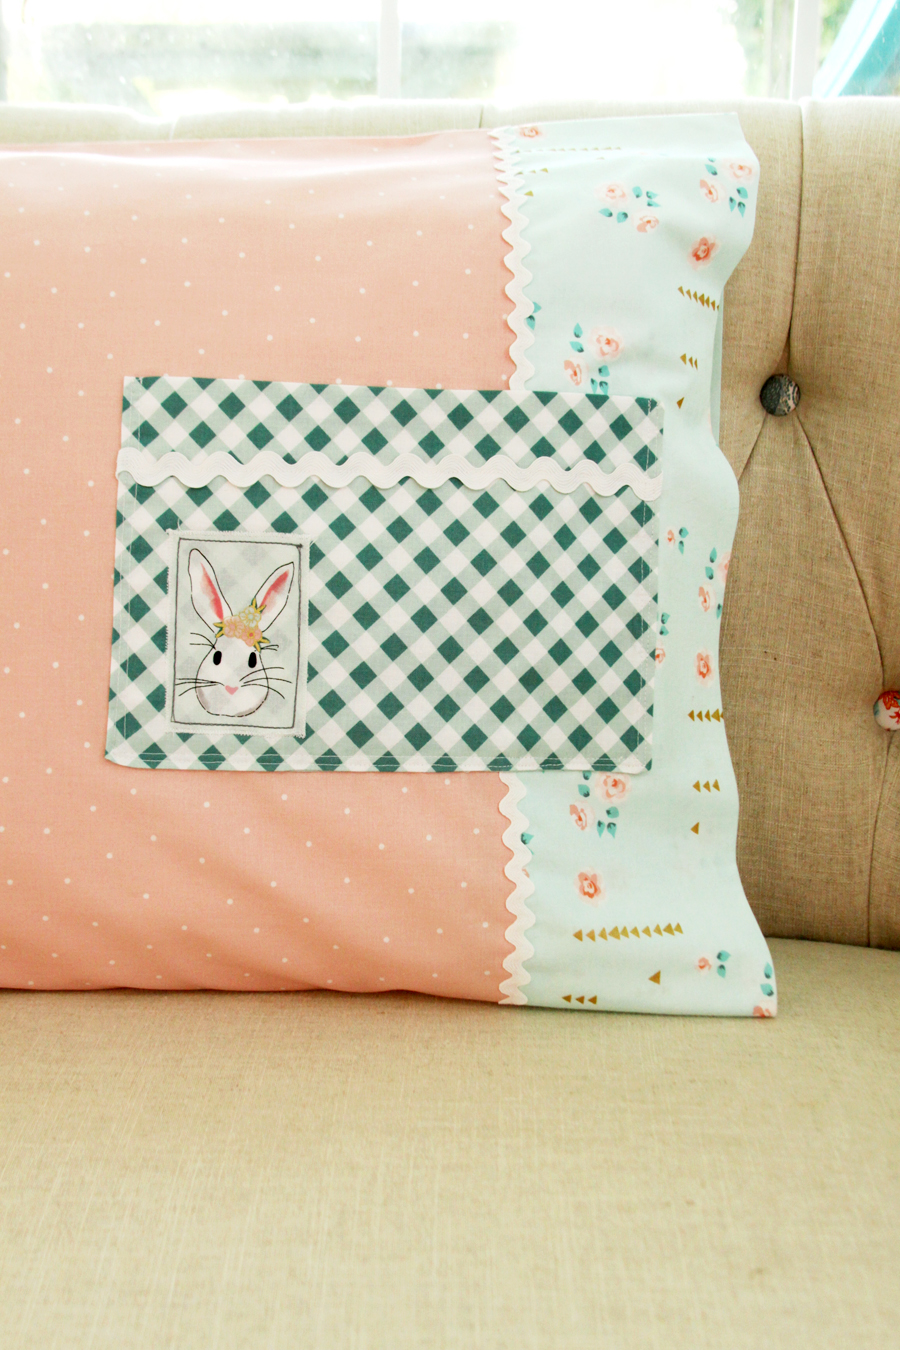
You can have a lot of fun with fabrics too – cute Disney or Superhero prints would be so cute too. I think it would be fun to coordinate fabrics with the toy too – kind of like I did with the little bunnies!
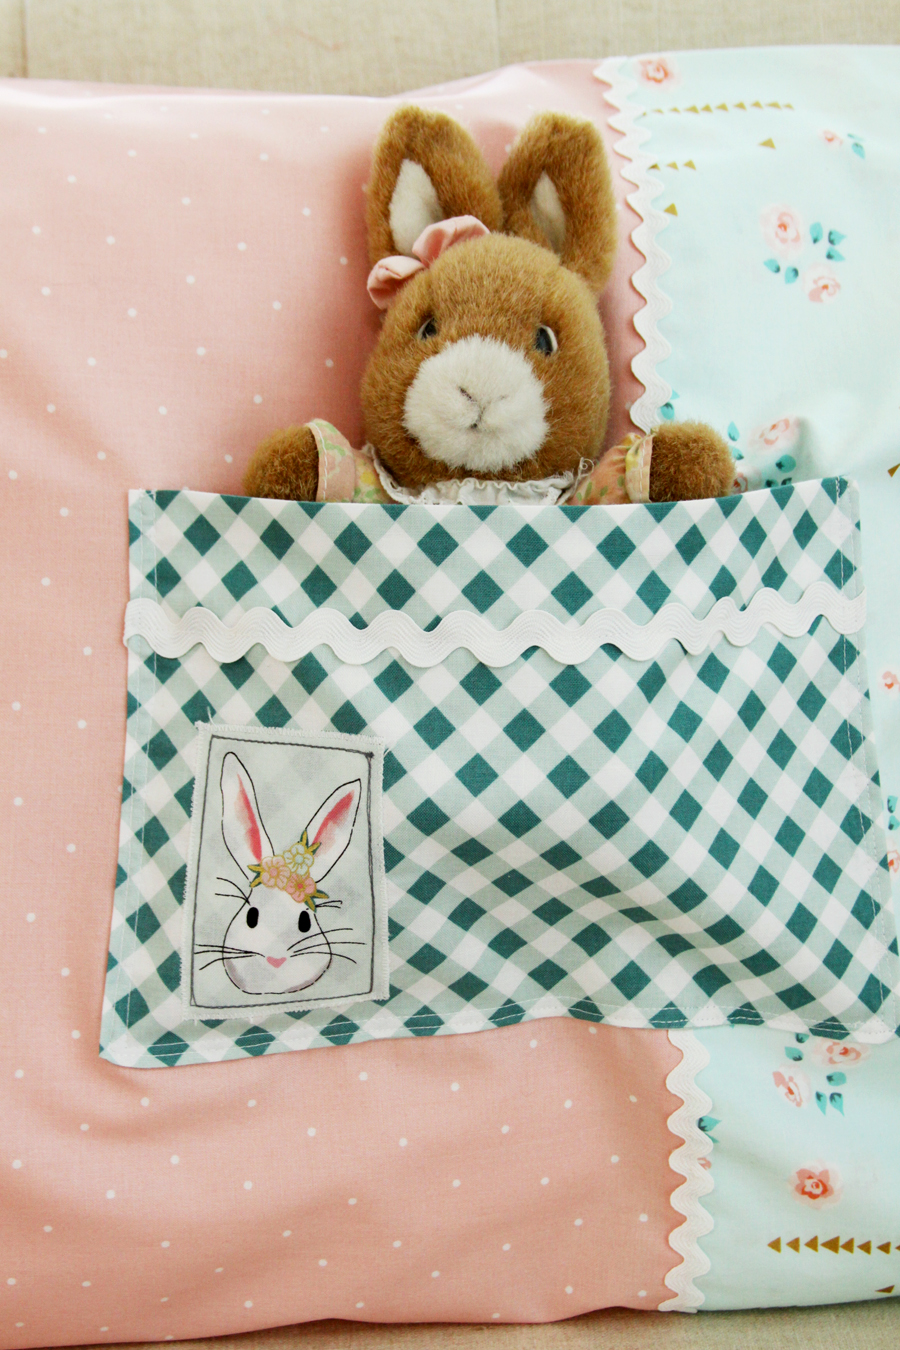
Here’s the simple tutorial – this is a perfect beginner project if you’re just starting out sewing!
Materials:
- 3/4 yard main print
- 1/3 yard second print
- 1/4 yard or fat quarter for pocket
- Optional Trim – 1 1/2 yards for around pillow and 1/3 yard for pocket
- Optional – small square of fabric for applique and fusible webbing
Cut fabric pieces out.
- Main Print – 41″ x 23″
- Pillow Band – 41″ x 10 1/2″
- Pocket – 20″ x 7″
If you’re doing the applique, start with that first. Iron a small square of fusible webbing to the back of your applique fabric and fuse the fabric to the pocket. For placement, fold the pocket in half to create a 10″ x 7″ rectangle. Choose where your applique will go on the front of the pocket piece. Zig zag around the applique and if you want, add a little decorative line stitching inside the edge.
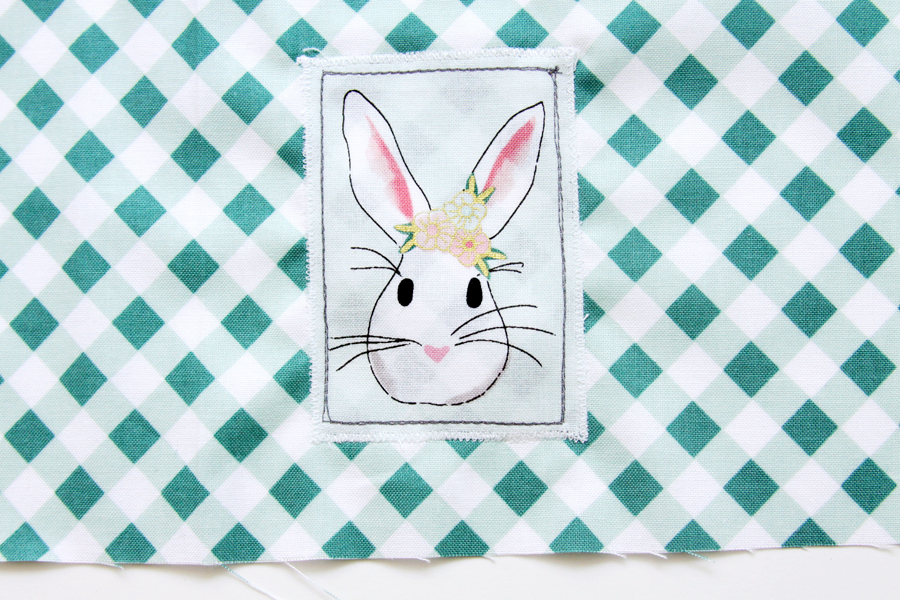
Fold the pocket in half, right sides together to make a 10 1/2″ x 7″ piece. Sew around the three open sides, leaving an opening in the bottom for turning about 3″. Clip corners and turn right side out. Press the pocket, pressing the open seam edges up into the pocket at the same time.
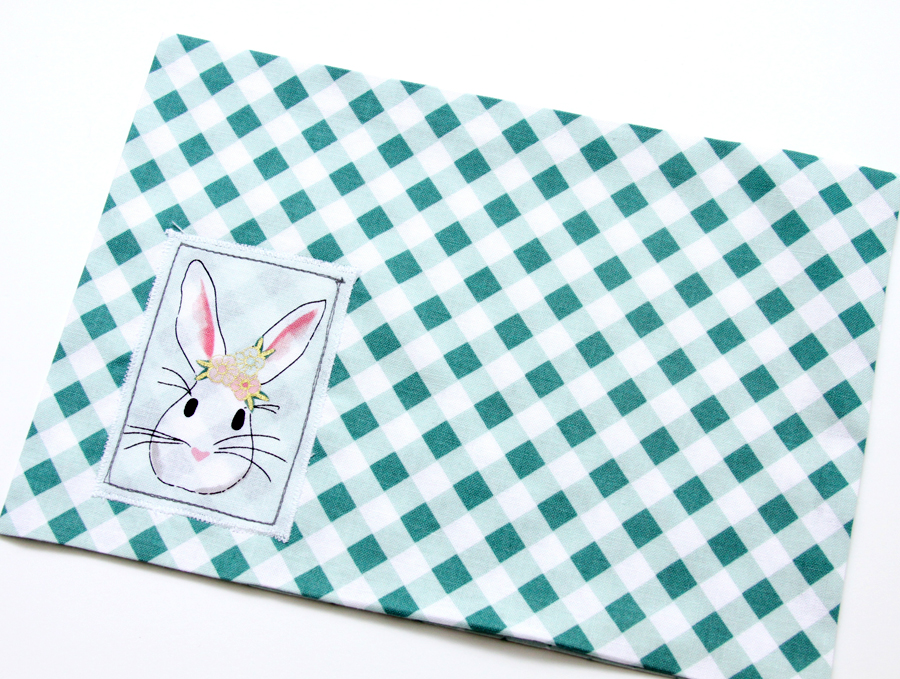
Measure down 1″ from the top of the pocket and sew a length of trim, tucking the ends to the back side of the pocket.
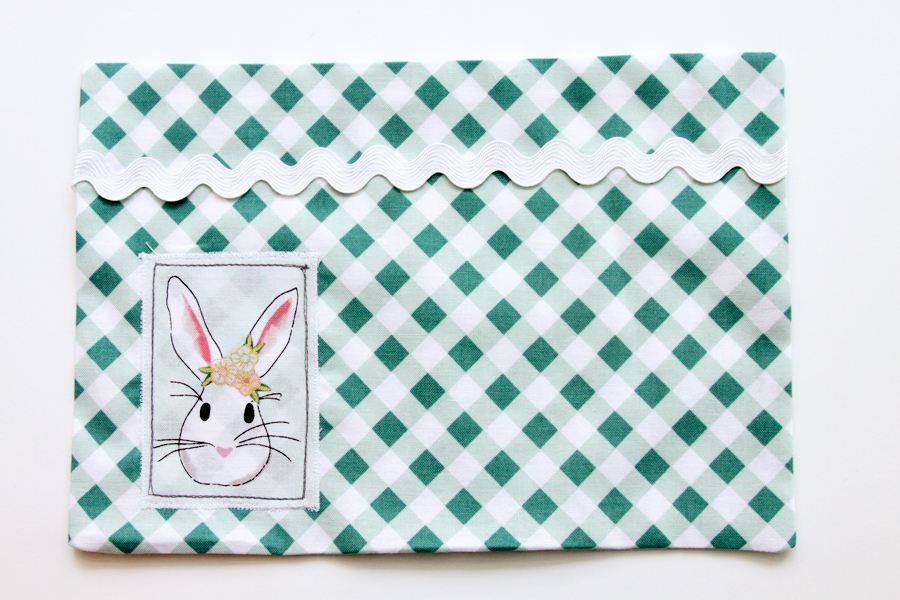
For the pillowcase pieces, fold the pillow band piece in half WRONG sides together to make a 41″ x 5 1/4″ piece. Place the long raw edges to the right side of the 41″ side of the main fabric. Sew the fabrics together and press the seam open. Sew a length of rick rack over the seam on the front side.
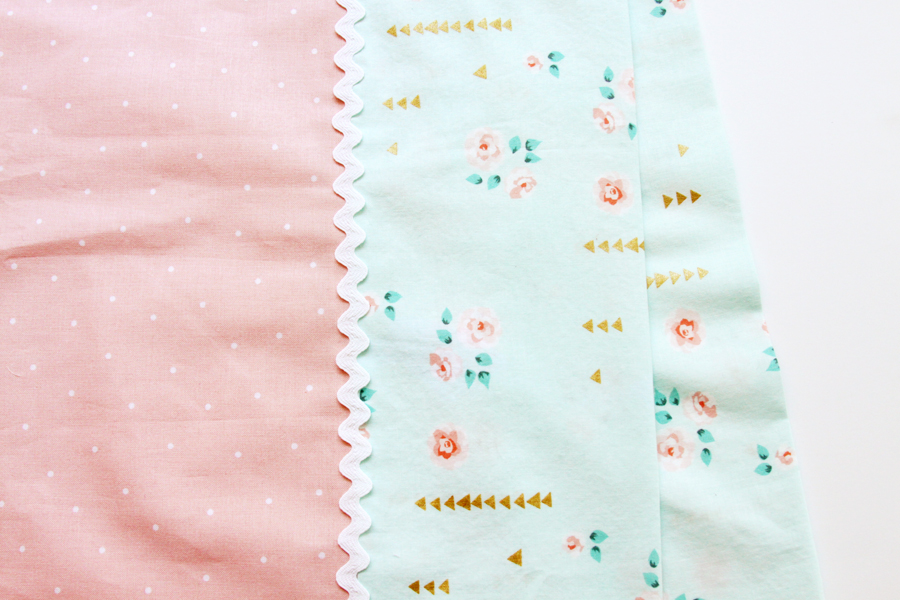
Measure up from the bottom of the large pillowcase piece about 7″ and place the pocket so it overlaps the main fabric and pillow edging. Sew around the sides and bottom just inside the edge and 1/4″ inside that seam. This will make it nice and strong since it will have lots of things tucked into it.
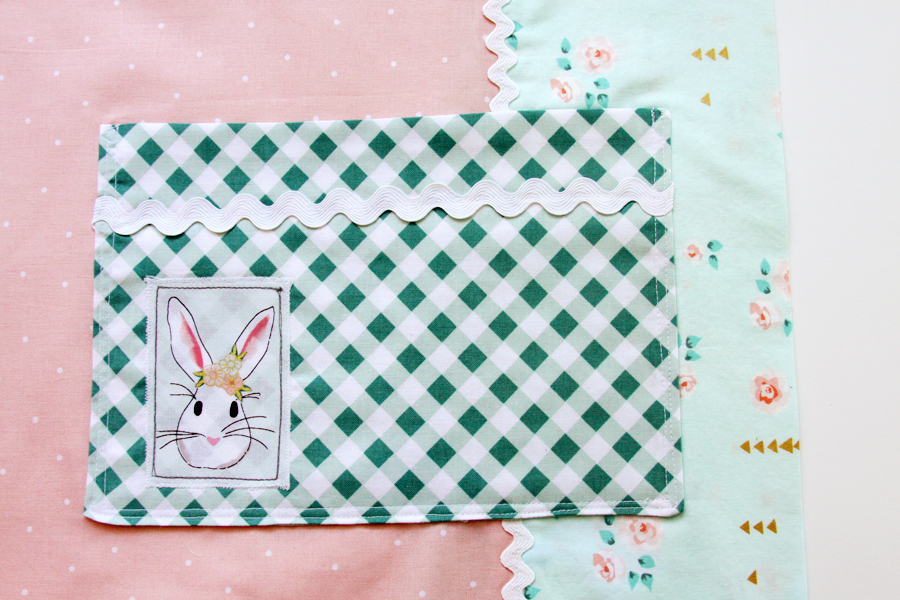
Fold the pillowcase right sides together and sew the side and bottom seams together. The top should be a fold. Turn right side out and press – and add a pillow!
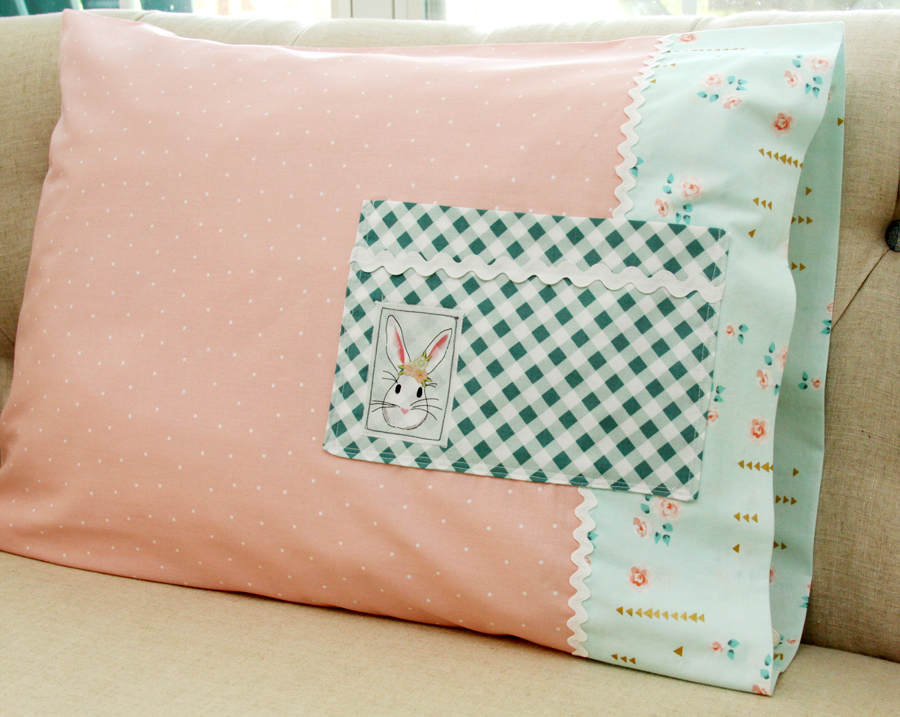
Now you have a cute pillowcase for tucking fun little treasures into!
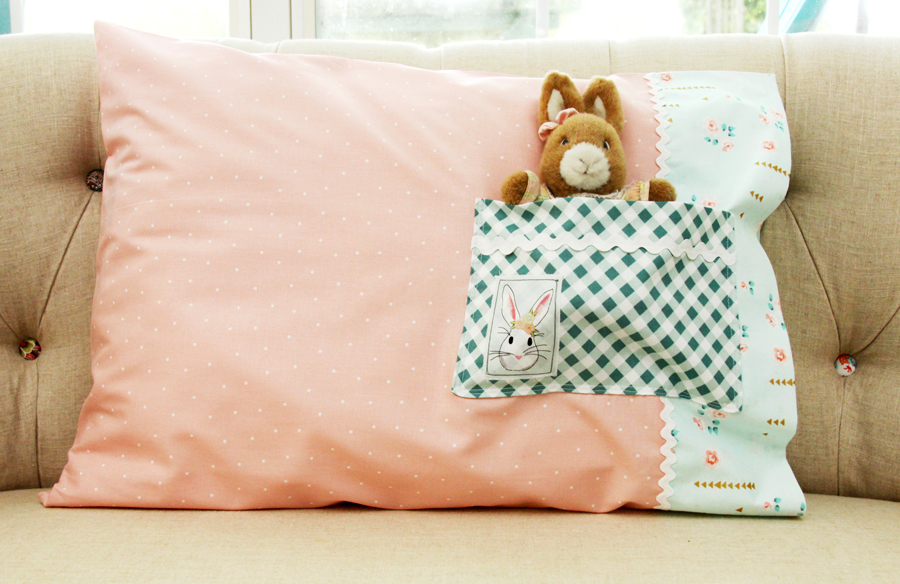
Make sure you head over to Simple Simon and read all about Skirting the Issue – we’d love for you to join in!
Here are the other projects I’ve made for the series in the past!
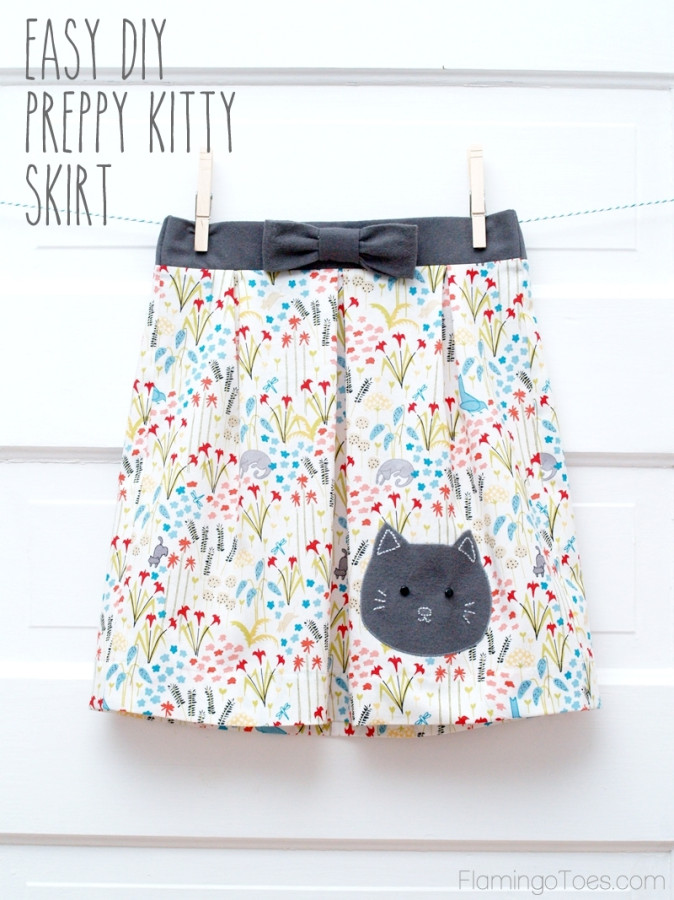
Embroidered Animal Party Skirt


So cute. The first thing I thought of was a small pocket for the tooth fairy
Love the pillowcase pocket pillow. What a cute idea for a little child or even for a “tooth fairy” pocket. Love the colors you put together with your fabric, too, Bev. You have really good taste in matching prints!
Just awesome work, I love this!
I’m going to make a pocket pillowcase for my little bunny doll. Thank you for making very easy tutorial. By the way, which fabric you use for this project, is it normal fabric or canvas fabric?
Bev, that is just too adorable for words. I love it, and can see myself churning a few out for Christmas!
Going to do this project with my Four year old granddaughter for her first sewing project! Thank you for the cute fun idea
Adorable Bev, I’ll have to make one of these up for my granddaughter. Thank you for the tutorial.
Thank you for this excellent tutorial. I had skipped buying a secret Santa present for my daughter for school tomorrow. This acted perfectly.