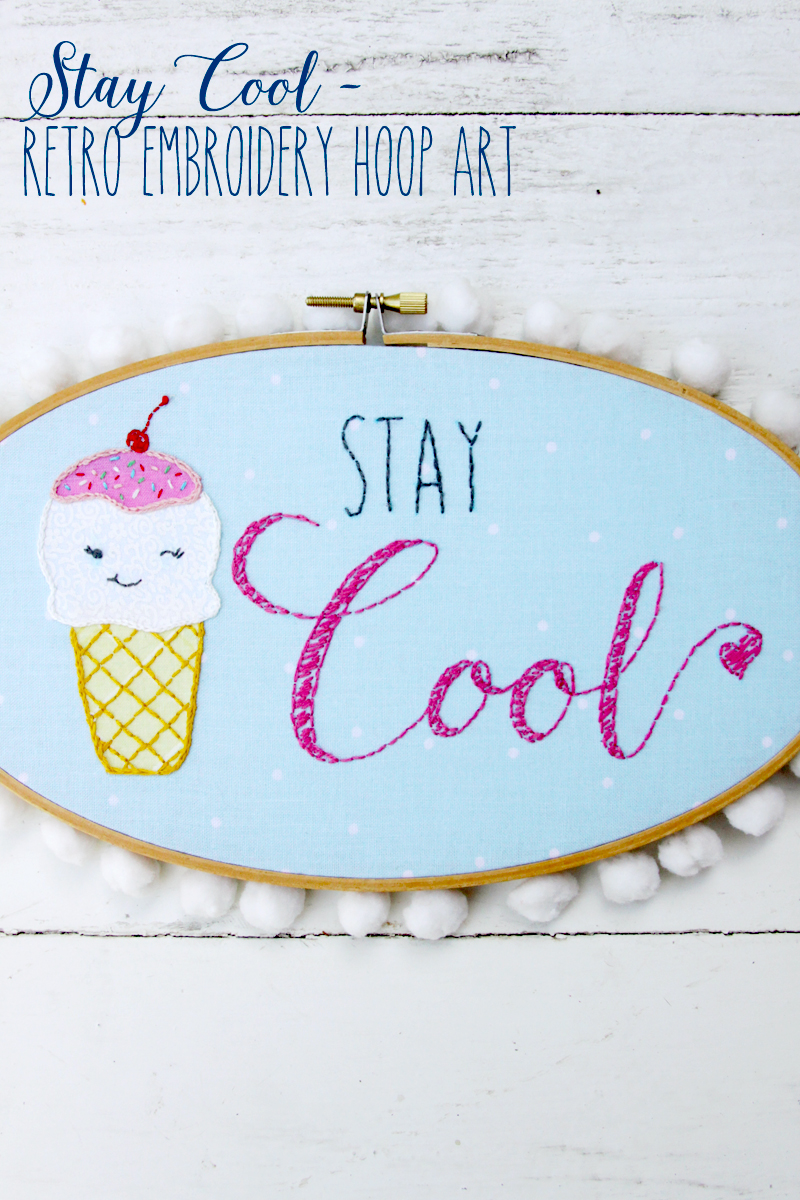
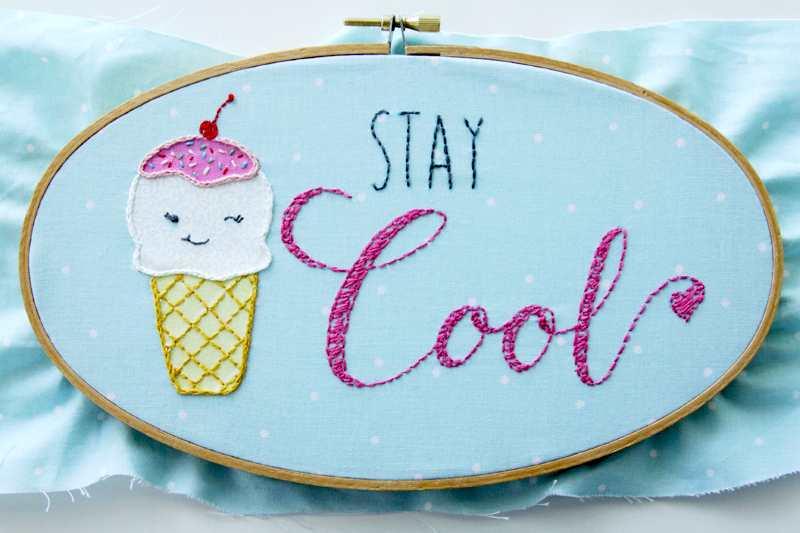
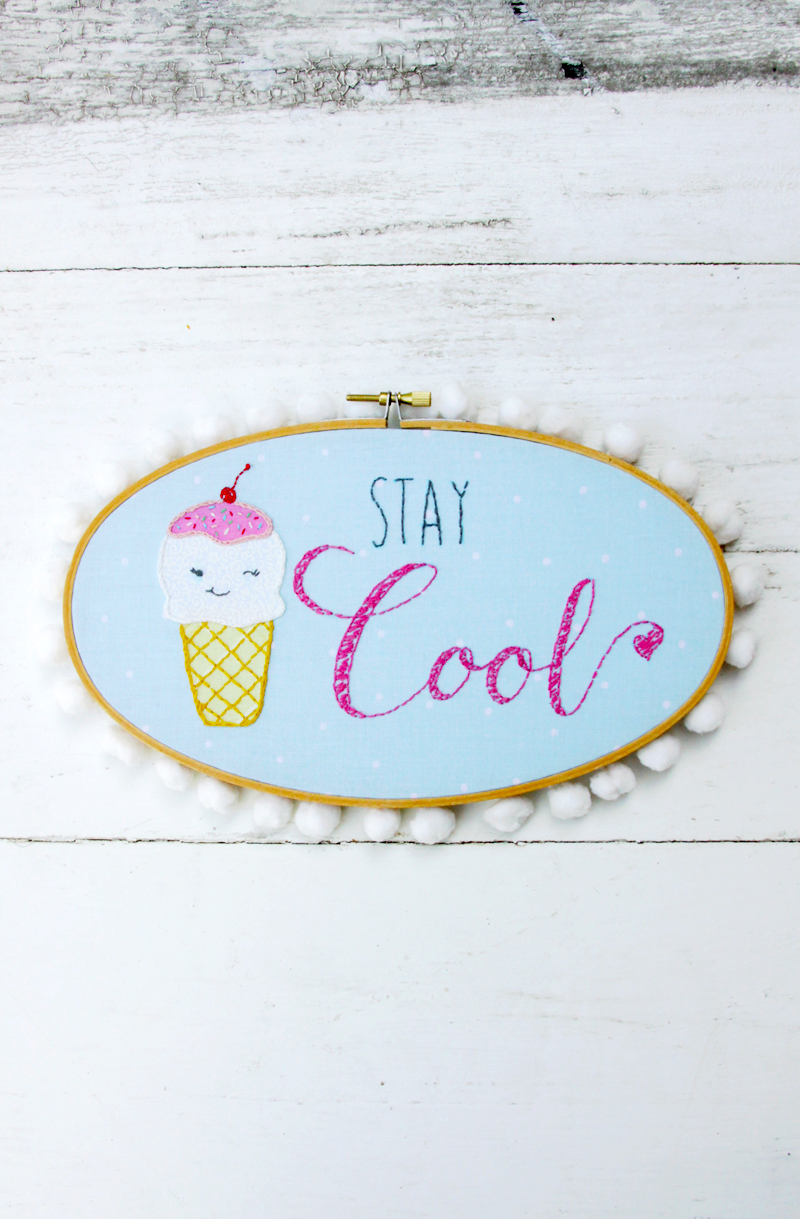
I love doing embroidery projects any time of year – but especially in the summer! They are perfect to take along on road trips, trips to the park, or even just a fun activity to do in the nice cool air conditioning. ;) This “Stay Cool” – Retro Ice Cream Embroidery Hoop has a cute vintage style and it’s a nice quick project to stitch too.
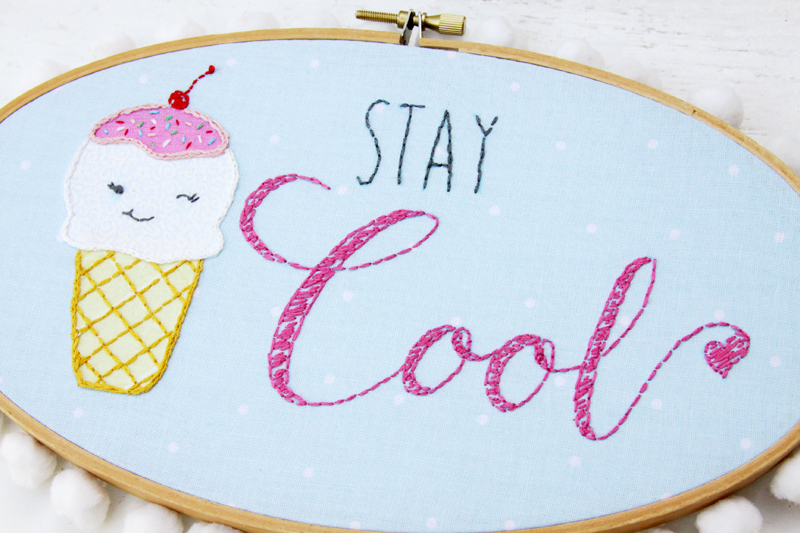
The little ice cream cone has a fun smirky smile (as all ice cream cones should) and everything is done with beginner stitches so anyone can make one! It’s finished off with some pom pom trim – which I tend to do a lot. I love the extra bit of fun it adds around the edge of hoop!
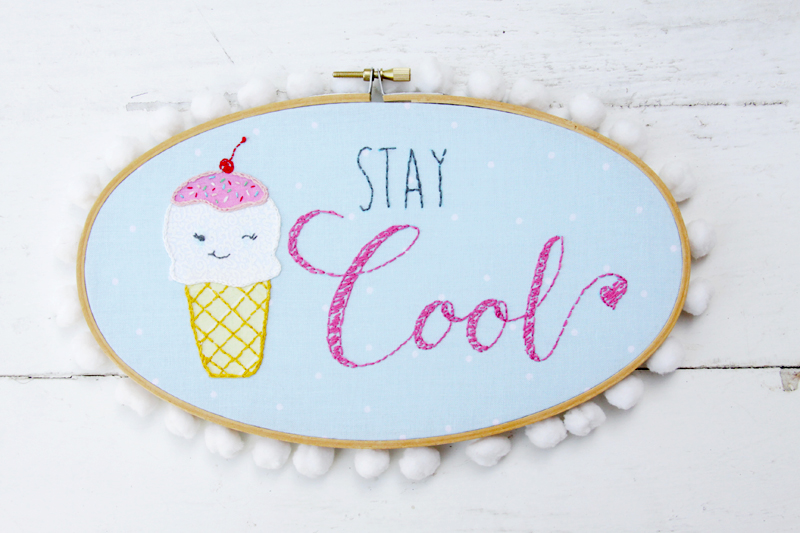
So let’s get started! Here’s what you’ll need to make this Stay Cool – Retro Ice Cream Embroidery Hoop!
Materials: (Affilate Links below.)
- 5″ x 9″ embroidery hoop
- 12″ x 8″ piece of background fabric
- small scraps of yellow, white and pink for ice cream cone
- fusible webbing
- DMC Embroidery Floss – in these colors: white, 413, 602, 666, 761, 912, 3820, 3846
- 32″ Pom Pom Trim
- Hot Glue
- 5″ x 9″ piece of felt for backing (optional)
- Water soluble marking pen
- Stay Cool – Retro Ice Cream Embroidery Pattern
Begin by tracing your design onto your fabric with the marking pen. Outline where the ice cream cone goes, as well as the lettering, so you can be sure of placement.
Cut out the ice cream cone into three separate pieces. Iron fusible webbing onto the back of the fabrics for the ice cream cone, then cut out each piece. For the cone and ice cream, cut each out just a little taller than the pattern piece, so the piece above it overlaps.
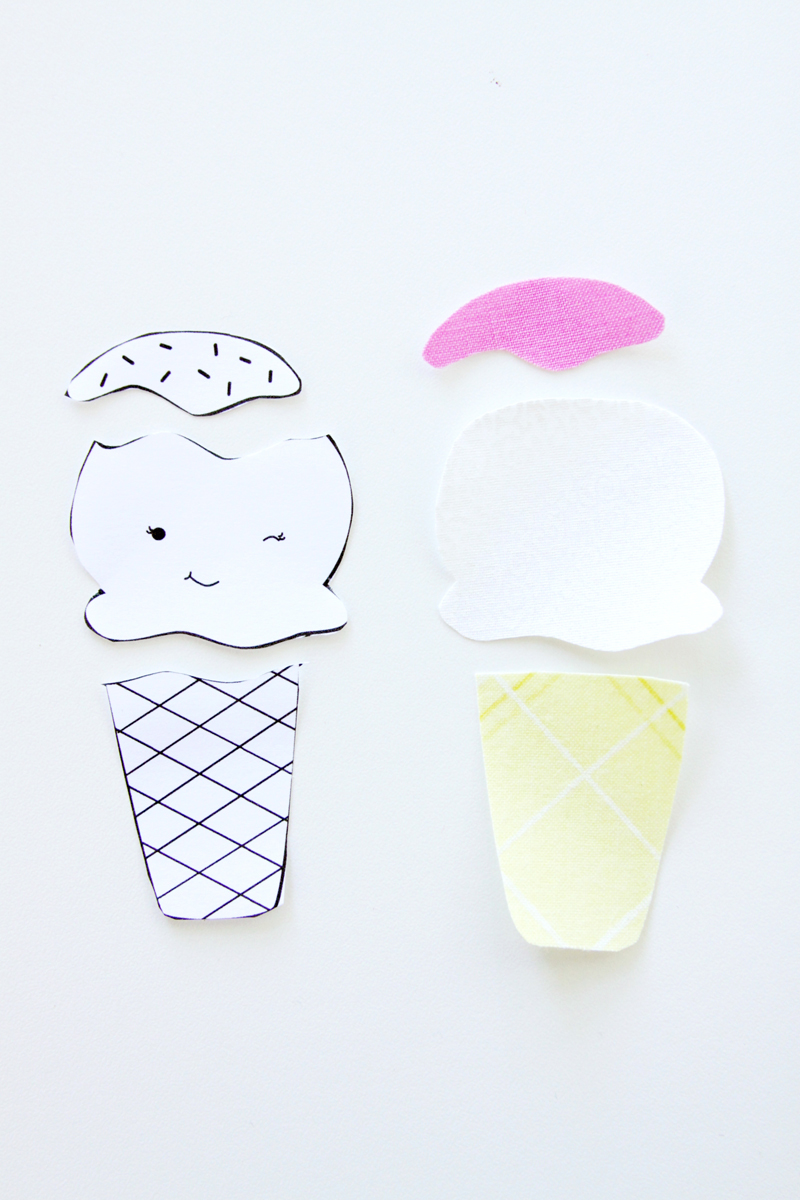
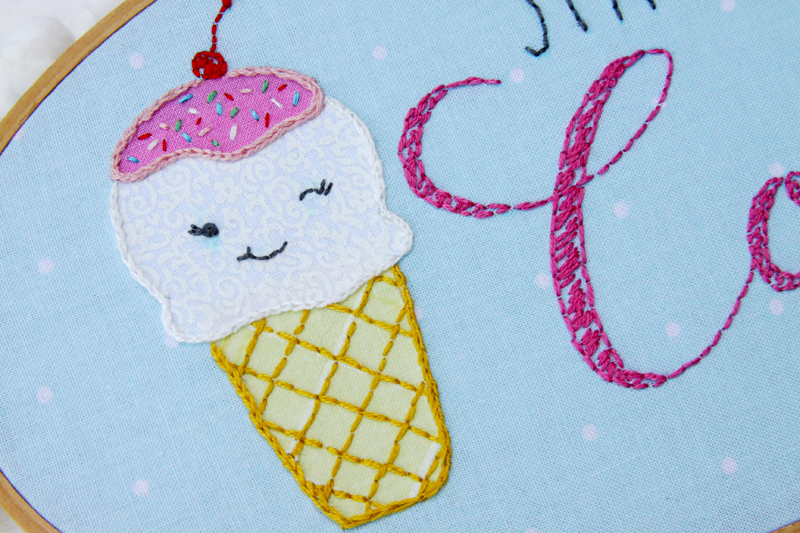
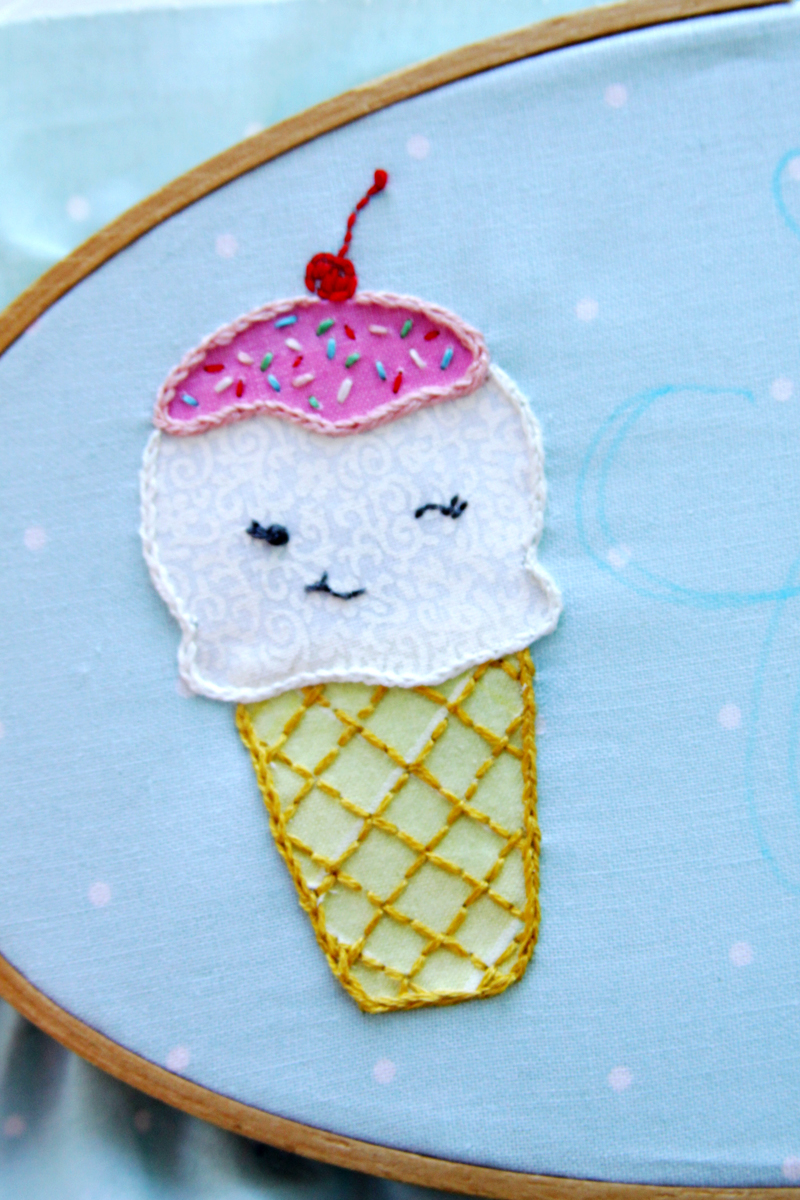
Fuse the ice cream cone onto your base fabric, according to the marked lines. Trace the details onto the fabric, then stitch your cone. Use a back stitch for all the cone lines, smile, winking eye, and cherry. Use a sketchy satin stitch to fill in the cherry and a chain stitch to outline each section of the cone. Finish with a french knot for the other eye and add small eyelashes to each eye. The sprinkles are stitches by using different colors and doing small straight lines. If you need help with the stitches, check out my Embroidery Tips Page.
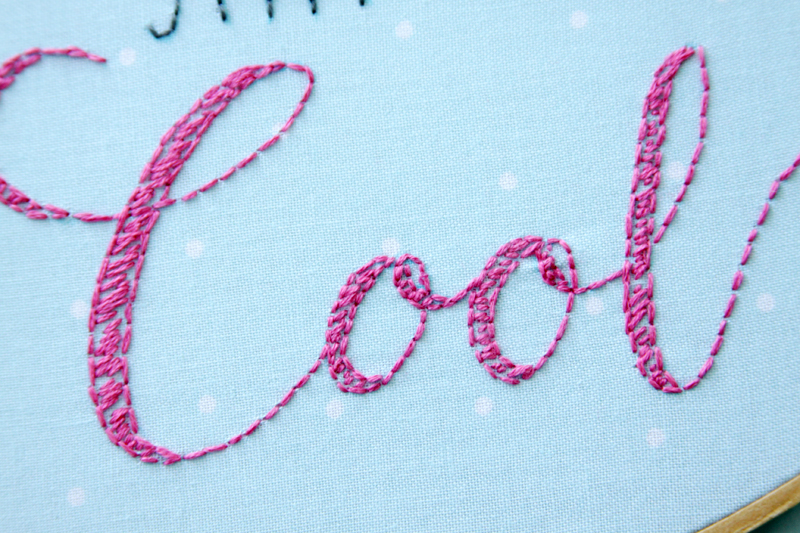
For the lettering, outline everything with a back stitch. Fill in the open sections on the letters with a sketchy back stitch.
Finish the back of your embroidery hoop. If you need help with this click over to Flamingo Toes – I have a detailed tutorial on how to finish the back of embroidery hoop art today!
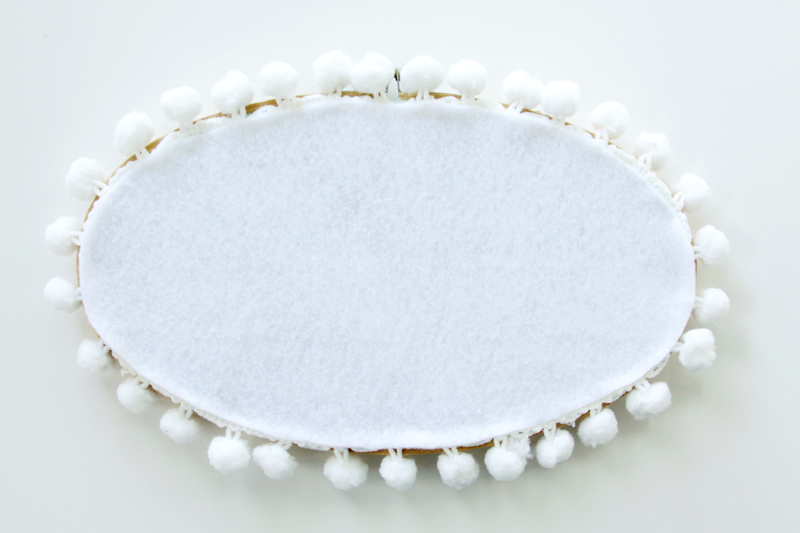
And that is it! You have a cute new hoop art to show off for summer. Ooh – it would be a great gift for a friend that loves ice cream too! Or even just for a friend that is super cool. :)
If you liked this, you might also like
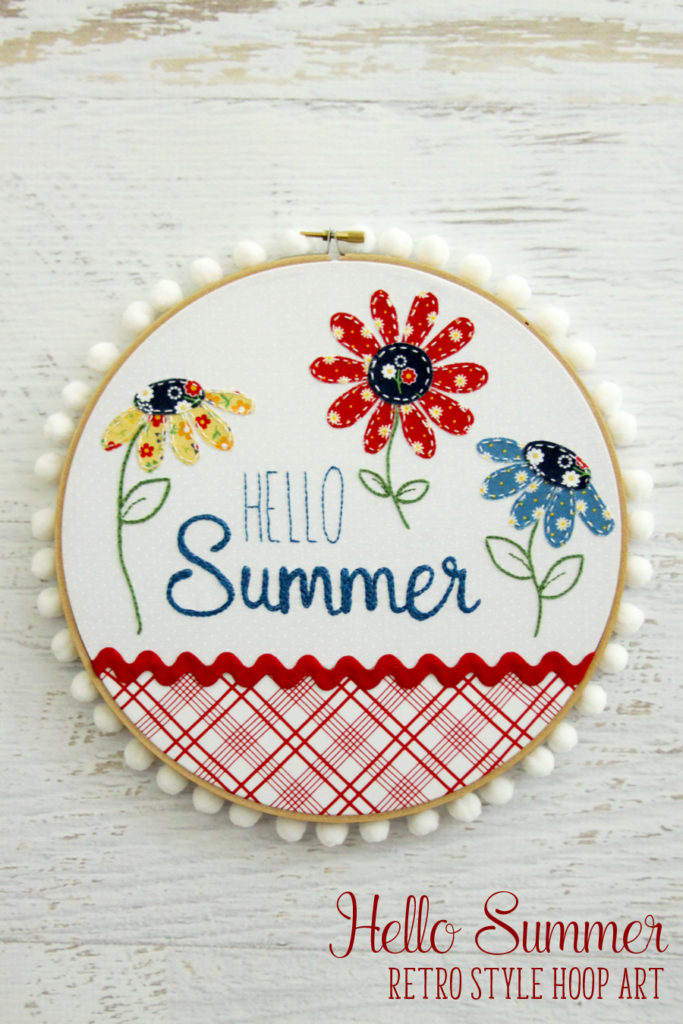
Hello Summer Retro Style Hoop Art
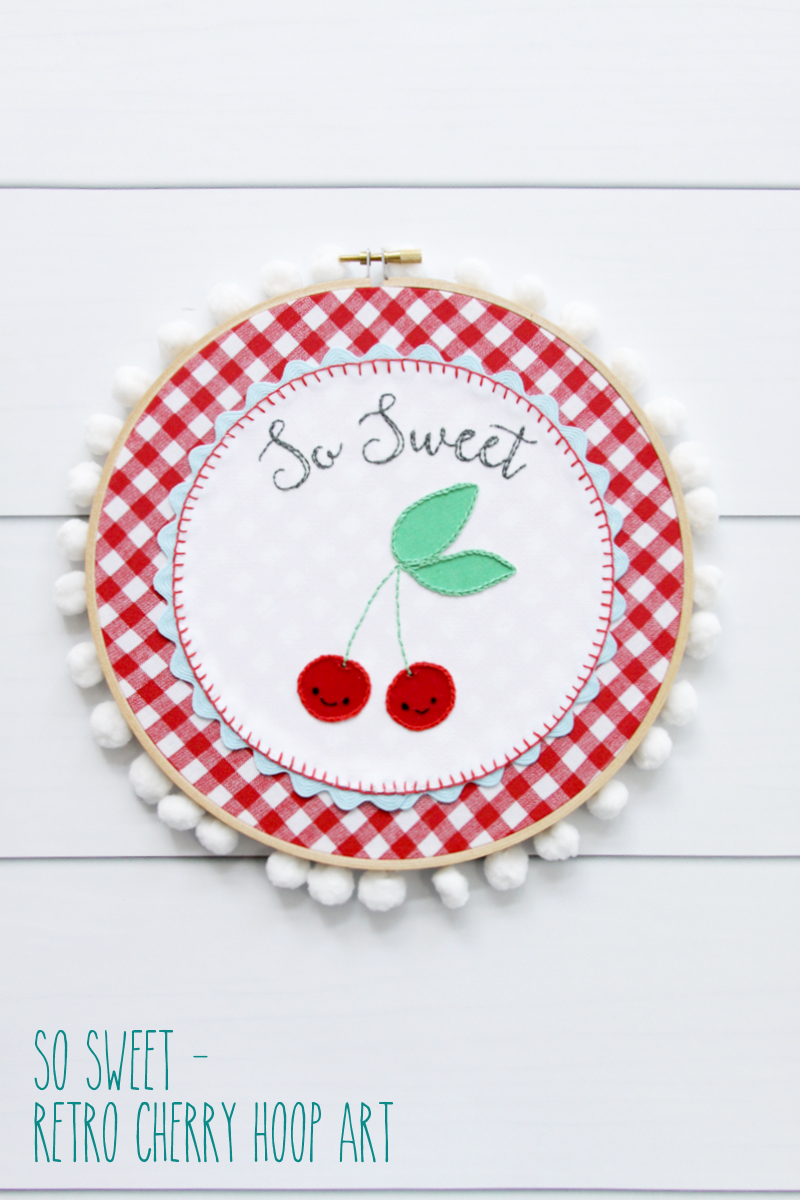
So Sweet Retro Cherry Embroidery Hoop Art


Love it. I am almost done with one huge sewing project, but I think my next one will be something simpler like this one.
This is darling! That little smiling ice cream cone reminds me of a Shopkins character (which my daughter is totally obsessed with right now). Cute, cute, cute. Thanks for sharing at Family Joy Blog Link-Up Party. Hope you are having a great week.