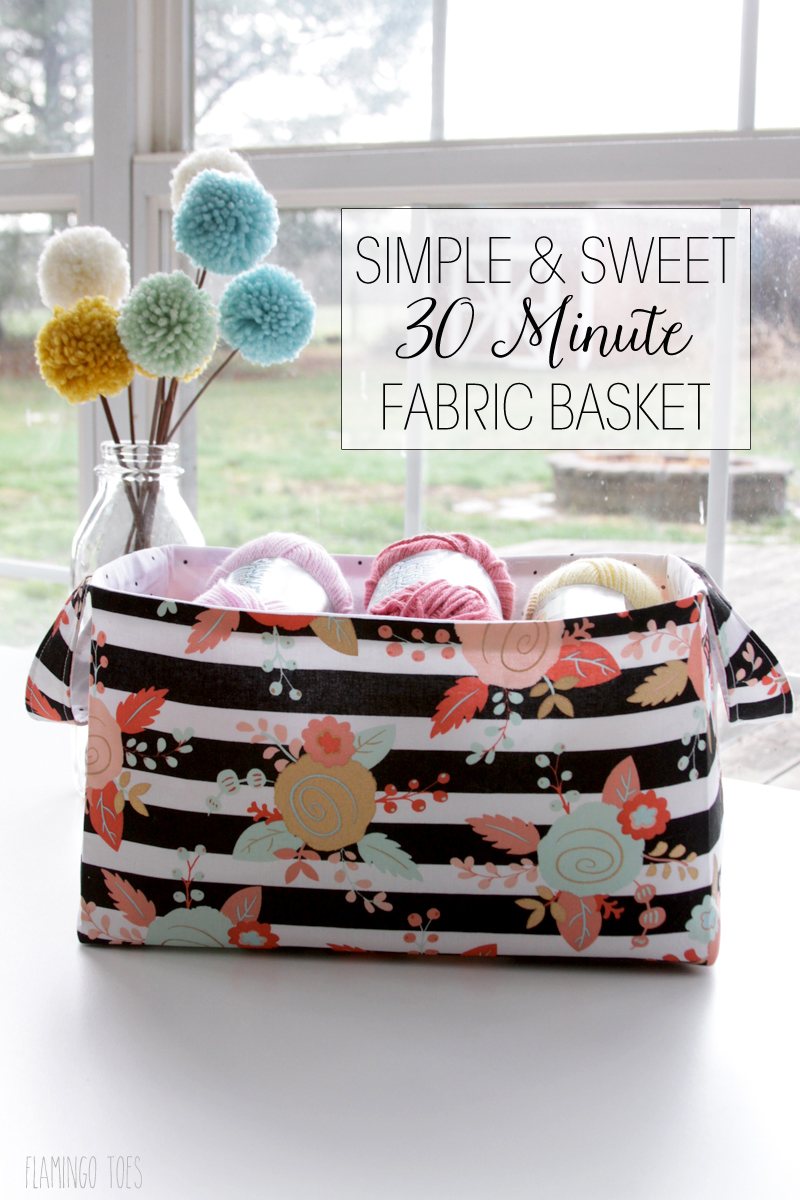
I just love quick and simple sewing projects that are useful, too! This quick and easy DIY fabric storage basket is so fun to make – it goes together in a about a half hour. It can be used to hold so many things too! It would be great for crafts, toys, or so cute in a closet as storage. And since they go together so quick, you can make a whole set in just a few hours.
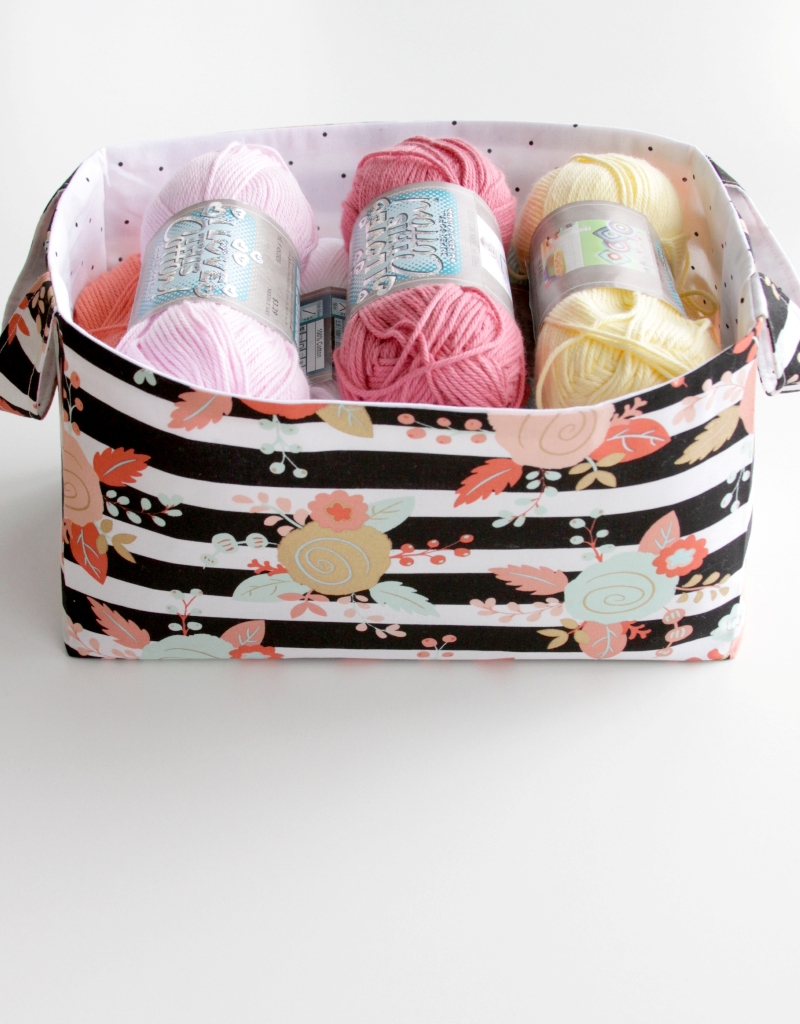
This is perfect for a beginner, too – all you need is basic straight sewing.
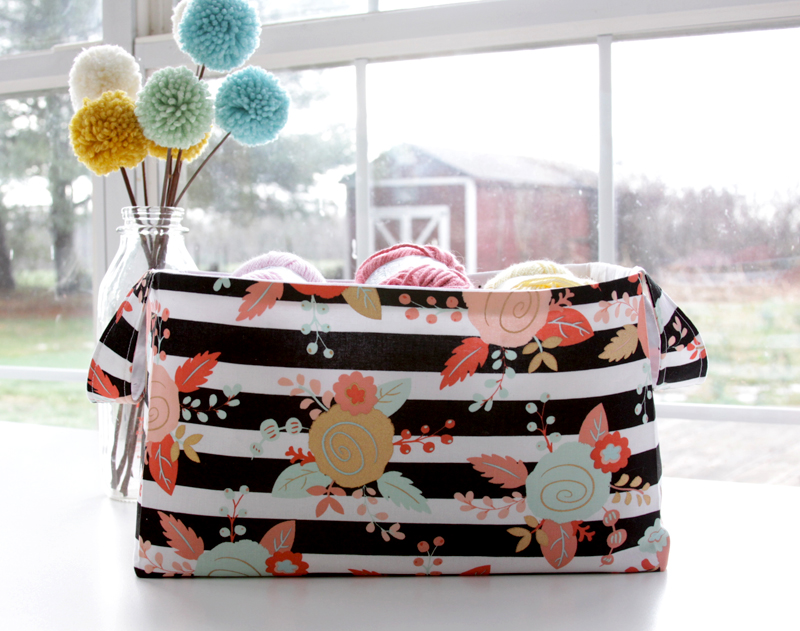
So let’s get started!
DIY Fabric Storage Basket Supplies Needed:
- Outer fabric: 1/3 yard
- Inner fabric: 1/3 yard
- 2/3 yard of Craftfuse fusible interfacing (it’s a heavier weight interfacing so the basket will hold it’s shape)
DIY Fabric Storage Basket Instructions:
Start by cutting out your fabric pieces. Out of each fabric and interfacing you will need two pieces 11″ x 22″. Iron the fusible interfacing to the wrong side of the outer fabric.
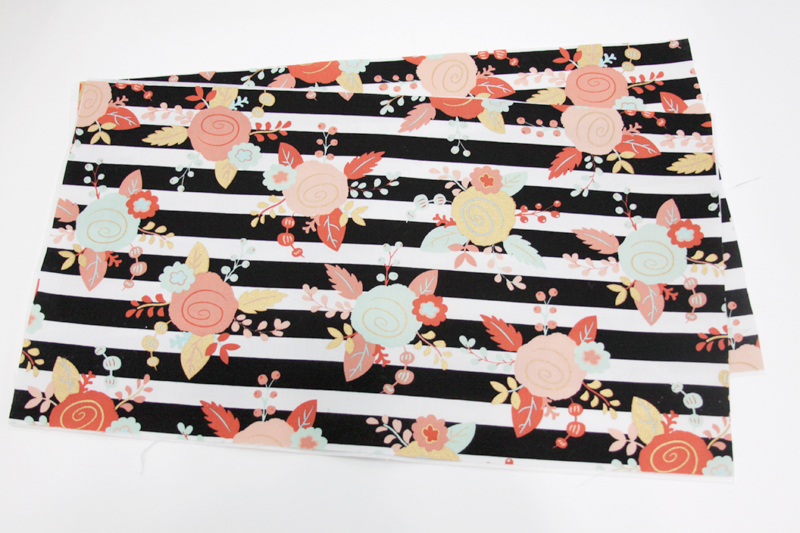
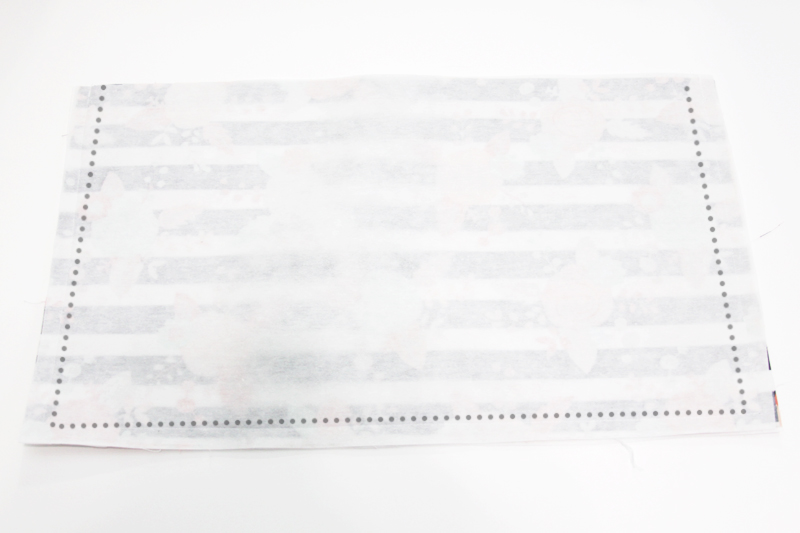
Place the fabrics right side together. Sew around the two sides and bottom of the pieces with a 1/2″ seam allowance. The dotted lines show you where to sew since the seam is hard to see on the interfacing.
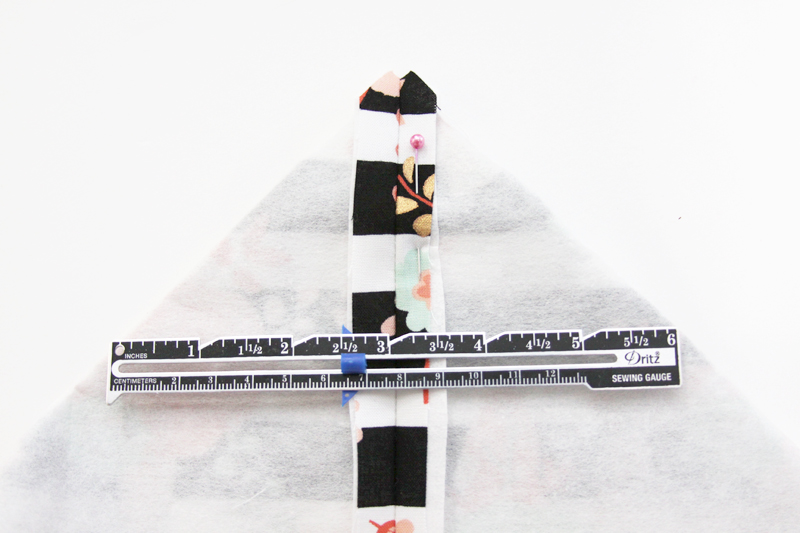
Press the seams open. Make a triangle with the corner edge by bringing the side seam to the bottom seam. Measure and mark a line where the triangle measures 6″. Sew across the triangle.
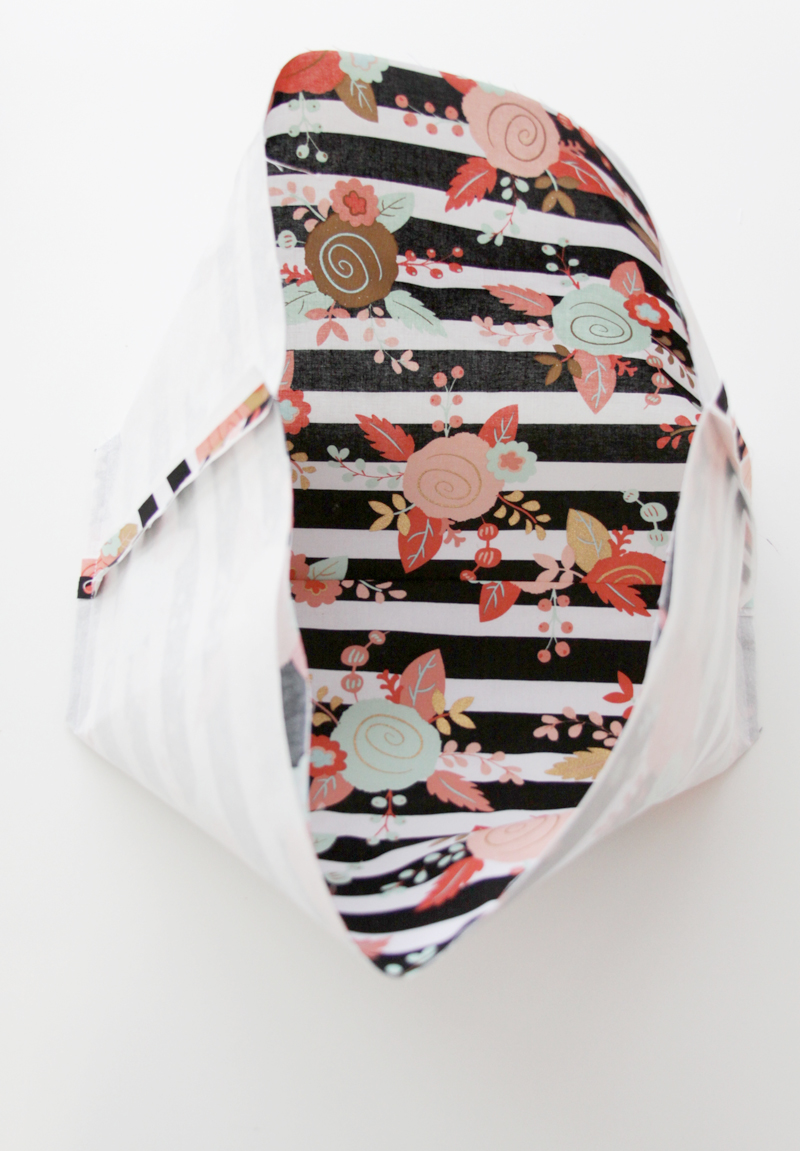
Repeat for the other side. Trim off the corner edge. Now you have the basic shape of the basket. It’s all wilty, but we’ll fix that. :)
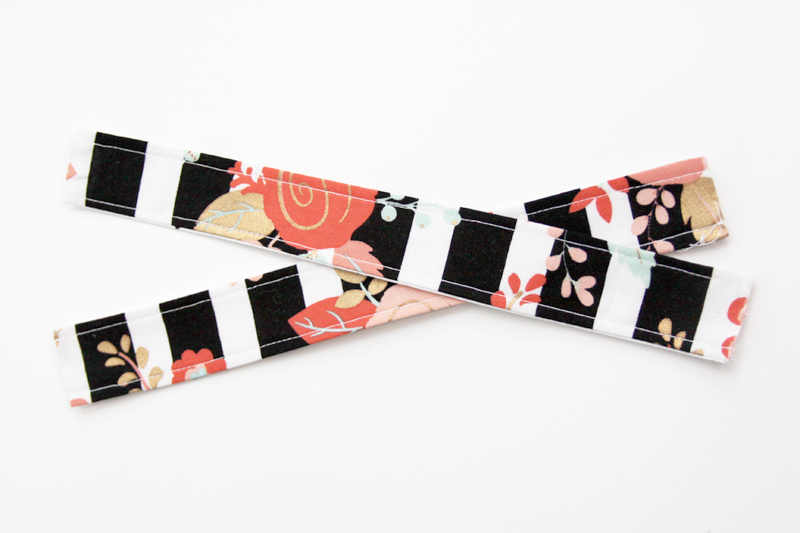
To make the handles, cut 4 pieces 2″ x 10″. Cut the same of interfacing. Press the fusible interfacing to the wrong sides of the fabric. Place two pieces right sides together and sew the long edges with a 1/2″ seam allowance. Turn the handle right side out and press, then sew along each edge 1/4″ from the seam. Repeat for the other handle. You could change things up here and add different fabric for handles – or even leather!
Place the handle so the raw ends line up with the top edge. Each side of the handle should be 2″ from the center seam. Sew the top edge of the handles to the basket with a 1/4″ seam.
Sew the lining together just like you did the main fabric, but on the bottom side leave an opening 3″ long. Sew the corners and trim the triangles as well.
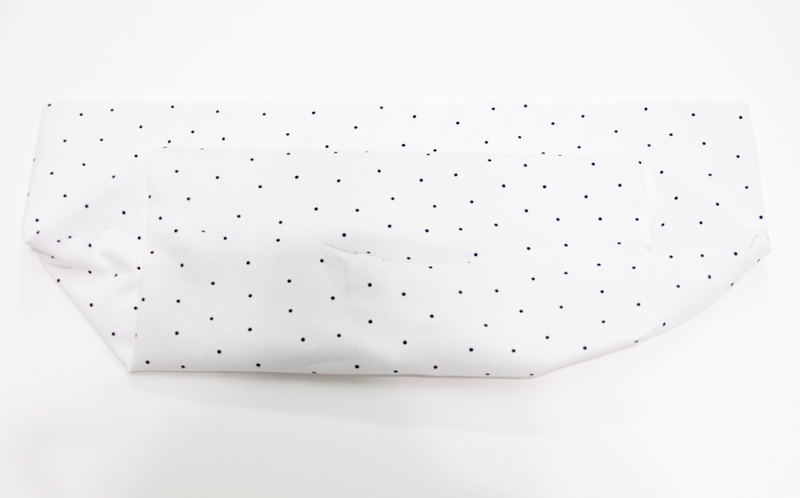
Turn the outer fabric right side out and place it inside the lining, so the right sides are together. Sew around the top edge.
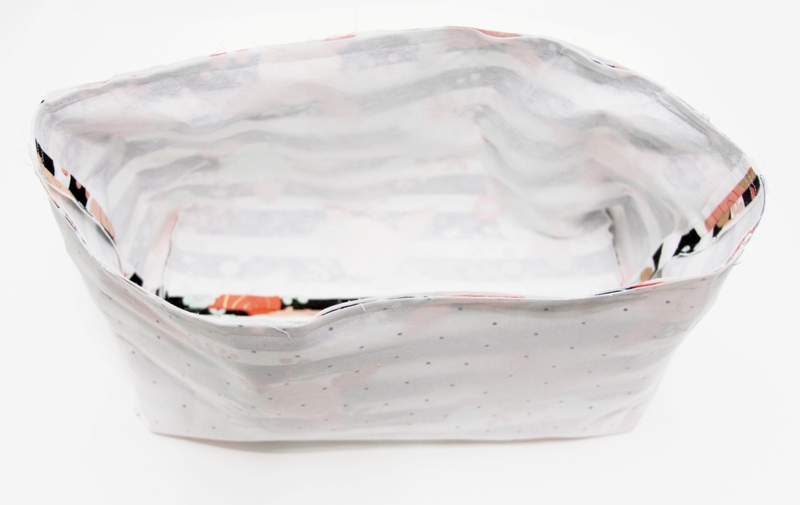
Turn the basket right side out through the opening in the lining. Press the basket so the seams all look nice. If you want a loose rounded shape, leave the basket the way it is. If you want a more crisp corner, press the corner and base in place.
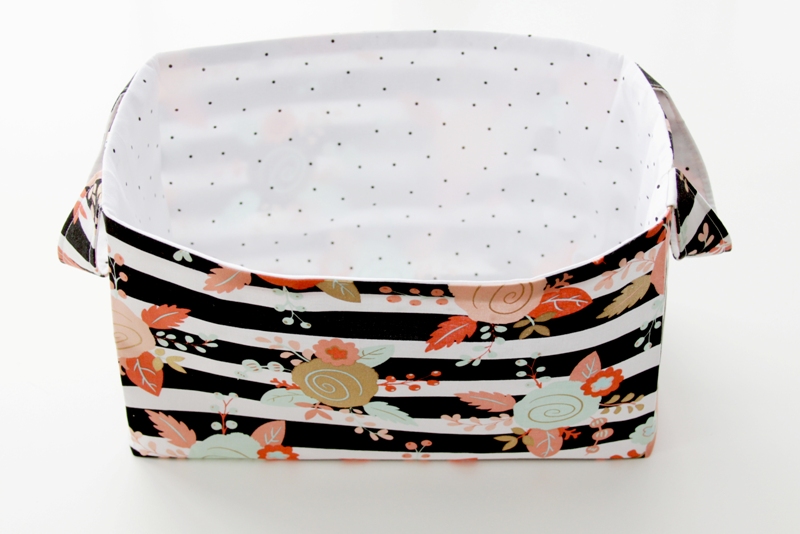
So fun right? That’s all there is to it! Now you can get your things all organized in cute fabric baskets. They’d be great gifts too!
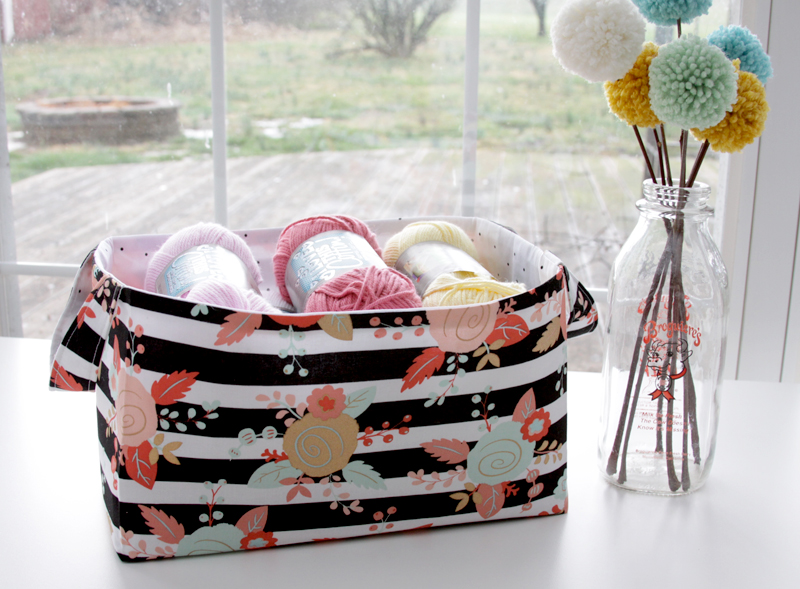
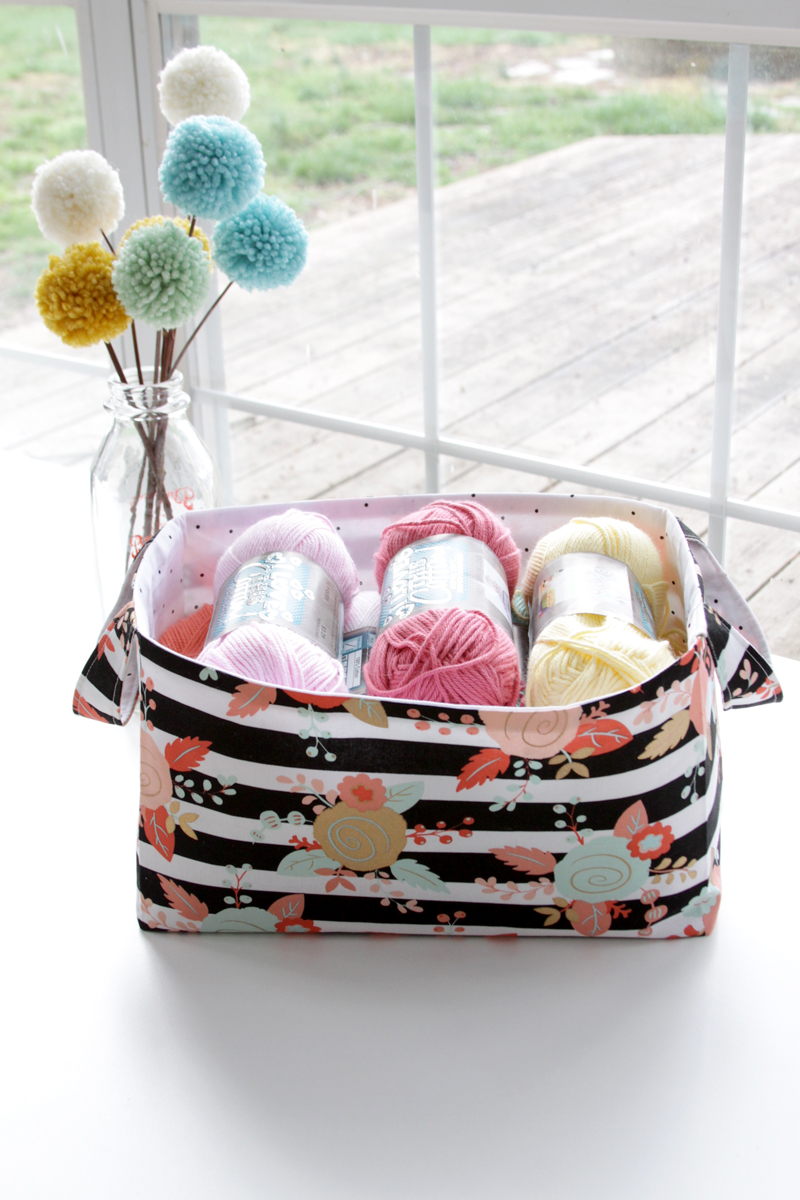
I need to make up a few more! And I’d love to see photos if you make up your own DIY fabric storage basket too!
You may also like
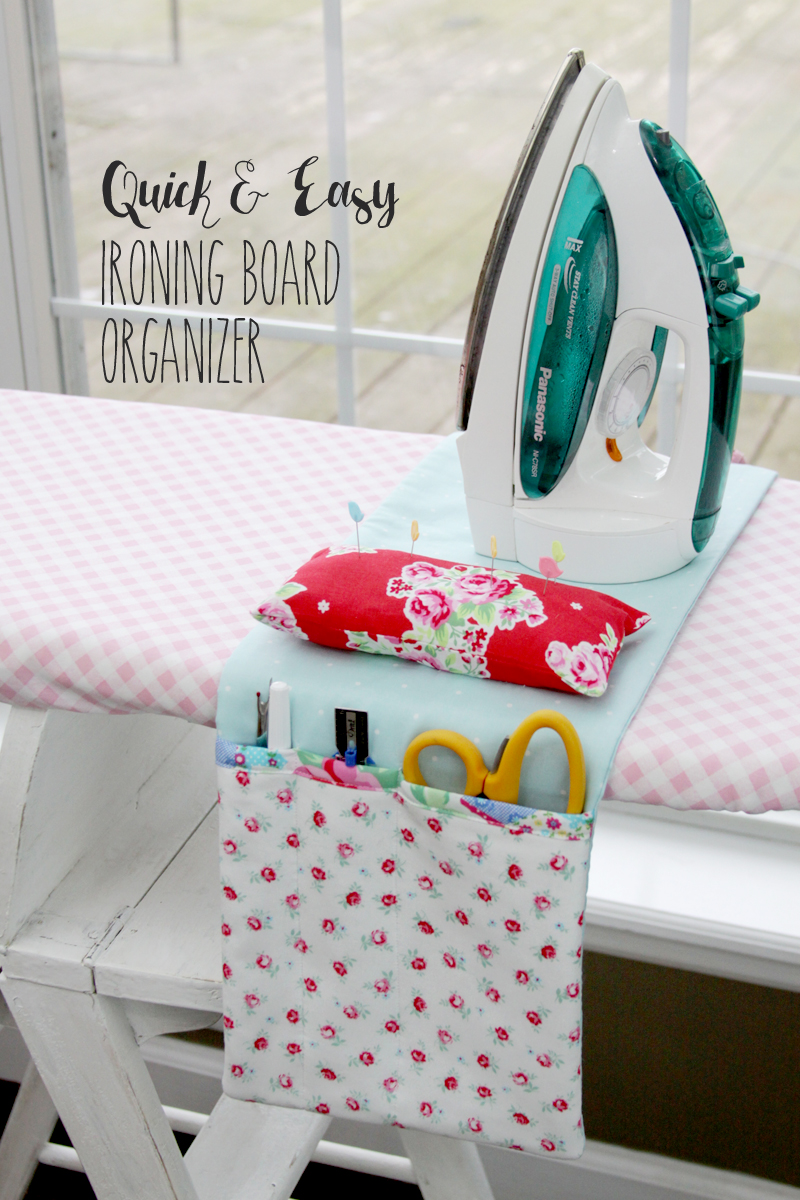
Easy DIY Ironing Board Organizer
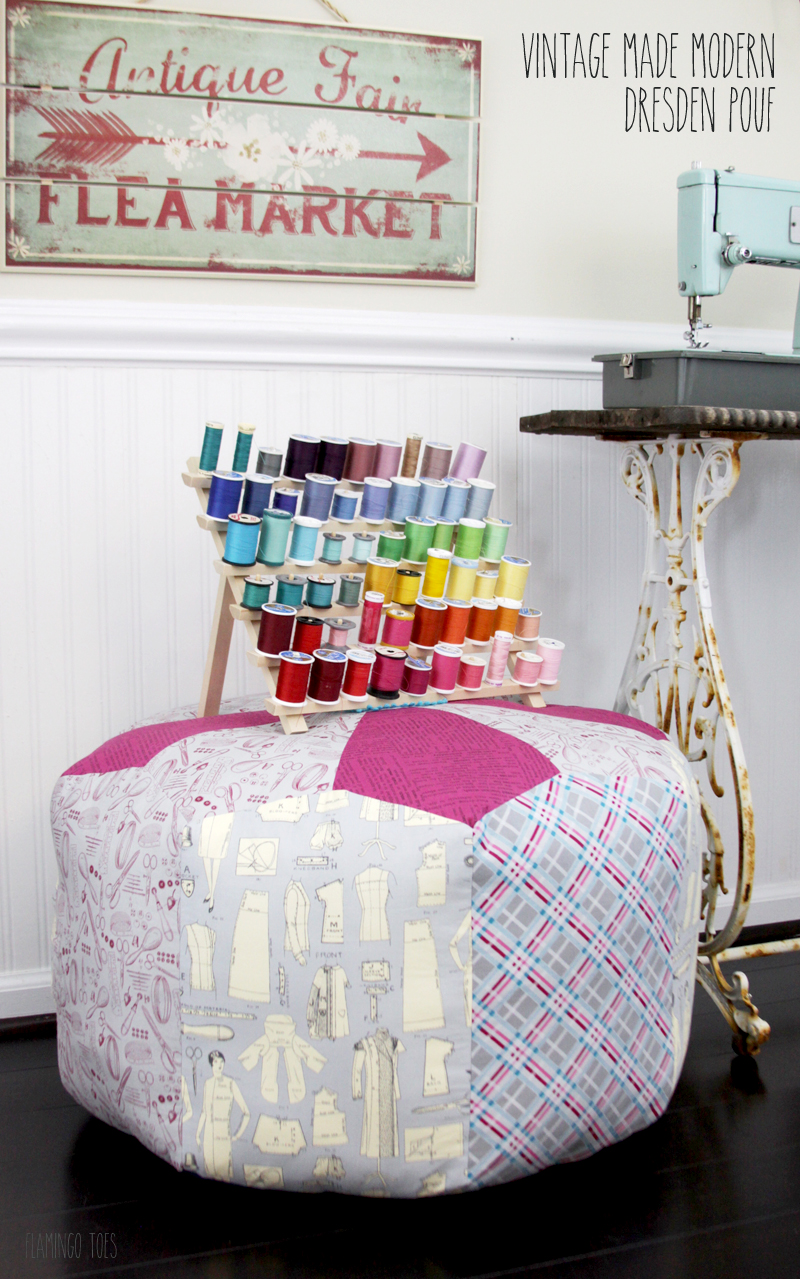
Vintage Made Modern Dresden Pouf


So cute! I love it! Thank You for the tutorial.
I love the fabric you used. What is the name of this cute fabric? I have to have some.
Thank you, Bev. I will be making some of these pretty and easy baskets. Wish I
had some of the same fabric you used, so pretty! Thanks again for another great tutorial .
Thanks Trish! The fabric is from Hobby Lobby! I just fell in love with it!
Beverly, I was surprised to see this fabric was from Hobby Lobby. Have you had good luck with fabric from there? I have been hesitant to purchase fabric there.
My daughter buys fabric from there all the time. Never had a problem with it.
Beautiful basket! Don’t forget the step of stitching the opening in the lining closed after turning it right side out and before pressing it all :)
Ha Terri! Thanks for catching that! I’ll make sure to add that in!
That is the cutest basket!! I’ve got a Craft Gossip post scheduled for Friday afternoon that features your tutorial: http://sewing.craftgossip.com/?p=88335 –Anne
Thank you so much Anne! ❤
Bev,
Is there a printable copy of your design, as I would like to make this with my 12 year old neice.
Love all your ideas
Yasmin UK
I need to print the instructions.
Maybe I missed something obvious. It looks like you added the interfacing to the wrong side of the first fabric. Is it added to both of those pieces? I’m not visualizing this well. Thanks, kj
Never mind, I missed the first part of the tutorial. Hope to make one soon.
cutest basket ever
How did you make the pom pom on sticks?
This is the cutest! Love the fabric also. I’ll be making this soon, thank you for the instructions. I’ll try to post my finished project.
Very cute basket. I love it when people sew
These days. Trisha Jane patterns.
These baskets are darling. I can’t wait to make some for my daughter’s bedroom. Great step by step tutorial too. Thank you for sharing on Family Joy Blog Link-Up Party. Have a great week!
Now that’s fast and easy! And best of all, it doesn’t look like that, it looks great and you can easily make different looking bags by changing the size and the fabric.
Super cute! And the instructions are easy to follow. Thanks for sharing; I found this on #FoodieFriDIY! Pinning!
These baskets are adorable. I can’t wait to make a couple. Thanks for the tutorial.
Thanks for sharing at Turn It Up Tuesday,
Bev
This is so pretty…I love the pattern you chose! Thanks so much for sharing your project with us at Share The Wealth Sunday!
Thanks for sharing this wonderful creation with Turn It Up Tuesday. I love it. Voted as my favorite for this week’s party!!
That is just fabulous! I feel a sew-a-thon coming on! Mimi xxx
How cute is that?? Thank you for sharing #HomeMattersParty
This basket is so cute ! The fabric is so Mary Englebreit looking ! I think I may have to make some of these for my craft room ! Thanks for sharing.
Hi Bev. Today my 9 year-old granddaughter came over for a “sewing day”. I decided we’d make your fabric basket. I felt it was the perfect “first project” for her to learn how to use her new sewing machine. First we went shopping for the fabric. She got 1/3 yd of two fabrics and I decided to make mine without contrast so I got 2/3 of a yd and we bought 2 yds of Craft-Ease (thinking I would have enough to make a few other baskets. Then I started reading the instructions and cutting out the interfacing. The Craft-Ease I got was only a little over 20″ wide so because the instructions said I’d need 2 pieces, 11″ x 22″, I had to cut into the length, which meant for the two baskets I used most of the 2 yds.
1/3 of a yd of fabric is 12″ by width of fabric, which in my case was approximately 42 inches. I must be missing something because the instructions say to cut 2 pieces 11″ x 22″. There wasn’t a way I could figure to get all the pieces cut from that 12″ piece of fabric. All in all I made modifications to the size and we ended up both finishing our baskets. My granddaughter was happy that she went home with a completed project. I’m sure I’m missing something so can you help me to understand it? I read all the comments but it seems that everyone loves the basket but nobody seems to have tried making it yet. Thanks!
Thank you for sharing this as I just stumbled upon the tutorial. A shame you haven’t received a reply. I hope you do!
I just made this, and the tutorial is great – it’s clear and easy to follow. However, I agree the measurements may be misstated. 22 inches seems to be too long. The sides of my basket flop out (even though I ironed the creases in the bottom and the sides. There are no final basket measurements listed in tutorial, and mine is 14 inches long, 6 inches wide and 7 inches tall. I think I would have liked it better had I cut the fabric 16 or 18 inches. Thank you for the tutorial, Bev! I will make more, adjust the measurements :)
Most fabric is at least 44/45” width, so the 22” length should work for most fabric. So sorry you had that confusion. But I am so glad to have the final basket measurements! I want a smaller basket, so I know to cut smaller dimensions. Thank you!
What is the name/designer, company of that great fabric you used for your tutorial? So cute
I saw this featured in a blog link up and I had to come see. I love these little baskets. I’m already thinking of what I will do with the ones I make!
I was working on this project and two of my needles broke while stitching the two layers (with the handles in between) together. I was wondering if there is a certain needles type used so when I pick up replacements I can get the correct size. Great project and I look forward to finishing it!
Absolutely love the basket. Very good instructions also. Thank you for sharing this with us.
Me gusta mucho tu idea este cestito me ira muy bien para mis hilos de ganchillo y la bores muchas gracias por acojerme en tu grupo
Hi! Love this basket, the fabric and tutorial! I didn’t see anywhere where it said the finished size? Can you let me know? Thanks!
Hi Bev, I enjoyed visiting your Blog today: such gorgeous fabrics and vintage craft projects make me swoon. I’d love to make some of these fabric baskets for my daughter pretty Shabby chic bedroom one day, they look like about my ability level when it comes to sewing. I can’t tackle anything too complicated :) http://mylifeinstep.com/girls-bedroom-reveal-pretty-vintage-shabby-chic/
Bev
Alternate way to make the ‘box’ shape for the basket. May be more difficult to people not used to sewing but wanted to share with you:
Another way to make the corners on bottom of the basket. Cut a square on the bottom of both front and back pieces that is 1/2 the width needed for the ‘sides.’ In your case cut a square at the bottom ends 3 inches each on the left and right sides of both pieces. (can cut both pieces together for outside and lining. Likewise for the interfacing. Then sew the side seams of the 2 outside fabric and also the bottom pieces together. With right sides together match up the center of the bottom seams at the ends on each side with the center of the side seams and pin if you like. Then sew across the 6 inches on each side. A picture would help but I have seen this idea somewhere and share with others.
Nice project. Kareen
I love this…could you please tell me the finished dimensions of this basket?
Thanks!
How do you turn the handles right side out? Using a 1/2″ seam allowance does not leave a lot of room to turn them around. I am going to take my seams out and use 1/4″. With the 2 layers of interfacing it is almost impossible to turn them. I’m not even sure my change will work. Making a basket to hold all the dog toys.
Sue, my understanding about the handles is to layer your pieces right sides together and stitch up one side. Then you turn your pieces right side out and pin the other side and press. Then you can stitch up the other side. This eliminates the process of having to turn your handles. Wish I had thought of this a long time ago. Turning handles isn’t fun at all! Good luck.
Kris, outdoor you send a pic of of your tip here? I cannot visiulize it-
Thanks
I am a little confused. Do you use the interfacing on the inside fabric, also?
Not necessary for the lining. In the paragraph after the list of materials, the instructions note it’s only for the outer fabric and later it’s used for the handles.
THANK YOU, Kris, for that explanation!!! That will be a great idea if I make another one. Turning it right side out with interfacing and 1/2 inch seam allowance took my husband and I about 45 frustrating minutes. I think the basket is going to end up really cute though – quitting for tonight.
Hi Bev, I am making your lovely basket for a friend who is due to have a baby in June. I plan to fill it with lots of lovely baby items. Please can you tell me if used interfacing on the lining fabric befor,e the final sewing of the basket together. I know you state to make the lining as we did in the outer fabric assembly but in the pictures i cannot work out if the interfacing was used again.
Thanks for your help and for an easy tutorial. X
WOw!, I am ready to make a couple for my craft fair. I would love to know of how to display them as well as ready them for a bag to sell.
Thanks, I really love the whole idea and fabric.
Thanks so much for sharing
Very cute! Are these washable?
If you select washable fabric, you should be able to wash the basket on a gentle setting on the washing machine then let it air dry by setting it out as it would be when in use (in other words, don’t just toss somewhere or hang it on a line to dry.
I love this pattern with one exception and that is a lid or cover to keep the contents dust free! It could be an
attached flap over of the same fabric. Do you have any other ideas?
I could use a small collection of these! Such a great diy idea! Thank you for linking up with Merry Monday; I’ll be featuring your fabric basket at our upcoming party. I hope you’ll stop by and link up again!
Love this. One of the better fabric basket tutorials I’ve seen.
#creativemonday
Katelynn, hampersandhiccups.com
Thanks for sharing at Inspire Me Monday. I wanted to let you know that you are one of my featured links this week. Come by and check it out at https://www.farmhouse40.com/inspire-me-monday-162
Your basket was my feature at Totally Terrific Tuesday this week! Thank you for linking up with us.
I used foam interfacing so I am using a drop in liner instead. Thanks for the tutorial. It is so easy to understand & I so appreciate that. Adorable basket!!
Cheryl
These look so cute, I have a baby shower gift to make and this looks adorable with diapers in it. Thank you for the pattern!
I found your tutorial on Pinterest and gave it a shot today. First time ever trying something like this! It was easy to follow for a first timer and I think my basket turned out pretty cute! Thank for you posting!
I am trying to make this right now and I’ve screwed something up. Do you have a video or something? When I turn the basket right side out it the top is sewn down. I clearly messed up where you say to make a triangle by folding the side seam down to the bottom. Help!
I love the bag and have just finished making one for my friends grandson to store his toy cars. I think it would have been much easier for a beginner if you had given more precise instructions on how to sew the handles as it is not very clear and I think if they were a tiny bit longer they could have a good 1/2″ inside the bag to give it that bit more strength. I also can’t see the size of the finished bag even though many have asked. As it only takes you 30 mins it might have been nice if you had a video link to show people how to do this. I am lucky as I have made reversible bags before so know the basics but he handles did confuse me for quite a while. I also finished my bag off with a bit of sewing on the top edge. Sounds like all I have done is complained but the bag is fabulous and I love it and now I have sorted the issue with the handles by making the outside fabric handle face the outside of the bag then sewed it so it popped out when you add the lining and pull it through I am good to go with more. Thank you for showing us this.
Hello…love this bin! Thanks so much for sharing! Do you happen to have the finished dimensions? I want to make some for a bookshelf I have and am not sure if they’ll fit. It looks pretty easy to adjust the size but I’m just curious what they ended up at first. Thanks!
I love the idea of these baskets! i can store some things in there and i am going to make it a scrap basket for my scrab fabrics! havent tried it yet but looks pretty easy.