This post is a partnership with Nancy’s Notions. All opinions and ideas are my own.
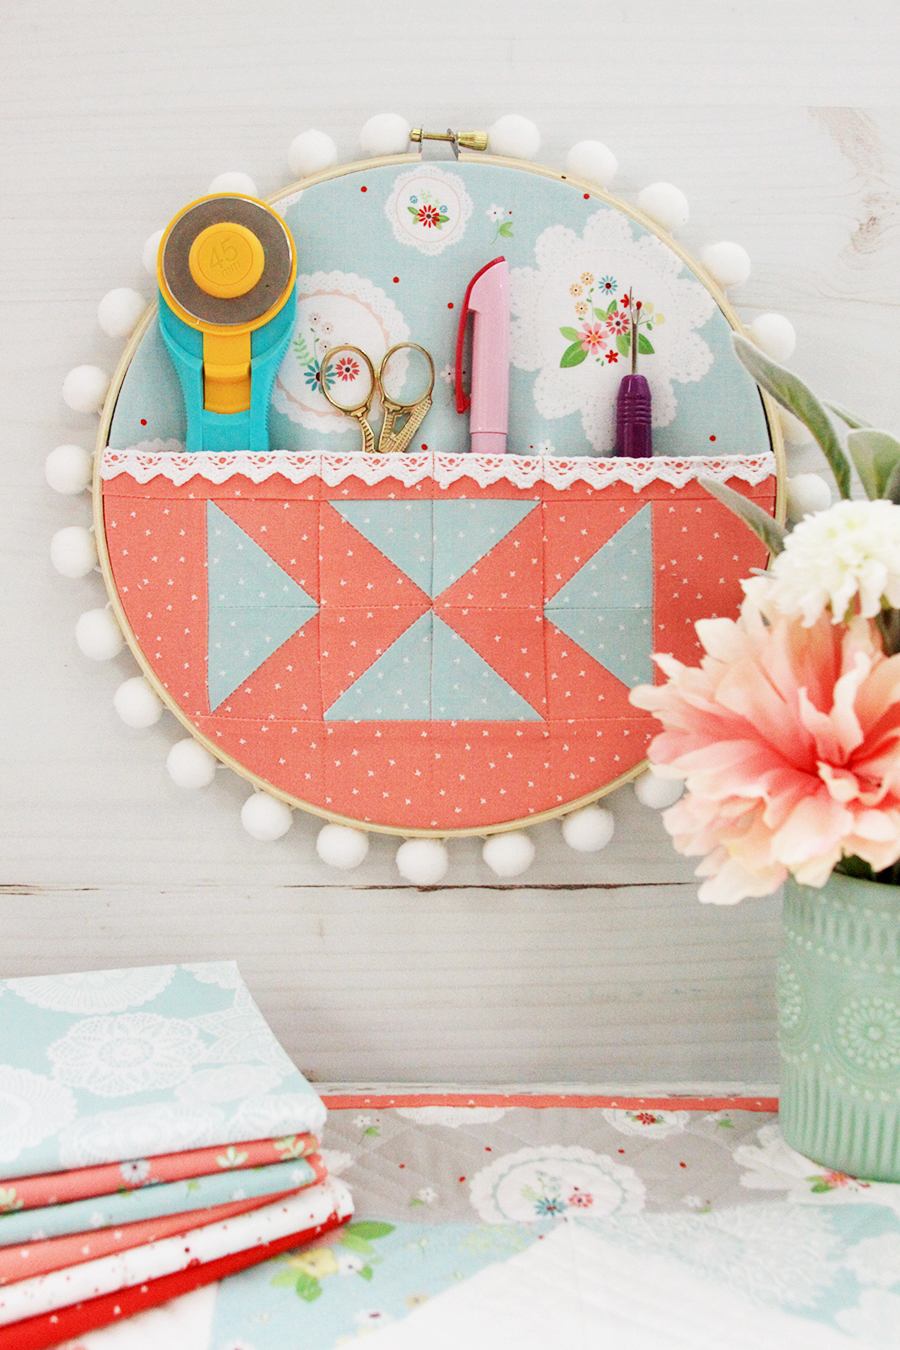
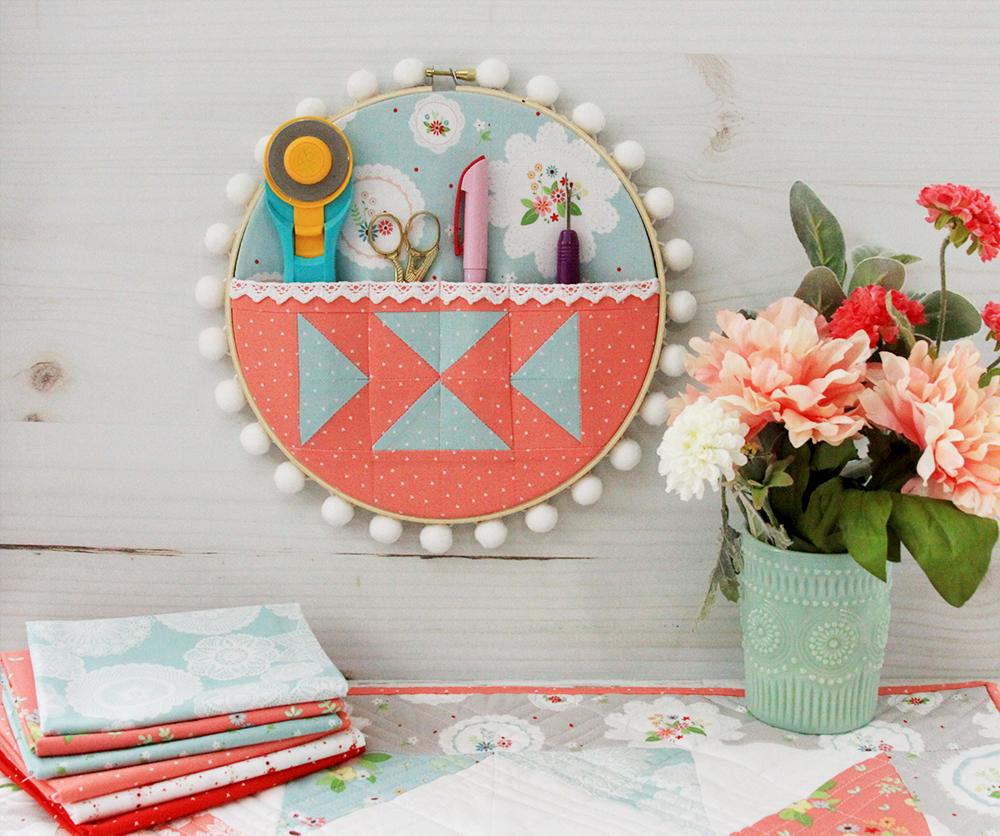
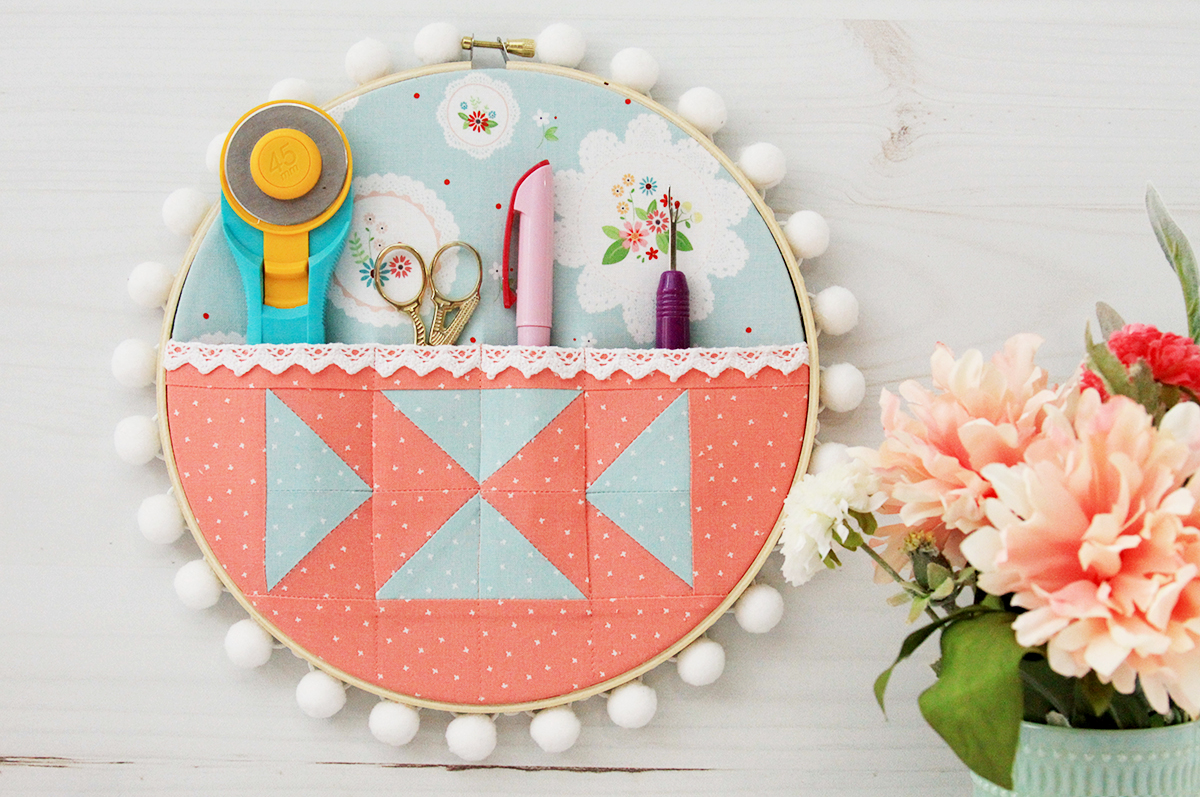
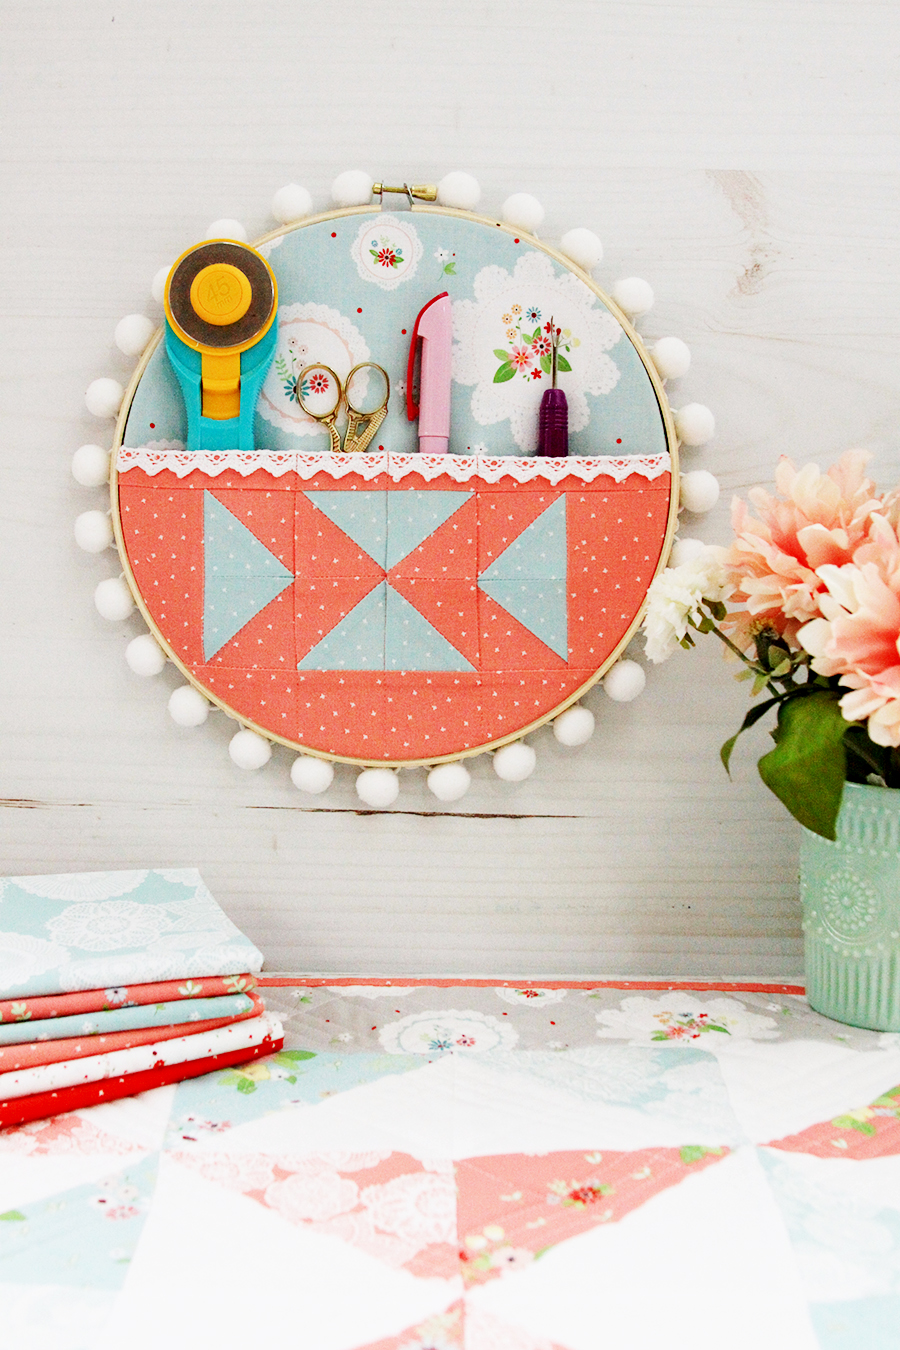
I just love working with embroidery hoops – they are perfect as frames for embroidery projects, but they can also be so fun for displaying artwork, holding pretty crochet doilies or as an organizer like this Quilt Supplies Organizer Embroidery Hoop! This is a simple and quick project that you can have a lot of fun with! The quilted section in the middle uses 8 half square triangles and there are so many cute ways to put those together.
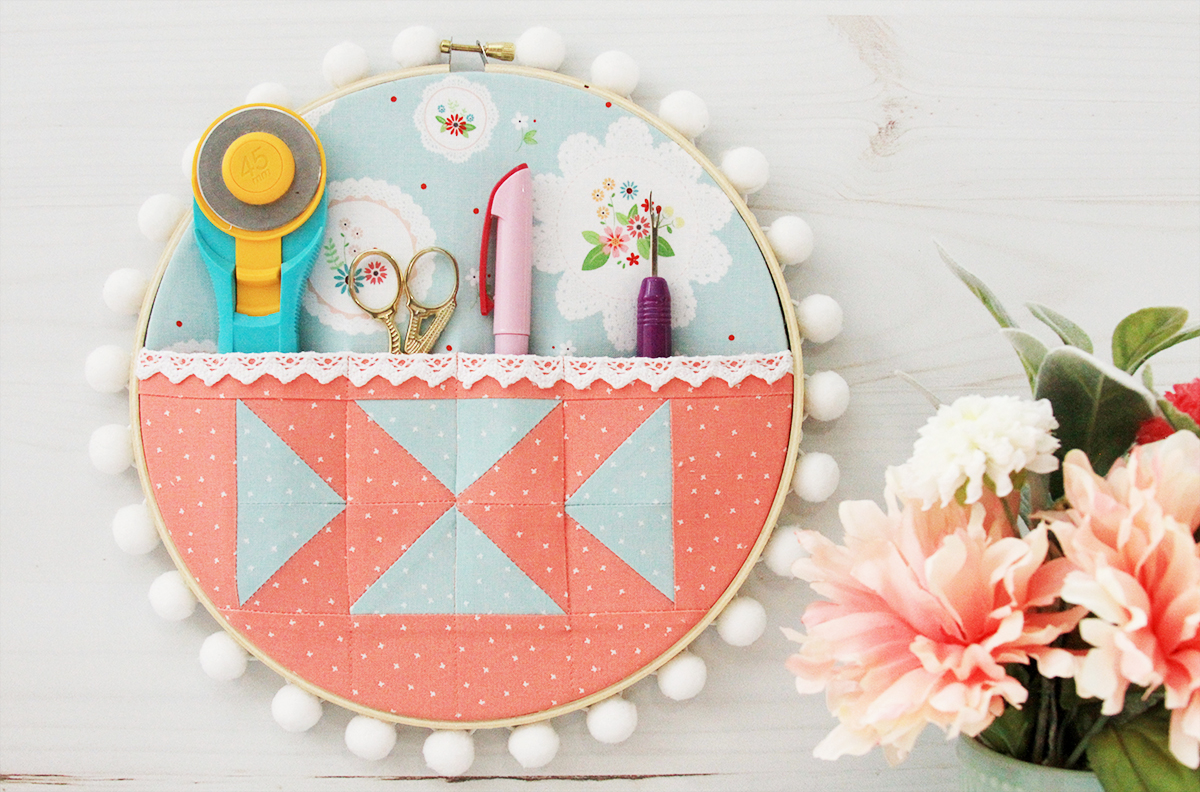
I did an arrows design but it would be so fun with a little chevron shape or diamonds too! I love how it looks made up in my Vintage Keepsakes fabric – I just had to add a touch of lace to the top edge of the pocket too. And of course pom poms – because that’s what I roll. But I think it would be gorgeous with modern fabrics or batiks with stain on the embroidery hoop! So many options.
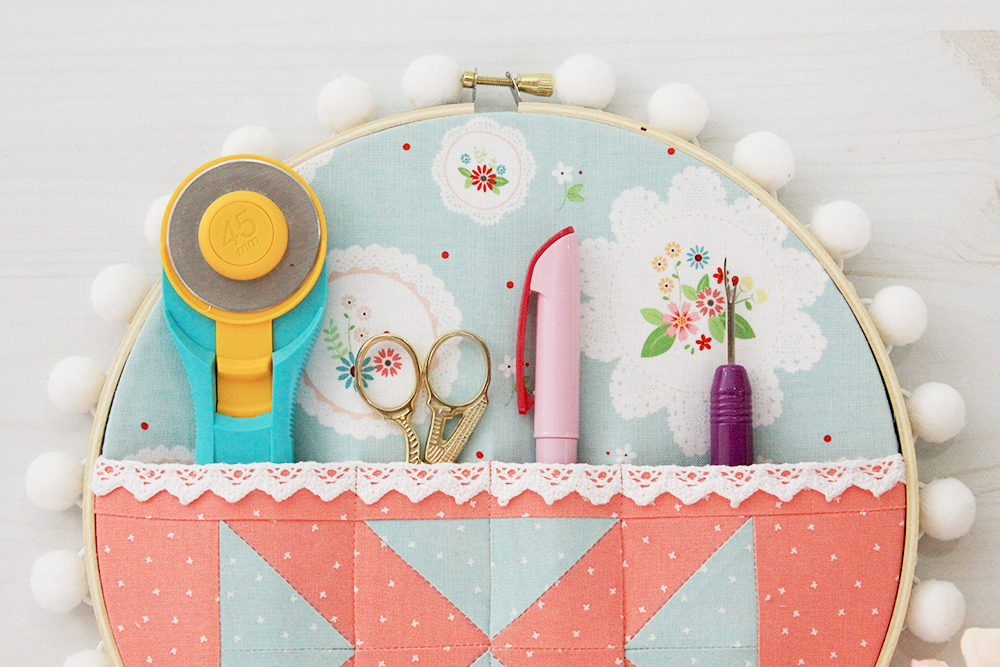
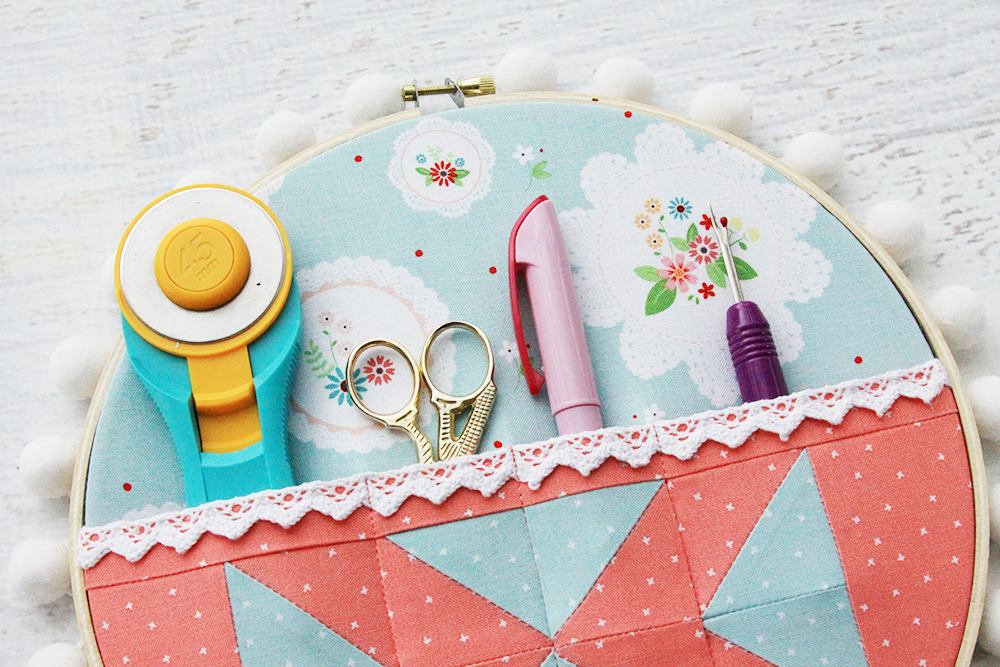
The pocket holds a few small tools – I put in the ones I use most when sewing. That way this can hang right by my machine and keep my desk tidier! (Note – I didn’t say completely tidy – because that’s not how I roll.) :)
So let’s get started!
Quilt Supplies Organizer Embroidery Hoop
Materials:
- Easy Half Square Triangles template from Nancy’s Notions
- Three different print fabrics – I used Vintage Keepsakes Main Doily Aqua (12″ x 12″), Cross Stitch Pink (1/3 yard) and Cross Stitch Aqua (5″ x 5″)
- For highlight color in piecing, Cut from the Cross Stitch Aqua – 5″ square
- For main color of pocket, Cut from the Cross Stitch Pink – 5″ square, 2 pieces 3 1/2″ x 4″, 1 piece 1 1/2″ x 12″, 1 piece 4″ x 12″, one piece 12″ x 12″
- For background fabric, Cut from Main Doily – 12″ x 12″ square
- 12″ x 20″ piece of lightweight Interfacing
- 9″ embroidery hoop
- Marking Pen
- Glue
- Rotary Cutter
- Rotary Mat
- Optional – 12″ lace trim, 1 yard pom pom trim
For a printable version of this tutorial – click here to visit Nancy’s Notions!
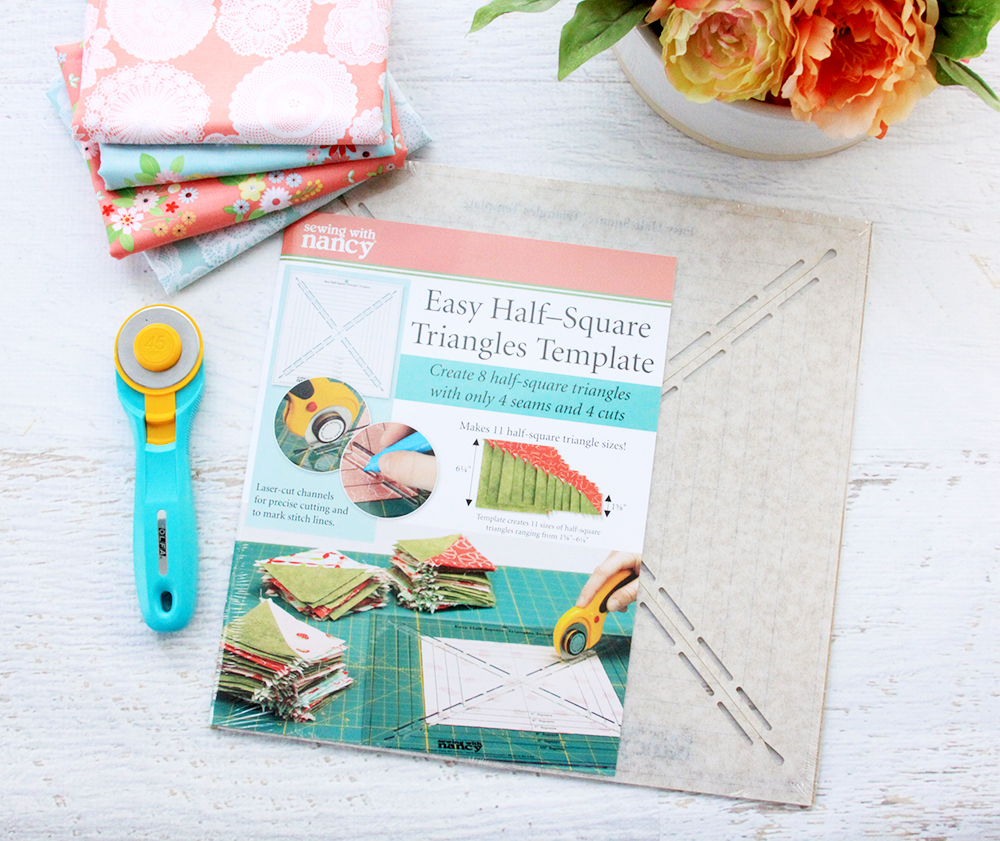
I used the Nancy’s Notions Easy Half-Square Triangles Template for this project! It is such a versatile tool – I made this fun Vintage Paths Mini Quilt with it too! It makes half-square triangles so simple to make.
Start out with your two 5″ fabric squares – place them right sides together. For this hoop we’re going to make eight half square triangles with two 5″ squares. Magical, right?!
Place your squares in the center of the template and mark lines in the diagonal open spaces on the template.
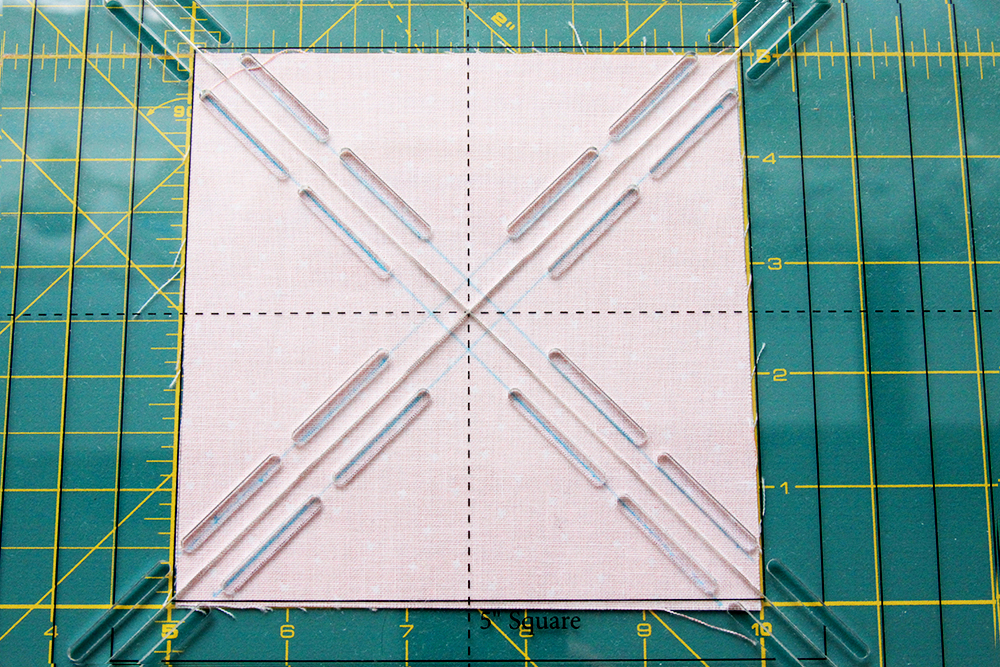
Remove the template and use the edge to draw straight lines over the marked lines. You don’t have to do this, but it does help to make the seams a little more accurate.
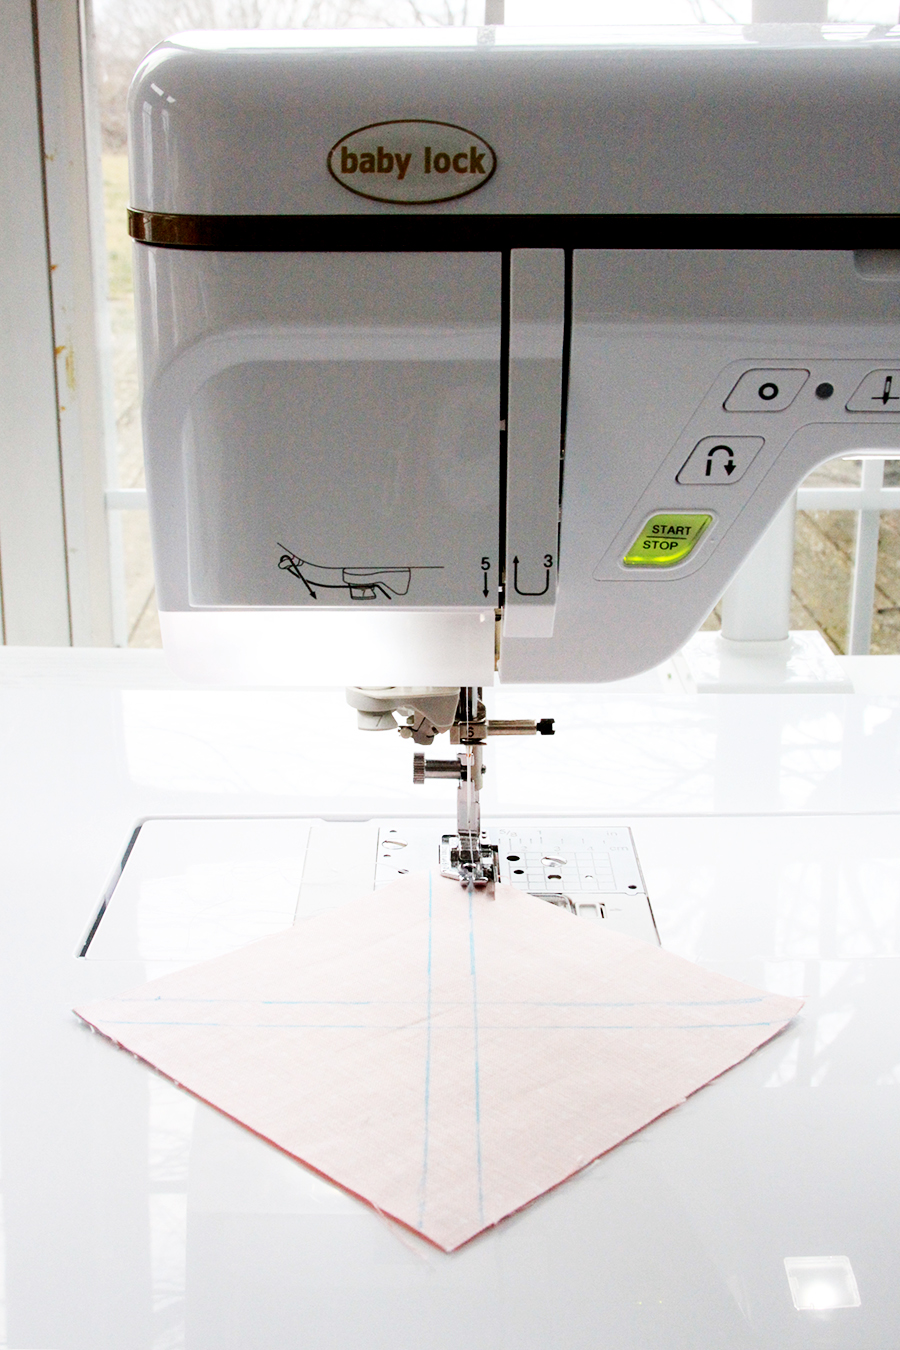
Sew straight lines along each of the marked lines.
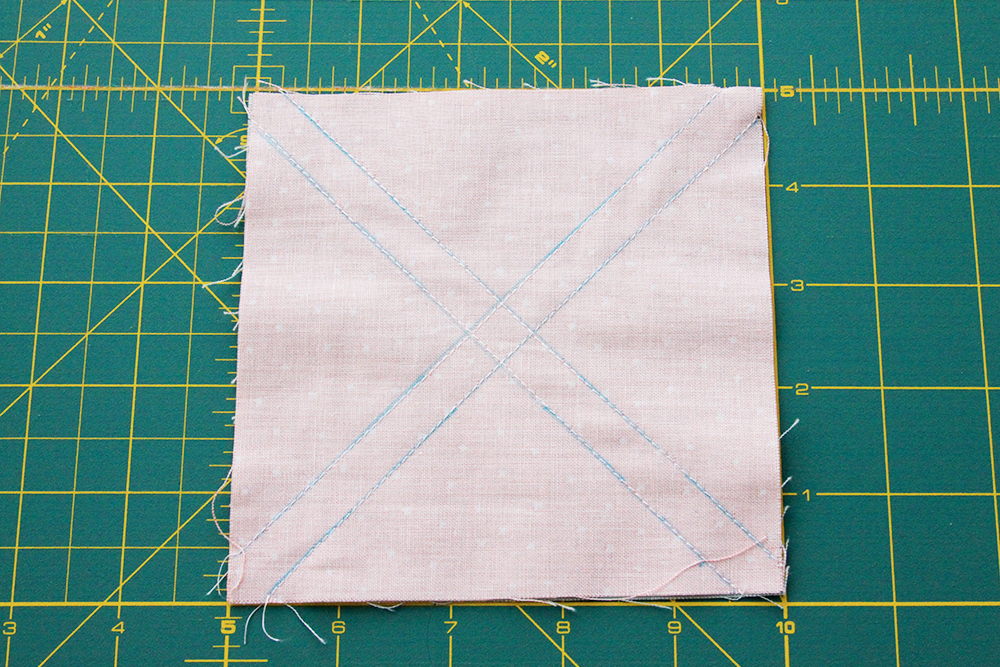
Place the template over the fabric, lining up the seams with the openings in the template. Cut diagonal lines in the fabric using the template.
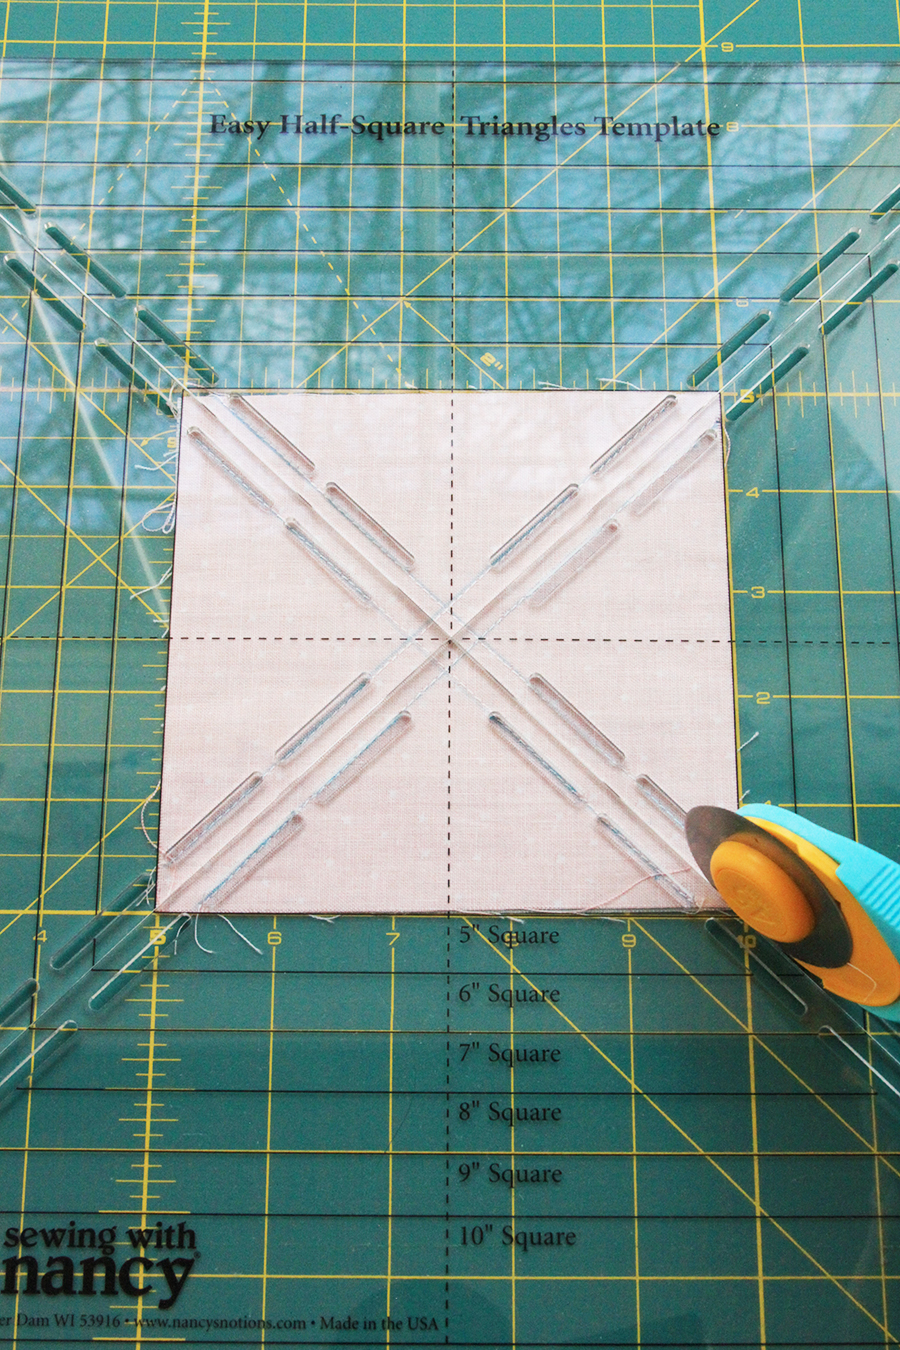
Remove the template and cut center horizontal and vertical lines in the fabric as well, making sure not to shift the fabrics as you cut. This will create 8 half square triangles!
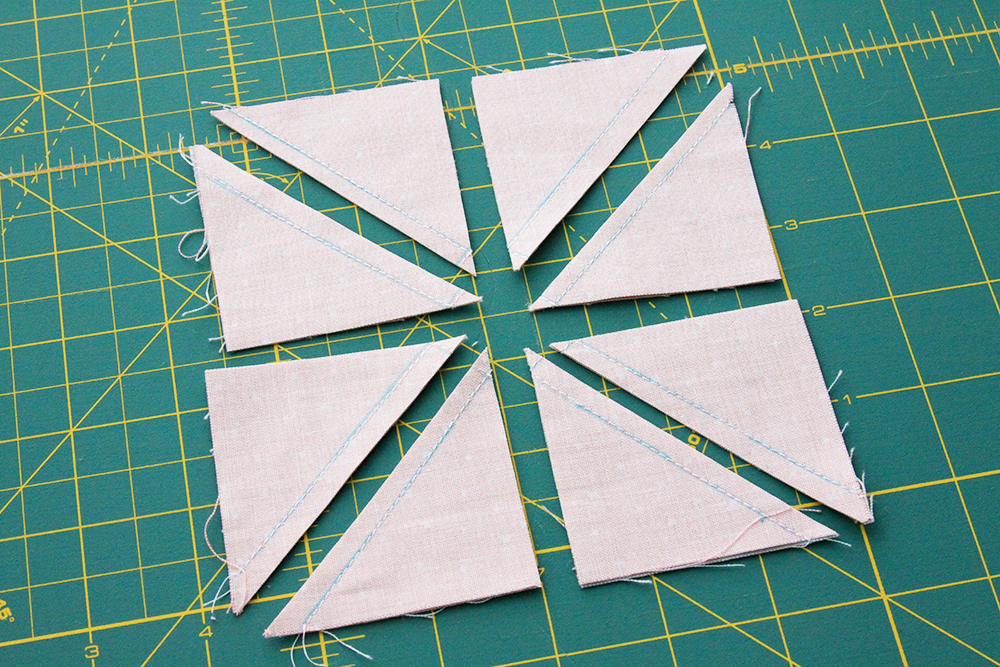
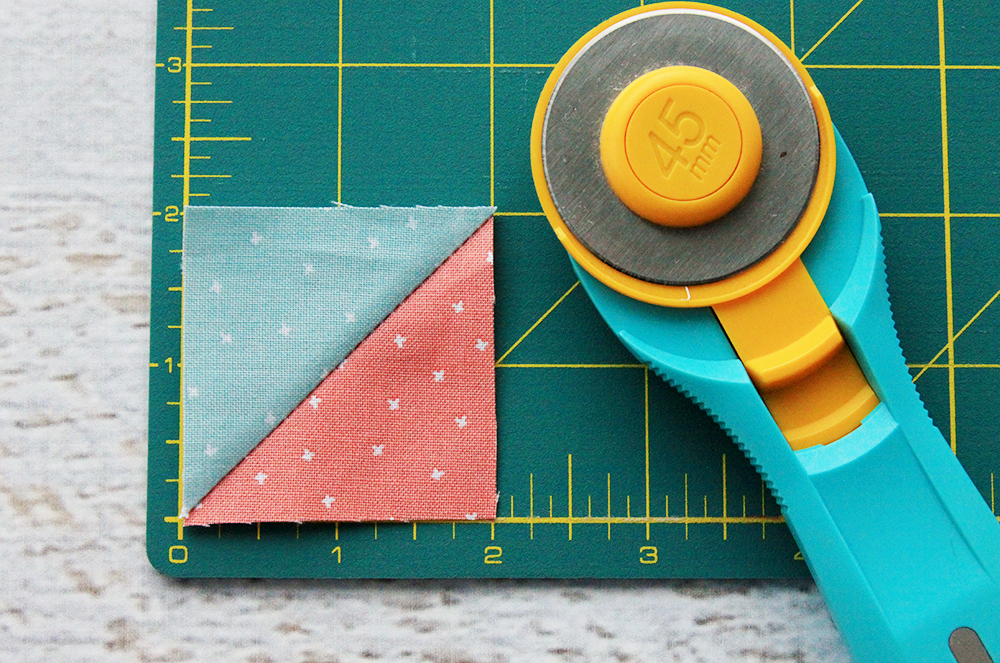
Open up each square and press the seam allowance towards the darker fabric. Trim each square to a 2″ square.
Now you can have a little fun with layout! The booklet that comes with the template has some great layout ideas at the back. Play around with those and try out a few different styles to see what you like. You can check them for sizing as well by laying your embroidery hoop over them to see about how they’ll look in the hoop. If you decide to do a 4 x 4 layout, rather than a 2 x 4 layout like I did, your pocket will probably be a little larger and you’ll have to adjust your fabrics around it accordingly.
I chose this fun arrow/flying geese design!
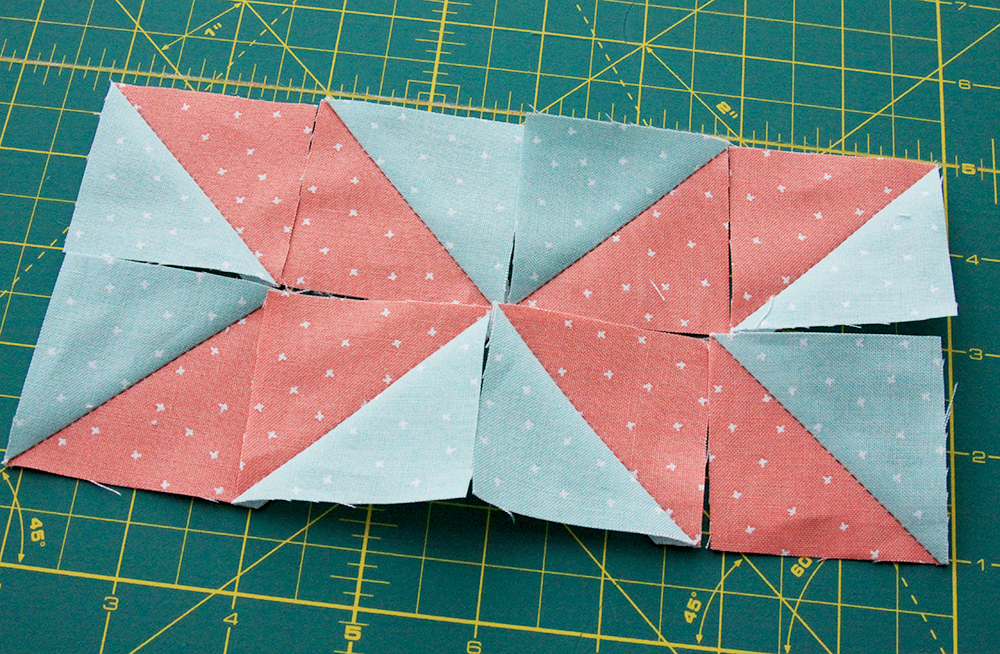
You can chain piece these together! Lay the top row right sides together with the bottom row, keeping your blocks all facing the same way. Sew together the center seams, one after the other, without cutting the thread.
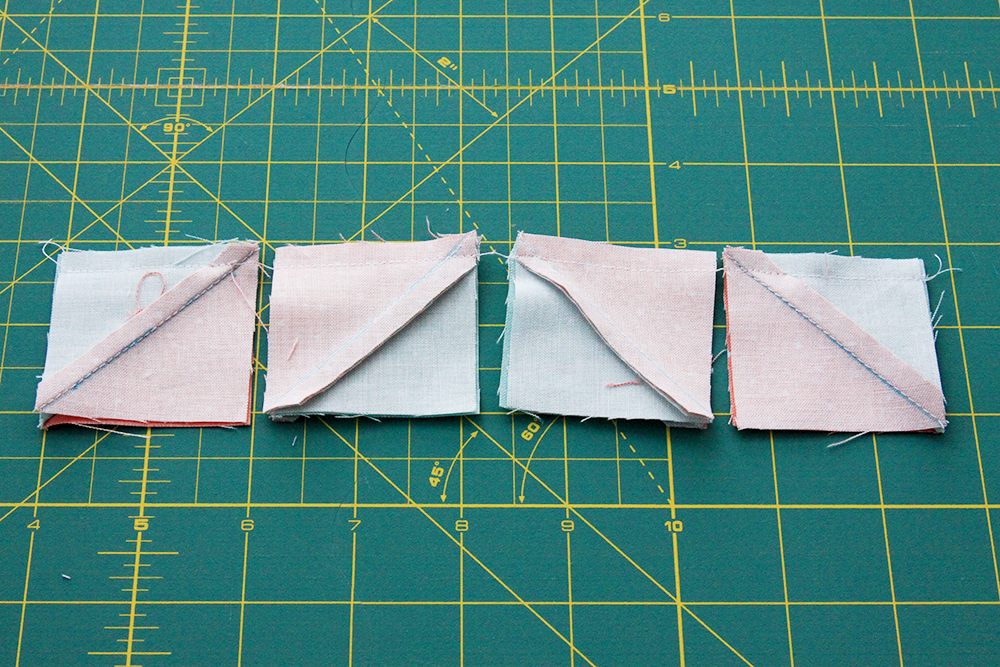
Press the seams to one side, alternating the direction in each section so the center seams will nest together. Sew the sections together to form your center, pieced section. Mine was 6 1/2″ x 3 1/4″.
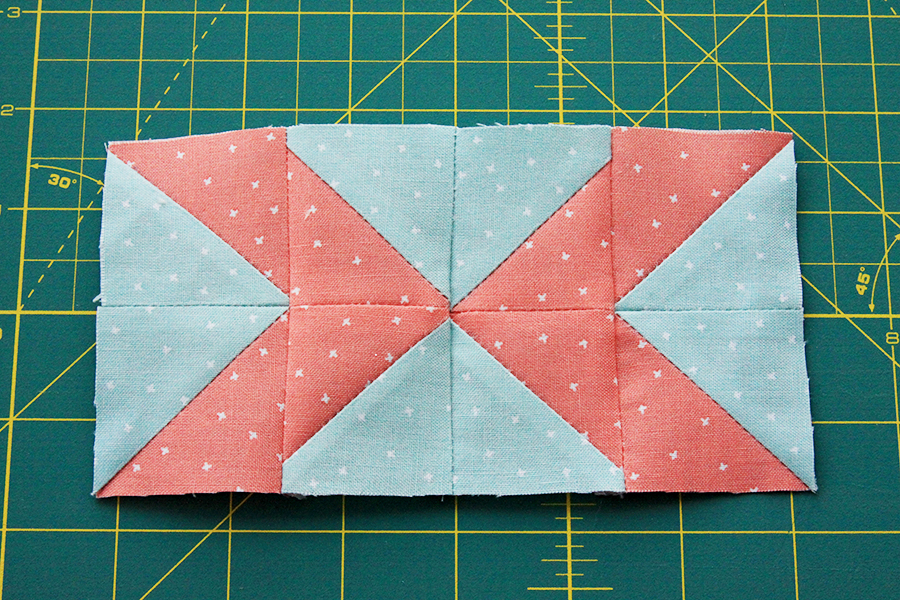
Sew the two 3 1/2 x 4″ pieces on each side of the pieced section and trim the top and bottom off. Sew the 1 1/2″ x 12″ to the top and the 4″ x 12″ piece to the bottom. Trim up the sides – now you have the front of your pocket ready to go!
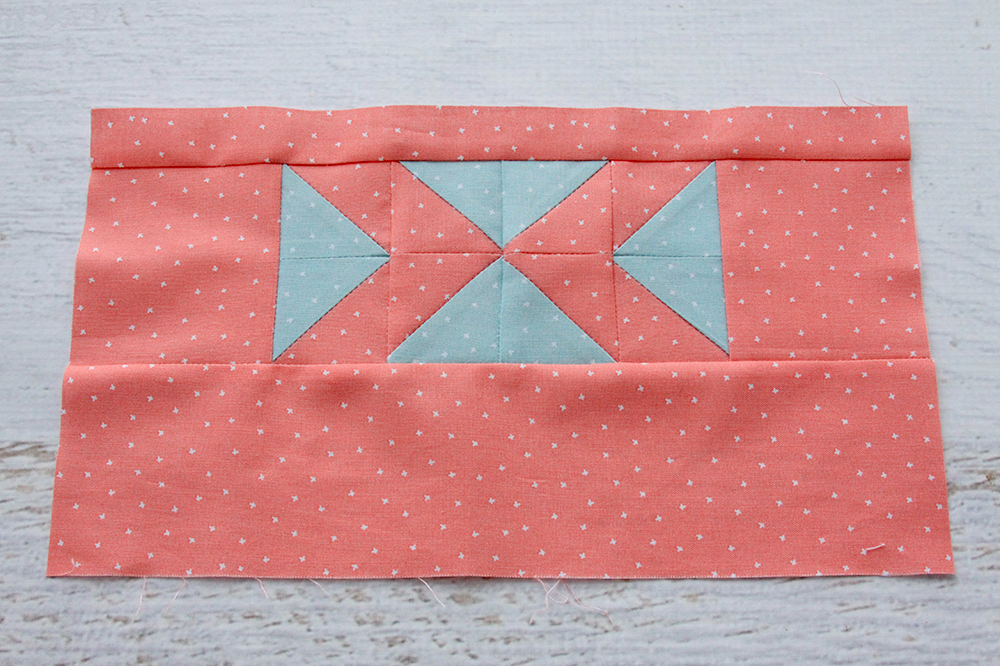
Cut a piece of lightweight interfacing the size of the front of the pocket and iron to the wrong side. Cut a piece of matching pink cross stitch fabric for your lining and place right sides togther with the front of the pocket. Sew the front and lining together along the top edge with a 1/4″ seam. Turn the fabrics right side out and press. If using, sew the piece of lace over the top seam so it overlaps the top edge just slightly.

Iron a piece of fusible interfacing to the wrong side of your background piece.
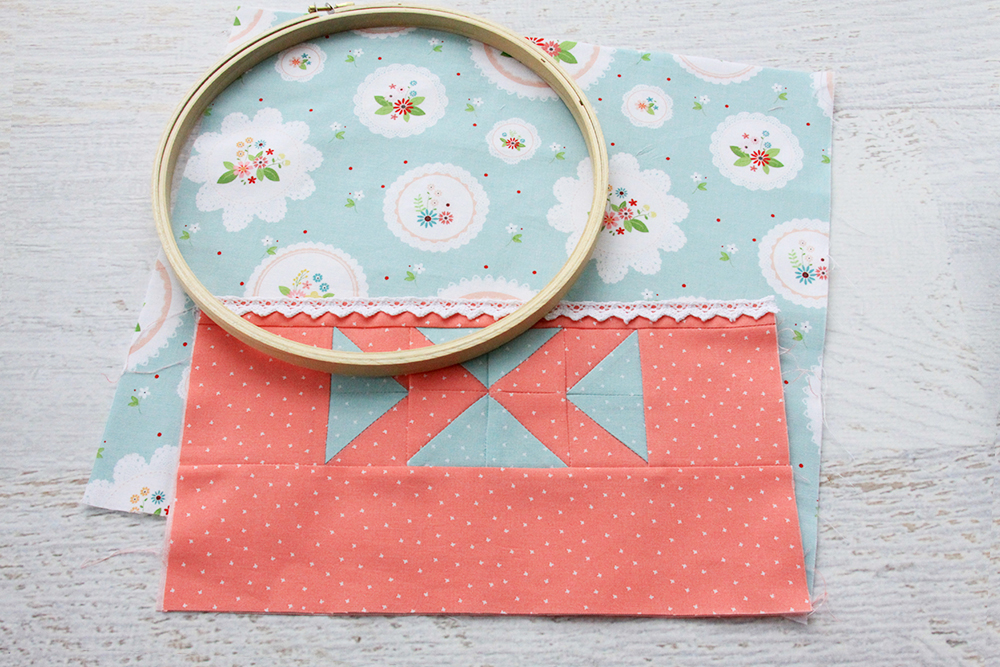
Place the pocket on your background fabric and check your layout by placing the hoop over the top and looking to see how the print will fit in the hoop. Make any adjustments you’d like, then pin the pocket in place on the background fabric. Sew three seams from the top of the pocket down to the bottom, stitching inside the ditch of your center three seams of the piecing section. This will give you four pockets in the hoop. If you’d like more or less, sew your seams accordingly. (Keep in mind if you add more seams, the items you put in the pockets will need to be really thin.)
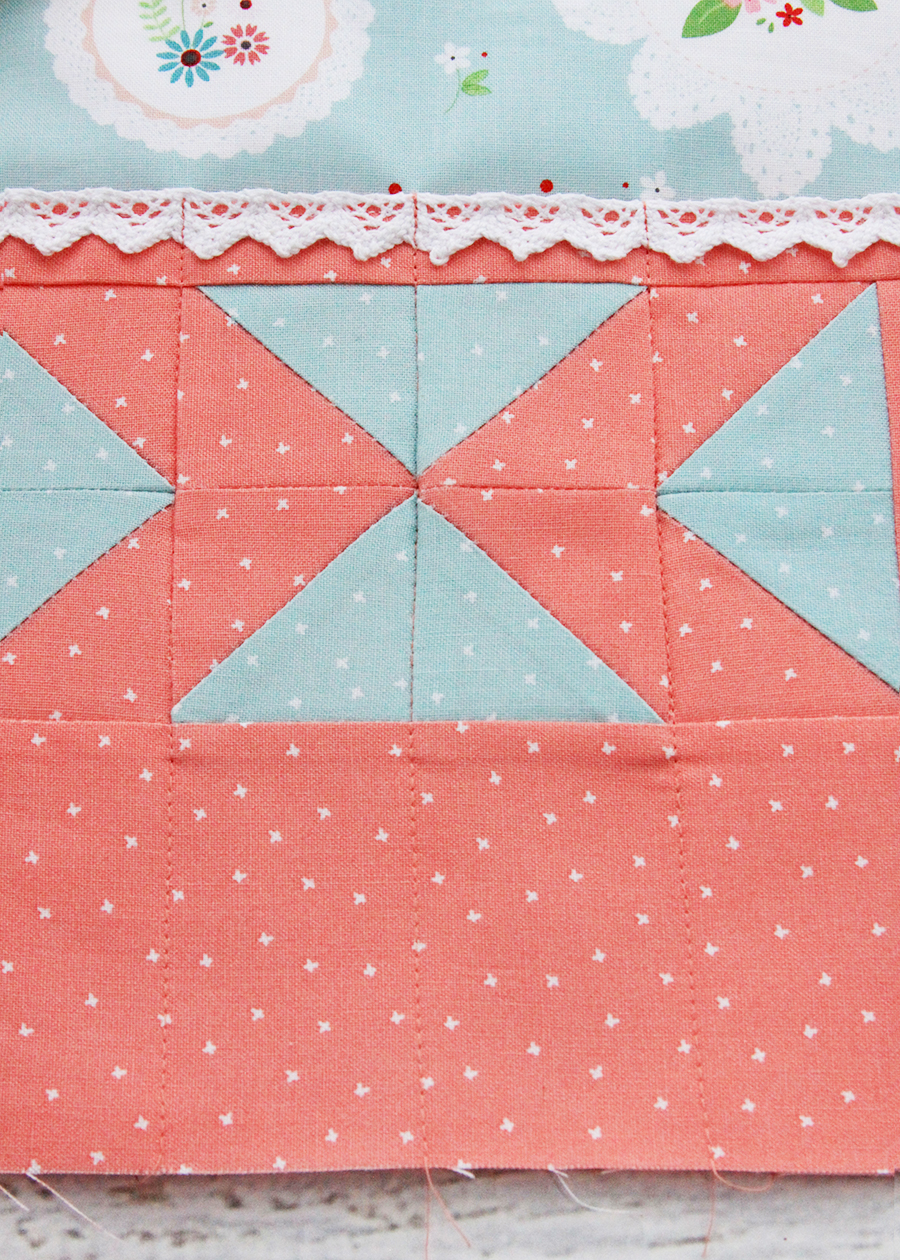
Open up the screw on the embroidery hoop, you’ll need it pretty wide to fit over all the fabrics. Place the fabrics in the hoop and tighten the screw, pulling the fabric tightly to make sure it’s laying flat and everything looks nice.
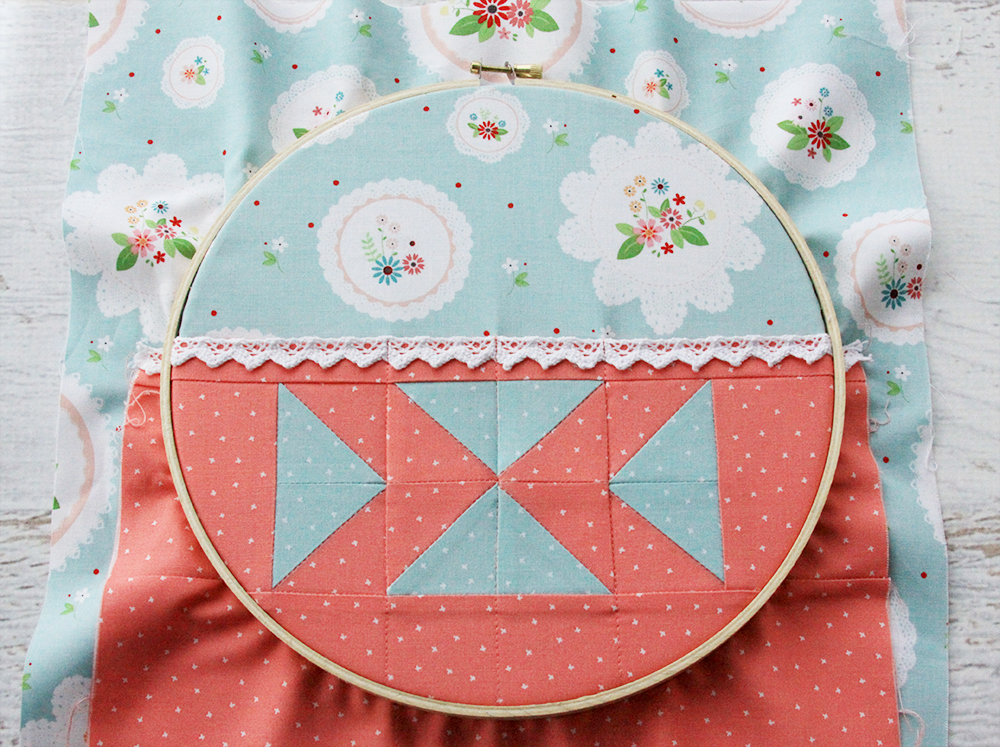
Trim the fabric outside of the hoop to about 1/2″. Glue the extra fabric to the inside of the inner hoop on the wrong side.
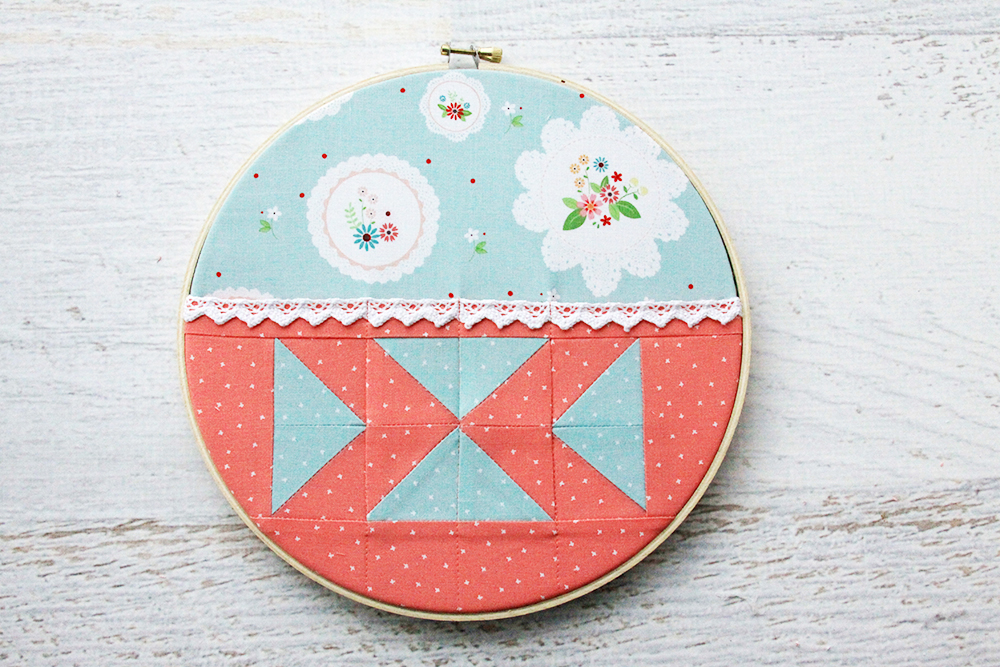
If you are adding the pom pom trim, glue it on now, along the back side of the embroidery hoop so the trim extends out around the hoop. Now you can fill up your organizer hoop with cute sewing supplies!
You can also follow along with this video tutorial for the Quilt Supplies Organizer Embroidery Hoop!
Nancy’s Notions is offering Free Shipping for orders over $49! Enter the code 189501-1124 at checkout.
Click here to shop!
They are also giving away an Easy Half Square Triangle Template! Enter to win on the widget below! (US entries only – sorry!)


Really cute idea!!
I’d like to try a pillow with the template first.
I’d make a pot holder with some thermal batting I’ve wanted to try out.
I’ve been looking at this Triangle Template and put it on my wish list. It would be awesome to win this item.
Whether I would change my mind or not after looking at other projects in the book which comes with this template, as of right now, I think I’d use this to make a little quilt for my Granddaughter’s American Girl type doll.
I love this. Even without making it into an organizer it’s such a cute wall decode.
Eeeeeeeeeek!!!! ADORABLE!
love the idea of having that little organizer handy, mine are always in a cup…drawer…in the way. I should be making one of those!
So cute and I love pompoms !!
This template will save so much time. I’m going to use it to make a baby quilt.
Love the organizer and how easy the Triangle Template makes the triangles. Also your new fabric line is so beautiful.
I’ve made one of these and am currently using! But yours looks cuter! :)
I’ve been looking to make something just like this!
What a sweet project and a great little tool. I’d love to make an organizer like yours. Thanks for the tutorial, video and hosting the giveaway.
I would definitely make the embroidery hoop organizer. This is adorable and would make great gifts for sewing friends..
Love the Quilt Supplies Organizer Embroidery Hoop!! I would love to win the template. It would save so much time cutting. If I was lucky enough to win I would make the Organizer Hoop first.
I’d really like to give this a try! Looks easy! Something I can do!
What a cute organizer! Thanks for the tutorial!
My walls in my sewing space need some more mini quilts…so I would definitely start with a mini quilt!
Love it Bev, and great tutorial, even a non-quilter like me is tempted to give it a try! thanks for sharing on craft schooling Sunday!
Oh my goodness! So darn cute!
I am attempting a first go at quilting we shall see how it turns out! Thanks for all the tutorials!