Embroidered jewelry is one of my very favorite things to create! It’s such a quick project and there’s nothing like have a pretty, unique piece of jewelry to wear.
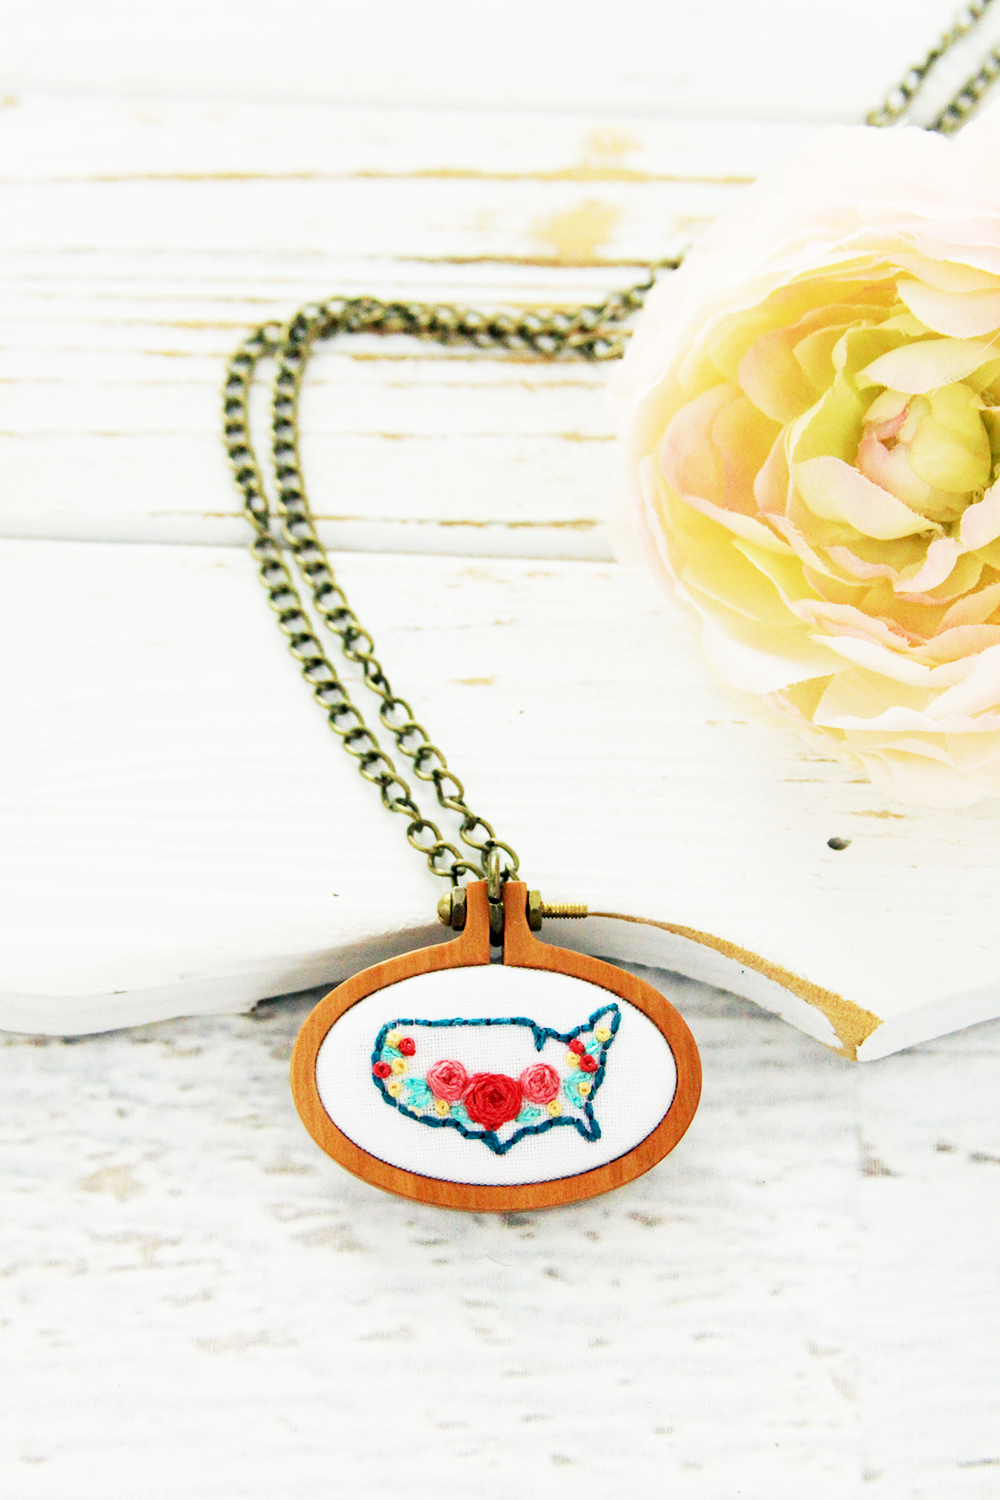
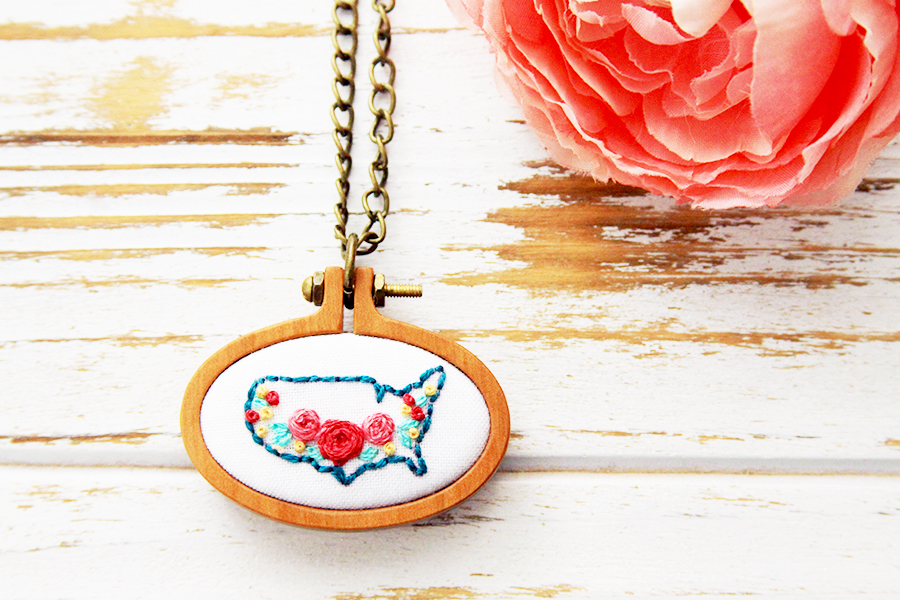
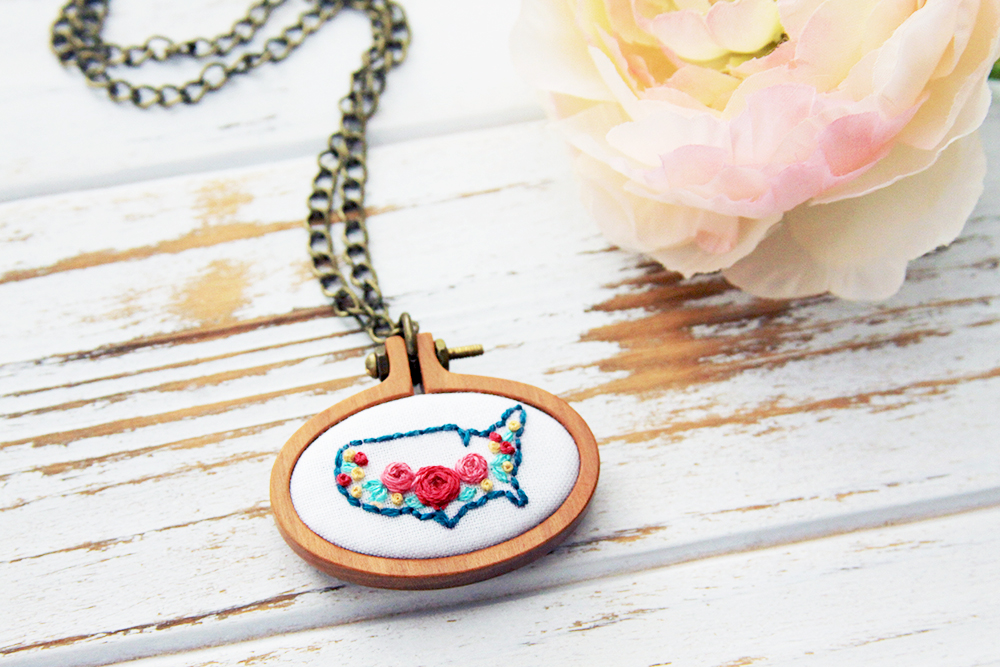
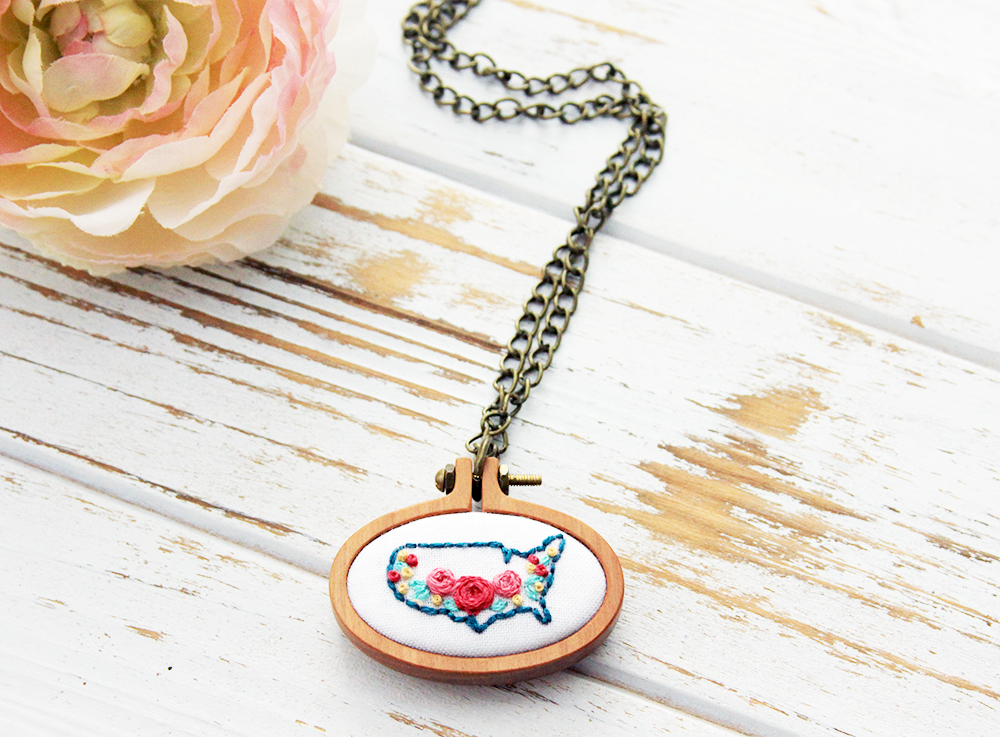
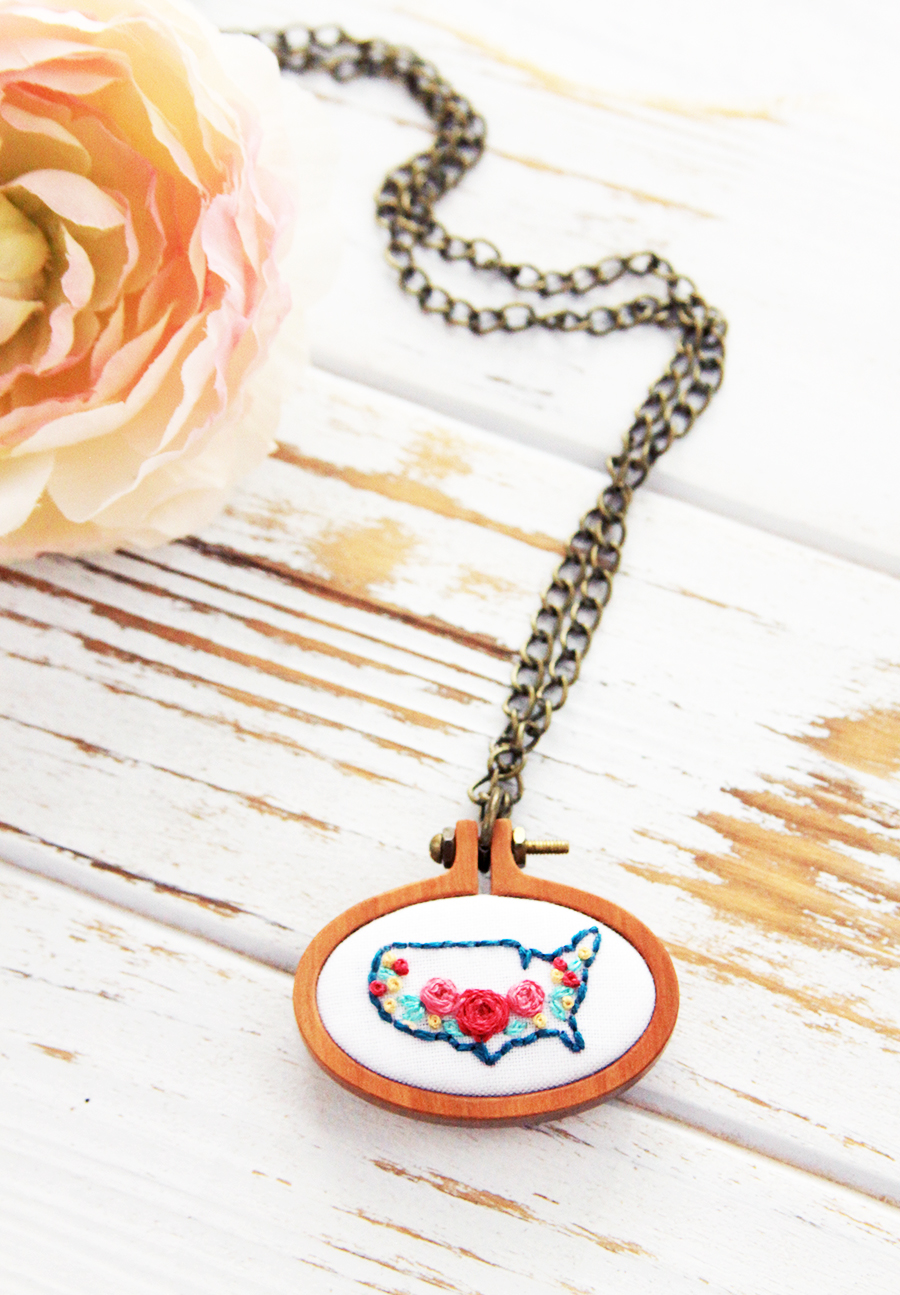
This sweet Embroidered USA Map Necklace doesn’t take long to make and it’s so easy to customize with your favorite colors. You could change up the flowers too and add them over your state or favorite place to visit.
The stitches in this are great for beginners or more experienced stitchers so it’s a great project for anyone. I think it would so fun as a gift as well!
Embroidered USA Map Necklace
Materials:
- 5” piece of background fabric
- 3” embroidery hoop
- 40mm x 25mm Mini Embroider Hoop Frame – https://www.etsy.com/listing/537288846/mini-hoop-pendant-embroidery-frame-kit?ref=shop_home_feat_1
- Embroidery Floss – dark teal for map outline, lighter green for leaves, dark pink, light pink and yellow for flowers
- Embroidery Needle
- Marking Pen
- Glue
- Chain and necklace closure
- USA Floral Map Pattern
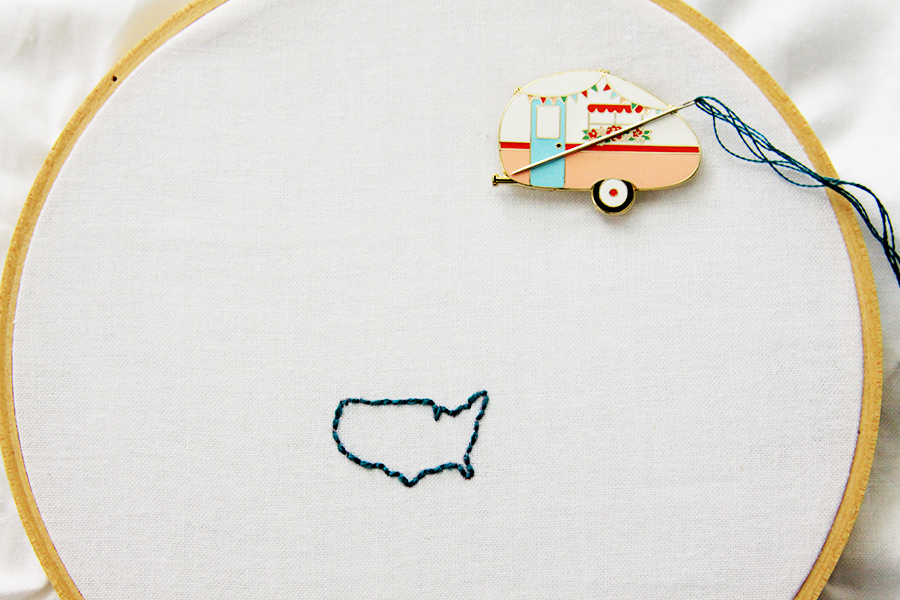
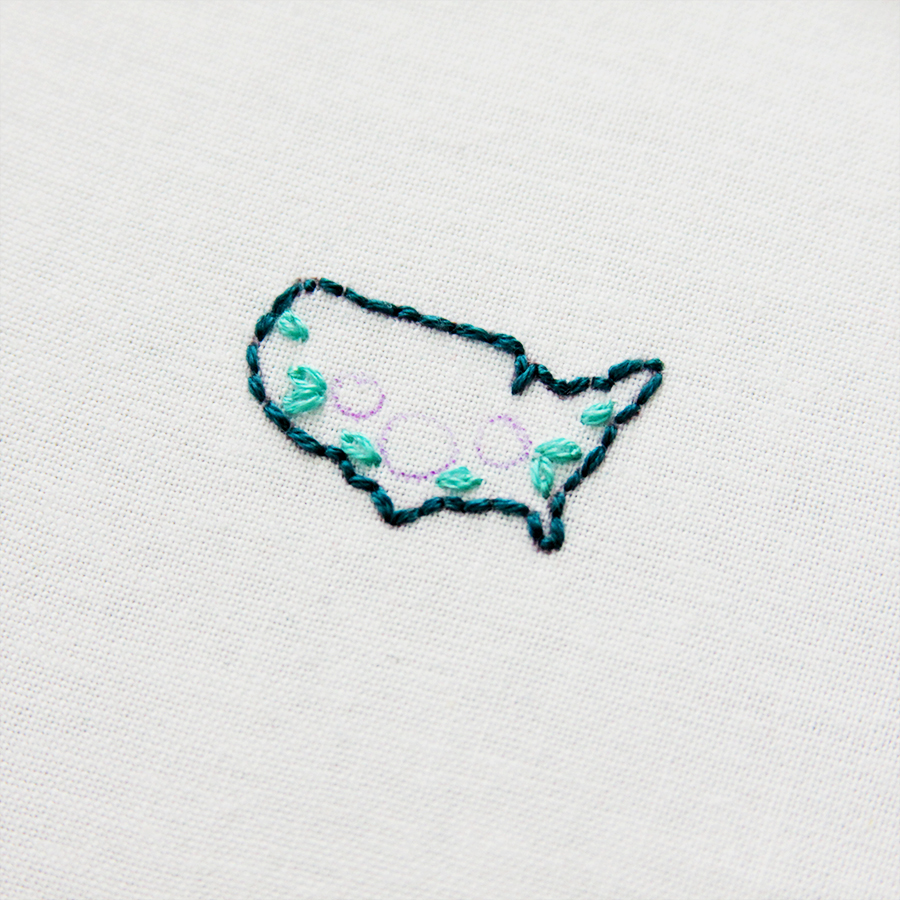
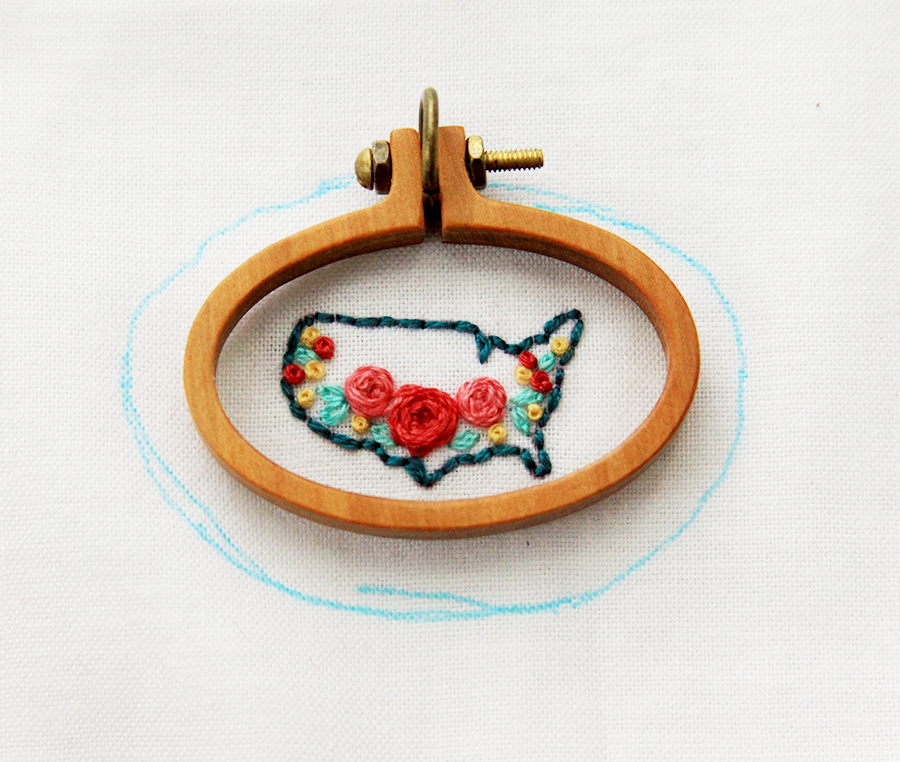
Transfer outline of map to background fabric. Embroider outline with three strands of dark teal floss using a back stitch.
Draw small circles in the lower center of the map for the large flowers. Stitch the small leaves scattered around the section where the three large center flowers are and up the sides of the map using 2 strands of light green floss and lazy daisy stitches.
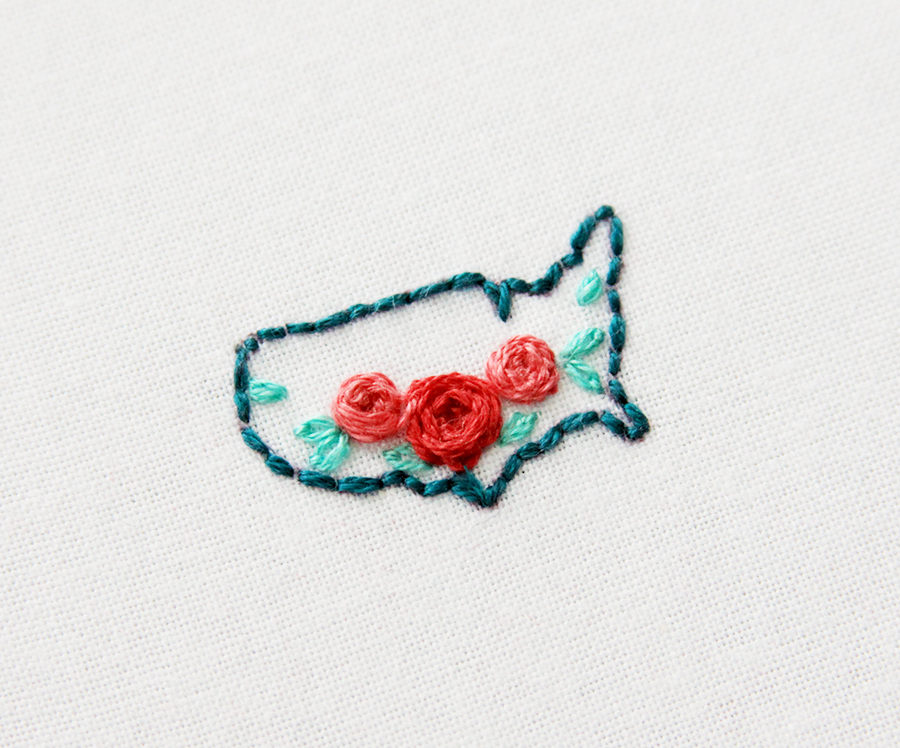
Stitch the center roses using three strands of floss and the wagon wheel stitch. I used the dark pink for the center rose and the lighter pink for the two side roses.
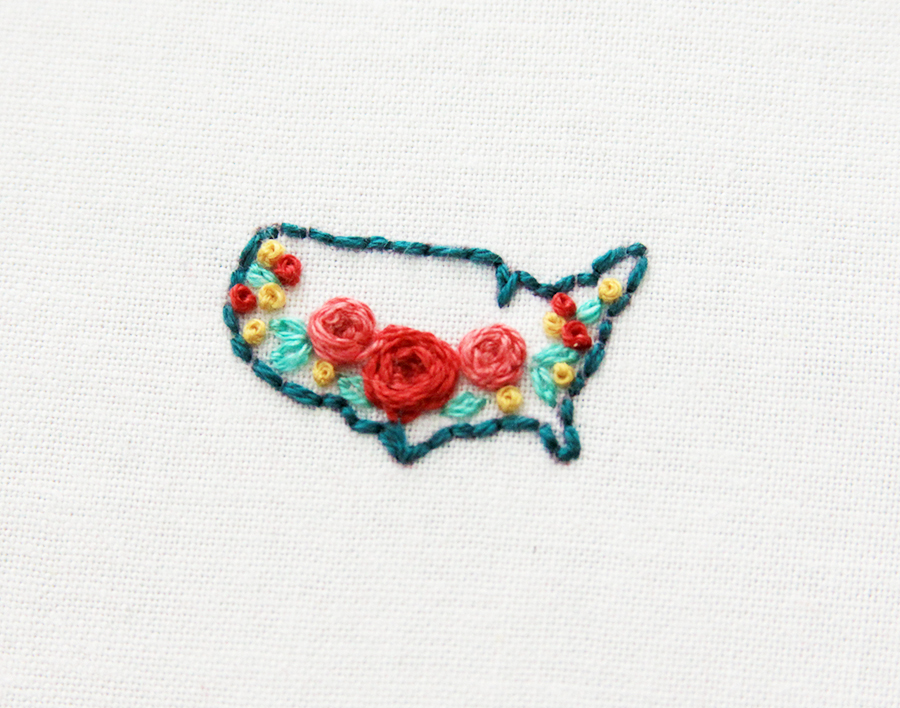
Scatter multi-colored French Knots up the sides of the map using two strands of floss for each. Alternate where the colors are and cover the areas around the leaves.
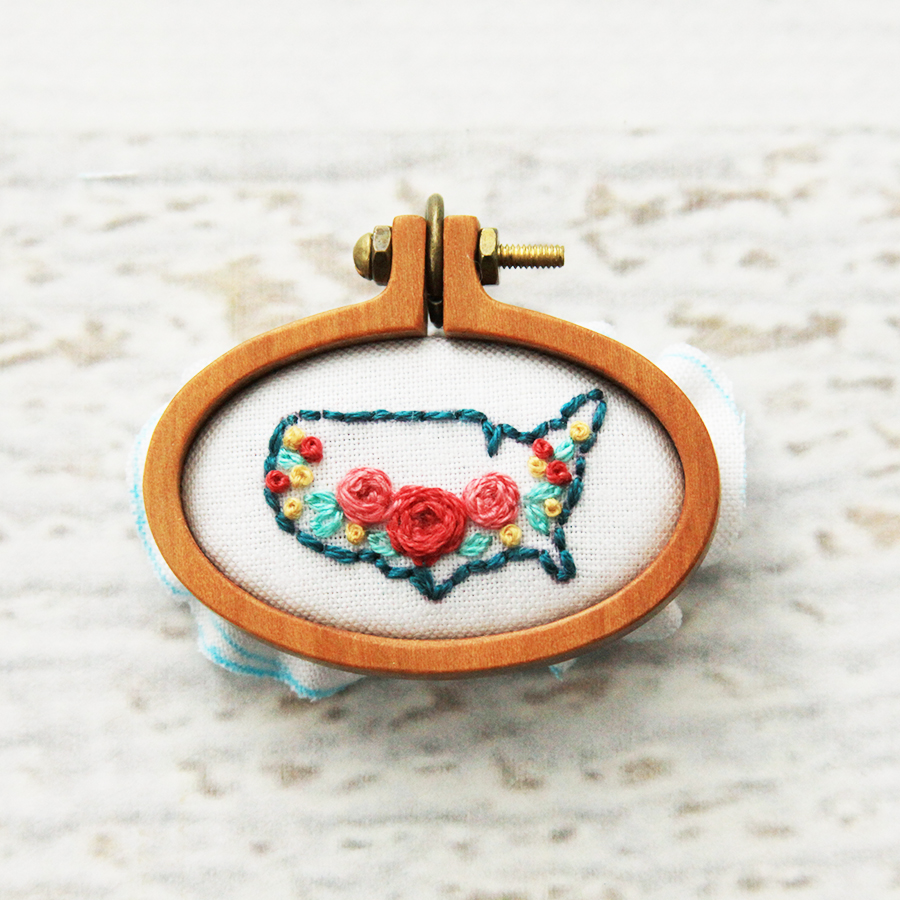
The mini hoops I used came with three sections – the hoop, the padded inner section and a backing piece.
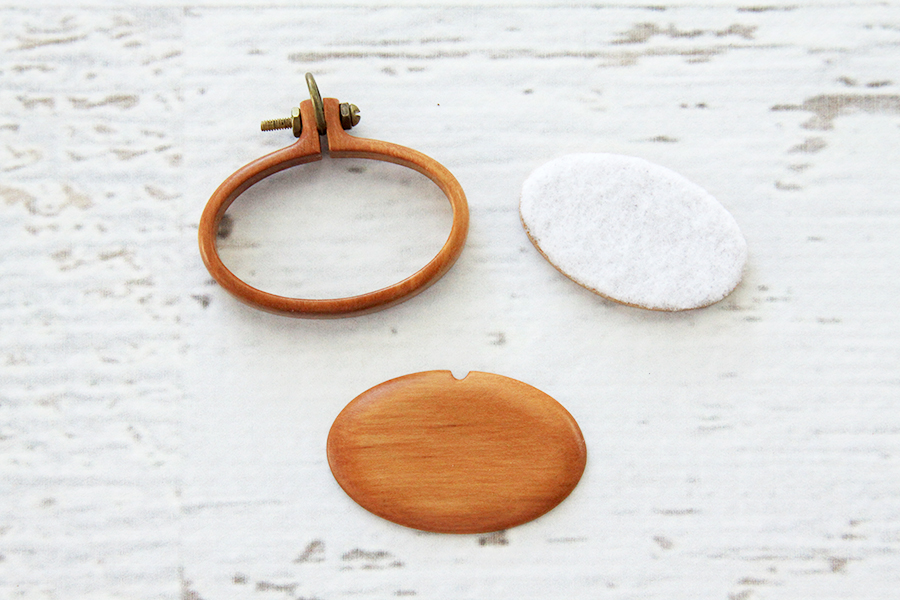
Once you’re finished stitching, cut out the design 1/4″ larger than the inner piece of the mini hoop section. Take a moment to admire my fabulous oval drawing skills here. ;)
Wrap the fabric around the inner piece and place the hoop on top of the inner section. This helps hold the fabric in place while you glue it.
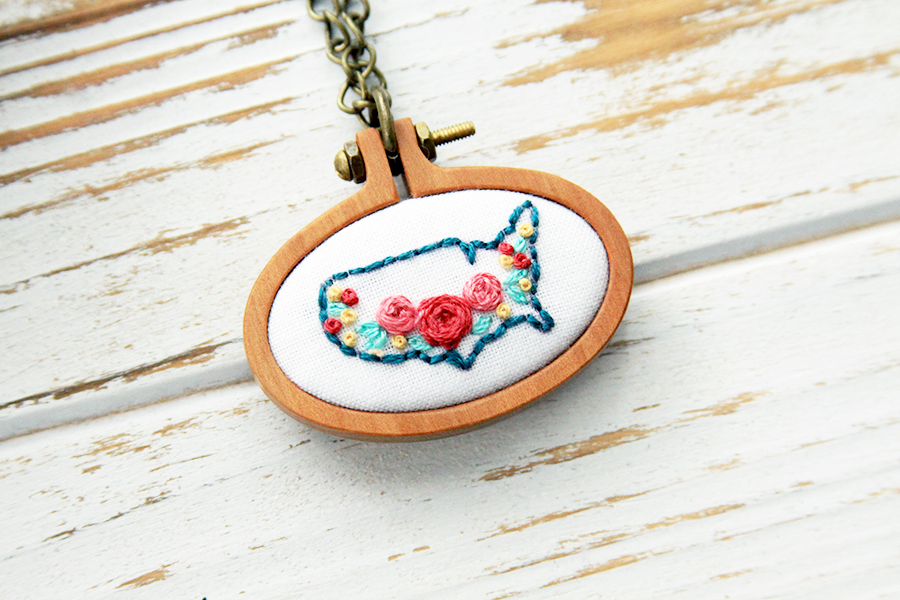
Glue the fabric to the back of the inner section, then glue the backing piece in place.

Add your mini hoop to a necklace chain – and that is it!
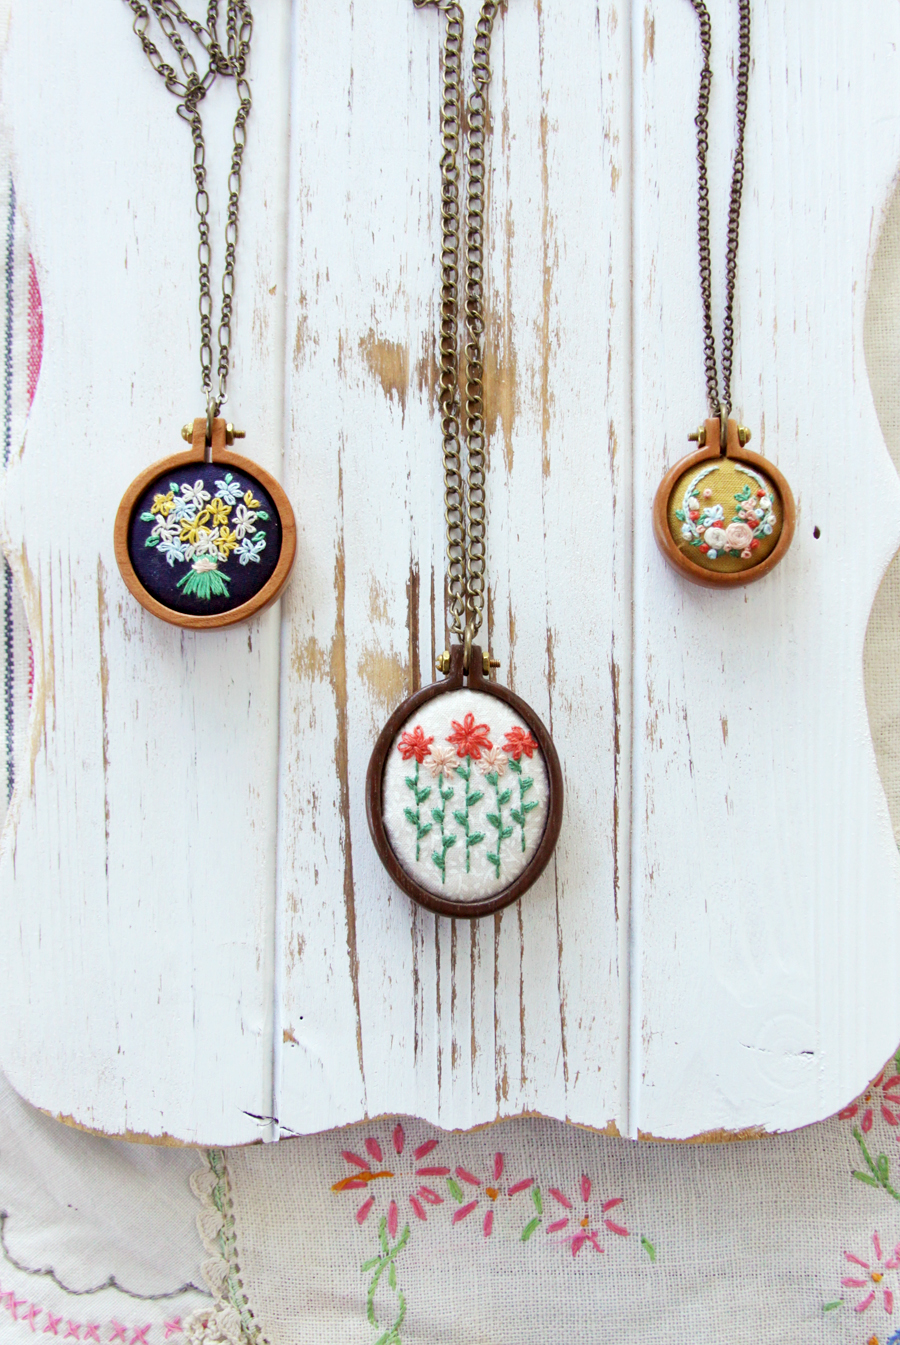
You might also like these!


Soooooo so cute !!!!
this is such a cute little idea. I love how the necklace came out. Thanks for linking this post with us at #OMHGWW!
Perfect craft project for a hobo, like me. Looking forward to trying this.
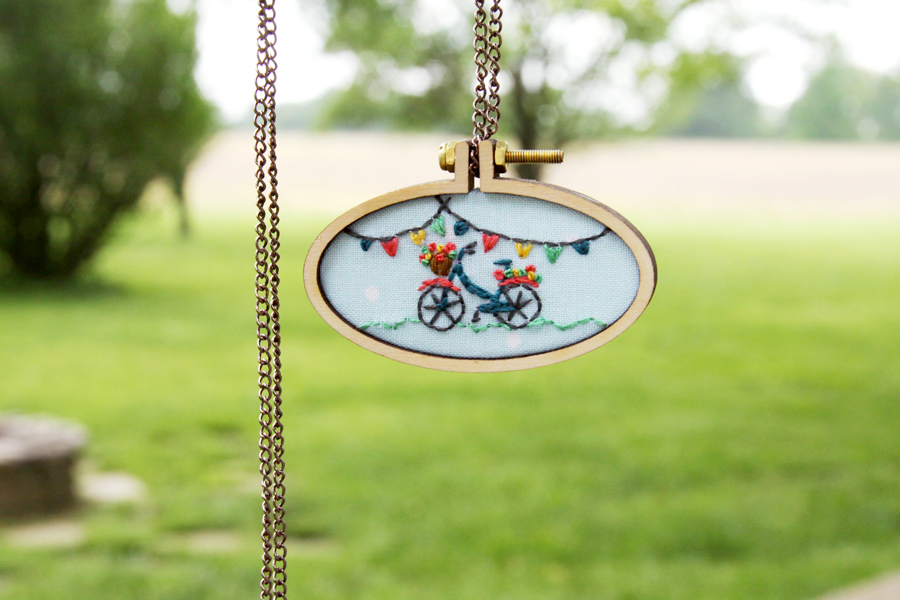
Oh goodness, I love the one with the bicycle, it is so cute.
Thank you for sharing!
I LOVE each one of these designs! I can’t decide which one to do first with each being adorable. Thank you for sharing with us.
OMGOSH! That is the cutest thing ever! I pinned, and shared it !
This is sooooo cute! What a darling necklace! All of the necklaces you’ve made are super cute!
What a unique jewelry idea! They are all so adorable!
Every time I see one of your embroidery necklaces I fall in love. Embroidery looks so intimidating, but I think this small size is doable for a beginner. I’m going to try my hand at this.