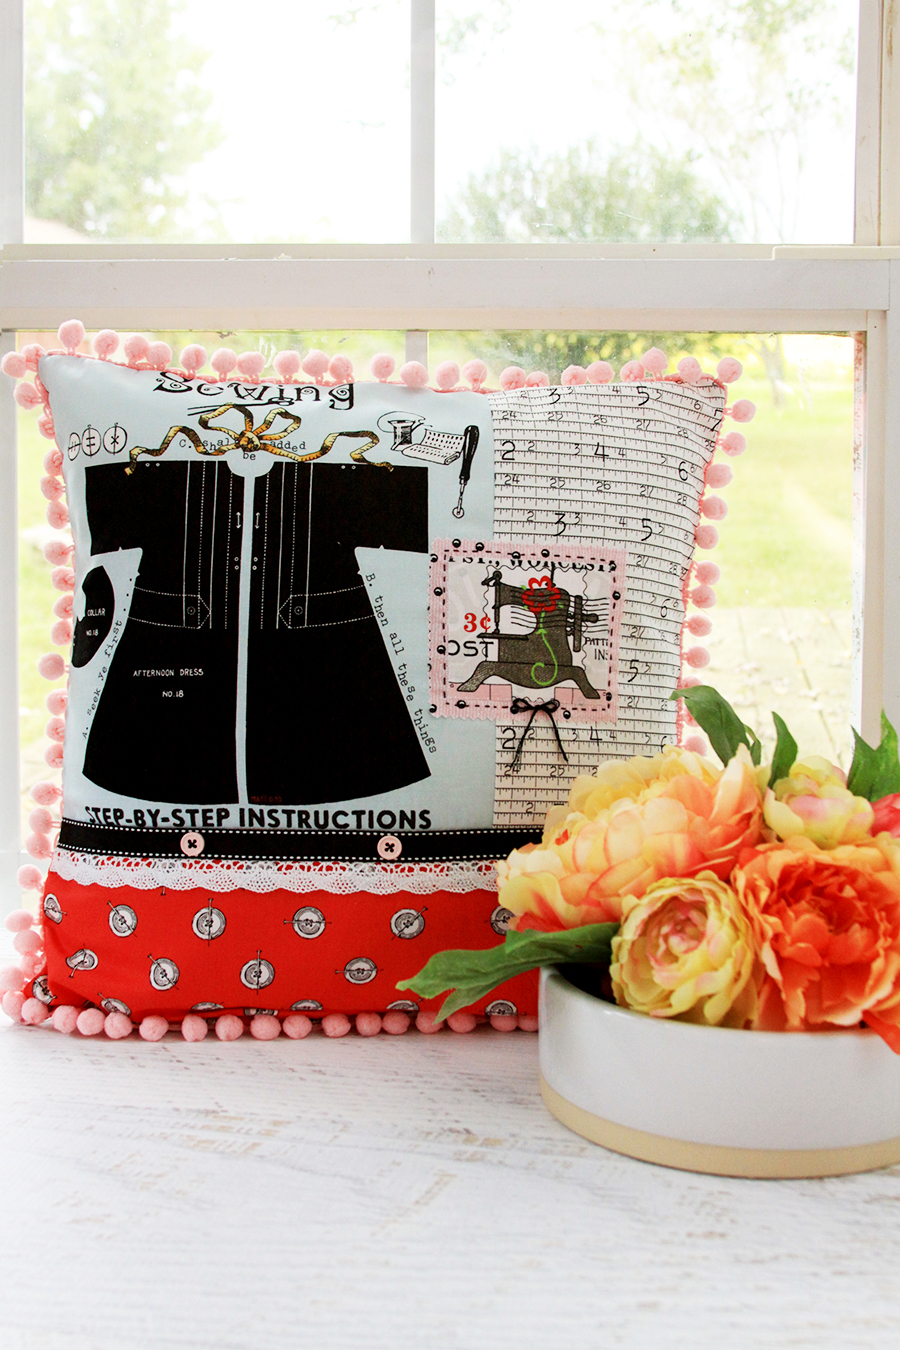
I have a fun new fabric line to show off today! These new Paperdoll Fabrics from J. Wecker Frisch of Joy Studio are full of sweet sewing themes and cute little paperdoll panels! I thought they would be perfect for a new sewing room pillow – with these little buttons and measuring tapes, I couldn’t resist!
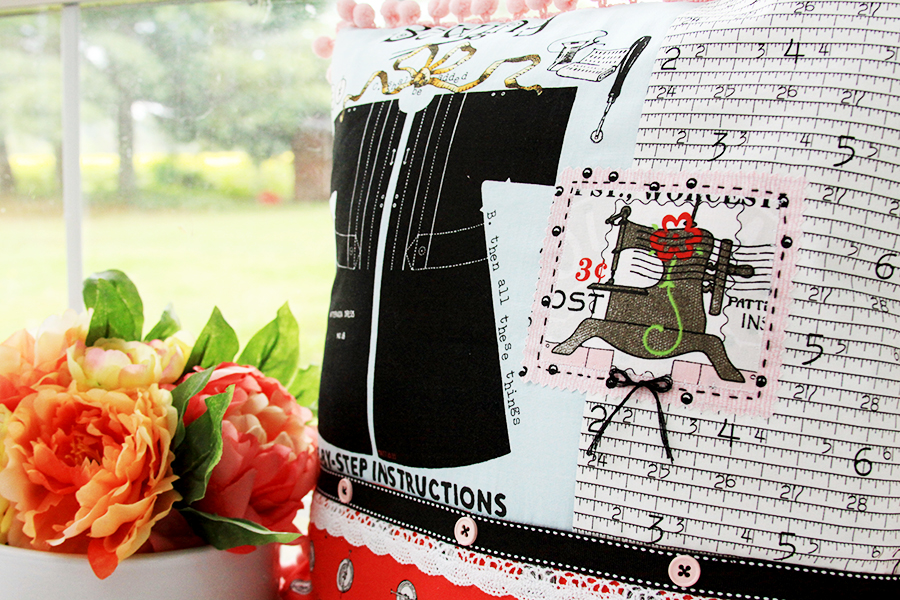
There are so many fun details in this Riley Blake Designs fabric collection and they inspired me to do some extra touches to the pillow like the little sewing machine patch and the buttons and ribbon trim. The main portion of the pillow front is one of the panels in the Paperdoll Patch Panel.

This is such a fun project to make and you can really have fun playing with the different elements! Here’s a quick and easy tutorial for you!
Materials:
- Paperdoll Patch Panel – 1 panel
- Paperdoll Tape Yellow – 1/4 yard
- Paperdoll Polka Button Red – 1/4 yard
- Paperdoll Pin Top Pink – 1/4 yard
- Paperdoll Pincushion Off White – 1/2 yard
- Trims and Buttons for embellishment
- fusible webbing
- 1/2 ribbon and 1/2 yard lace
- 16″ pillow form
- 2 yards pom pom trim
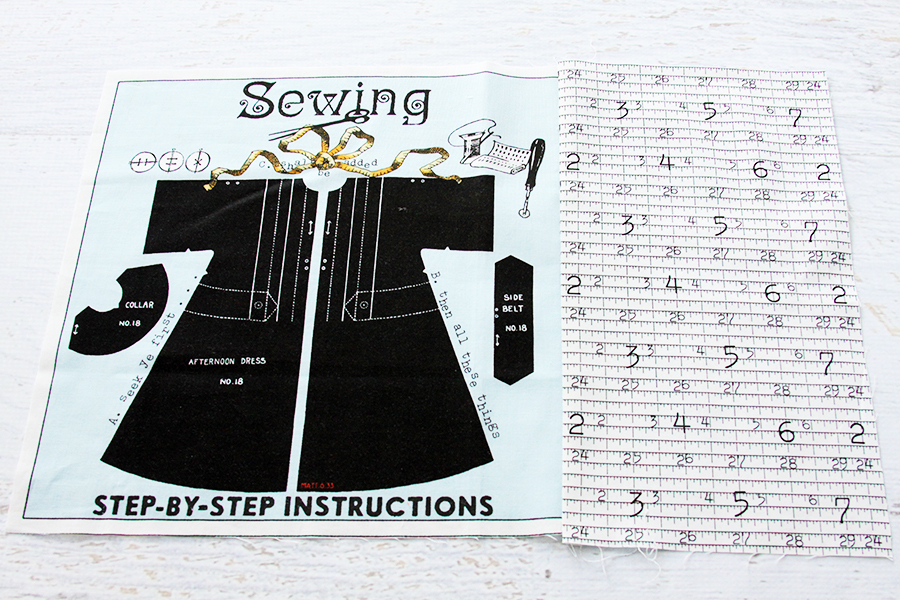
Start by choosing the panel you’d like for the pillow front. Each square is 10″ x 10″ so cut it out a little outside the square. You want at least 1/4″ around. The little sewing machine patch came from one of the other squares in the panel.

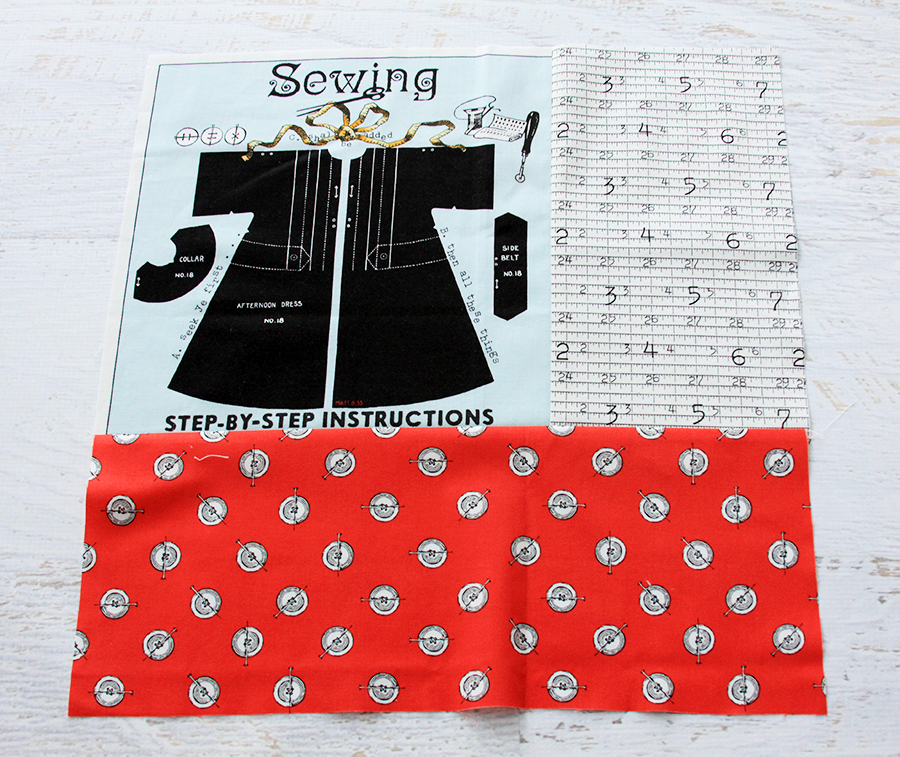
Cut the panel down to 10 1/2″ x 10 1/2″. Cut a piece of the measuring tape print 6 1/2″ x 10 1/2″. Sew the measuring tape print to the left side of the panel square.
Cut a piece of the red button print for the bottom of the pillow front 16 1/2″ x 6 1/2″. Sew it to the bottom of the pillow front top.
Add in your embellishments. I added fusible webbing to the wrong side of the pink pin top fabric and the wrong side of the sewing machine print. I layered these together in a little patch and cut out the pink with pinking shears.
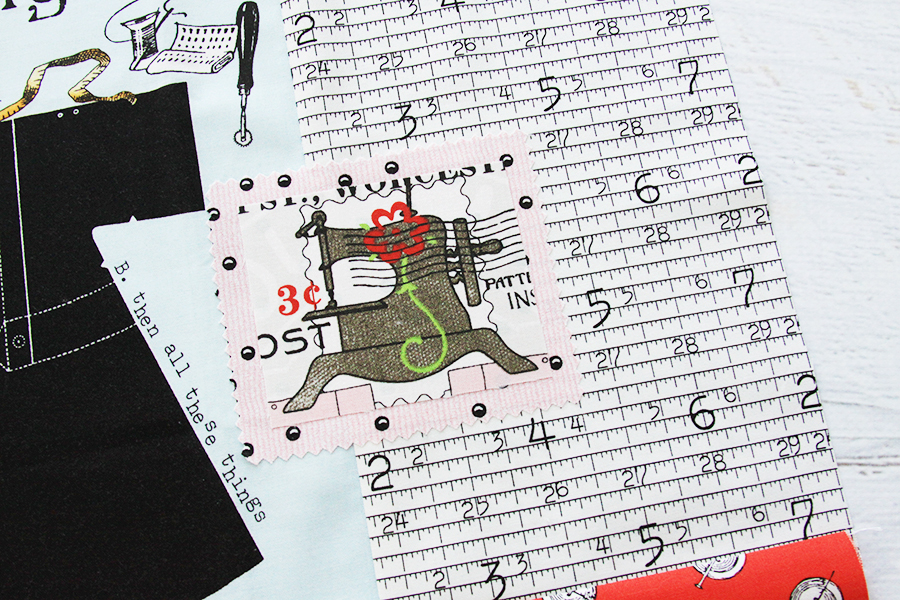
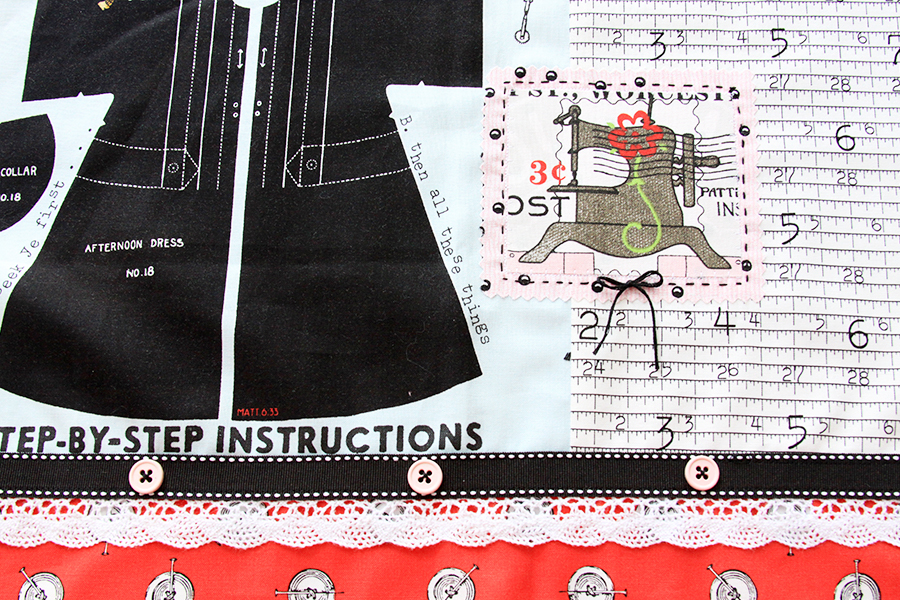
I added a running stitch of embroidery around the patch and tied a small bow in the bottom of the patch. I also added ribbon and lace trim over the center seam and sewed three buttons over the ribbon.
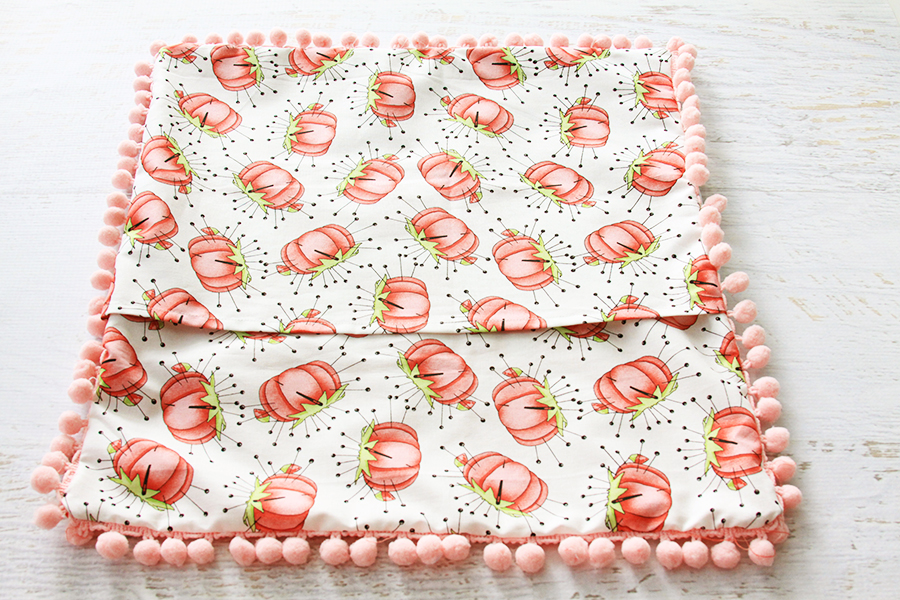
Stitch the pom pom trim 1/4″ inside the edge of the pillow front, facing the pom pom trim in towards the center. Create the pillow envelope back pieces using two pieces 16 1/2″ x 12″. Hem the top of one and bottom of the other and overlap the two pieces to form a 16 1/2″ square. Place the front and back pieces right sides together and sew around all four sides. Trim the corners, turn right side out and press.

The pincushion fabric is so cute on the back!
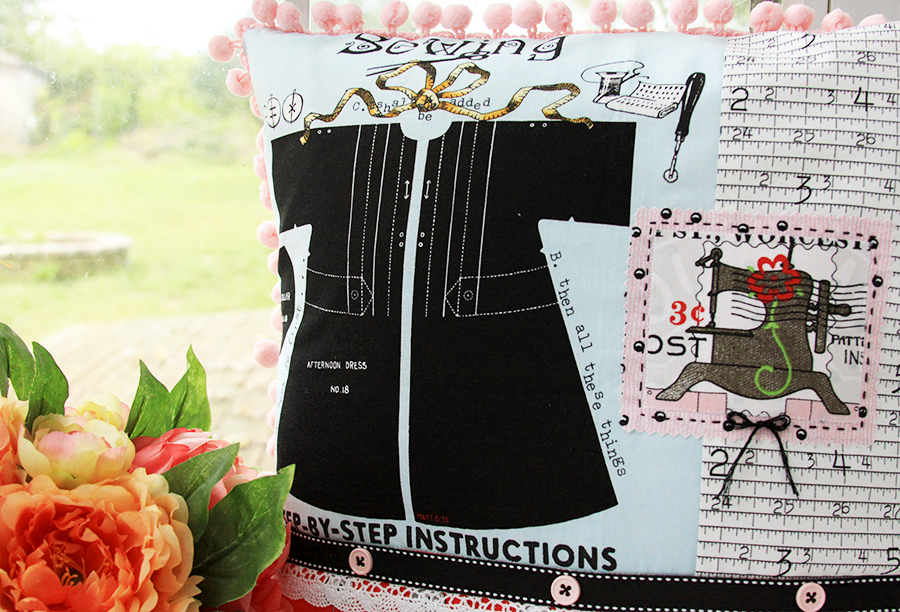
Place the pillow form in the cover and show off your cute pillow!

You can find Paperdoll Fabrics at your local quilt shops and lots of online shops. You can also visit Joy Studio for more project inspiration!


wow, this is super cute
JWF has the cutest fabrics
Wow Bev, this is a charming pillow! And a really great tutorial post with beautiful photos. Thank you very much for featuring Paperdoll , nice job!!
Love This!!!!! Had such fun playing with paper dolls as a child and then I made tons for our granddaughter.
This is so cute! We never out grow paper dolls!! Thanks for sharing with SYC.
hugs,
Jann
How cute! Thanks for sharing at Home Sweet Home!
I love the panels that are part of fabric lines!