You guys. Today in the Scrap Busting Extravaganza we have Amy from The Idea Room! (That needs a few more !!!) I am so excited that she is here today, she’s one of my blogging heroes. :)
Amy can do it all – everything from amazing Home DIY projects, to cooking (seriously – her Chicken Tortilla soup is one of our favorites) to adorable crafts – which is just what she has for us today!
~~~~~~~~~~~~~~~~~~~~~~~~~~~~~~~~~~
I am excited to be here today as part of theScrap Busting Extravaganza! My name is Amy and you can normally find me over at The Idea Room. We all have remnant scraps of material laying around and it is hard for me to throw them away, so I love to find little projects that I can use them for. For this project I used up some of my felt scraps. You can use regular cotton fabric for this if you want and it should work out fine.
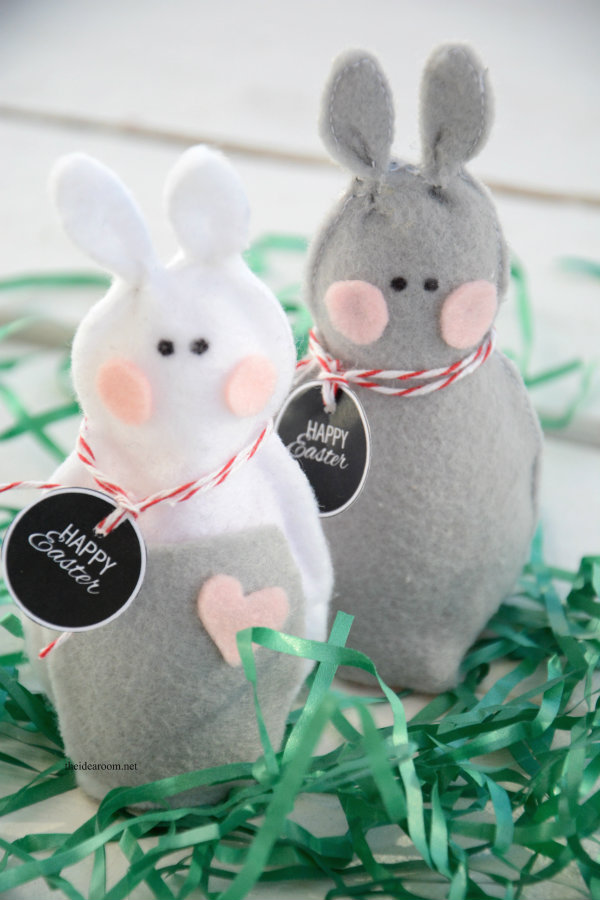
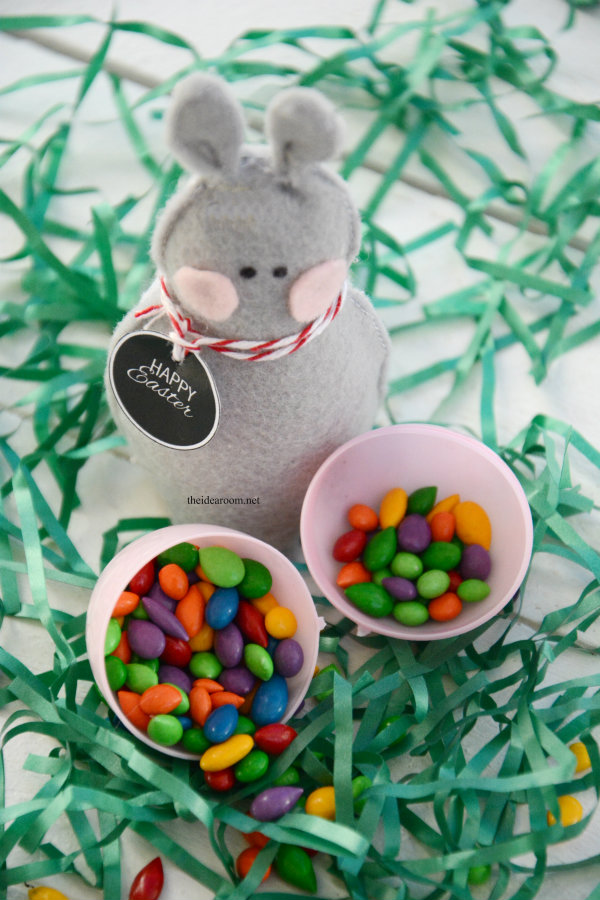
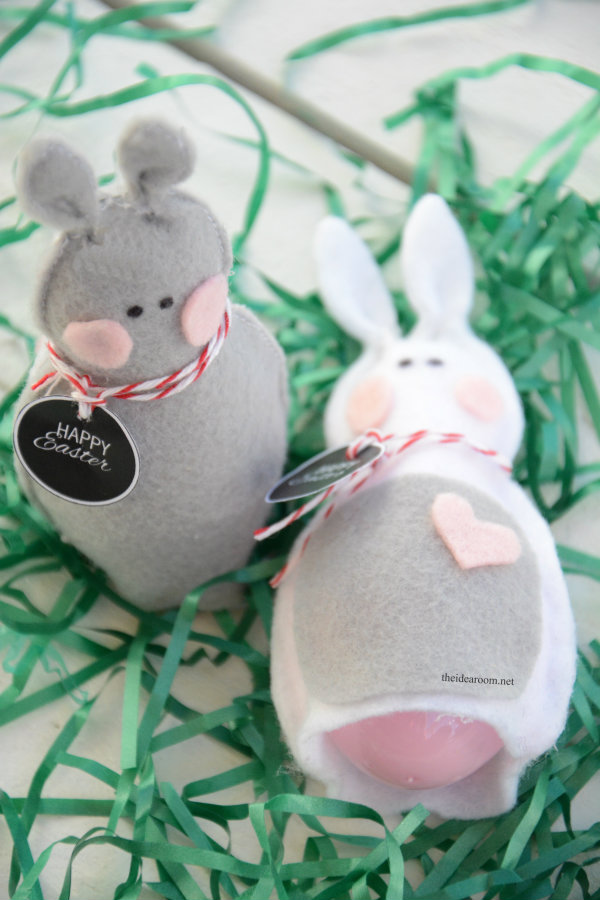
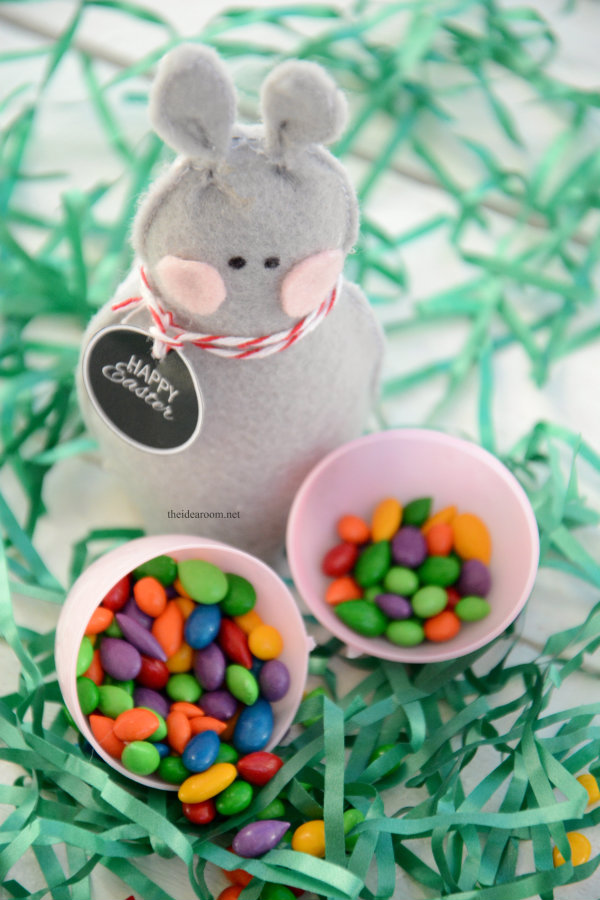
Today I want to share with you how I made these Felt Easter Bunnies. The fun thing about these Easter Bunnies is that they slide over the top of a plastic easter egg that you can fill with goodies. I thought they would make a fun little gift idea for Easter this year. And how fun to have a couple in show up in the kiddies Easter Baskets this year?
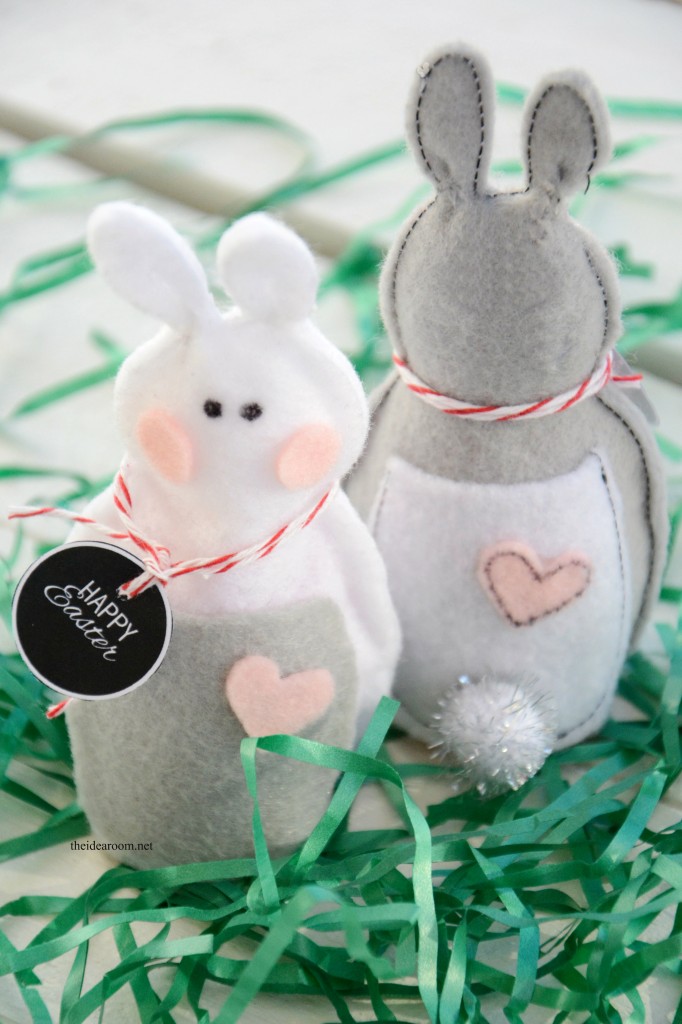
If you don’t like the idea of the Easter Eggs, you can make them into a little Stuffed Easter Bunnies by filling the Bunnies with stuffing and then sewing across the bottom. I have added a little pocket that can be placed in the front or the back of the Easter Bunny that you could slip a little piece of chocolate into or some money. Or…turn it into a little Easter Bunny Rice Bag. These are the perfect size for heat up in the microwave for little kids to use as hand warmers or freeze them and use them when your kid gets an owie! So many fun uses!
I know many of you may not sew, but the good news is that you can either sew these or just glue them with your hot glue gun. I did one of each so you could see the difference. The white bunny is hot glued and the gray bunny is sewn. I also was lazy and didn’t coordinate my bobbin thread with the sewing thread so one side of the gray bunny has dark stitching and the other side has white stitching. I am going to pretend I did that on purpose so that you could see if you prefer the dark or the light stitching. ;)
Want to make one? Here is the tutorial:
Felt Easter Bunny
Materials:
- 2-3 different colors of felt scraps (or fabric scraps of your choice)
- Hot Glue Gun (or Sewing Machine)
- Felt Easter Bunny Patterns (click on the link to download and print)
- Small amount of stuffing to fit in the head and ears
- Fine Black Sharpie
- Plastic Easter Egg (optional)
- Happy Easter Printable Tags (optional)
- Baker’s Twine (optional)
1. Print the Felt Easter Bunny Patterns and cut out 2 Bunny Bodies in your main color.
2. Cut out the round cheeks and the heart in the other color of felt.
3. Cut out the back/belly pocket in the same color as the cheeks or a 3rd coordinating felt.
4. Glue the cheeks on the bunny and draw in the eyes with a Sharpie.
5. Glue on the pocket and the heart in your desired location. Be sure to leave the pocket open at the top.
6a. Sew or glue around (*SEW OR GLUE AS CLOSE TO THE EDGE AS POSSIBLE SO THE EGG WILL FIT INSIDE) the two bodies of the bunny leaving the bottom open if you are using the Plastic Easter Egg. OR
6b. If you are making a Stuffed Bunny/rice bag, then sew all around the bunny (or glue) leaving a small opening along the bottom so that you can fill the bunny with stuffing or rice. Sew up the bottom.
7. (optional) Put a small glob of hot glue at the base of the ears (where they join the head) and pinch the felt together to give the pinched look to the ears.
8. (optional) Attach the Happy Easter Printable Tags and attach around the neck of the bunny with some Baker’s Twine.
Pretty simple right? You can make a couple of these in just a few minutes and will make a great addition to your Easter Baskets or a sweet little gift to friends and family! I feel like I need to make some other Easter Animals now!
Thanks so much for letting me a part of this fun series. I have enjoyed seeing all of the other projects! Be sure to stop on by The Idea Room where I share lots of other crafts, recipes, DIY home decor, printables and more!
Those are so cute Amy – I love them!!
Here are a few of my favorites of Amy’s other projects – make sure you head over and look around her site for all the awesomeness!
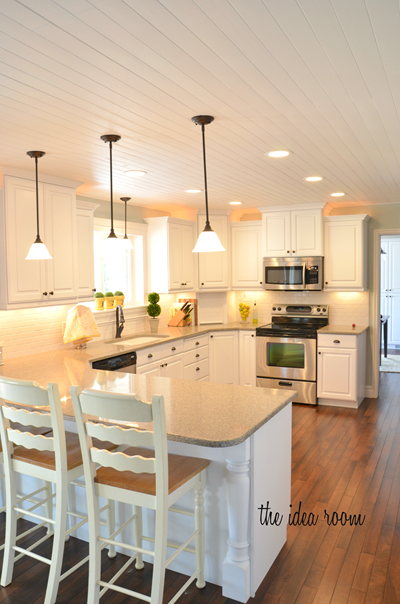
Her Kitchen Remodel is just beautiful – I especially love that planked ceiling!
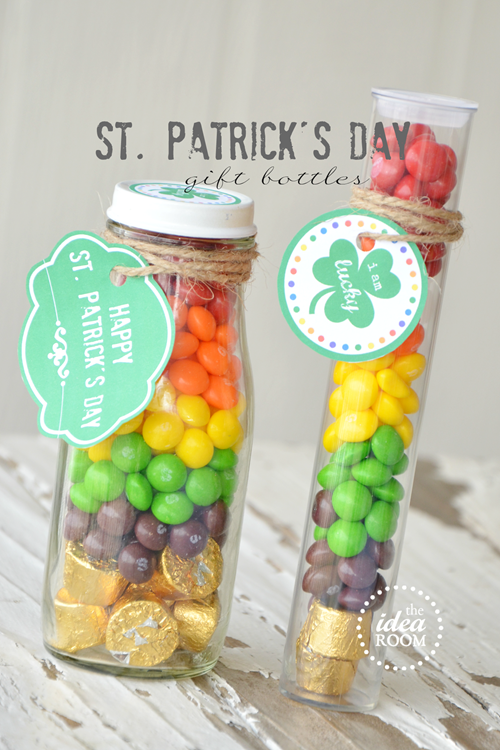
Amy has all kinds of holiday projects – I love these St. Patrick’s Day Gift Bottles!
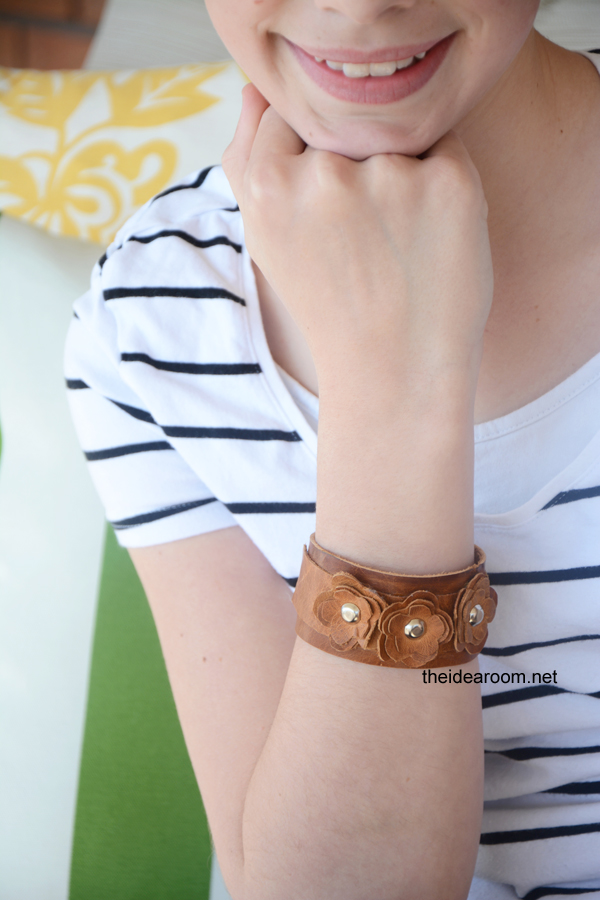
How cute is this Leather Flower Bracelet?
Thanks for being a part of the series Amy!


I love their sweet cheeks!
Cute cute!! I’ve got a Craft Gossip post scheduled for this evening that links to your tutorial:
http://sewing.craftgossip.com/free-pattern-felt-easter-bunnies/2015/02/19/
–Anne
Thanks so much for allowing me to participate in your fun series Bev! It was an honor! (and that deserves more !!! as well) xo