Today for the Scrap Busting Extravaganza we have an adorable project by Allie from Miss Lovie’s Creations!
Allie is a do-it-all crafter! She can sew (as you’ll see today) she makes the most gorgeous jewelry projects, darling wreaths and home decor things and lots more! You’ll definitely want to spend some time looking around her site – you will find so many things to add to your to-do list!
Hello, Flamingo Toes readers! I’m Allie from Miss Lovie and I’m so excited and honored to be included in this awesome event!! Everyone’s ideas have been so great so far!
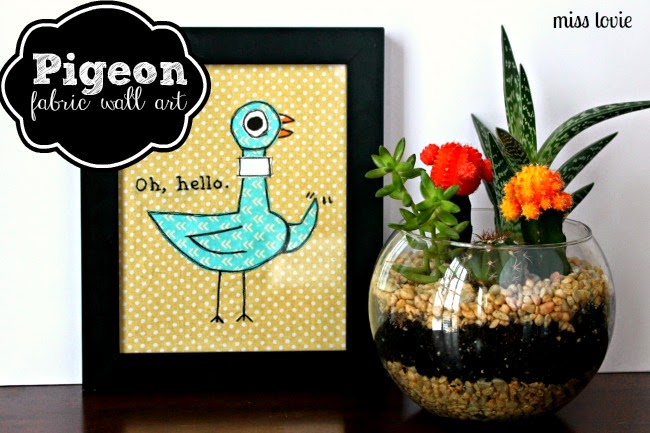
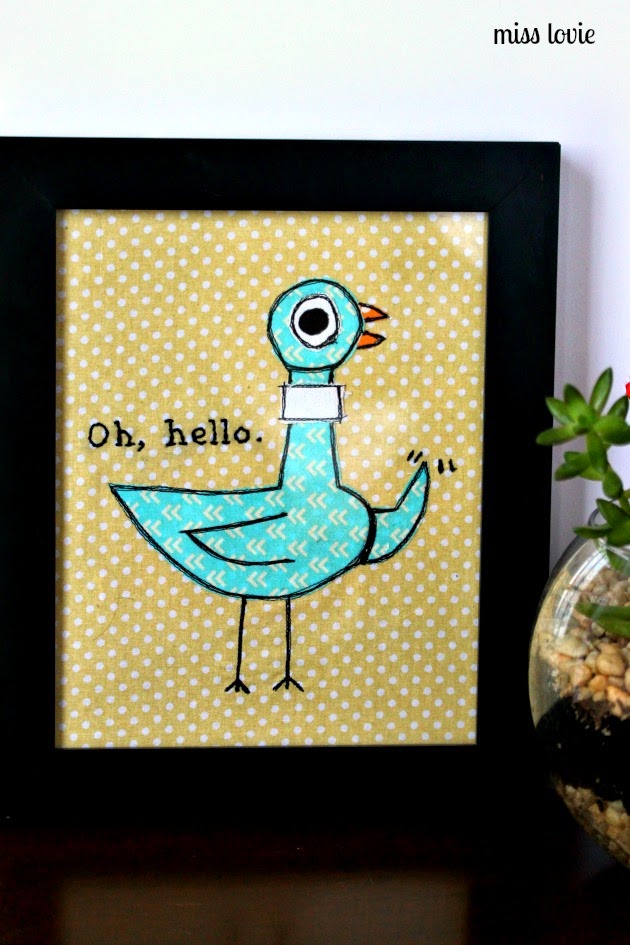
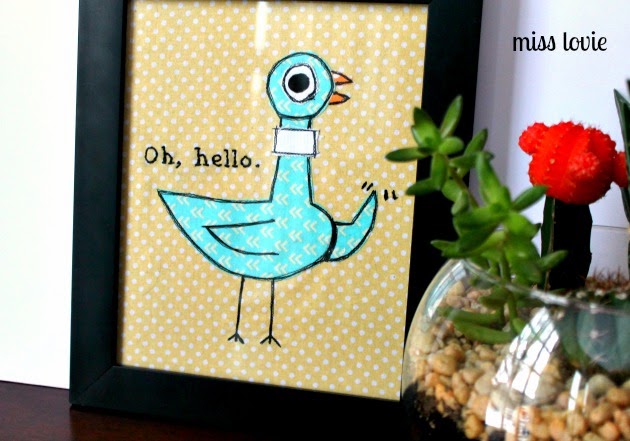
Today I’m excited to share this Pigeon Wall Art with you! When getting supplies for a project, I always tend to buy more fabric than I need just in case so I have LOTS of fabric scraps. I’m always excited when I can get rid of some and make something great at the same time so this event was perfect for me.
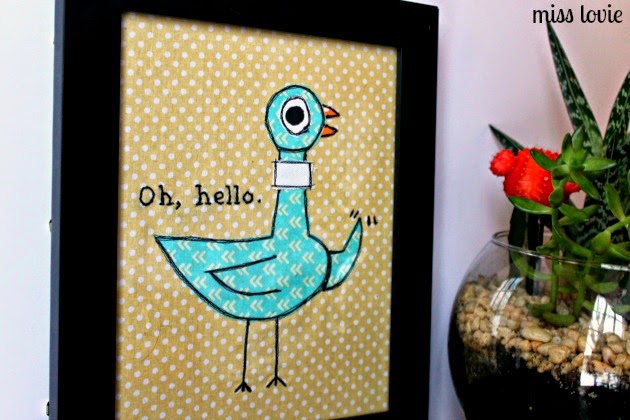
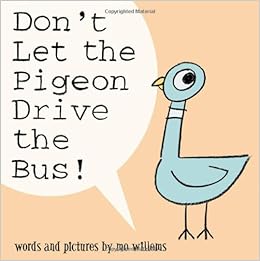
I knew I wanted to do some sort of wall art with some sketchy stitching for the Scrap Busting Extravaganza, but I had trouble deciding which direction to go in. I finally decided on one of my favorite children’s book characters, the pigeon, from Mo Willems’ “Don’t Let the Pigeon Drive the Bus!”.
source
I’m a kindergarten teacher and I’ve probably read this book to my students hundreds of times and he never stops being funny to me. I thought this art would be perfect for the reading corner in my classroom. This is a quick and easy project that would be great for any child’s or baby’s room, too!
Ok, let’s make some pigeon art.
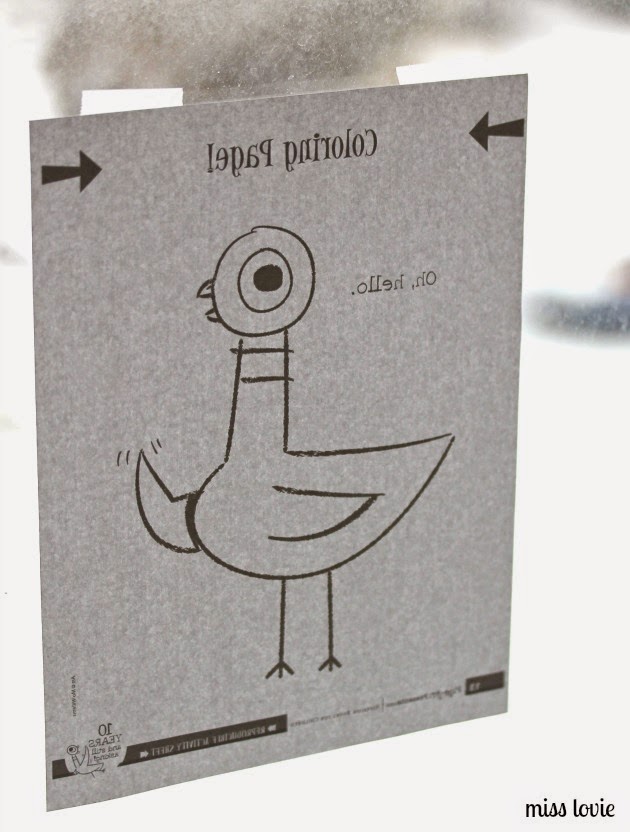
First, print page 13 from this packet. It’s a coloring sheet with the pigeon on it. You’ll use this as your pigeon template. If you wish to embroider the words, “Oh, hello.” on your art, print this template also. The words on the coloring sheet art too small so I made a new template.

Now, let’s gather the rest of your materials. You’ll need fabric scraps in the following colors: light blue, orange, black, white (not pictured), and something for the background (I used yellow). Also gather an 8×10 frame, black thread, nice fabric scissors, and fusible webbing. If you choose to embroider the phrase shown, you’ll also need an embroidery hoop, black embroidery thread, and an embroidery needle.
Tape the coloring sheet (your template) backwards onto a window so you can see through it easily.

Tape your fusible webbing paper side up on top of the template. With a permanent marker, trace the outline of the pigeon and then move the webbing and trace the eye, eyeball, neck stripe, and beak pieces separately, as seen above in the second picture.

Cut apart your webbing into pieces and fuse them with the iron to the backsides of the coordinating fabric- beak goes on orange, eyeball on black, white part of eye and neck stripe on white and pigeon body on blue. Cut all these pieces apart along the black line.
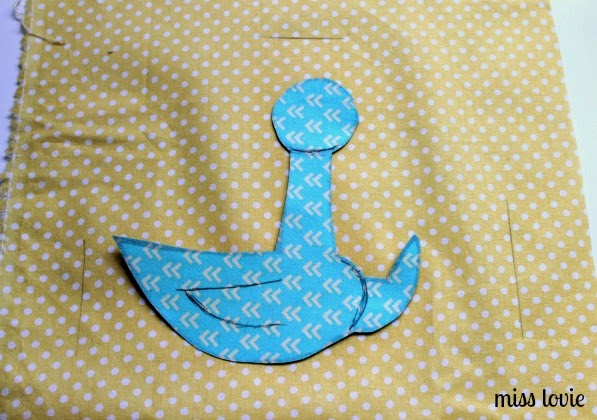
Use a pen (washable ink pen is probably preferred, but mine were out of ink so I used a regular pen) to mark an 8×10 space on the background fabric so you will be able to place the pigeon in the middle later. Then mark the lines on the pigeon you want to sew on later (line under the head, wing line and shadow, and wing line on top of body). You’ll want to keep a couple inches of fabric on the outsides of these measurements for later.
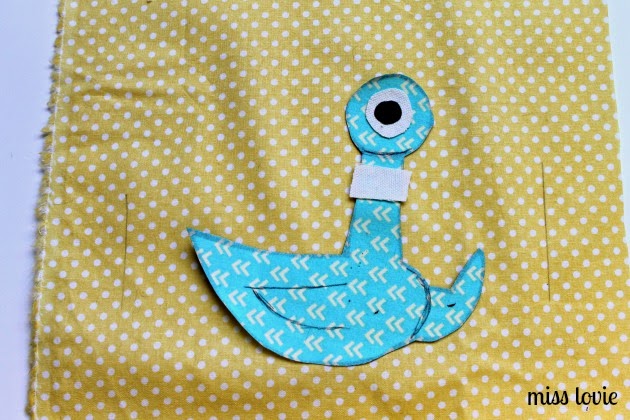
Next, peel off the paper backing from the white pieces and iron them in place onto the pigeon. Do the same with the black eyeball. Then take the paper backing off the pigeon and iron him in the middle of the 8×10 space. Be sure to leave enough room for his legs at the bottom.

Lift the edge of the head so the beak pieces can slide under. Peel the backing off those pieces and put the edges slightly under the head, press.
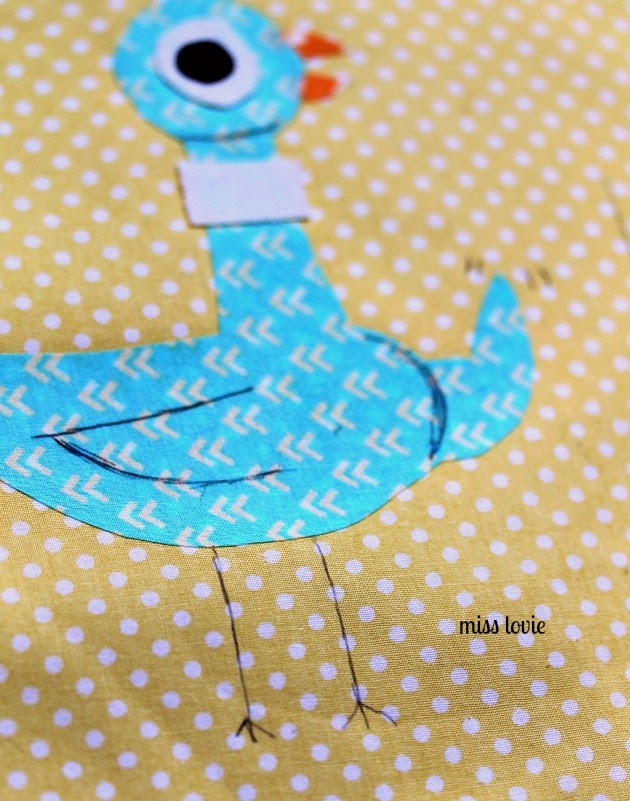
Next draw the legs on with a pen.
If you plan to embroider “Oh, hello” onto the fabric, go ahead and tape the template to the window and this fabric on top. Trace the words lightly with a pen wherever you like.

Next, sew on top of the fabric all around the edges of the pigeon, around the fabric pieces fused on top (eye, beak), and around the shadows and other lines you drew including the legs. Take your time and sew as many lines as you like. I think I sewed about 5 lines (messily) over each section.

Finally, if you chose to embroider “Oh, hello.”, put your fabric into a embroidery hoop, and go to town. I just used a simple back stitch to make it easy.
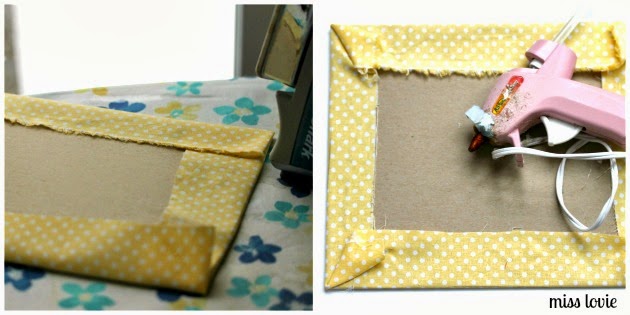
Finally, press your fabric flat and then around a piece of card stock or thin cardboard the same size as your frame. I used whatever came in my frame. Pull each edge tight and then hot glue them down on the back. This will help your fabric lay super flat and give you a nice finished piece. Throw it in a frame and you’re done!

Ta da. Pigeon cuteness.

The kids in my class are going to love him.
I hope you loved this Pigeon Fabric Wall Art! I’d love to see it, if you make one!
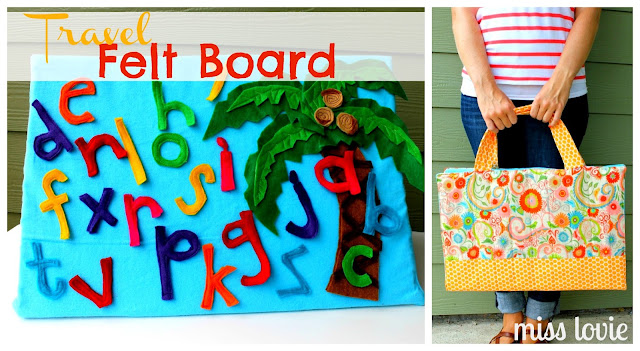
If you loved this idea, be sure to check out my other simple sewing ideas.
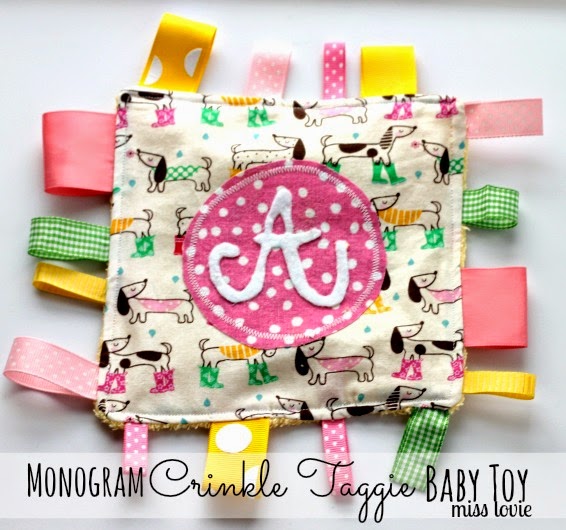 Monogram Crinkle Taggie Baby Toy
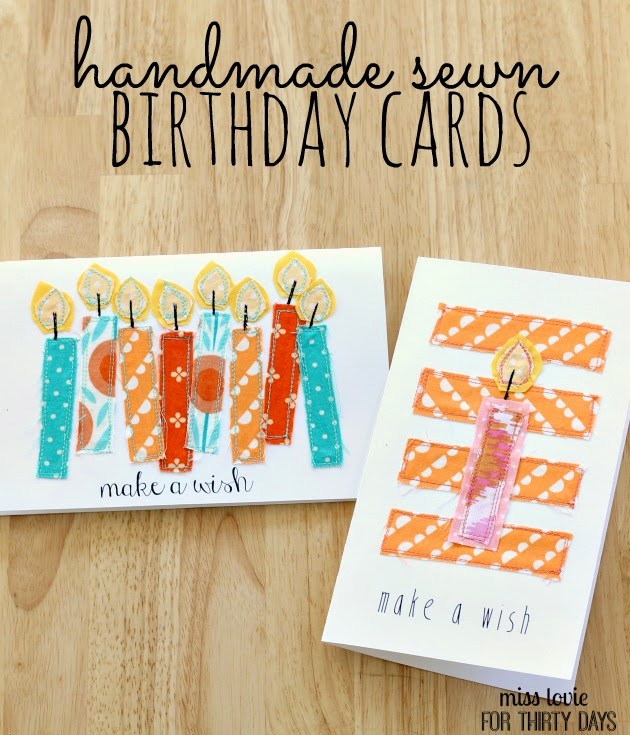

Thanks for reading! And thank you, Bev, for having me! I always love to be a part of these fun events!

Thank you so much Allie for being a part of the Scrap Busting Extravaganza! I’ve never read that book but I will definitely be hunting it up now – your pigeon art work is soooo cute!!


I am SO excited to make this! I’m not a very good sewer so I may need to recruit some help. I am throwing a baby shower for a friend in April & after seeing this, I’m going to do a Mo Willems theme! And then I am expecting my #3 baby in July and, after seeing this, I want this to be the nursery theme. :)