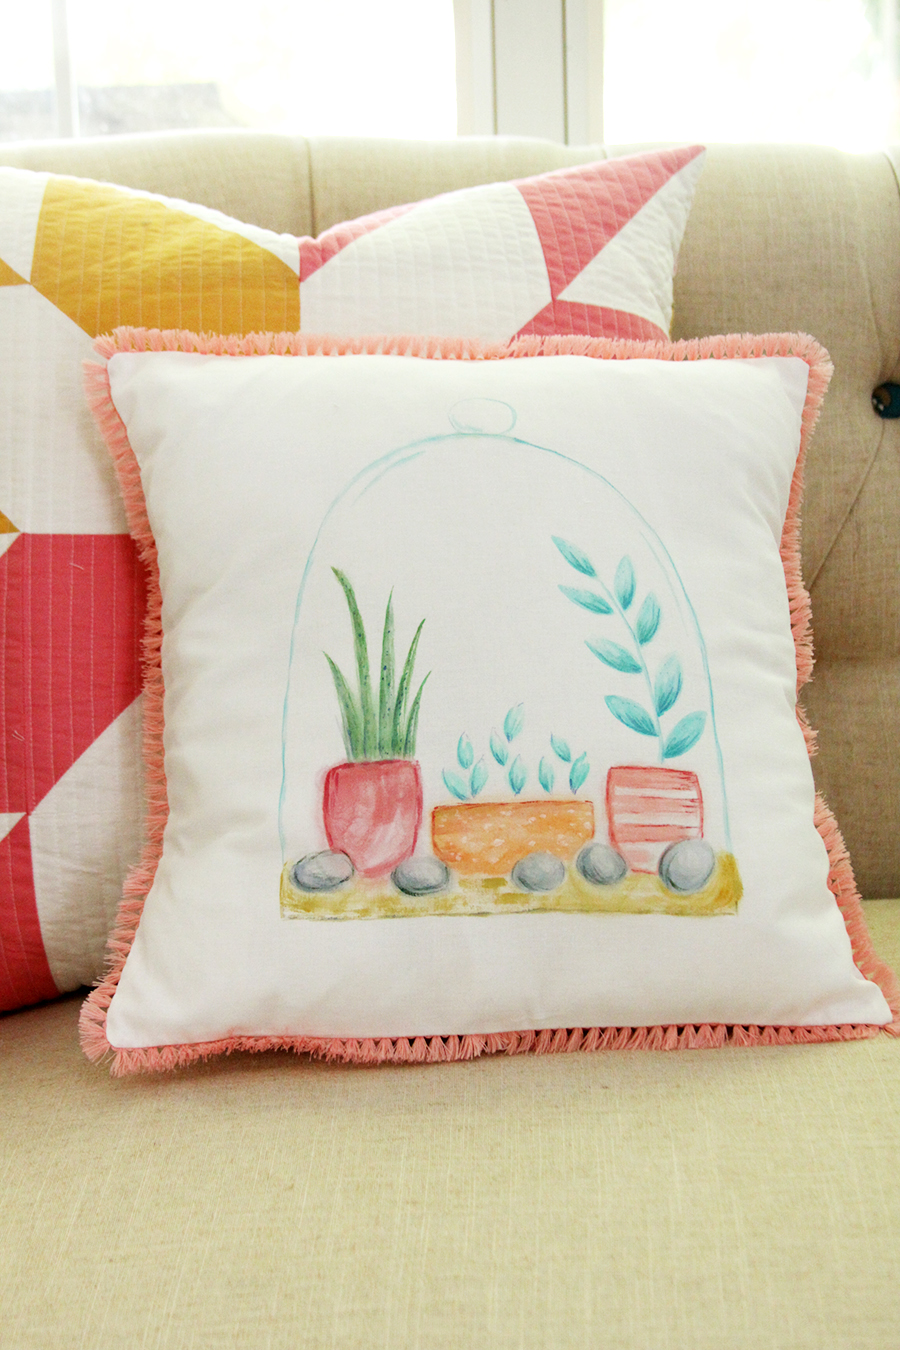
I’ve been working on my watercolor skills and I’ve been having so much fun! This DIY Watercolor Terrarium Pillow was so simple to make and I have a free pattern for you so you can make one too!
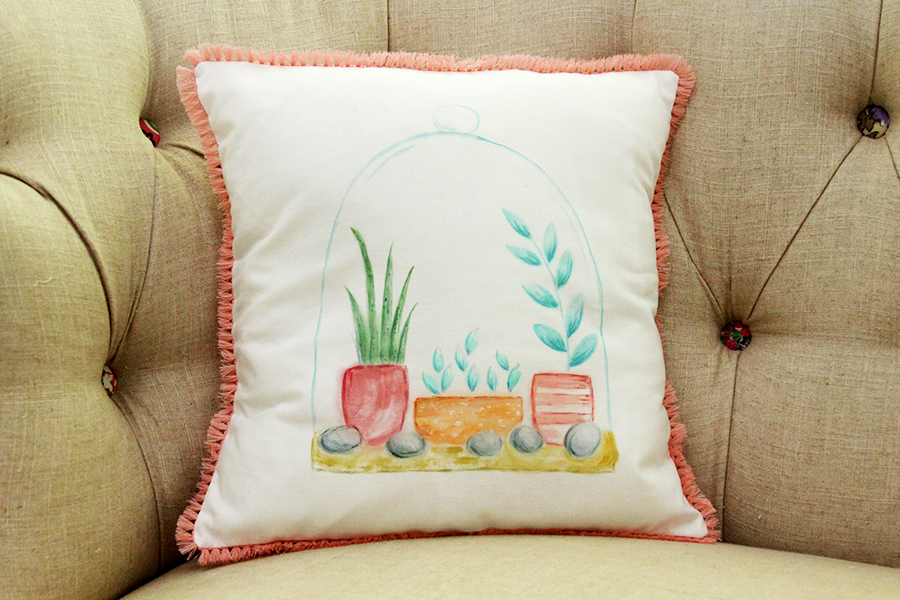
I used the new FolkArt® Watercolor Acrylic Paint™ and I loved it! It’s an acrylic watercolor paint that I think is easier to use than regular watercolors. It comes in so many pretty colors too! You can use it on so many different projects like canvas, fabric, wood, paper and even glazed ceramics – but you know fabric is my favorite! So I made this sweet terrarium pillow – and another fun feature of the paint is that it is machine washable on fabric. Win!!
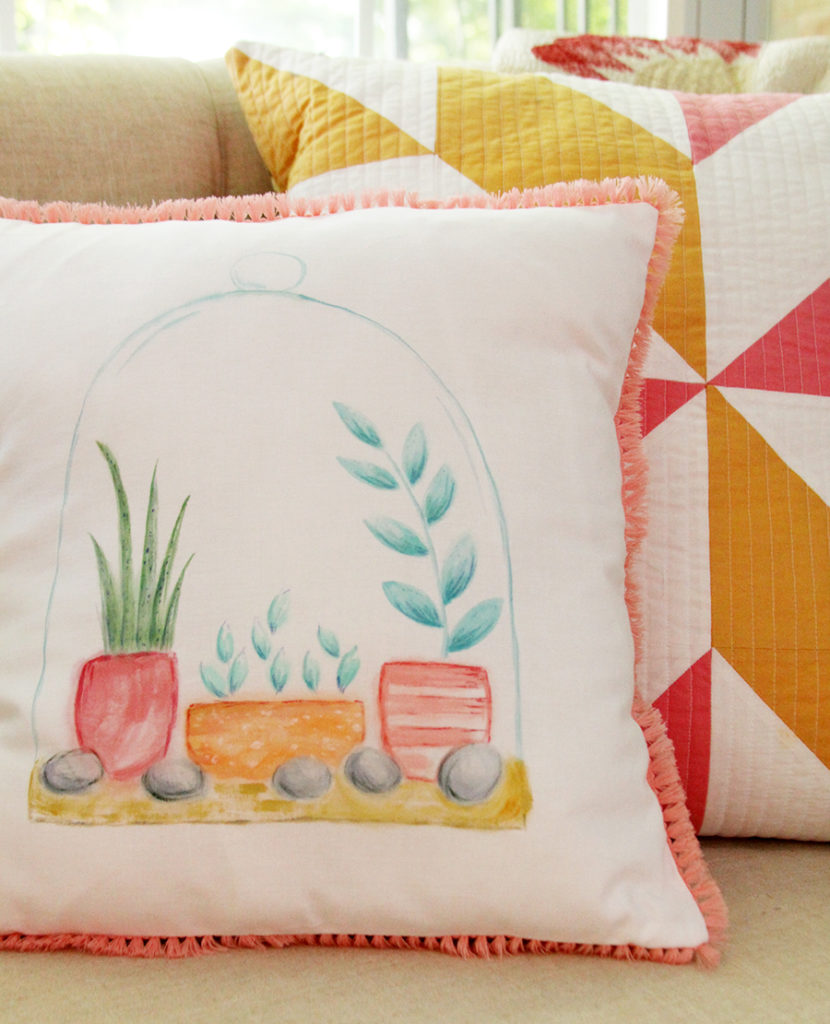
The paint is perfect for watercolor beginners and those that have been painting for years!
DIY Watercolor Terrarium Pillow
Materials: (contains affiliate links)
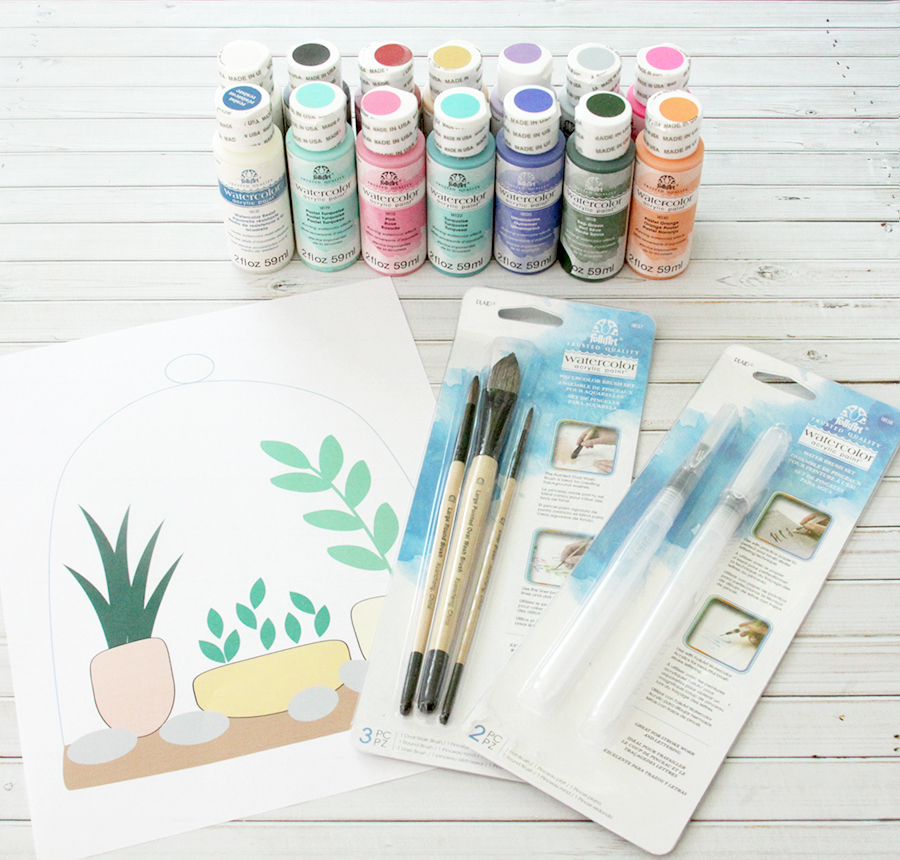
- FolkArt Watercolor paints – I used most of the colors in the set to create the terrarium
- FolkArt Watercolor Brushes
- 14″ x 14″ piece of white fabric – I used Riley Blake Designs White
- 1/2 yard fabric for backing – I used Vintage Adventure Pink Stripe
- 2 yards trim for pillow edge
- 14″ pillow form
- Terrarium Pattern
- Paint palette, water cup, wax paper
I didn’t use these, but the new Watercolor line also has a set of Brush Watercolor Pens and Watercolor Resist! You can fill the pens with water to use with the paints – they are perfect for watercolor brush lettering. And the resist is ideal for leaving white space on your design. Paint the resist on wood, fabric or paper in the area you would like to leave unpainted. The resist will keep the paint from the area and you can really have fun with reversed designs and all sorts of things where you need the surface to stay unpigmented.
Begin by printing out your terrarium pattern. Place a piece of wax paper over it to protect your surface and the pattern. Lay your fabric over that. Make sure you have a paper plate or other palette for mixing your paint and a cup of water for thinning it. You will want to add water to the paint and your surface to give the design the look of watercolor.
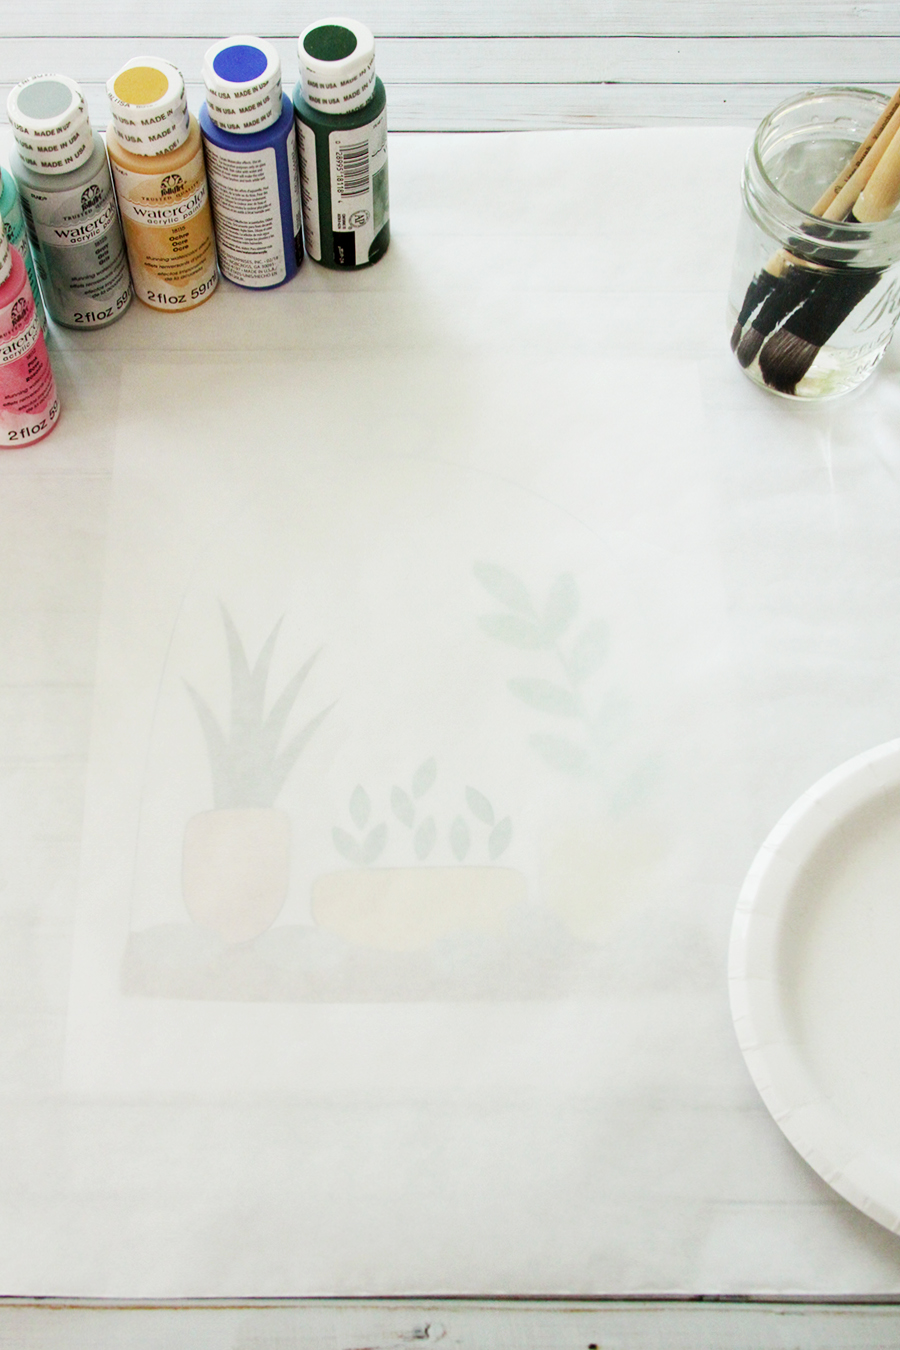
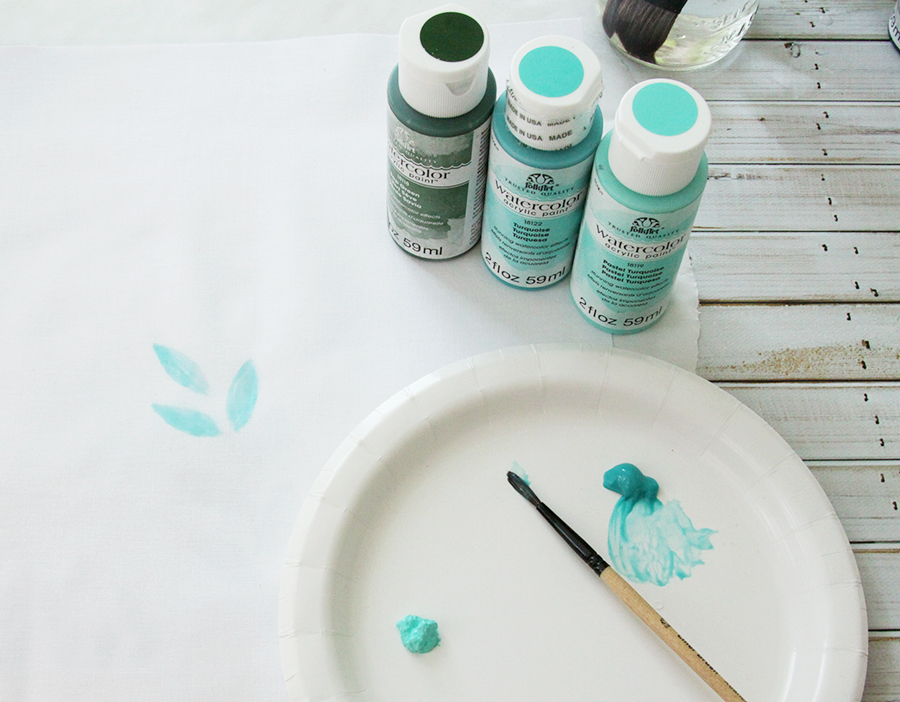
Start painting by using the smallest brush in the brush set and painting the leaves of the succulents. With watercolor you want to paint one side, then pull the paint to the other side of the design with water. This will give the leaves a shaded look.
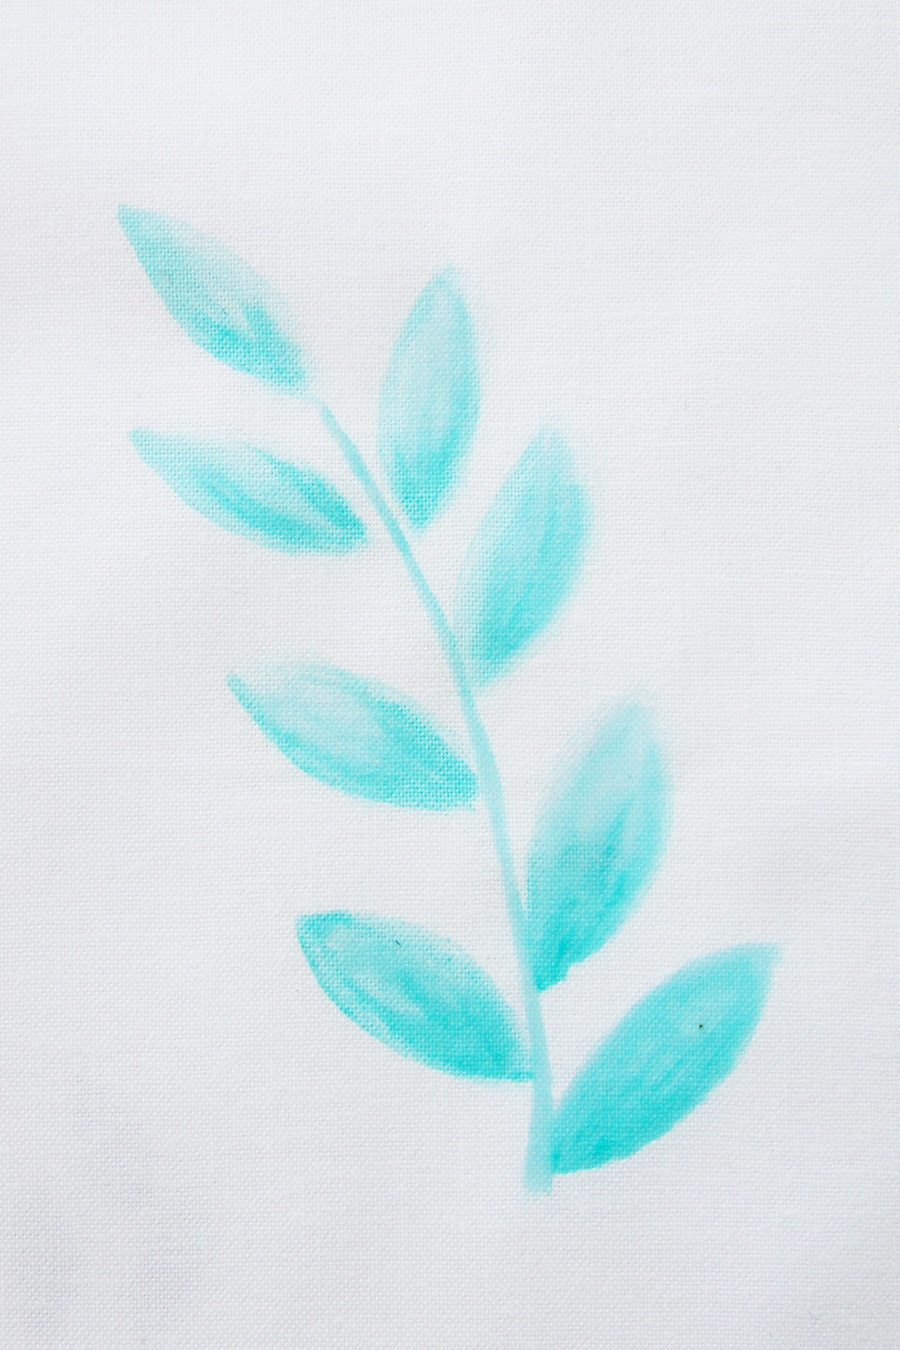
Continue painting the succulent leaves, adding in the stem. I did a base watercolor of the entire design, then added in more shading and details but you can work on each segment at a time if you choose. In the closeup below you can see the leaves aren’t entire filled in. Unlike regular acrylic paint, for this it looks great to leave light and dark areas, or even white space.
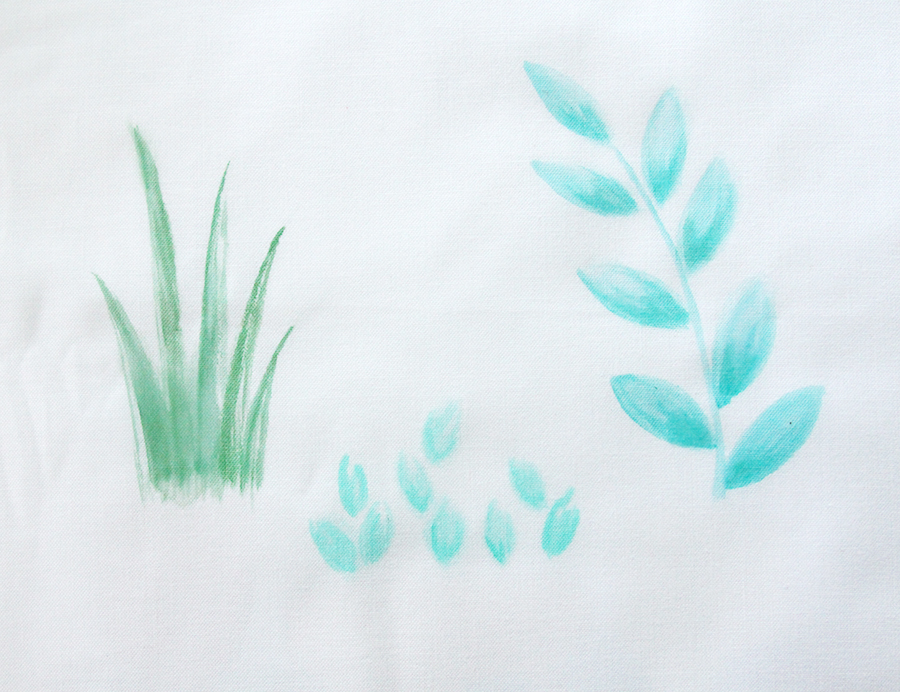
Continue painting the design, using the pattern below the fabric as a reference.
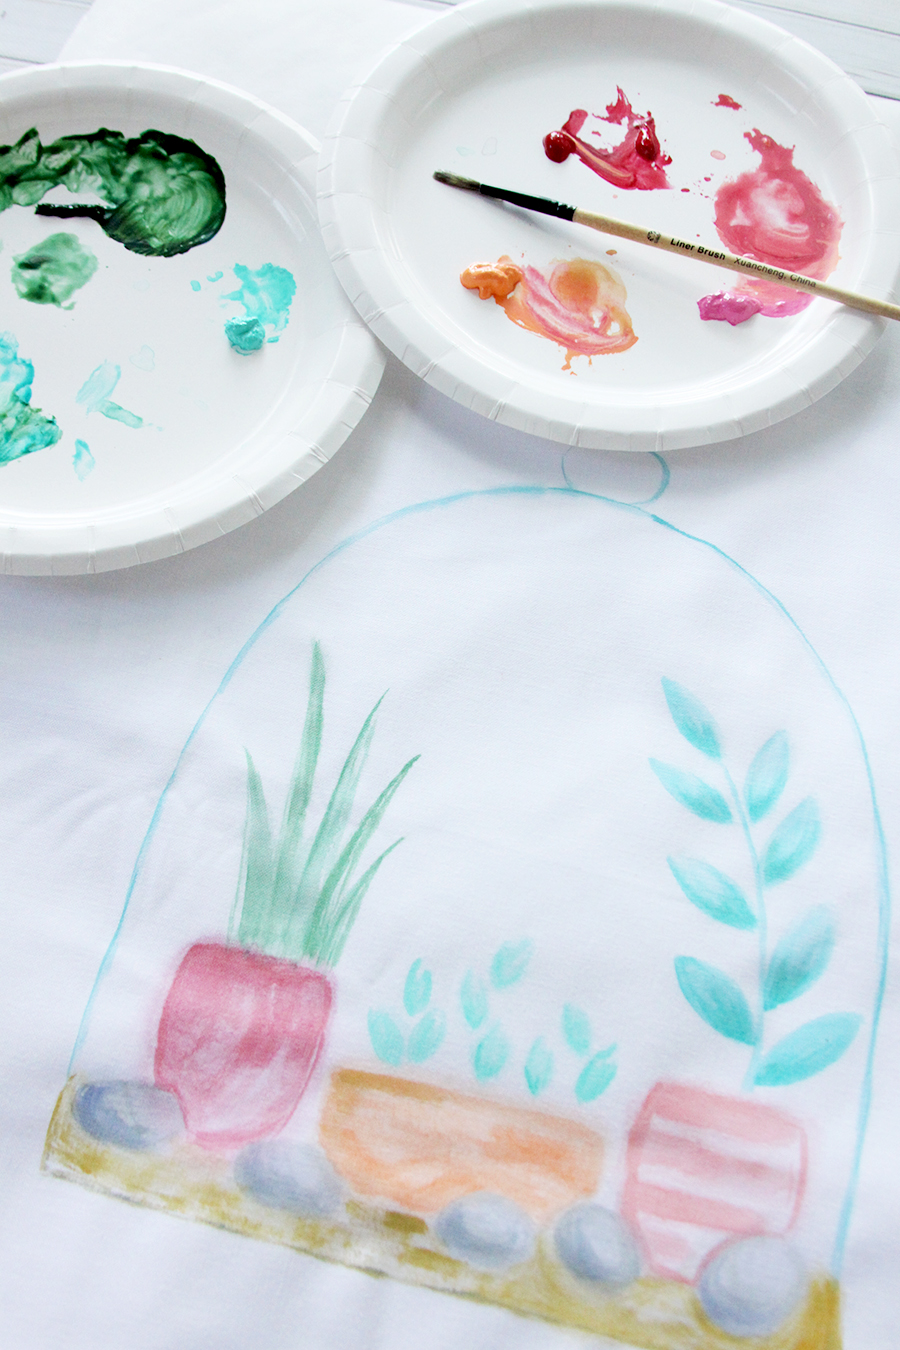
Once you have the design painted, go back with the darker colors that coordinate with your colors and add shading, dots and details. Thin the paint a little less than you did before to get the darker look.
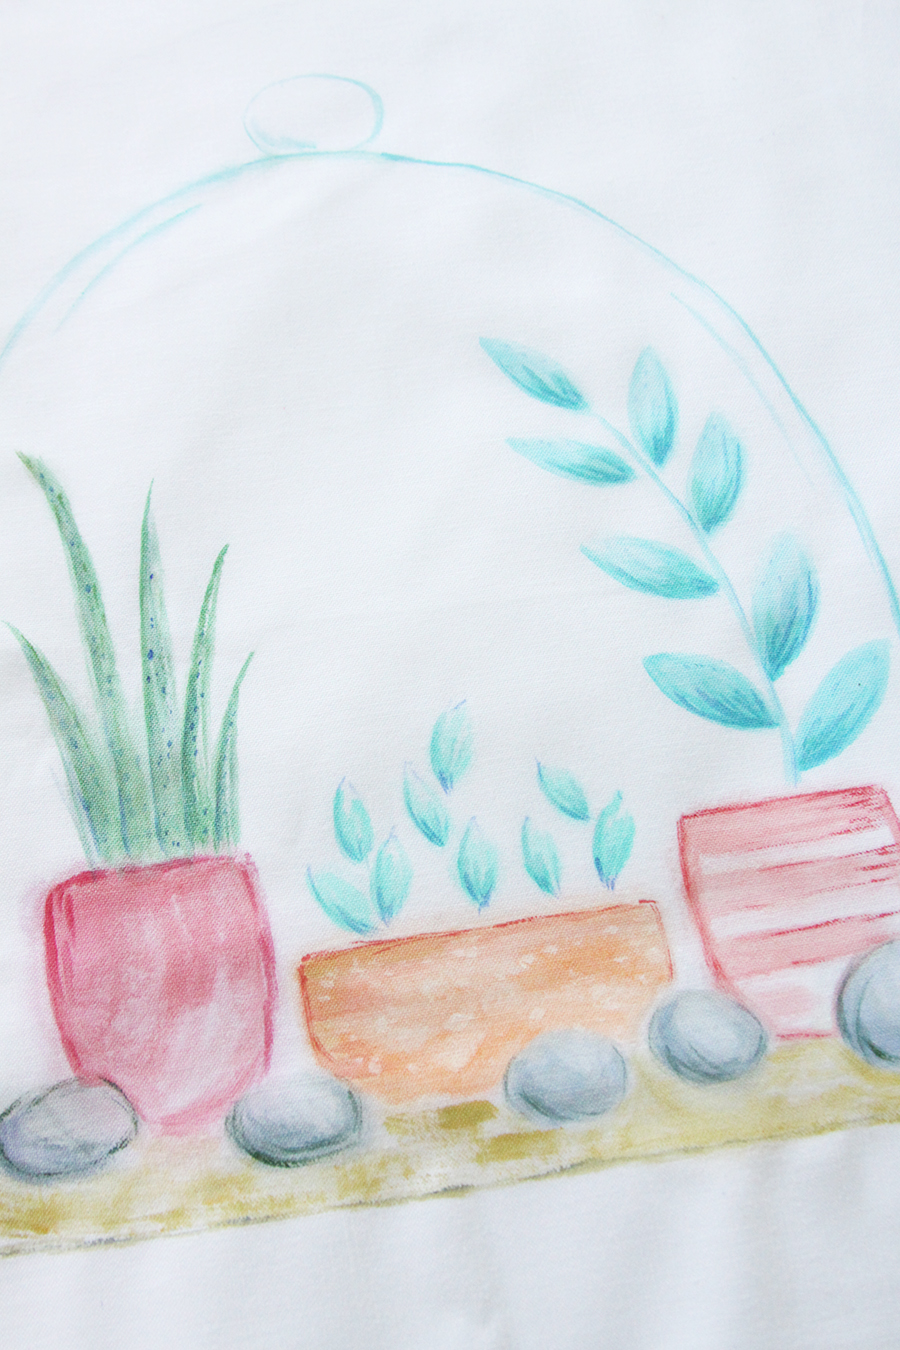
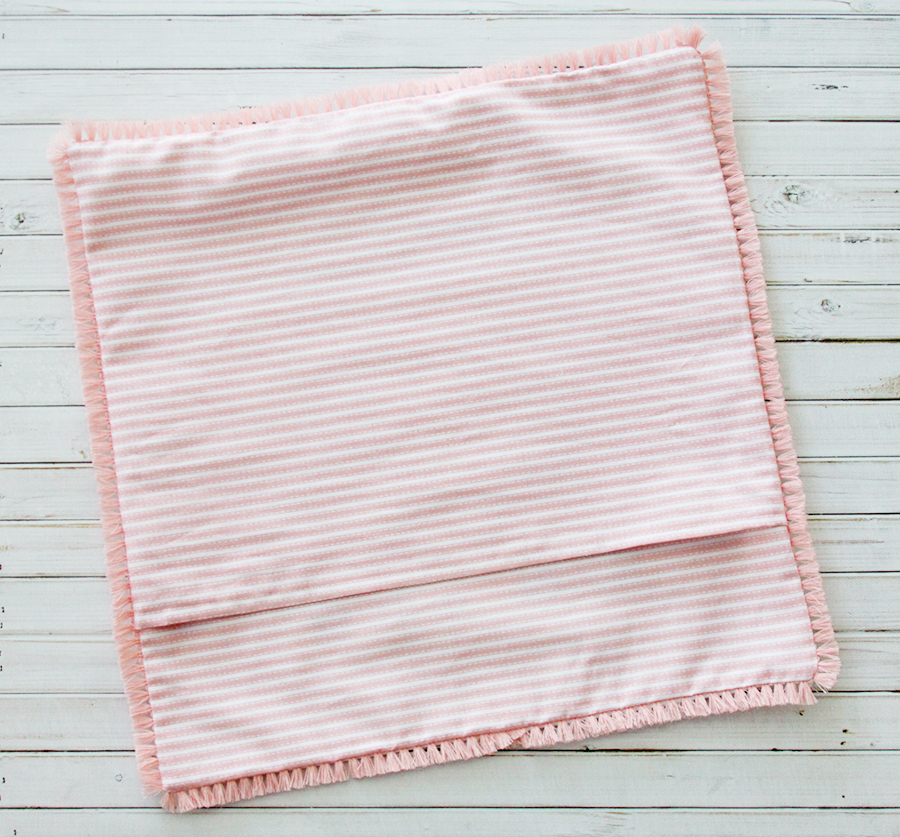
Once you are done painting, let your design dry for several hours. You don’t want paint getting on your pillow back fabric. Finish the pillow by sewing an envelope back and adding trim to the pillow. You can find instructions for that in this tutorial.
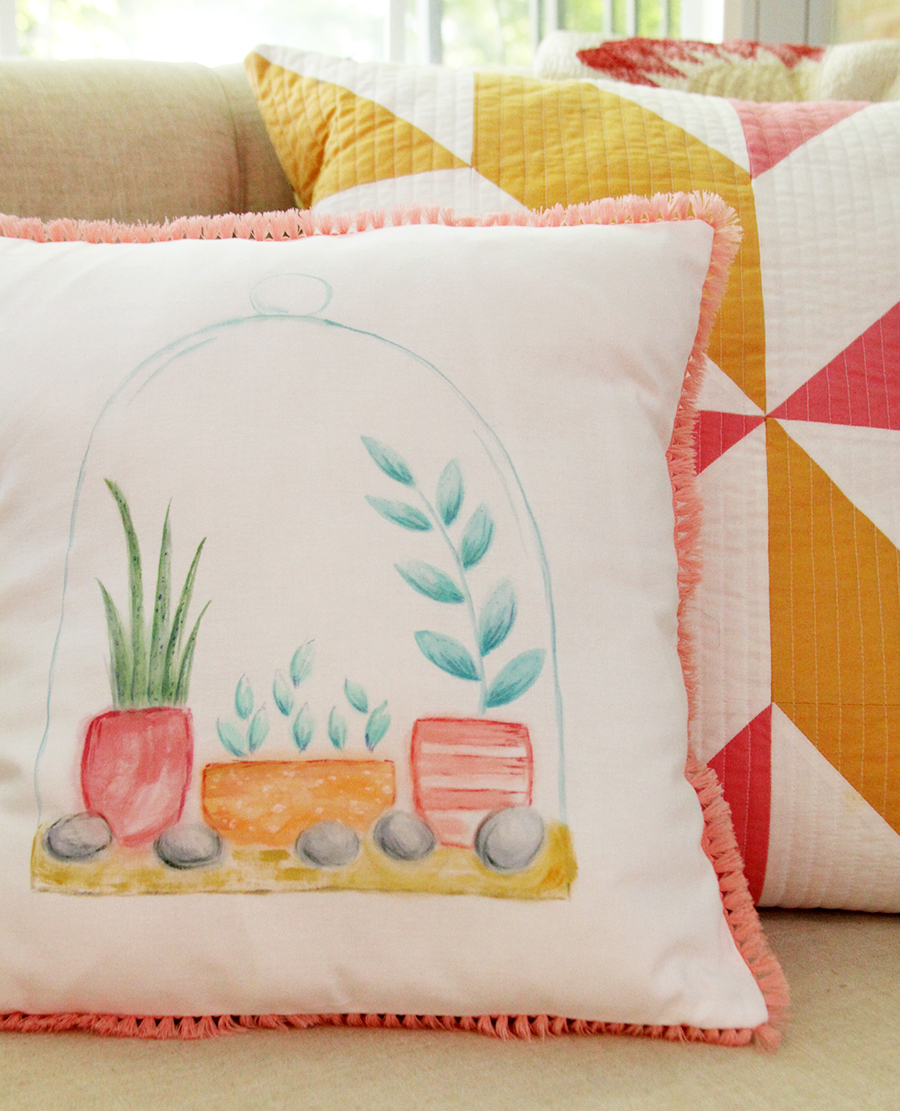
Place your pillow form in the pillow cover and show off your mad watercolor skills!
You can find more inspiration on Plaid Online, Facebook, Instagram, YouTube and Pinterest. You can see more FolkArt Watercolor projects at the other Plaid Creators sites – including more projects on other surfaces like wood, canvas and ceramics!


I love combining watercolour or pastels with my stitcheries it gives a lo ely whimsical feel and it was used in the 1900s to colour black and white pictures etc. Thank you.