Today for the Scrap Busting Extravaganza we are so lucky to have my sweet friend Abby from Sew Much Ado!
I was so lucky to be able to hang out with Abby at a Fabric Weekend a few years ago and she is so sweet! She is incredibly talented as well – her sewing tutorials and patterns are so great and she can do DIY and crafty stuff too! Today she has a darling Bunny Silhouette Wall Art project that is so colorful and cute for Easter!
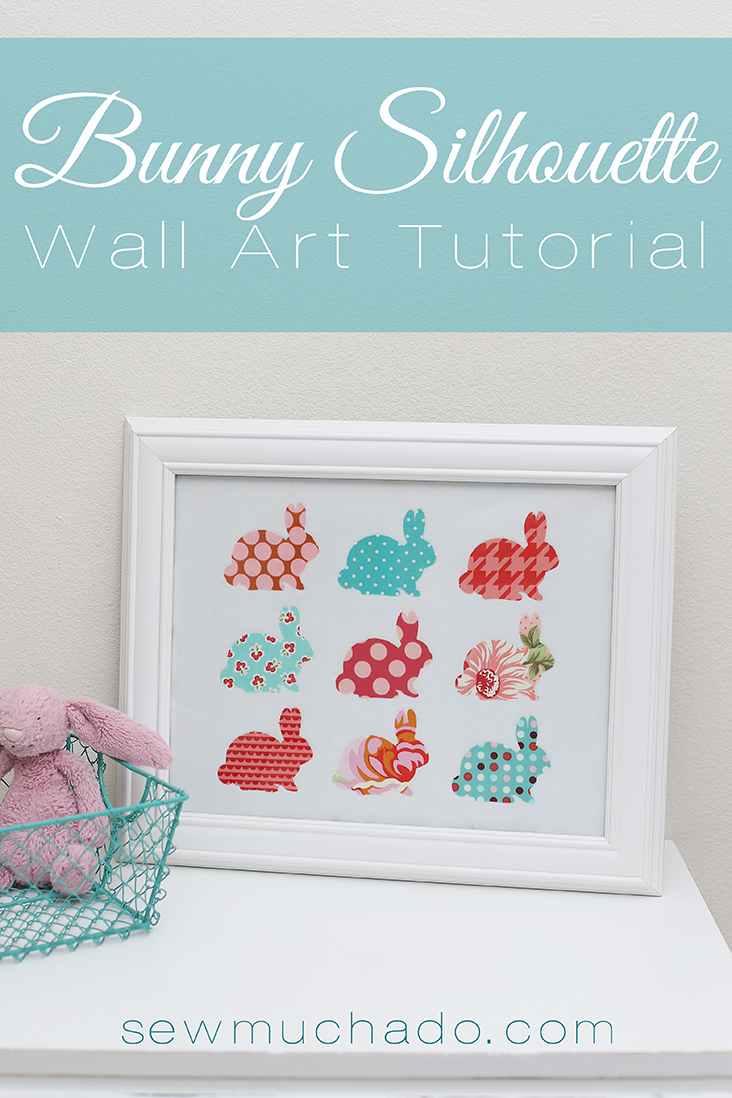
Hi everyone! I’m Abby from Sew Much Ado, where I share tutorials, patterns, and everything else that I sew and create! I’m happy to be joining in today on this fun series! I have been lucky enough to hang out with Bev in real life and she is such a gem.
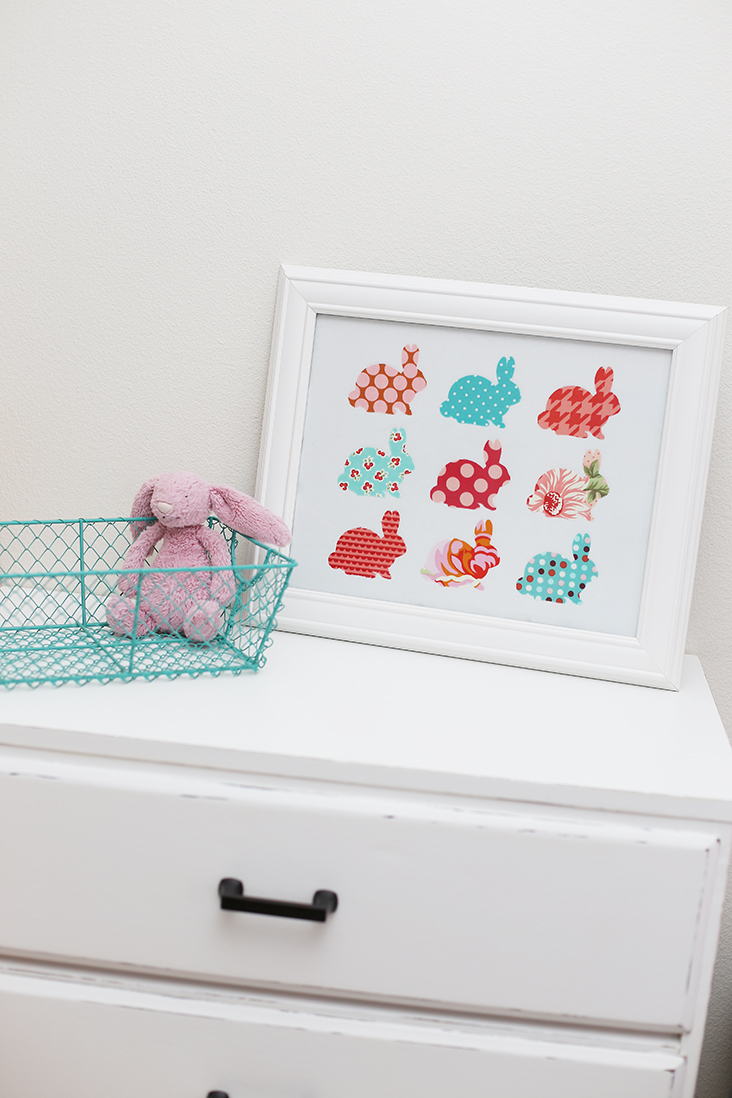
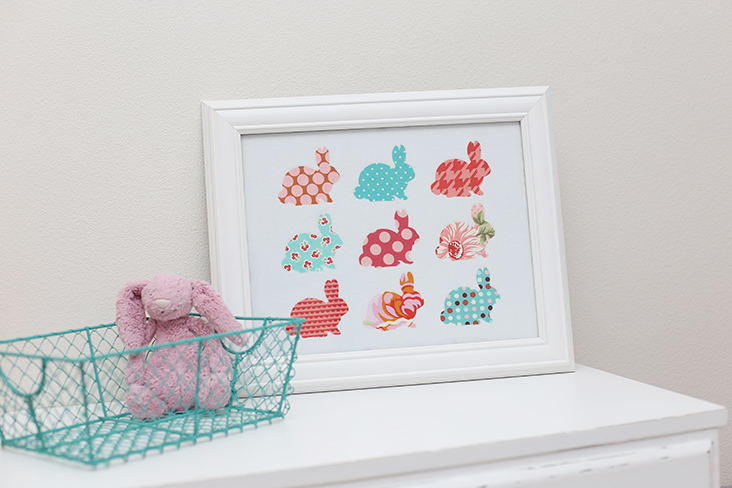
Scraps are one thing that we all have, and I love all the ideas that everyone has shared so far for using them. I wanted to create a project for showcasing some of your favorite scraps, and since Easter is right around the corner, I thought this bunny silhouette wall art would be the perfect way!
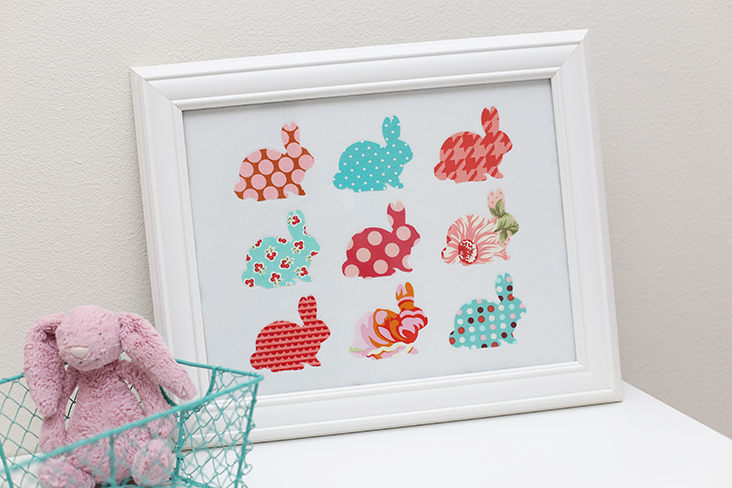
This is a super simple and fast project (my favorite kind). Ready to get started? We’ll be finished before you know it!
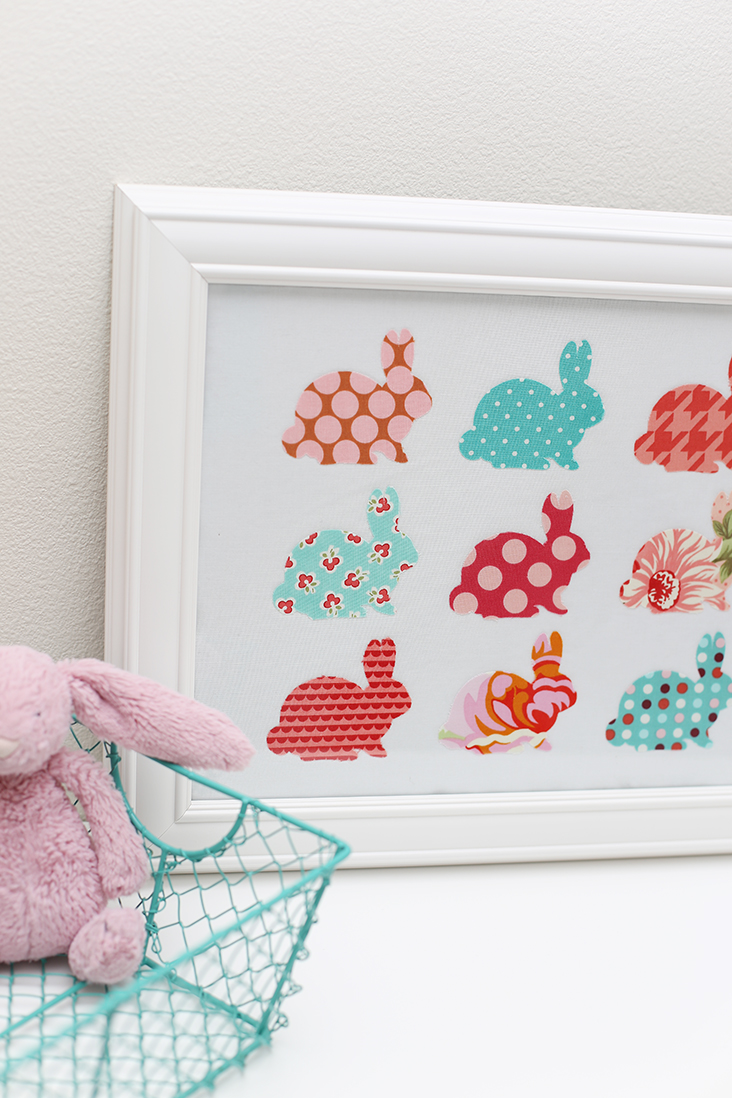
Supplies:
quilting cotton scraps – 9 prints, approximately 5″x5″ each
Heat n Bond – 9 pieces, approximately 5″x5″ each
white/cream quilting cotton – 11×14″ piece
fusible fleece (or other heavy fusible interfacing) – 11×14″ piece
bunny silhouette image HERE
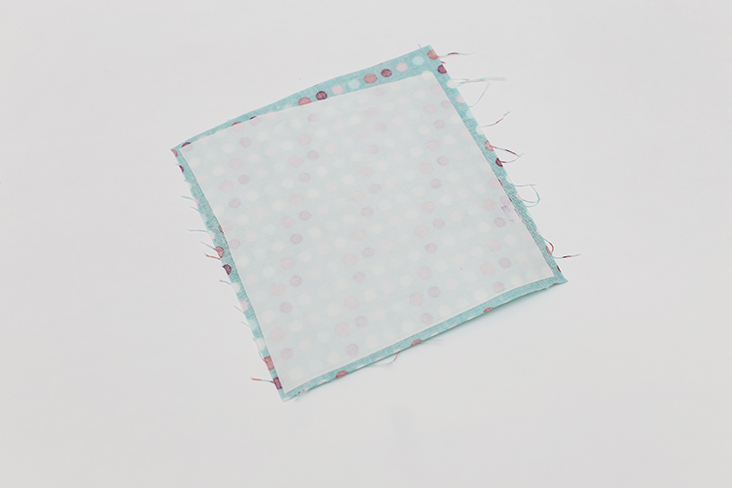
To start, apply each Heat n Bond piece to the wrong side of each quilting cotton scrap.
Use this image to cut a bunny from each scrap piece. If cutting by hand, trace the bunnies backward onto the paper from the Heat n Bond and cut each piece out. I used my Silhouette to cut them all quickly, using a fabric blade, the cutting blade set at 4, and thickness at 33. I found it cut more precise with the paper backing removed from the Heat n Bond before cutting.
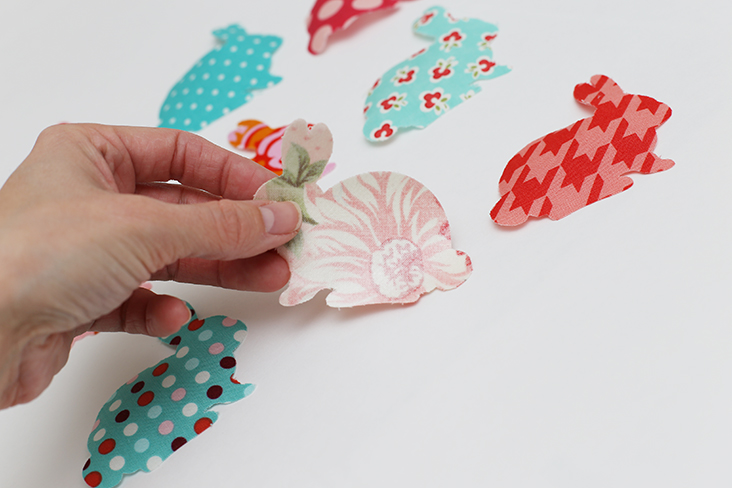
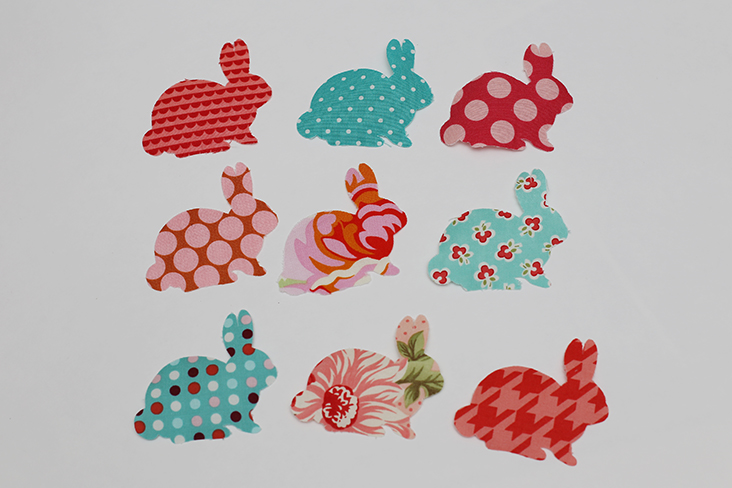
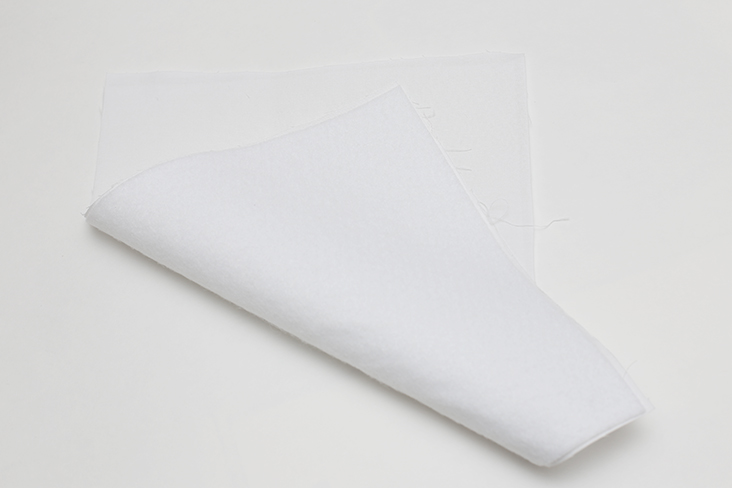
Once you have all 9 bunnies cut out, apply the fusible fleece to the white/cream quilting cotton piece.
Place the bunnies onto the white/cream quilting cotton piece, measuring to make sure they’re all equal distances apart from eachother and the outer edges.
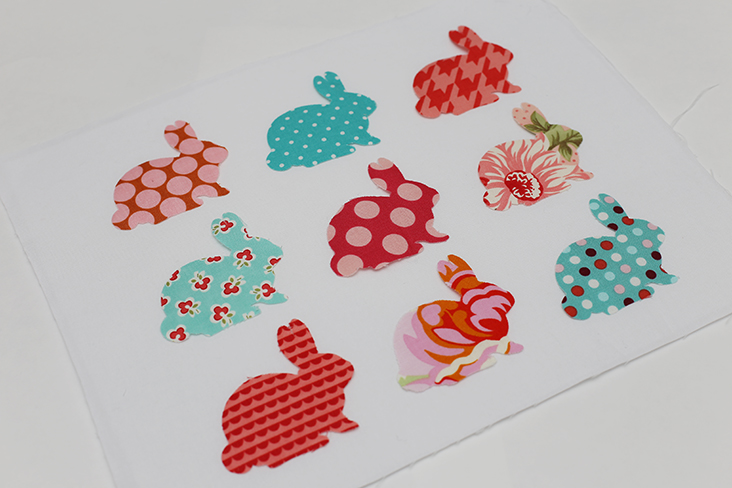
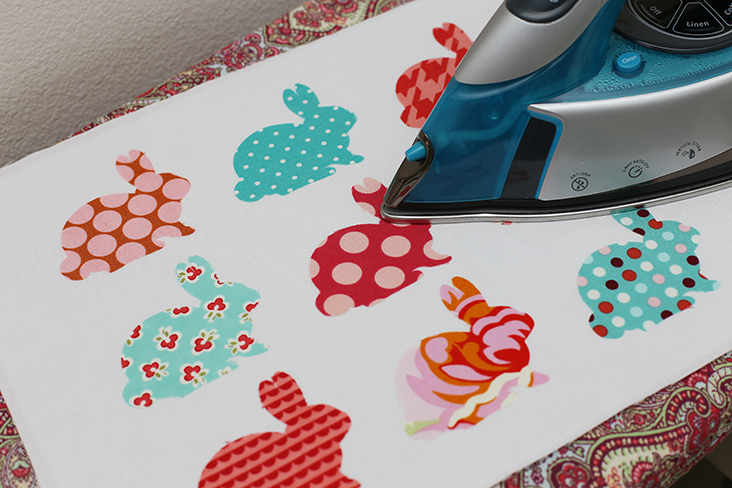
Follow manufacturer’s instructions to press each bunny into place using an iron.
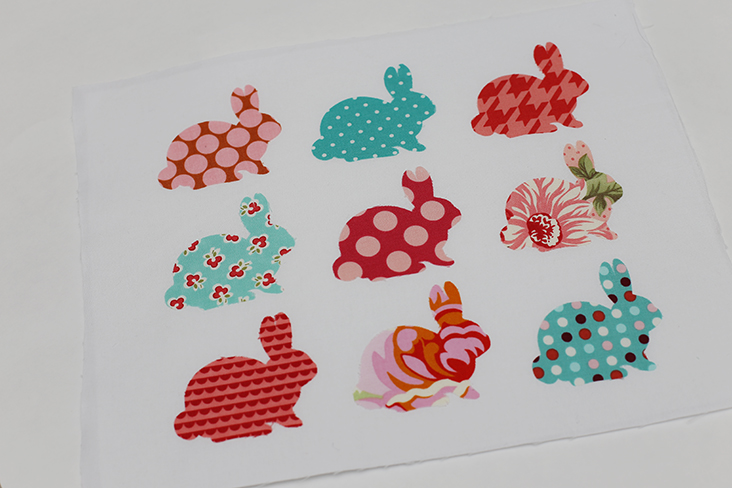
Optional: If desired, stitch around each bunny using preferred applique method. I wanted to keep it simple and opted for no stitching.
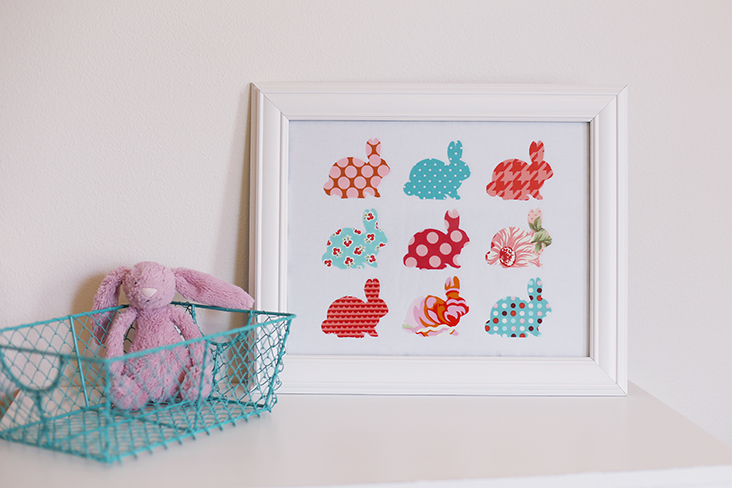
Place the bunnies into a frame and enjoy!
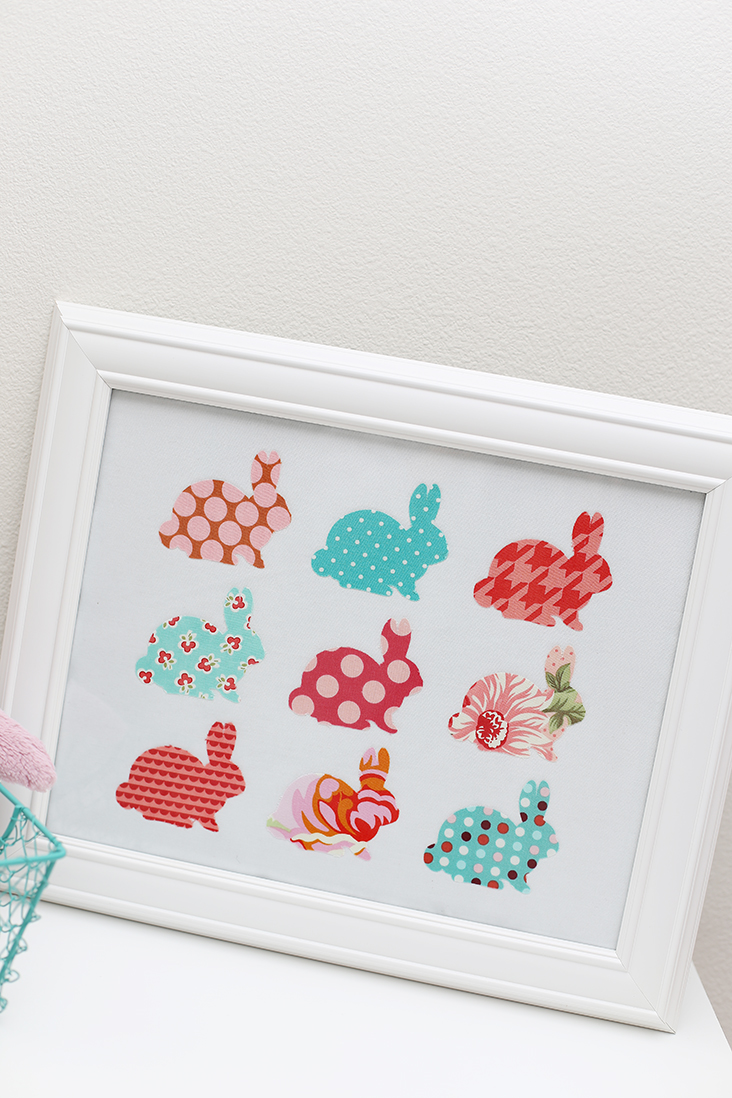
I originally made this for my sewing room, but then realized I have a quilt cut out for my girls’ room using the same fabrics, so I may have to give it to them at some point (if the quilt ever gets sewn ;)).
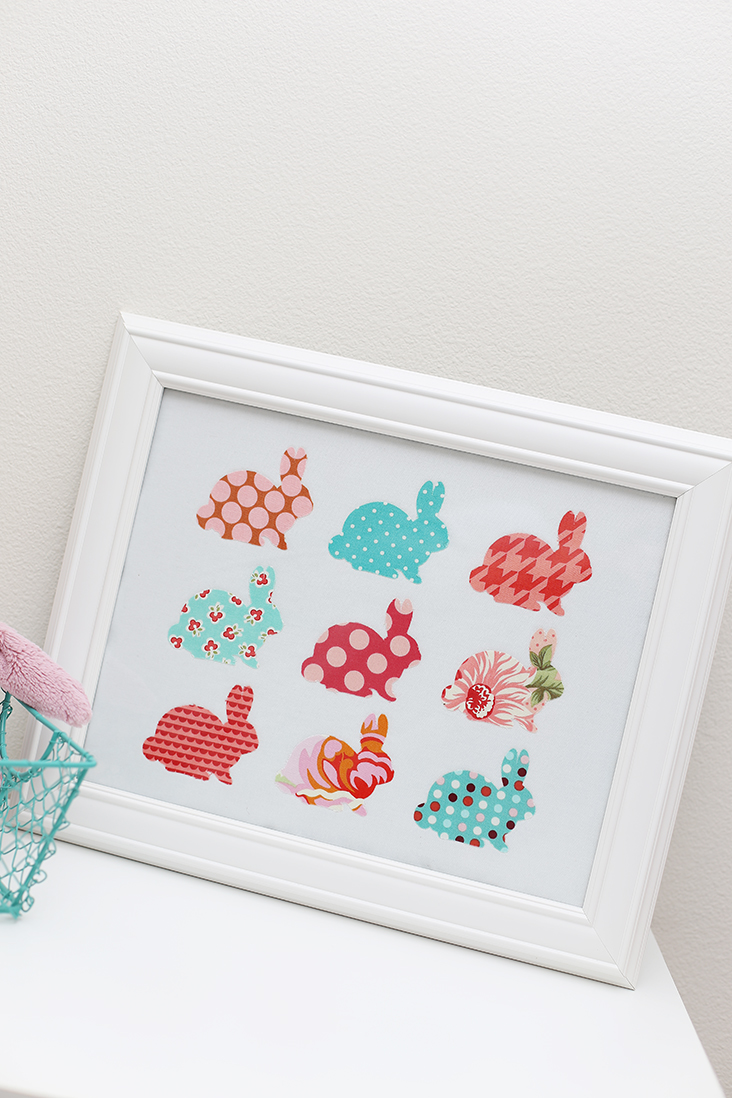
For now, I’ll enjoy it for myself!
Thanks for having me, Bev!
~~~~~~~~~~~~~~~~~~~~~~~~~~~~~~~~~~~~~~~~~~~~~~~~~~~~~
Ok, those bunnies are just adorable!! I love how it was to make up. Yay!
Here are some of my favorite projects of Abby’s – though it is hard to choose – there are so many fabulous ones!
Adorable Bunny Backpack Pattern (This is FREE!!)
So fabulous right?? Thank you so much Abby for being a part of the Scrap Busting Extravaganza!





Thanks for having me Bev!
This Bunny Silhouette Wall Art is sew utterly charming! Hehehe. Love the other rabbit tutorials too. Thanks for sharing all these crafty projects…
Ack! This is SO cute and so simple! I need some fabric bunnies asap. :)