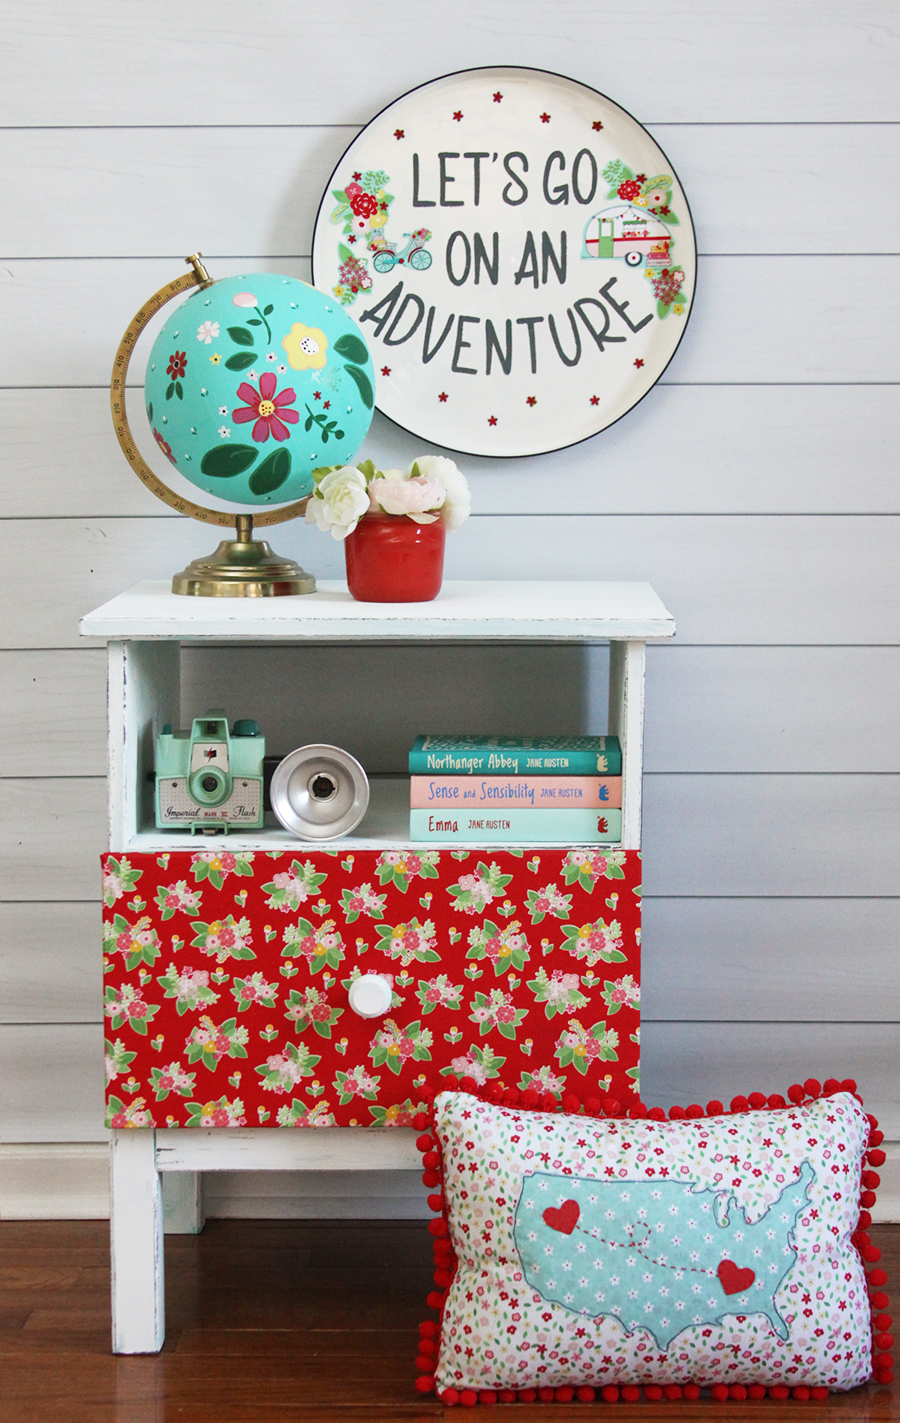
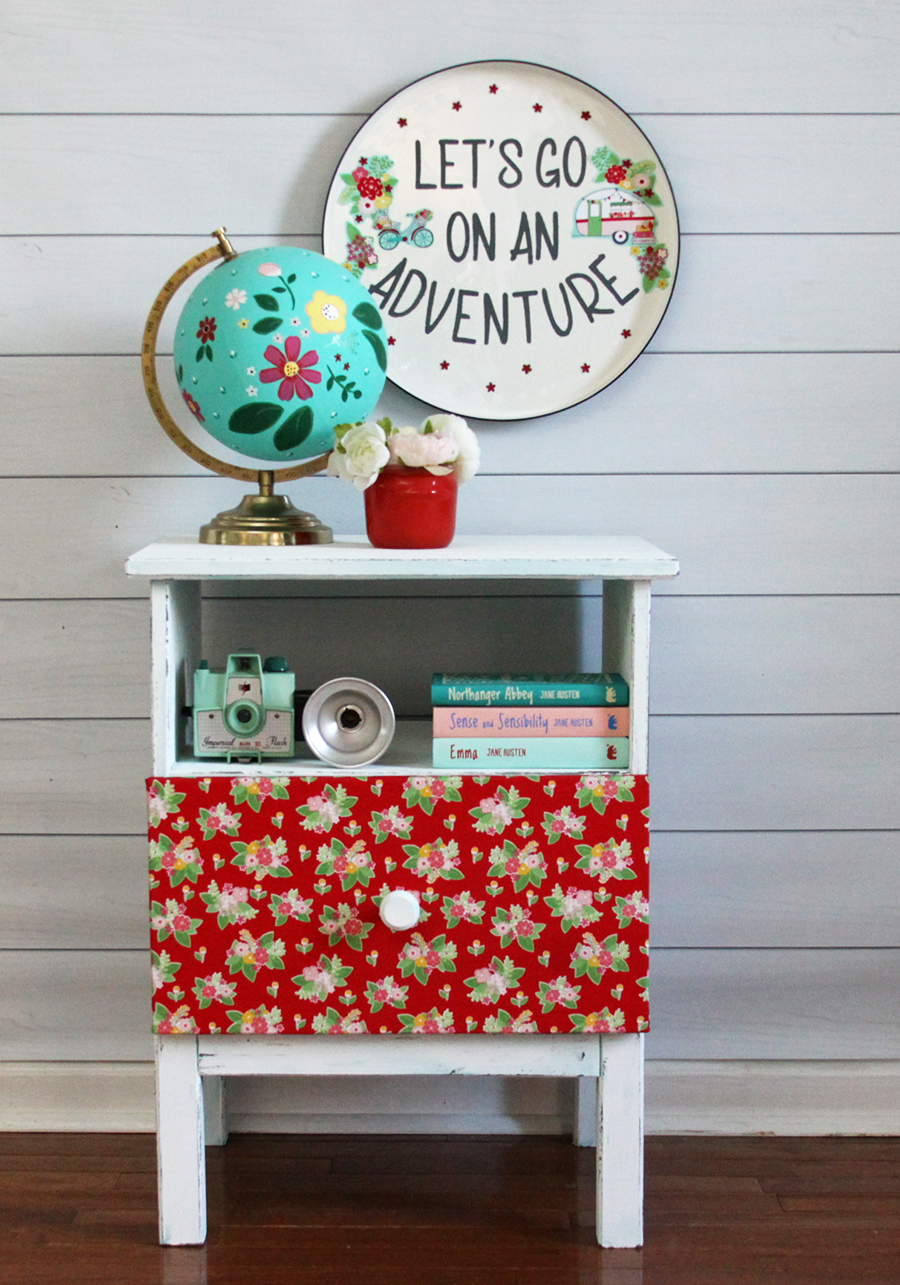
One of my favorite things to do is to take plain, ordinary furniture and decor and give it a vintage look! This Vintage Inspired Sign and Ikea Nightstand Hack was sooo fun and easy to redo and I love how colorful it is now!
This nightstand is the Ikea Tarva – it’s a great little wooden nightstand but rather plain. It’s an unfinished design that is perfect for dressing up! I used the new FolkArt® Home Decor™ Texture Chalk and some Vintage Adventure fabric and I love that it gave it a complete different look!
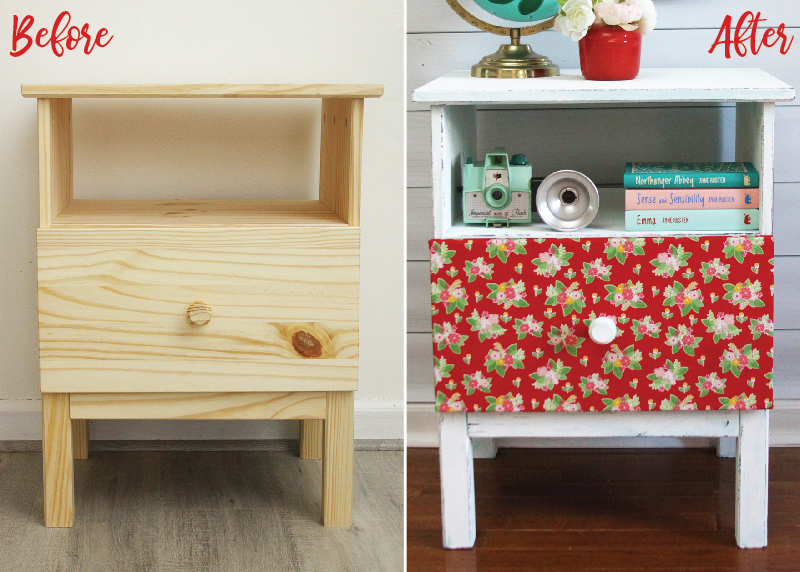
The Home Decor Texture Chalk is perfect for layering so I used it to give the piece a vintage look of multiple layers a paint. It covers really well though so you don’t have to do a bunch of coats. This has an undercoat of Aqua, a top coat of White, and then some detailing done with regular FolkArt Home Decor Chalk in a dark gray to highlight the details on the edges.
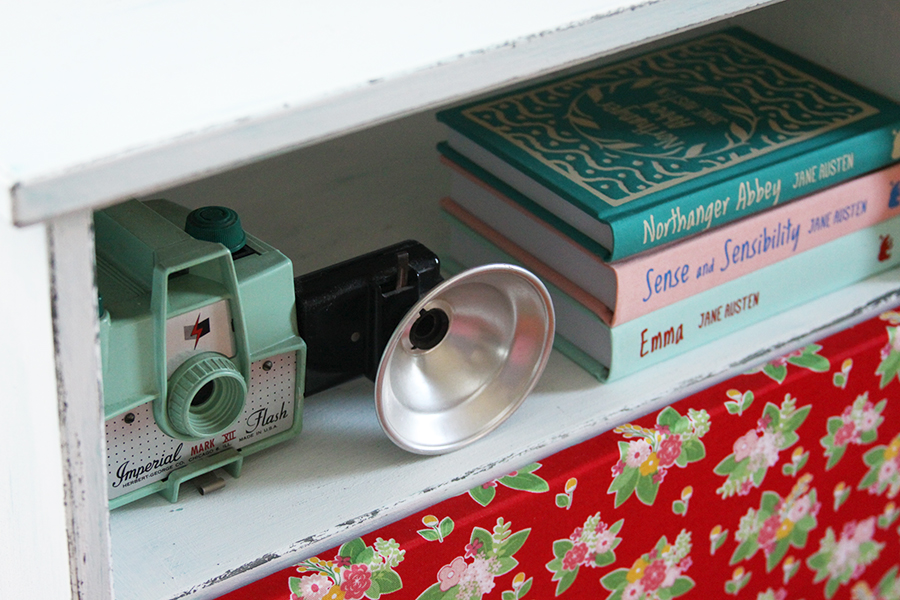
The aqua, white and gray colors contrast perfectly with the bright florals in the red fabric and of course I can’t resist all the colors!
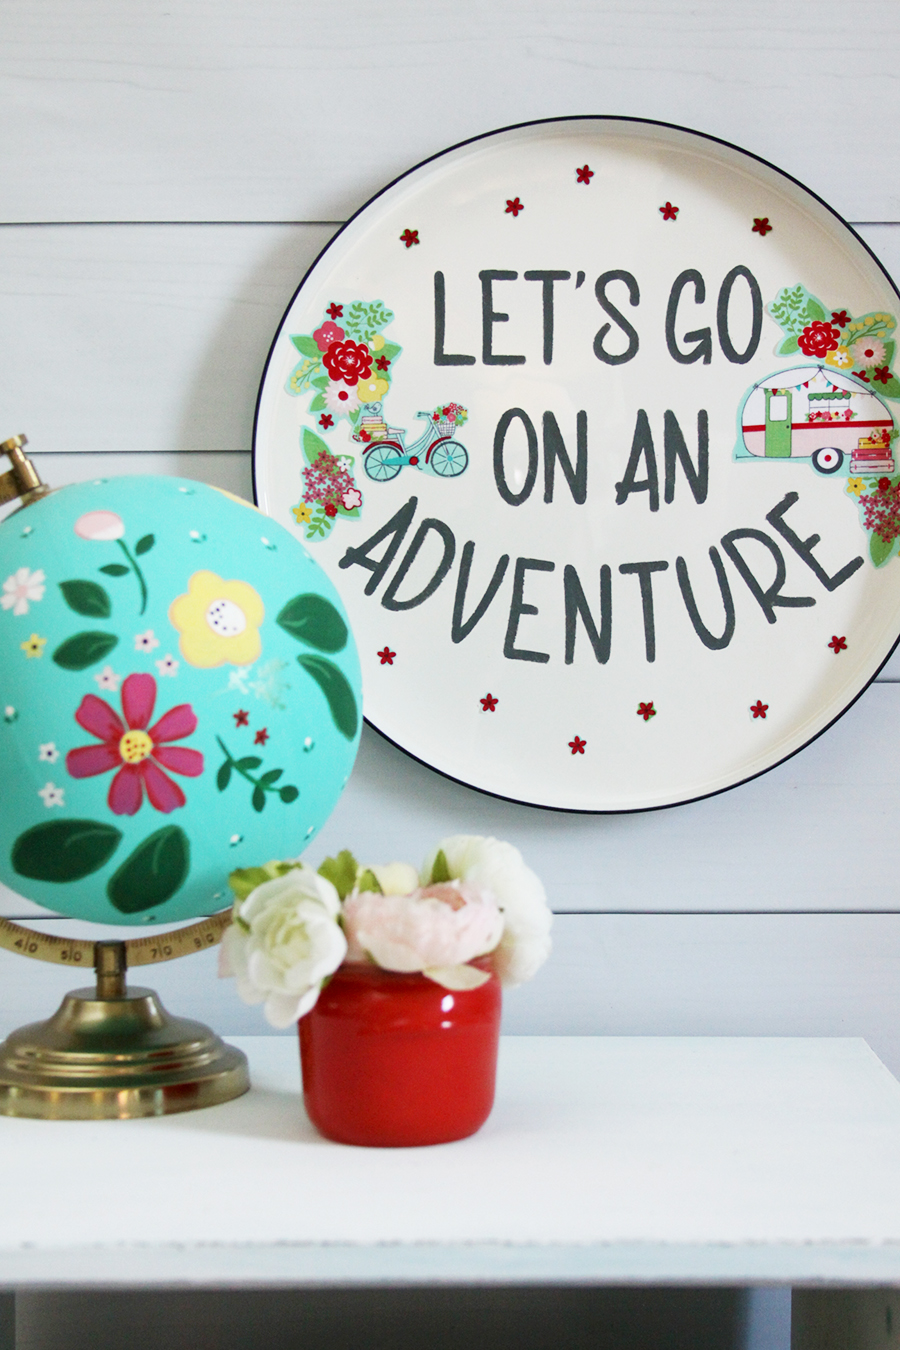
If you’ve never done furniture refinishing this is a great project to start with. It’s easy to paint and doesn’t take long to do – and in almost no time you have a really fun transformation! I was able to great a stenciled sign to go with my display on this fun enamelware tray – I love that it ties everything together.
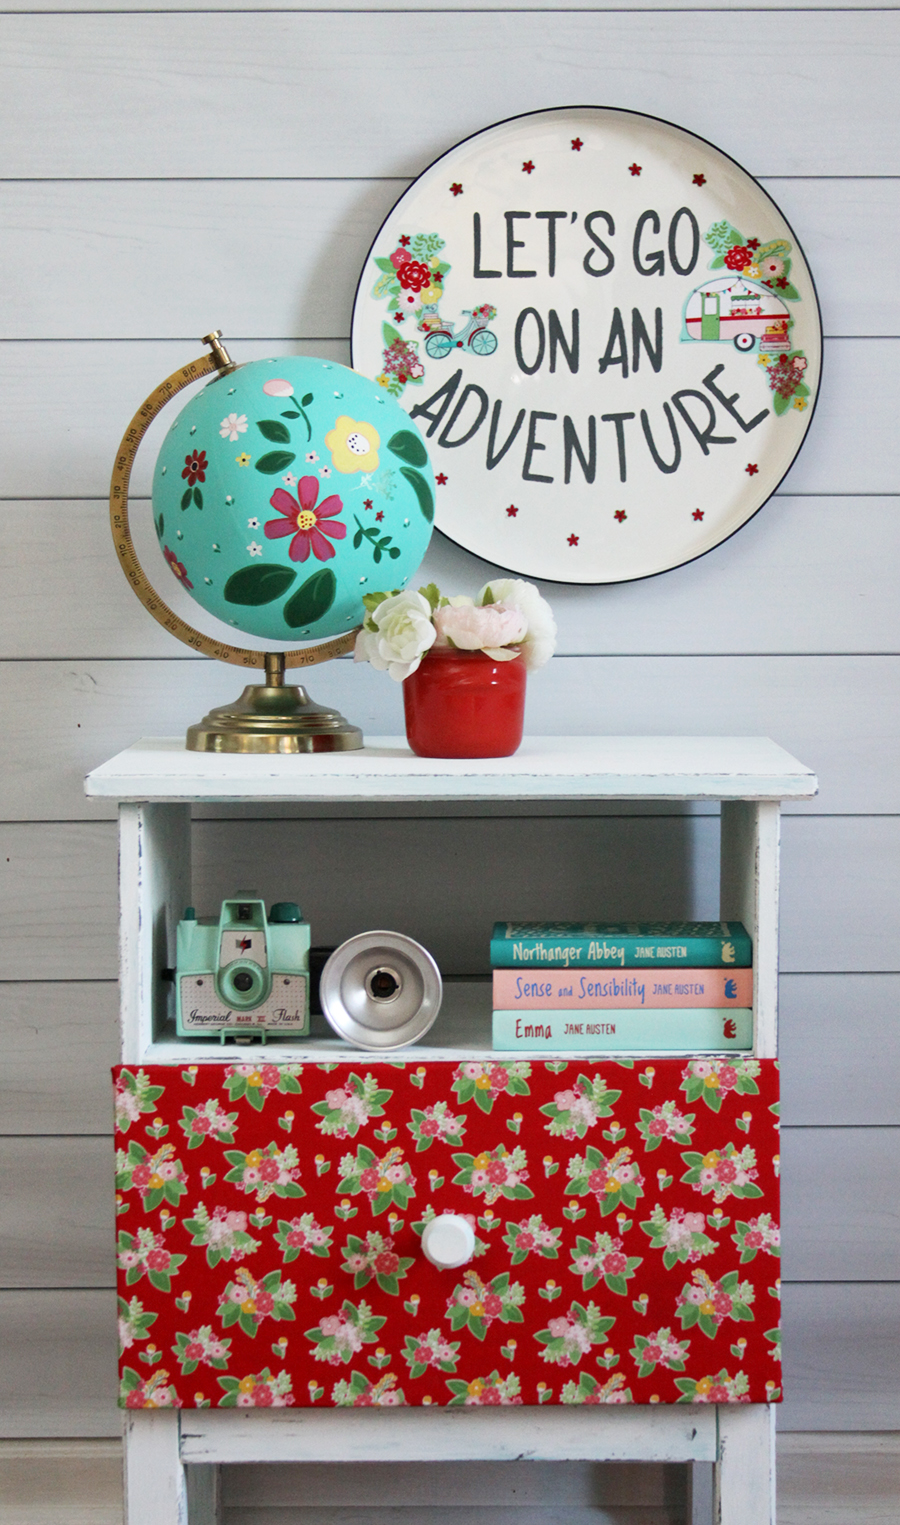
So let’s get started!
Vintage Inspired Sign and Ikea Nightstand Hack
Materials:
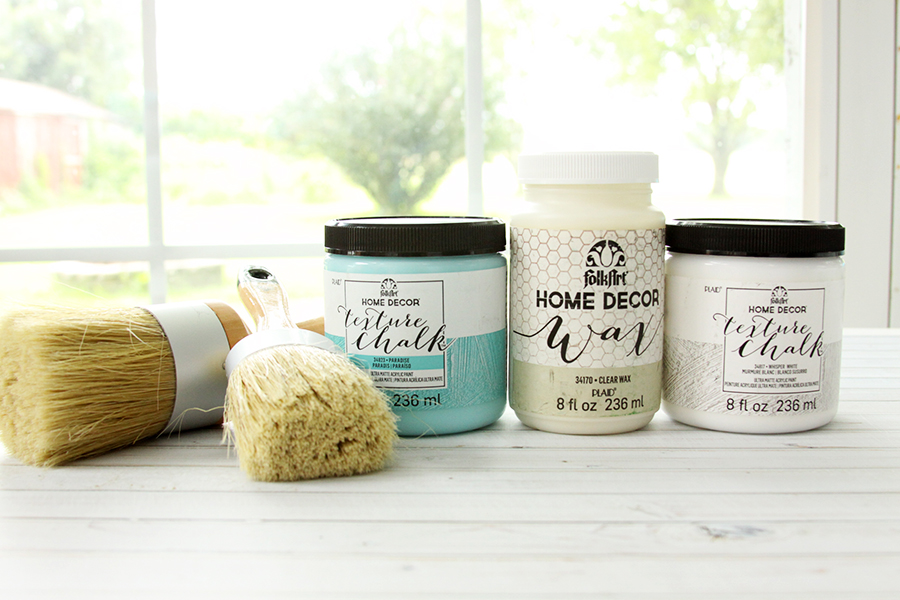
- FolkArt Home Decor Texture Chalk – Paradise and Whisper White
- FolkArt Home Decor Chalk – Seriously Gray
- FolkArt Clear Wax
- FolkArt Chalk and Wax Brushes
- FolkArt Stencil pack – Phrases (Let’s go on an Adventure is in this set)
- Mod Podge – Furniture Satin
- Vintage Adventure Fabrics – Floral Red, Main Aqua
- Stencil Brush
- Mod Podge Brush
- FolkArt Layering Block
- Ikea Tarva Nightstand
- Enamelware Tray or other sign surface
Begin by assembling the nightstand. I put it all together for the photo but you can leave the knob off the draw to make it easier to put the fabric on the front.
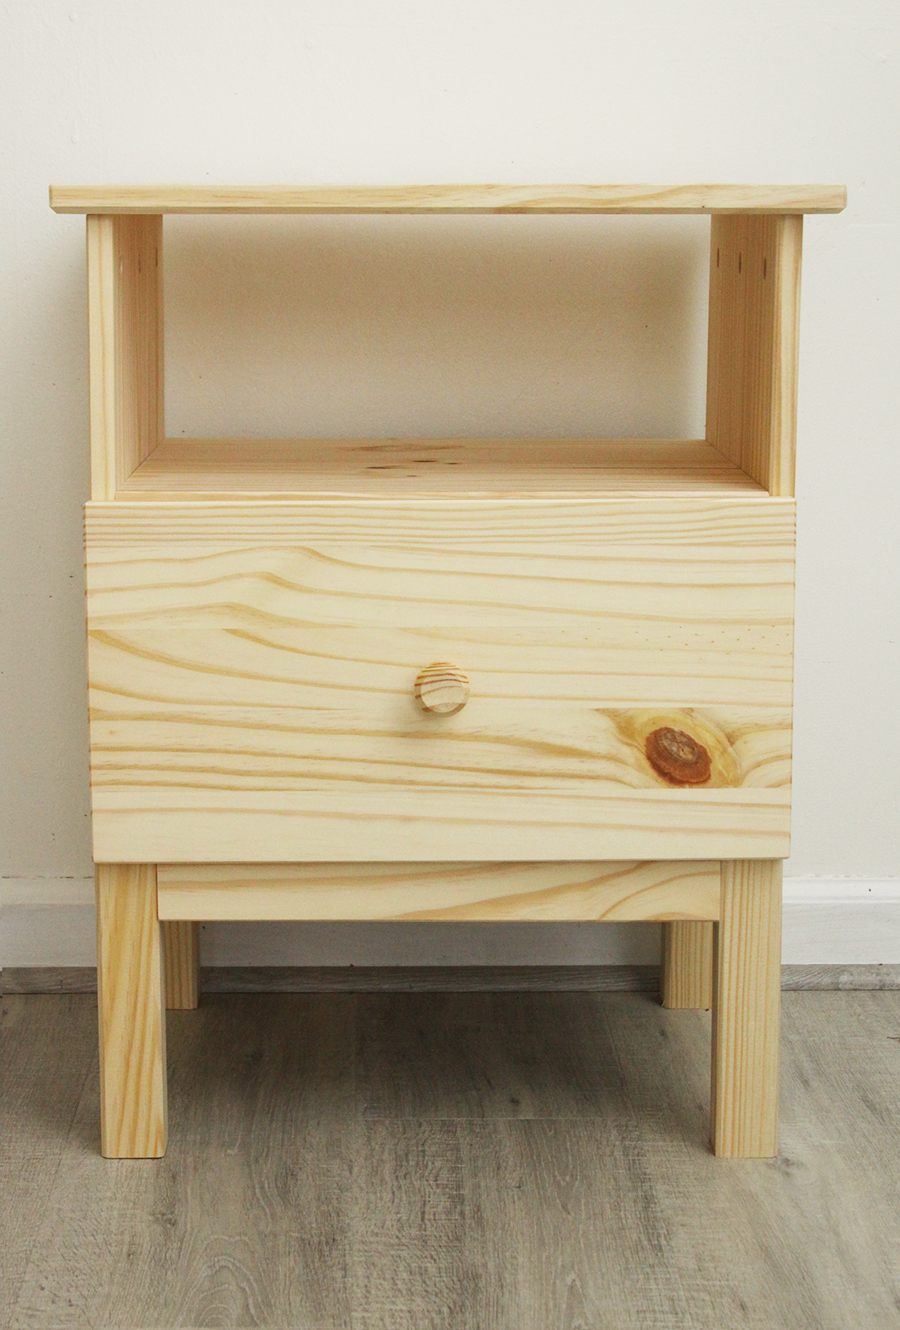
For the nightstand:
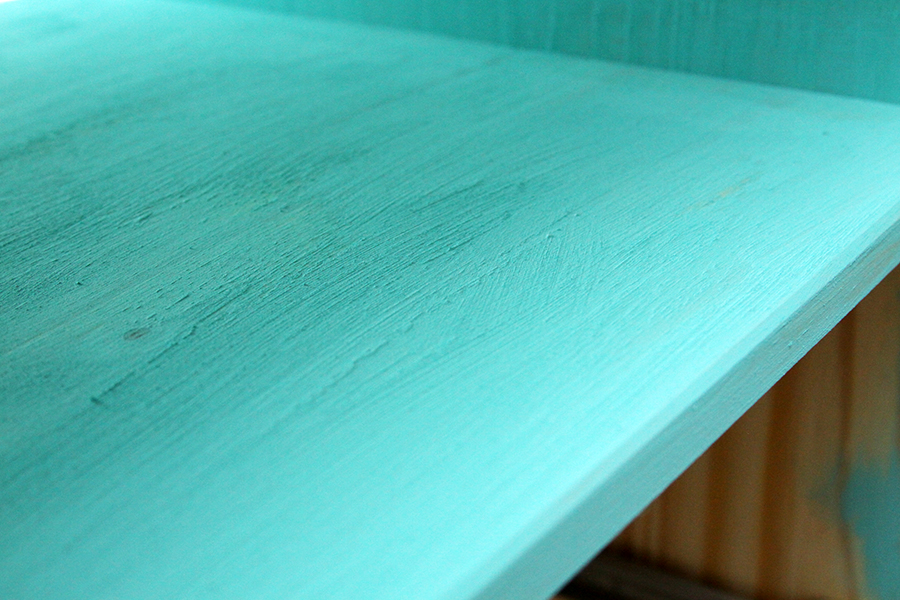
Begin by coating the entire nightstand (except the drawer) in the Paradise Texture Chalk. I didn’t do inside the back where the drawer covers, but you can if you’d like.

You can see the added texture from the grain in the Texture Chalk. It makes it perfect for a vintage look – you can layer it like I did, or you can sand and distress it, glaze and wax it. It’s really perfect for that “worn” look we love!
I wanted my nightstand to have a multi-color look so I did a coat of the Whisper White over the Paradise. Make sure the first layer has completely dried before adding on the second. Leave some areas where the Paradise color shows through.
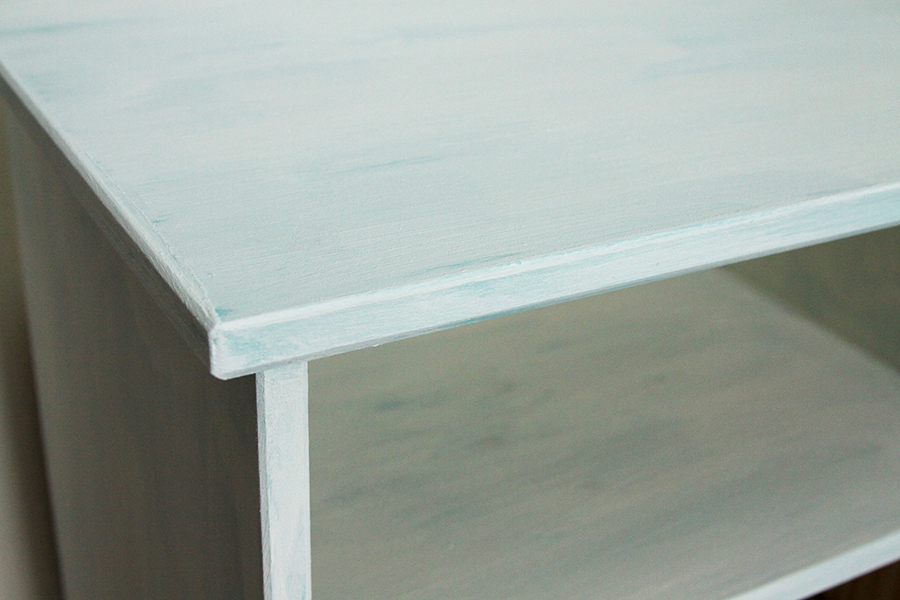
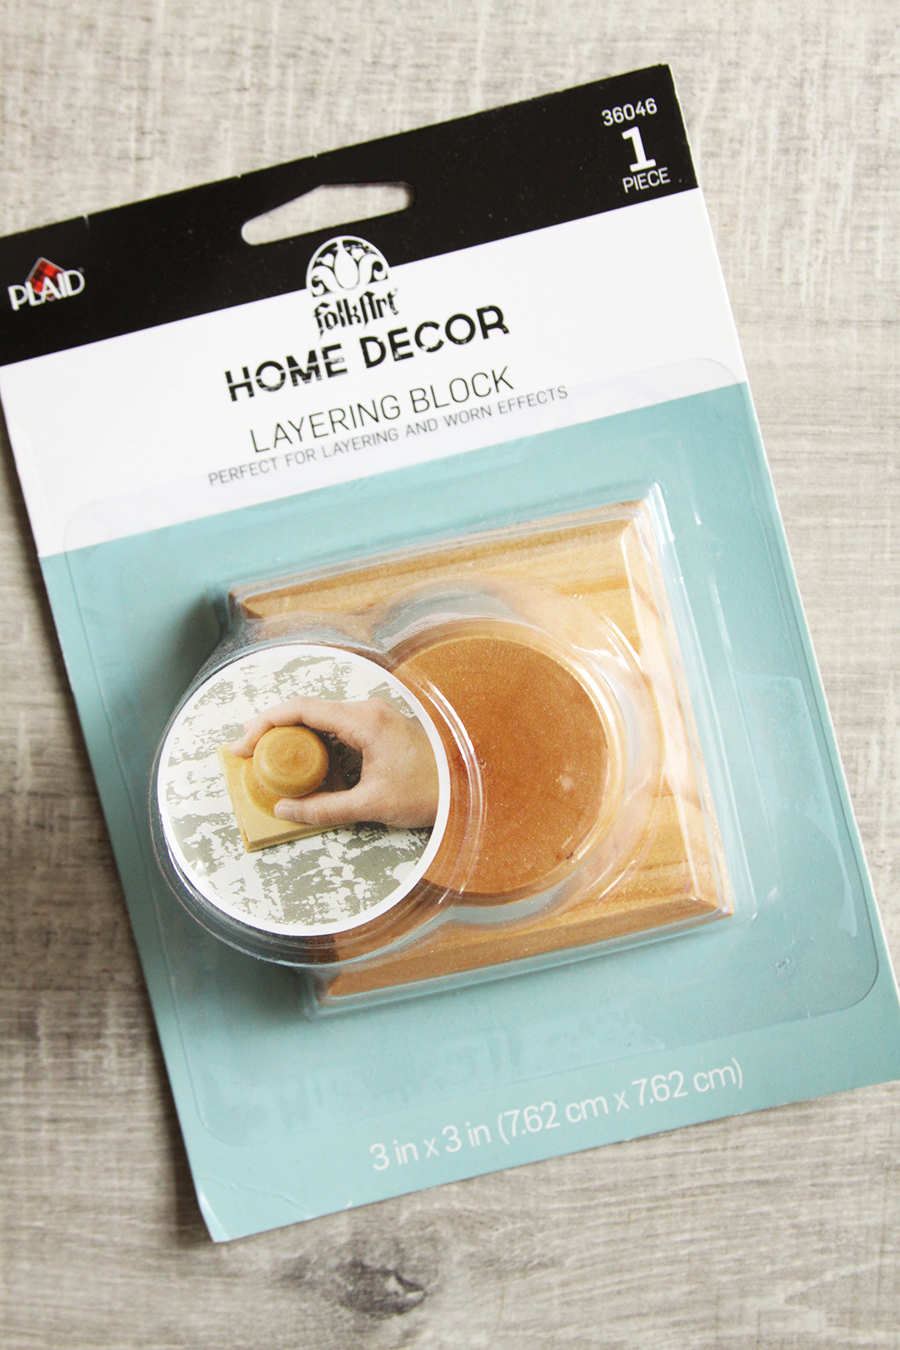
Once that coat has completely dried you can sand or add in some extra detailing. I added some dark gray highlights with a Layering Block and the new Decor Chalk color, Seriously Gray. If you’ve never used a layering block, don’t be intimidated! Just pour some paint in a plate, then pull the block lightly though the paint. With a paper towel, wipe off most of the paint on the block. Then run the block along the edges and details of the furniture piece. Easy peasy!
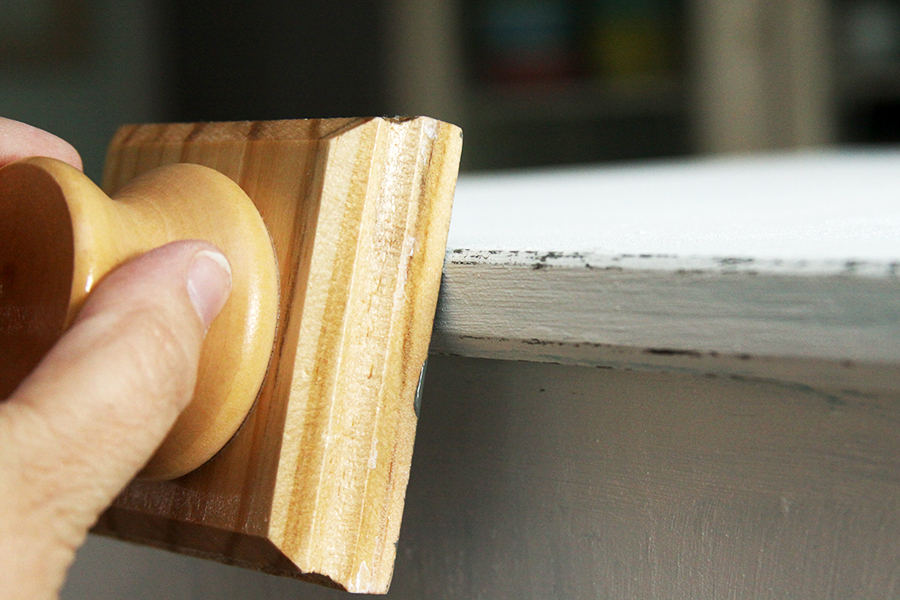
Go along all the corners, edges and anywhere else you’ll like to give the piece more of a worn look.
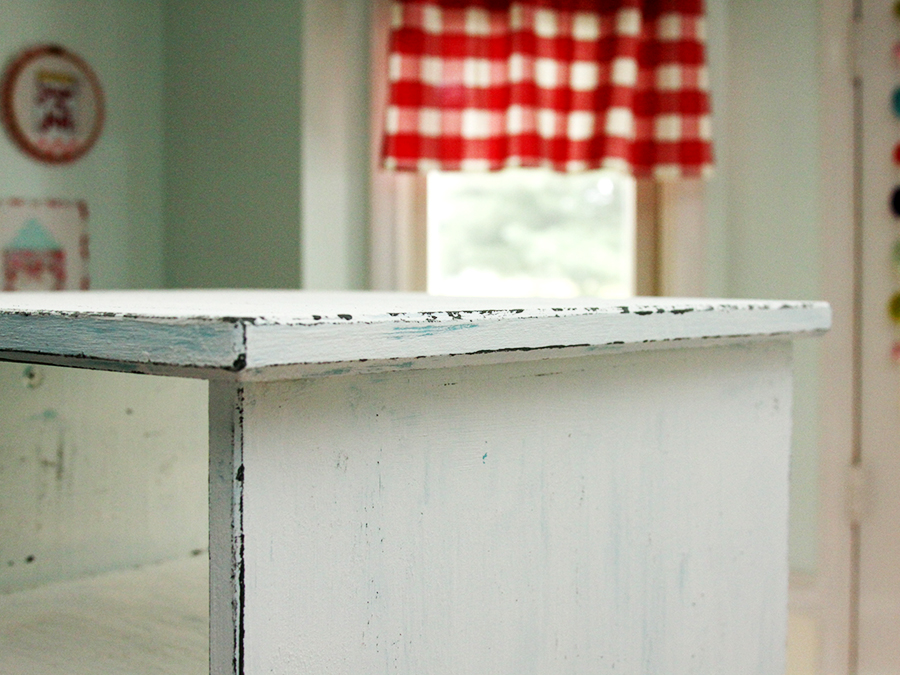
I love that it looks so much older now – almost like it’s been painted several times! So fun and easy!
Once your paint has dries, add a layer of Clear Wax to protect the piece.
While your wax is drying, cut your fabric larger than the front of the drawer, enough so that it will fold to the inside. Add a coat of Furniture Mod Podge to the front of the drawer, sides and back. Wrap the fabric tightly around the drawer and press into place, adding more Mod Podge as necessary. Let dry. Paint the knob the same way you did the nightstand and let that dry as well.

While everything is drying you can work on the sign!
Enamelware Stenciled Sign:
I love the look of enamelware! This tray isn’t old, but I’ve seen several vintage versions that are really similar if you’d prefer that. I used the “Let’s Go On An Adventure” phrase in the stencil pack but there are tons of great ones in this set!
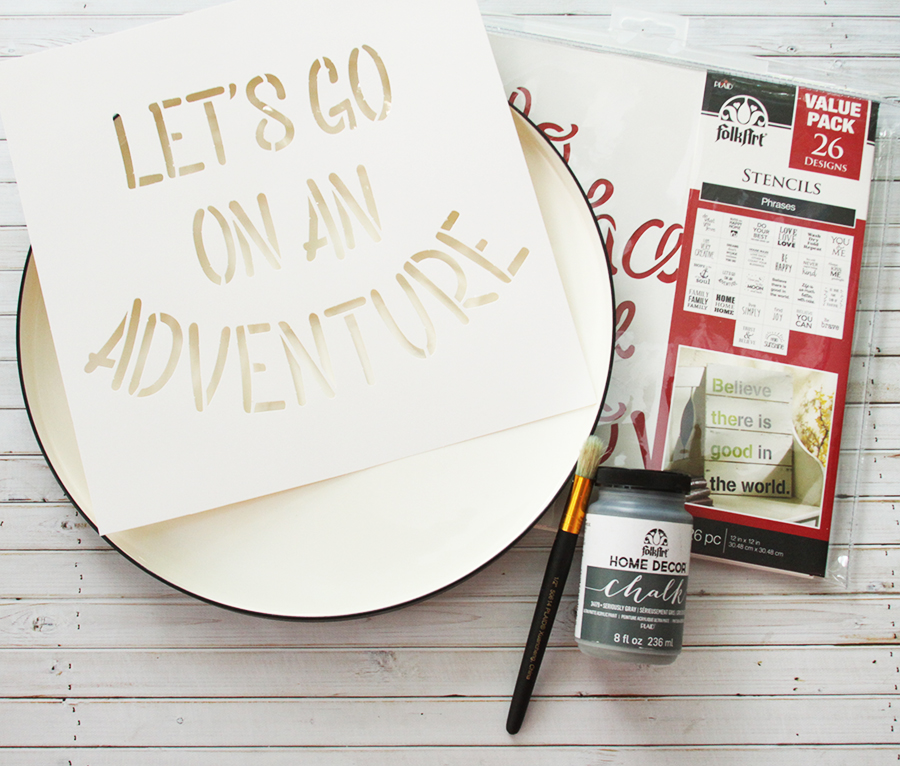
If necessary, trim the stencil to fit on your surface so it lays flat. Center the design and begin stencilling. The Decor Chalk usually only needs one coat but on the slick surface of the enamel you’ll need to do a few. Do a light coat, let it dry, then go over it and do another light coat.
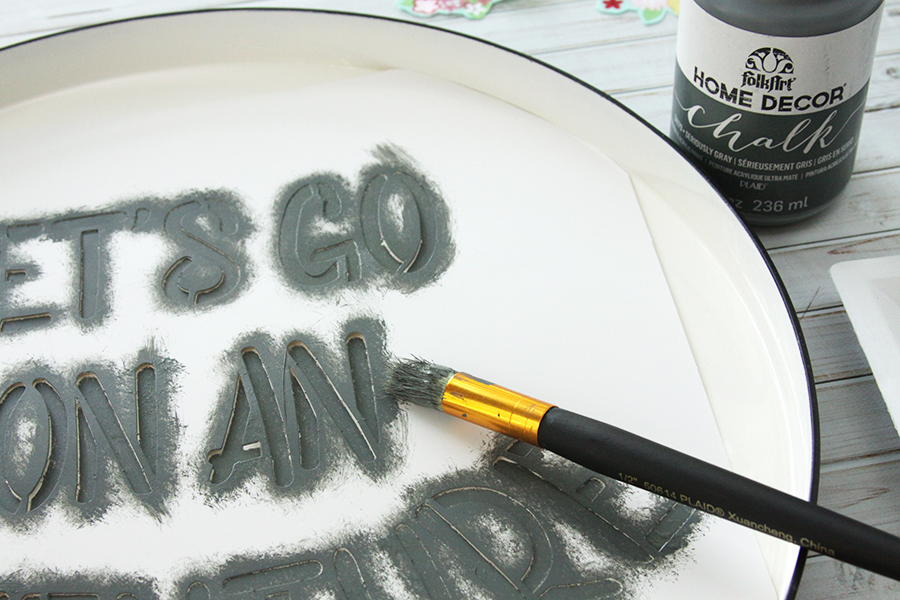
Once your paint is dry, pull up the stencil. You can usually clean up any sections that went under the stencil with a damp paper towel.

So cute right?! I like to clean up the lettering so it doesn’t have that stencilled look by filling in all the spaces on each letter that the stencil has to have. Just paint between those spaces, lining up the tops and bottoms of the existing paint. You will need to do this in a few coats as well.

Once your paint is dry you can add your fabric embellishments. I used details from the main Aqua print of Vintage Adventure (my fabric line). I cut out several florals as well as a bicycle, camper and some very small red flowers.
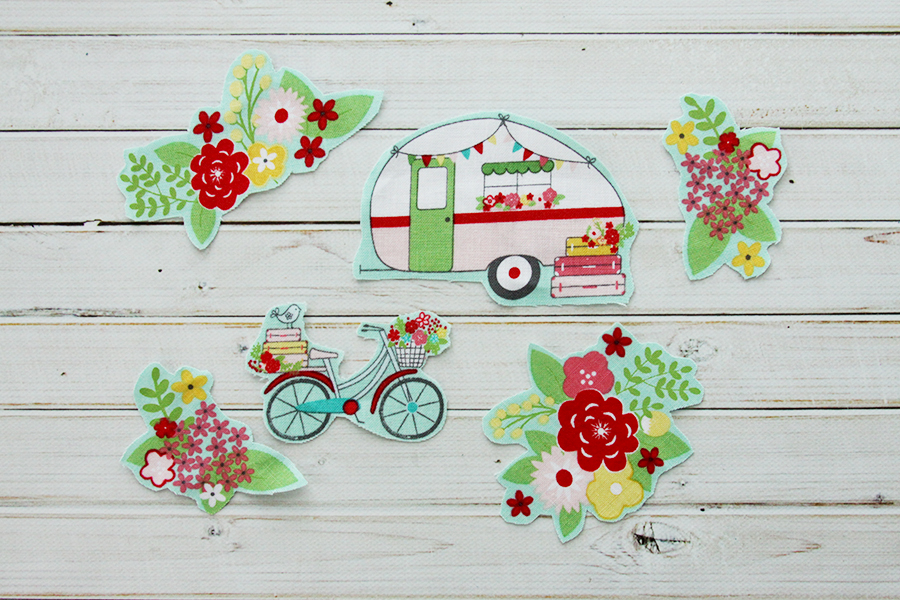
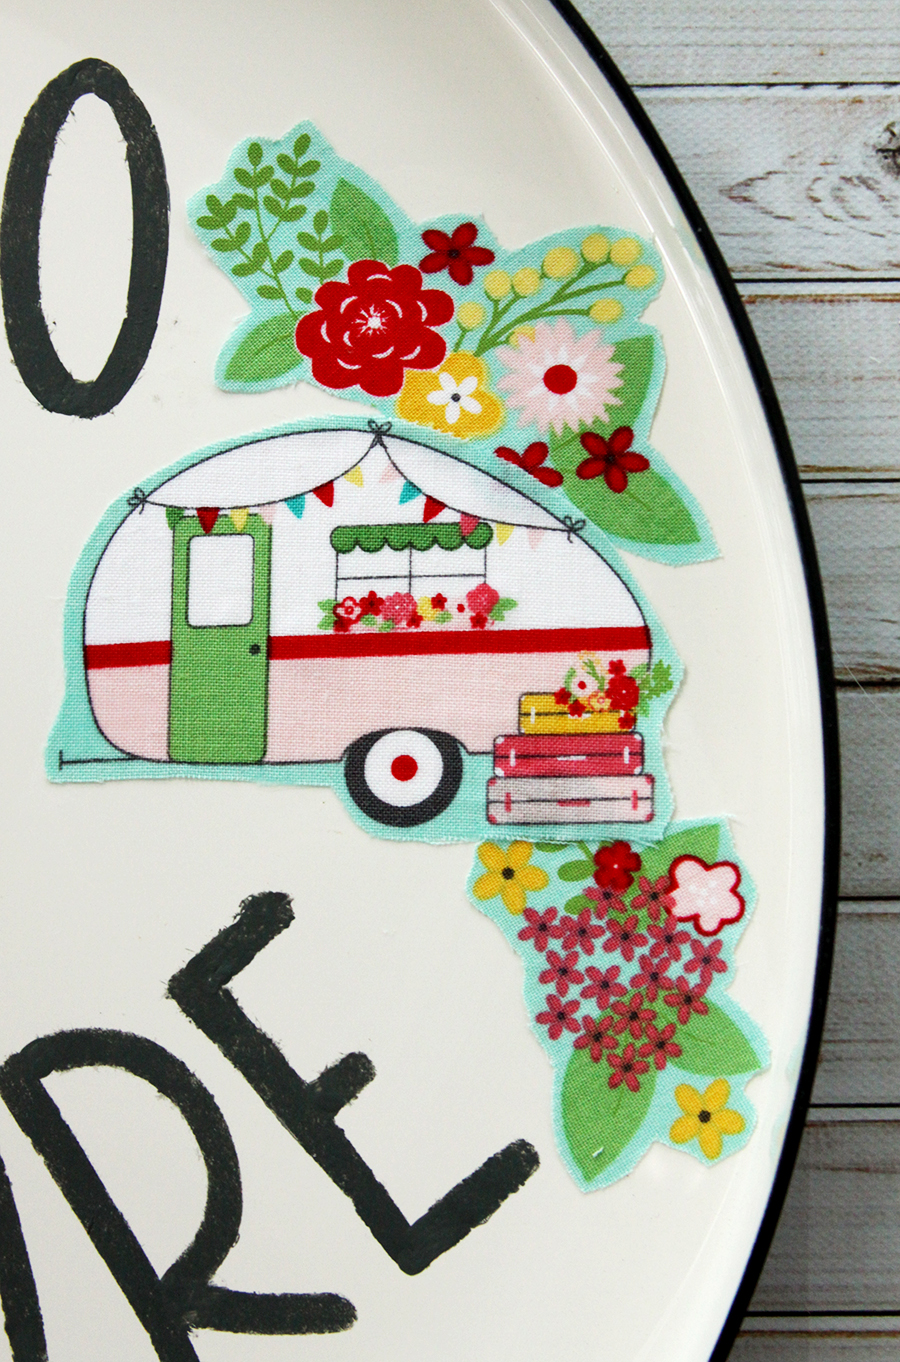
Overlay the flowers with the camper on one side and the bicycle on the other side of the sign. Apply Mod Podge to the back of the fabric and put in place.
Scatter the small flowers above and below the stencilling and Mod Podge into place.
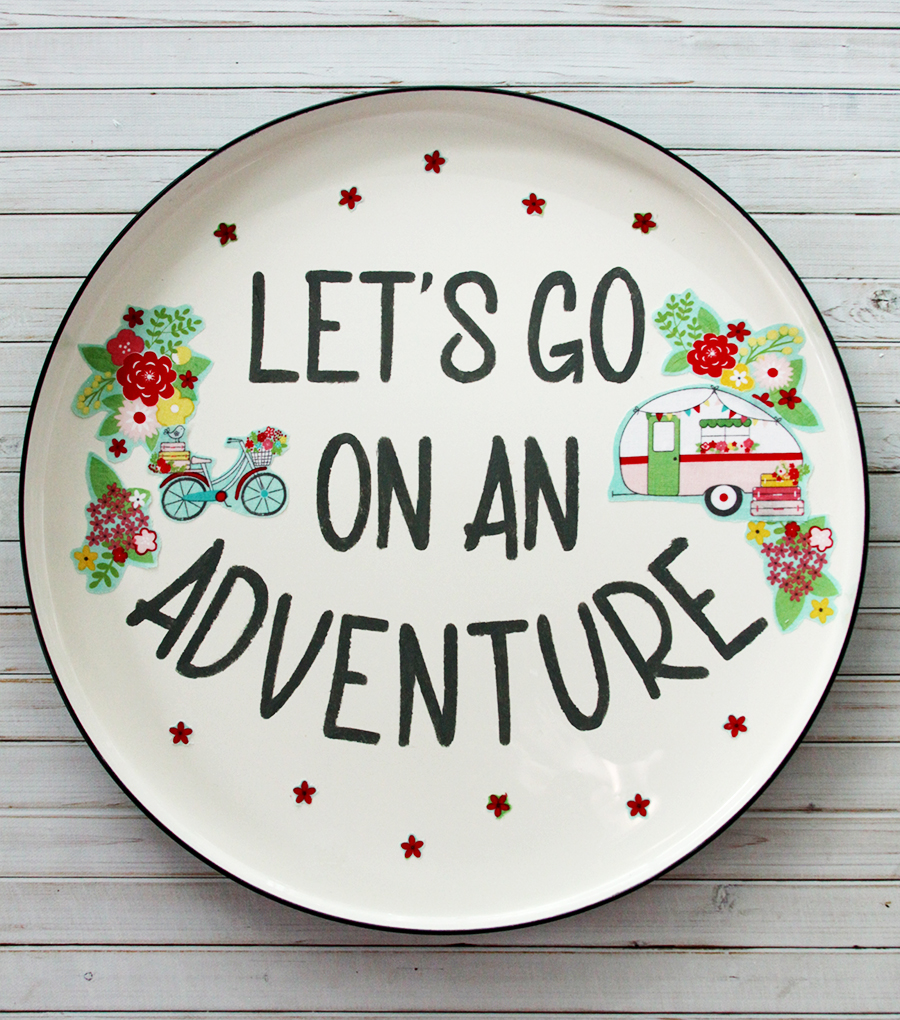
I love how this turned out! Since it was a tray there was no place to put hanging hardware. I just used command strips and they worked great.
Once your nightstand is dry you can lightly buff the wax off and put your knob on the drawer. Fit the drawer into place and now you have a cute new vintage inspired nightstand and display!

The Plaid Creators all made other amazing versions of this nightstand – check them out here!
Guest Room Nightstand – Petticoat Junktion
Ikea Tarva Nightstand Rast Hack – Cherished Bliss
Wooden IKEA Nightstand Makeover – Amy Latta Creations
DIY Faux Embossed Nightstand – The Pretty Life Girls
Dinosaur Nightstand Redo – Made to be a Momma
Kids Reading Nook – Positively Splendid
Ikea Tarva Nightstand Makeover – Cailtlin Wilson Inspired – The Cards We Drew


These are so cute! Thanks for so much great info on how you did these. Hmmmm I foresee a trip to Ikea in my future lol.
Do you have a pattern for the us pillow? So cute
Thanks Kathie! That pillow will be on the blog in the next week or so!
Bev,
Where did you find the tray? You did a great job on it!
Maureen
Such a good article!
That’s adorable! My daughter (24) made something similar, but used decorative paper (with decoupage) a few years ago. It’s one of her favorite pieces. I like the fabric, as it will probably hold up longer than the paper. Thanks for sharing at Thursday Favorite Things!
This turned out great! I’ve never thought about adding fabric to furniture. Thanks for the inspiration.
So pretty! Thanks for sharing at To Grandma’s House We Go DIY, Crafts, Recipes and More Wednesday Link Party! Pinned it to Pinterest! Hope to have you join the party next week!
Fun, happy and lots of whimsy just how I like it. You hit this one out of the park! Perfect results. Love the blue under the white paint…details. Happy Crafting, Kippi
So darling! I love the colors, and I am drooling over that camera! Thanks for sharing with SYC.
hugs,
Jann
Great job on this. Cute designs! And I love that you used the Jane Austen books! Thanks for linking up for Friday Favorites. I’m featuring you this week.
Love everything about this vintage style make-over Bev!!
Thank you for sharing at Create, Bake, Grow & Gather this week. I’m delighted to be sharing these project at tonight’s party and pinning too.
Hugs,
Kerryanne
I just found your blog today and I’m loving it! I can’t find anywhere to subscribe to an email newsletter though! Could you send me a link to subscribe? My email is jadahlgr at yahoo dot com. Thanks so much!