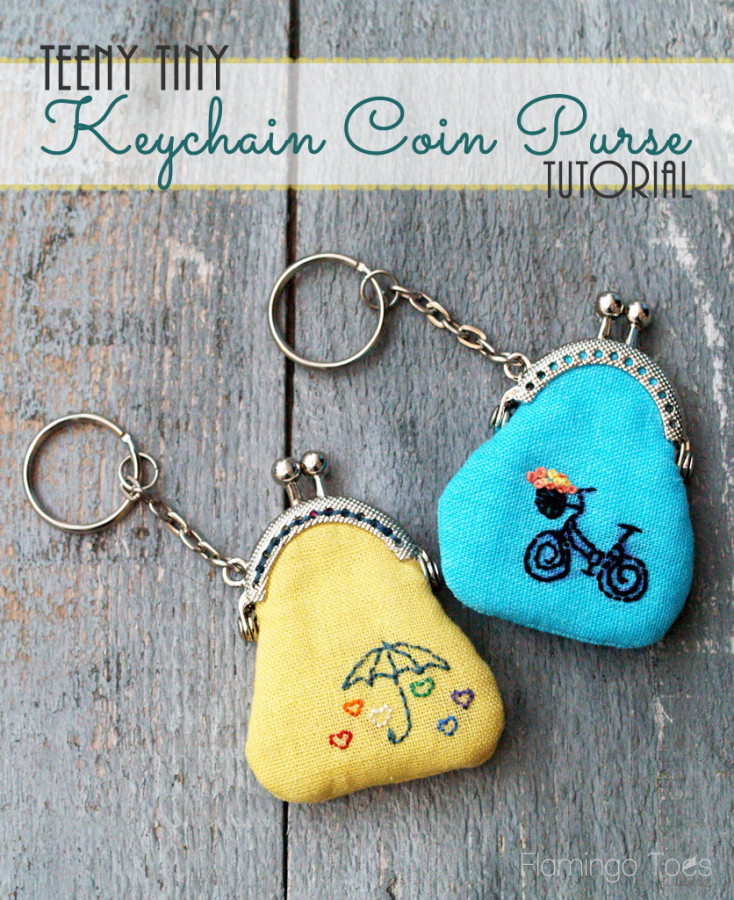
If you follow me on Instagram, you might have seen one of these teeny tiny embroidered key chain coin purses a few weeks ago.
Well I have good news – I have a tutorial for you today!
These little purses are so easy and fast to do – and they’re just so cute!

Ok so they’re not super practical. But you never know when you’re going to need to carry a quarter around. Or something equally small.
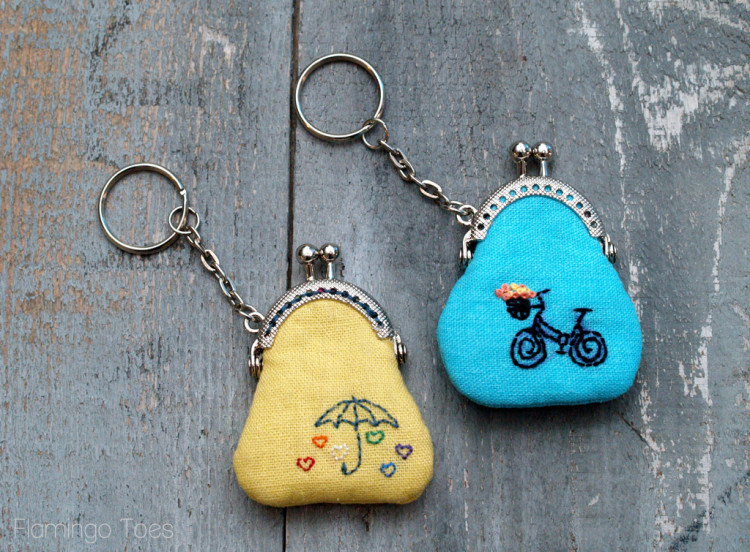
The pattern I have for you includes both of these designs – the little bicycle and the sweet umbrella, but these would look so cute with any tiny design.
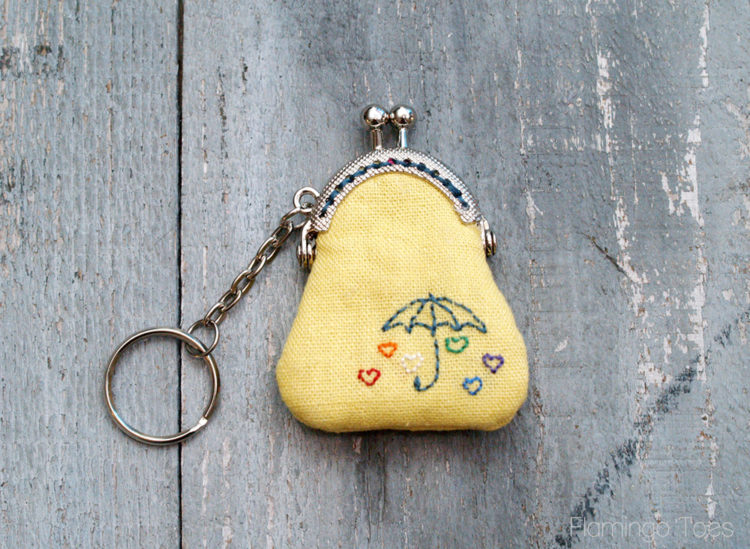
So are you ready for a super fast tutorial?
Here’s your materials list:
- 1 Coin Purse frame (I bought mine from this Etsy shop)
- About 7″ x 14″ piece of fabric for outside of purse
- About 7″ x 14″ piece of fabric for lining of purse
- Fusible fleece – same amount, about 7″ x 14″
- embroidery floss and patterns
- E-6000 glue or something similar
Pattern for coin purse and embroidery
*Please keep in mind that all Flamingo Toes patterns are for personal use only. Do not transfer or sell the pattern, or items made from the pattern.
Also, patterns are for Flamingo Toes followers, so please choose to follow along before downloading any pattern. Thanks!
Start by doing your embroidery. Choose your design and embroidery it onto your fabric. I used a back stitch and French knots for these, if you need help with embroidery check out the How to Do That: Embroidery Page.
Once your embroidery is done, place the pattern piece over the design so it is in the lower right corner of the purse. Keep it at least 1/2″ from the sides and bottom though. Cut out two pattern pieces of the outside fabric and two pieces of the lining fabric.
Cut two of the fusible fleece as well, then trim these pieces 1/4″ all the way around. This doesn’t have to be perfect, just close. :)
Press the fusible fleece to the wrong sides of the outside fabric.
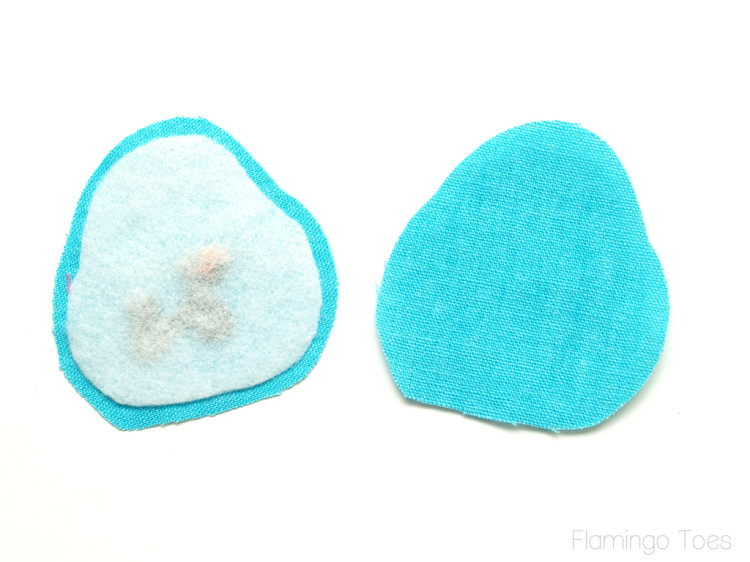
Place the outer fabric pieces right sides together, and the lining pieces right sides together. Sew around the sides and bottom with a 1/4″ seam allowance, starting and stopping where the sides start to curve out. Leave the top open.
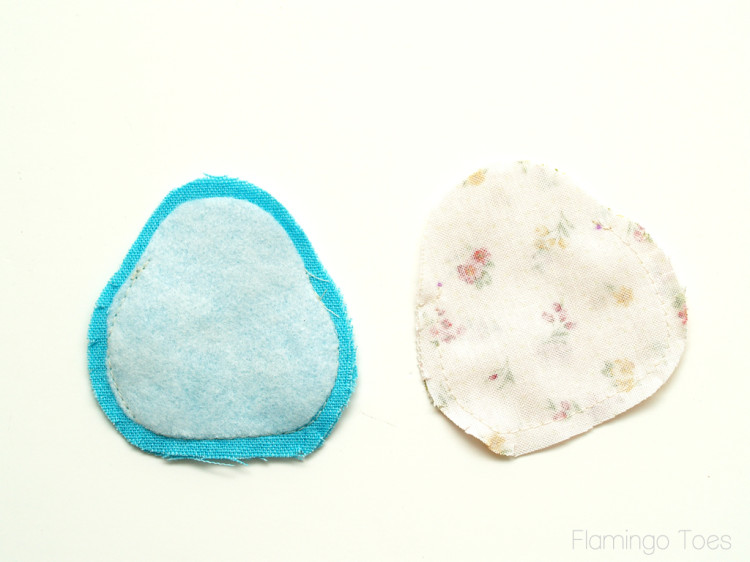
Turn the lining piece right sides out and tuck it into the outer fabric piece. Line up the top curves. Sew around the top edges, sewing the lining to the outer fabric, again with a 1/4″ seam allowance. Leave a 1″ opening in the top of one side.
This is really the trickiest part, only because it’s so small. You can do it though. Just go slow and make sure you get the opening corners sewn.
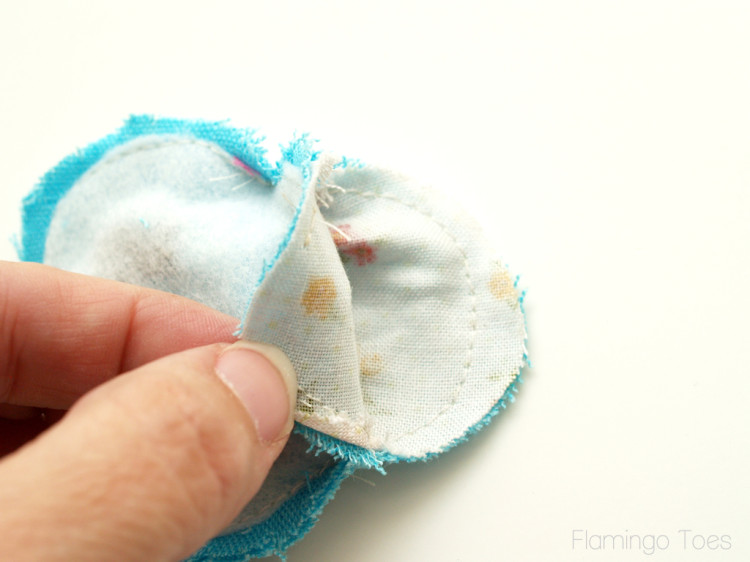
Turn the purse right side out through the opening. Tuck the lining into the purse and press. Press the open top edges under 1/4″ and hand sew the opening closed.
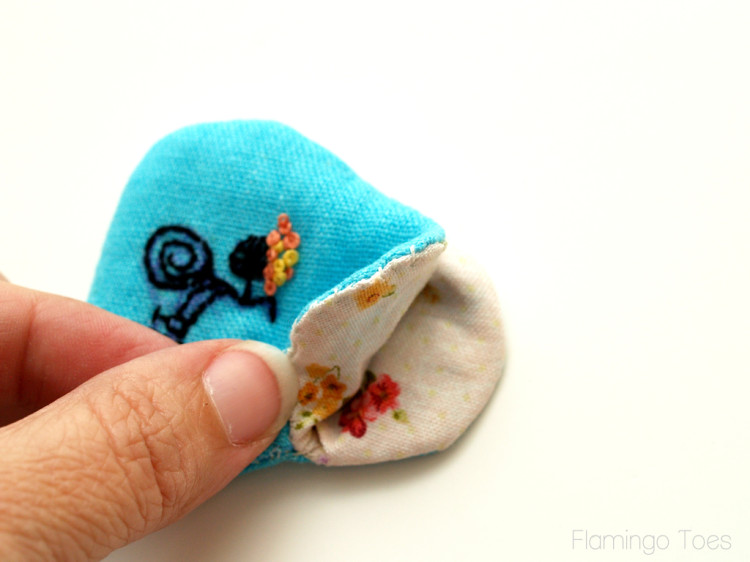
Open up your purse frame and run a line of glue in one of the frame sides. Tuck the front of the purse into the frame, using a small screwdriver or toothpick to make sure the top and sides are all tucked into the frame. Let this dry for a bit, then repeat for the other side of the frame.

Let your purse dry at least 24 hours before you use it. Then throw it on your key chain and admire your super fun new accessory!
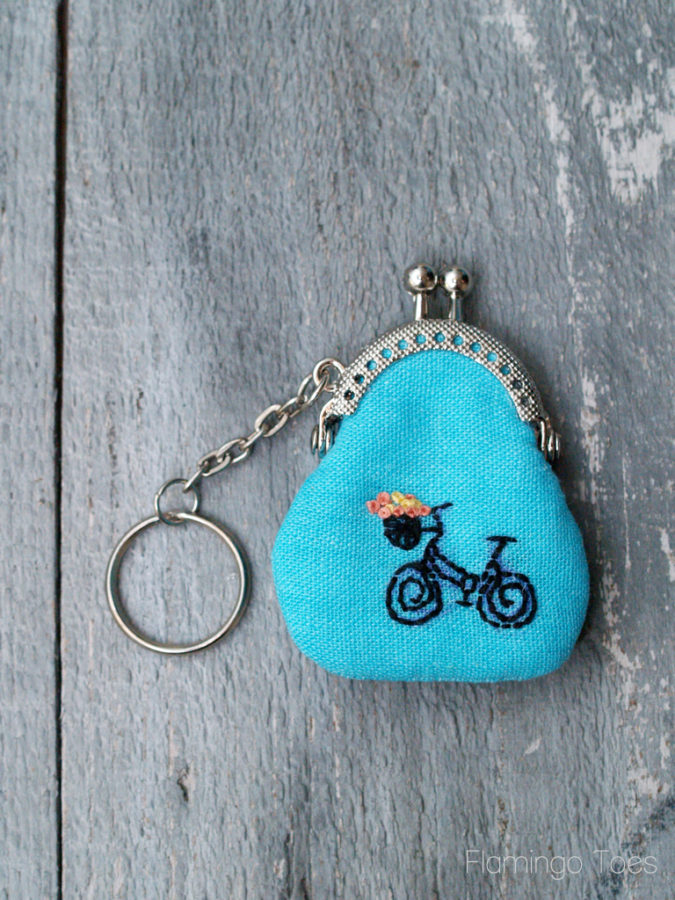
Then go make more because you’re so in love.
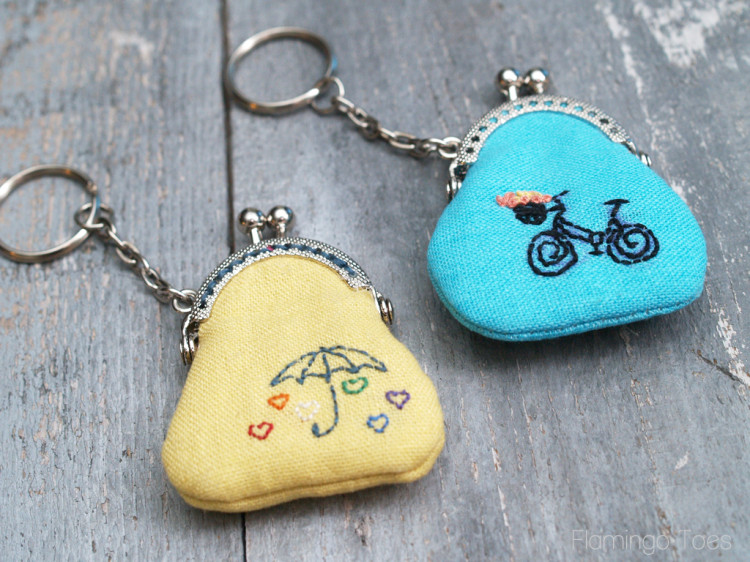
I can’t get over how tiny they are.
You can also choose to add some stitching to the frame of the purse – but it’s optional. The glue will hold it in place without the stitching, but you can add it in if you want!
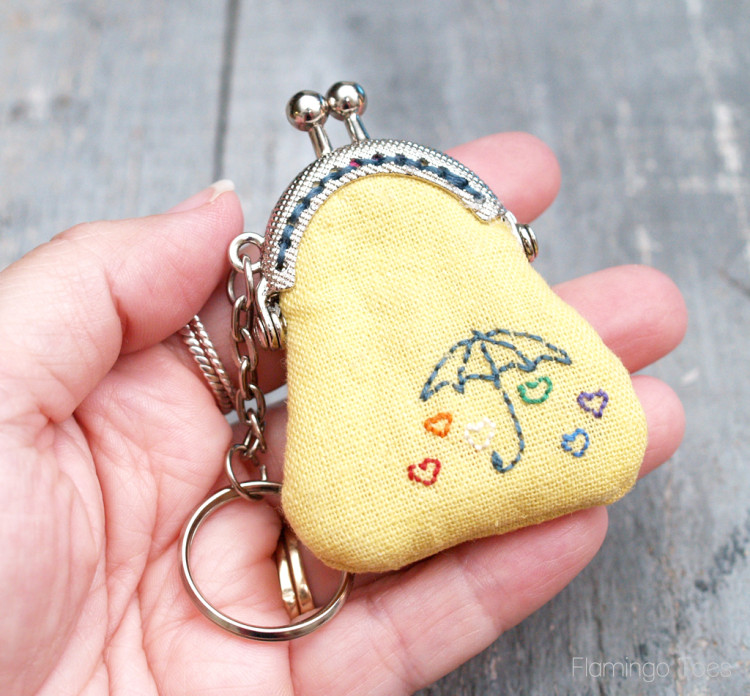
They would be perfect for a little flash drive or a memory card for your camera too!
Ooh – or you could origami up your money and have a cute spot for your emergency candy bar fund. Just a thought.

So fun right?
Linking up at Met Monday, Tutorials & Tips Tuesday, Shabby Creek Cottage, 504 Main, Everything Etsy, The 36th Avenue Party, Block Party, and the other fabulous parties on the party page. Make sure you check them out!


A – adorable!!! :)
so cute!!
These are the COOLEST!!! You’re amazing.
These are the cutest. Thanks for the tutorial!
These are just the right size for a wedding ring, or small jewelry. I love this idea. Perfect for when we are on vacation, or at the public pool and I don’t want to wear my ring in the water/get it covered with sunscreen. Thanks for sharing this cute idea!
So what if they’re not super practical – they’re so cute!!!
I agree to all of the above plus could use it for parking meter change; change for shopping carts; subway tokens (I lived in Toronto for 20 years). Lots and lots of great uses.
Cathy
Seriously, Bev, these are the CUTEST!!!!
These are so cute. I want one, and I can see making them as small Christmas gifts for the young girls in my family, too. They’d love them.
These are ADORABLE, Bev!! I love every single detail. Thanks for the tutorial; I’ve always been afraid of those purse contraptions, but you make me want to give it a shot:)
Have a happy week!
xox
These could not be cuter! The embroidery patterns, as always, are amazing! And those purse frames are darling. I didn’t even know you could get them that small! These would be great for carrying jewelry for an overnight stay. ;)
Very cute! Thank you for the tutorial. :)
Adorable! What a great little craft. And the embroidery is to die for!
Gosh, those just couldn’t be any cuter! They would make really neat little presents.
These are so adorable! These will make perfectly perfect Christmas gifts. I think I am going to make some for my daughter to give her friends (and maybe a few for my co-workers)!
Thanks for the pattern and tutorial!
One question, what size frame did you buy for these?
Thanks Beverly!
The frames I bought are 4 cm. (Which is the measurement at the widest part where the hinge is.)
Thanks for stopping by!
Those are SO stinkin’ cute!!! I’d use them to hold my daughter’s earrings, since she always finds the most inconvenient times to take them out of her ears and hand them to me to hold on to. I’ve linked to your tutorial over at Craft Gossip:
http://sewing.craftgossip.com/free-pattern-teeny-tiny-keychain-coin-purse/2013/09/25/
–Anne
These are so stinkin cute. I like that it is a quick little embroidery project (quick is usually up my alley) and they would make great gifts. Lovely.
Those are SO cute! My girls would absolutely love them!
These. are. ADORABLE! Oh my goodness. I have to pin these and maybe if I get brave I will try to make one. I’m not much of a seamstress. But what great gifts these would make?!? :)
So cute Bev! LOVE!
I’m hooked! I’m in love with hand embroidery and bicycling. Great tutorial.
These are adorable. I can think of many uses for small items. Love it!
I LOVE these Bev! They are super cute and perfect for my pennies!
Sharing.
I bought some of these tiny clasps and have struggled to find a tutorial, thank you for posting this, it’s been a great help.
Hi,
I would really appreciate it if you would please tell me what font you used for the front picture? Thank you!
Rachel
Lovely!!
I just found this. Super cute! The Etsy site sells tons of different sizes of frames. What size frame did you buy for this project? Thanks.
Hi Margaret!
I bought the 4cm frames. Here’s the link to the listing: http://www.etsy.com/listing/105564829/2-units-4-cm-fancy-purse-frame-silver?ref=shop_home_active_11&ga_search_query=key%2Bchain
Thanks!