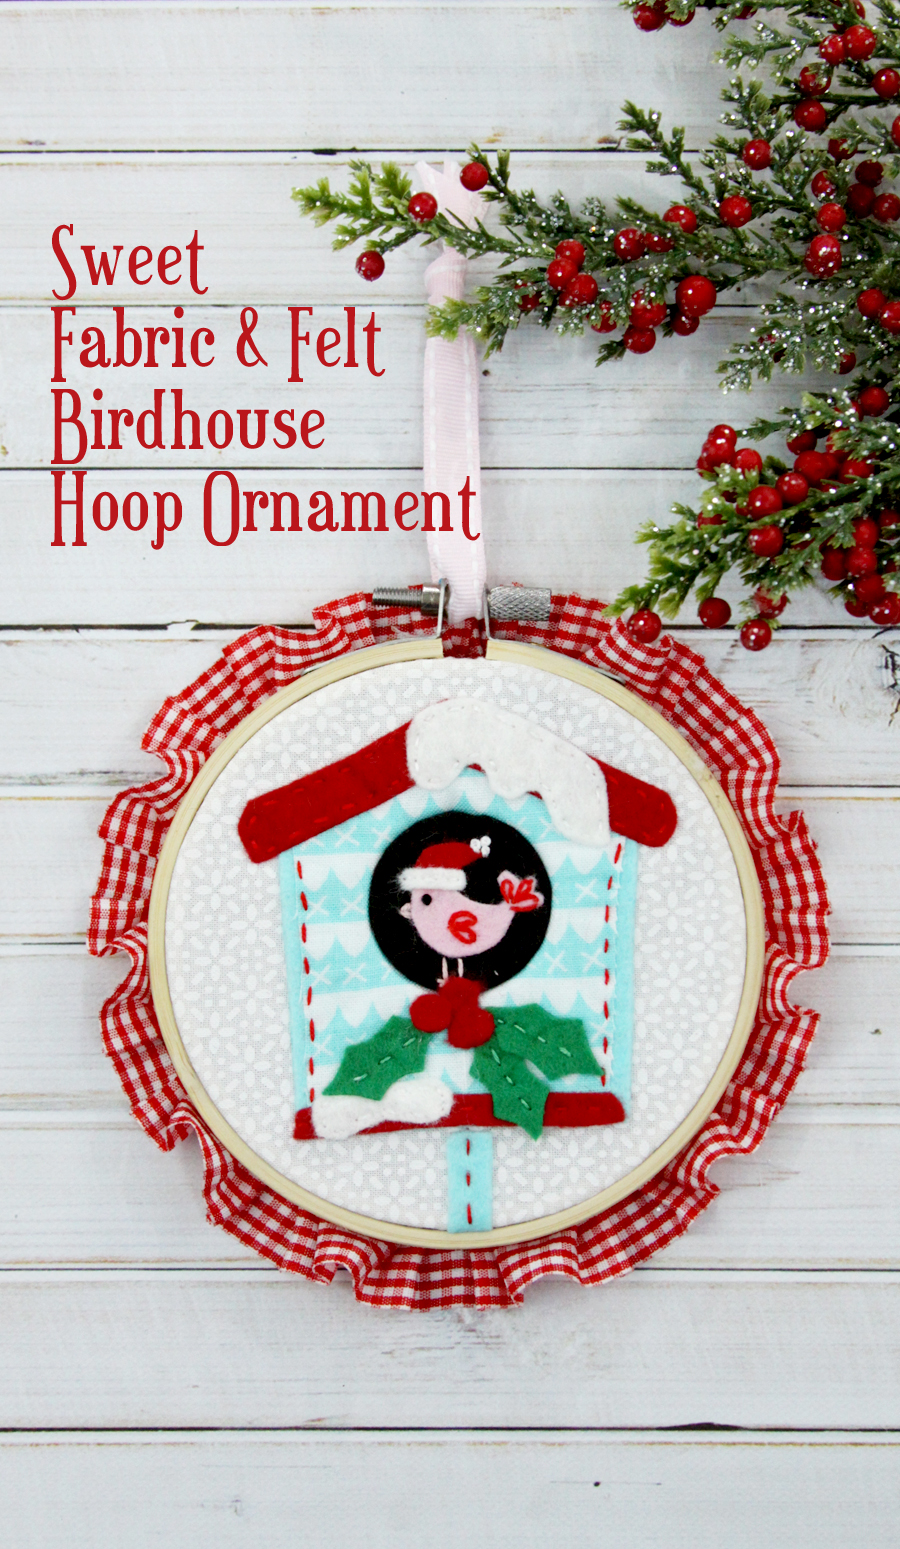
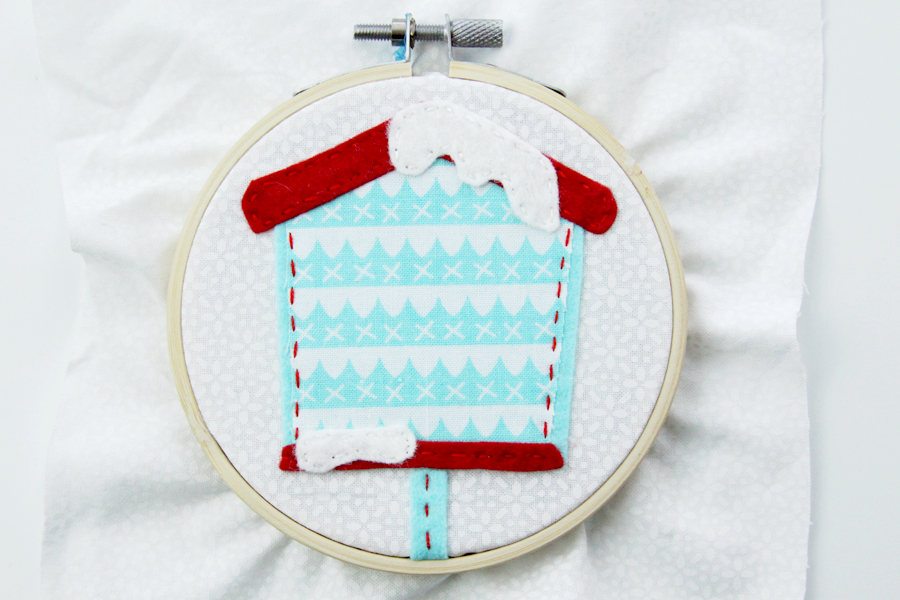
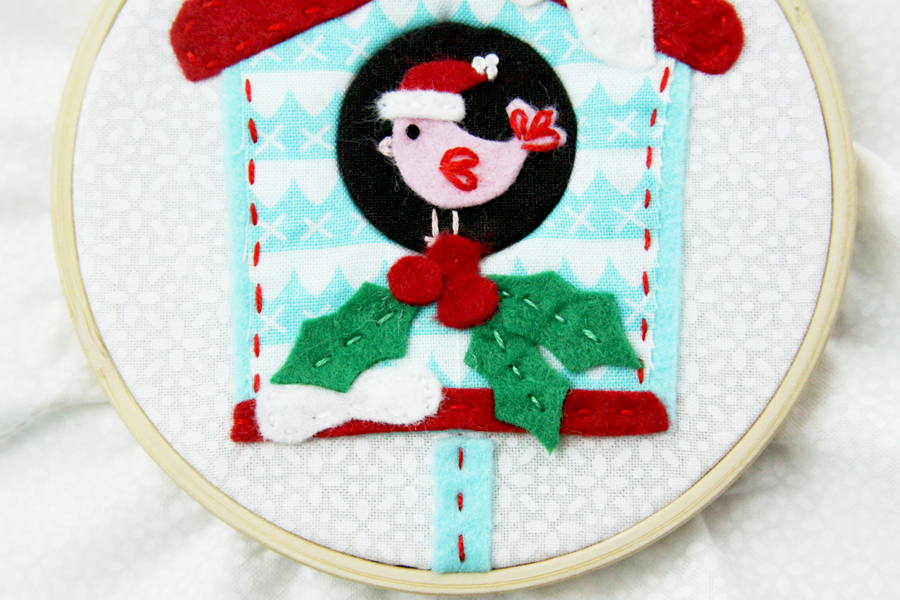
It’s the last day of Ornament Week and I’ve had so much fun this week! We’re finishing up with this sweet Fabric and Felt Birdhouse Hoop Ornament and I love how it turned out!
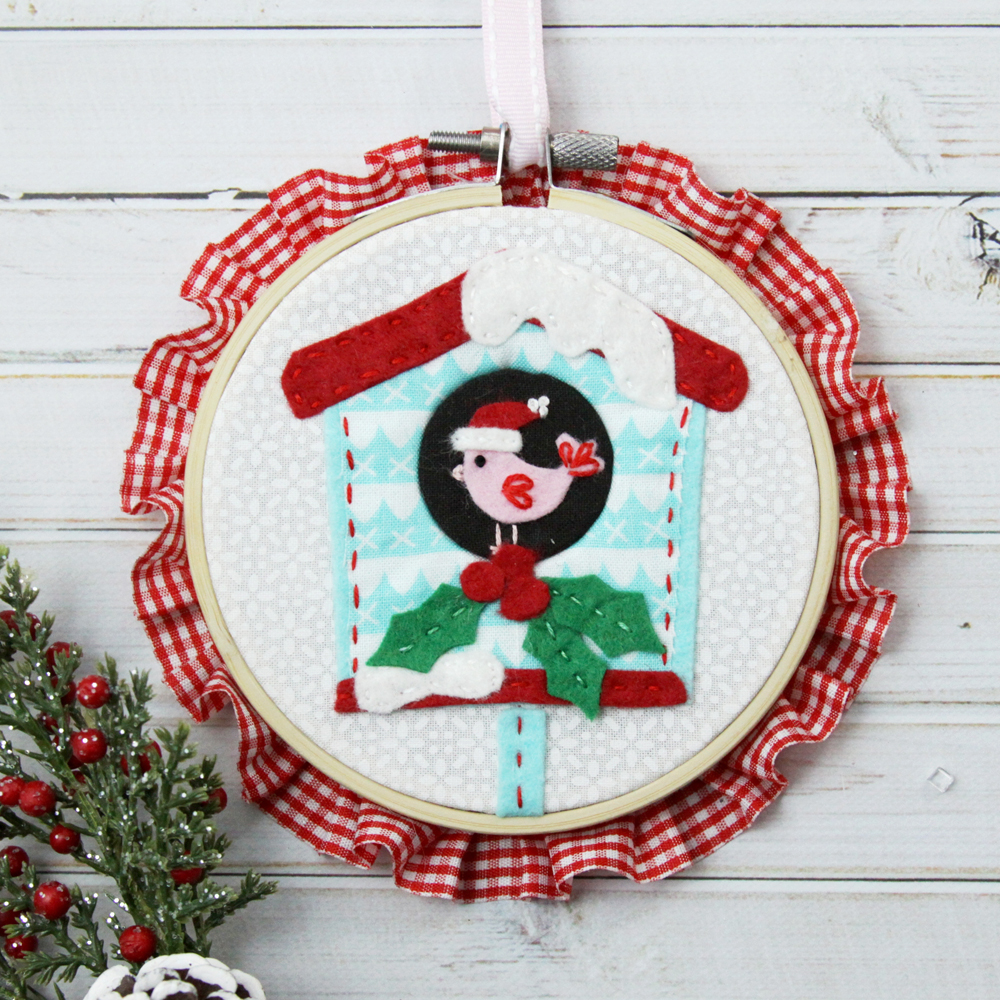
You can make this cute ornament a couple of different ways! I made this version with a mini hoop in the center for the little bird section – it’s similar to the method I did with my Home Sweet Home hoop set. If you don’t want to do the double hoop method it would look really cute with just a fabric or felt circle in the center for the hole in the birdhouse.
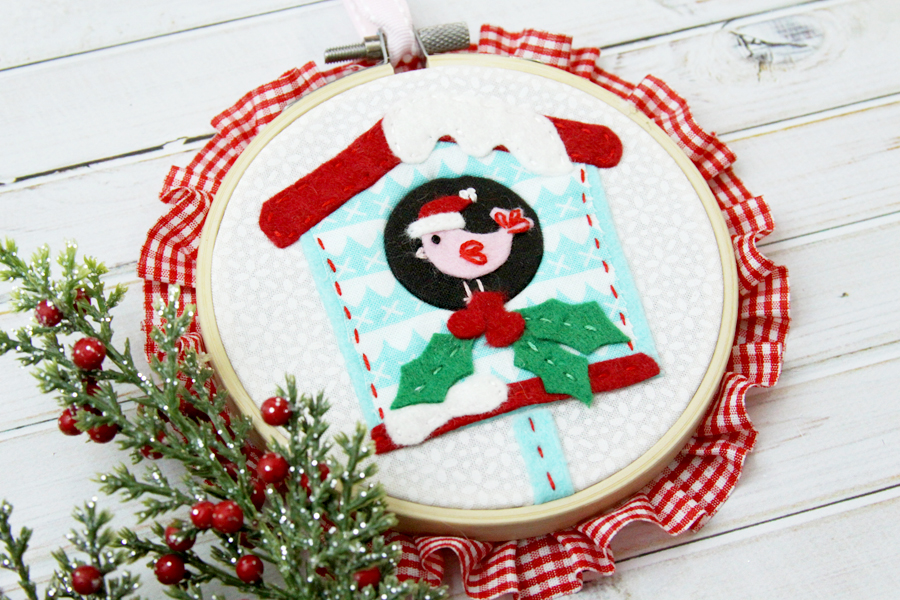
I’m absolutely in love with these fabrics. The background is white on white Daisies from Riley Blake and the Aqua print is from Tasha Noel’s A Little Sweetness line. It couldn’t be more perfect for a little birdhouse!
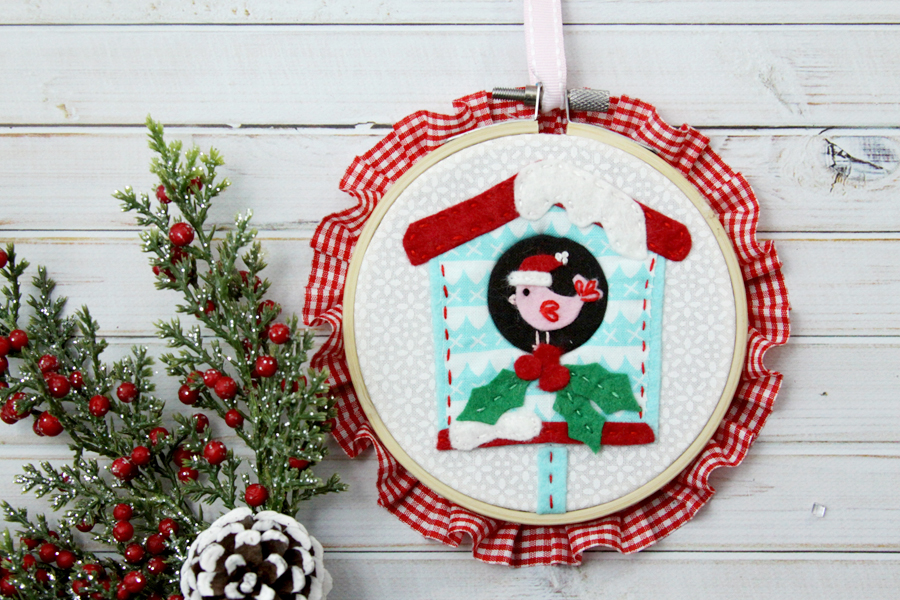
Sweet Fabric and Felt Birdhouse Hoop Ornament Tutorial
Materials:
- 4″ Embroidery Hoop
- Mini 1 1/2″ round embroidery hoop set (you need the outer hoop and inner flat circle)
- 6″ background fabric
- 4″ piece of fabric for birdhouse
- 4″ piece of black fabric
- Felt pieces – red, aqua, white, green, pink
- Coordinating embroidery floss – black, white, red, green
- HeatnBond Fusible Adhesive
- Hot Glue
- Trim for edge of hoop
- Ribbon for hanging
- 4″ circle of felt for back of hoop
- Birdhouse Ornament Pattern
Begin by cutting out pieces of your felt and fabric for the bird and birdhouse, a little larger than each pattern piece. Iron a piece of fusible adhesive to the back of each piece.
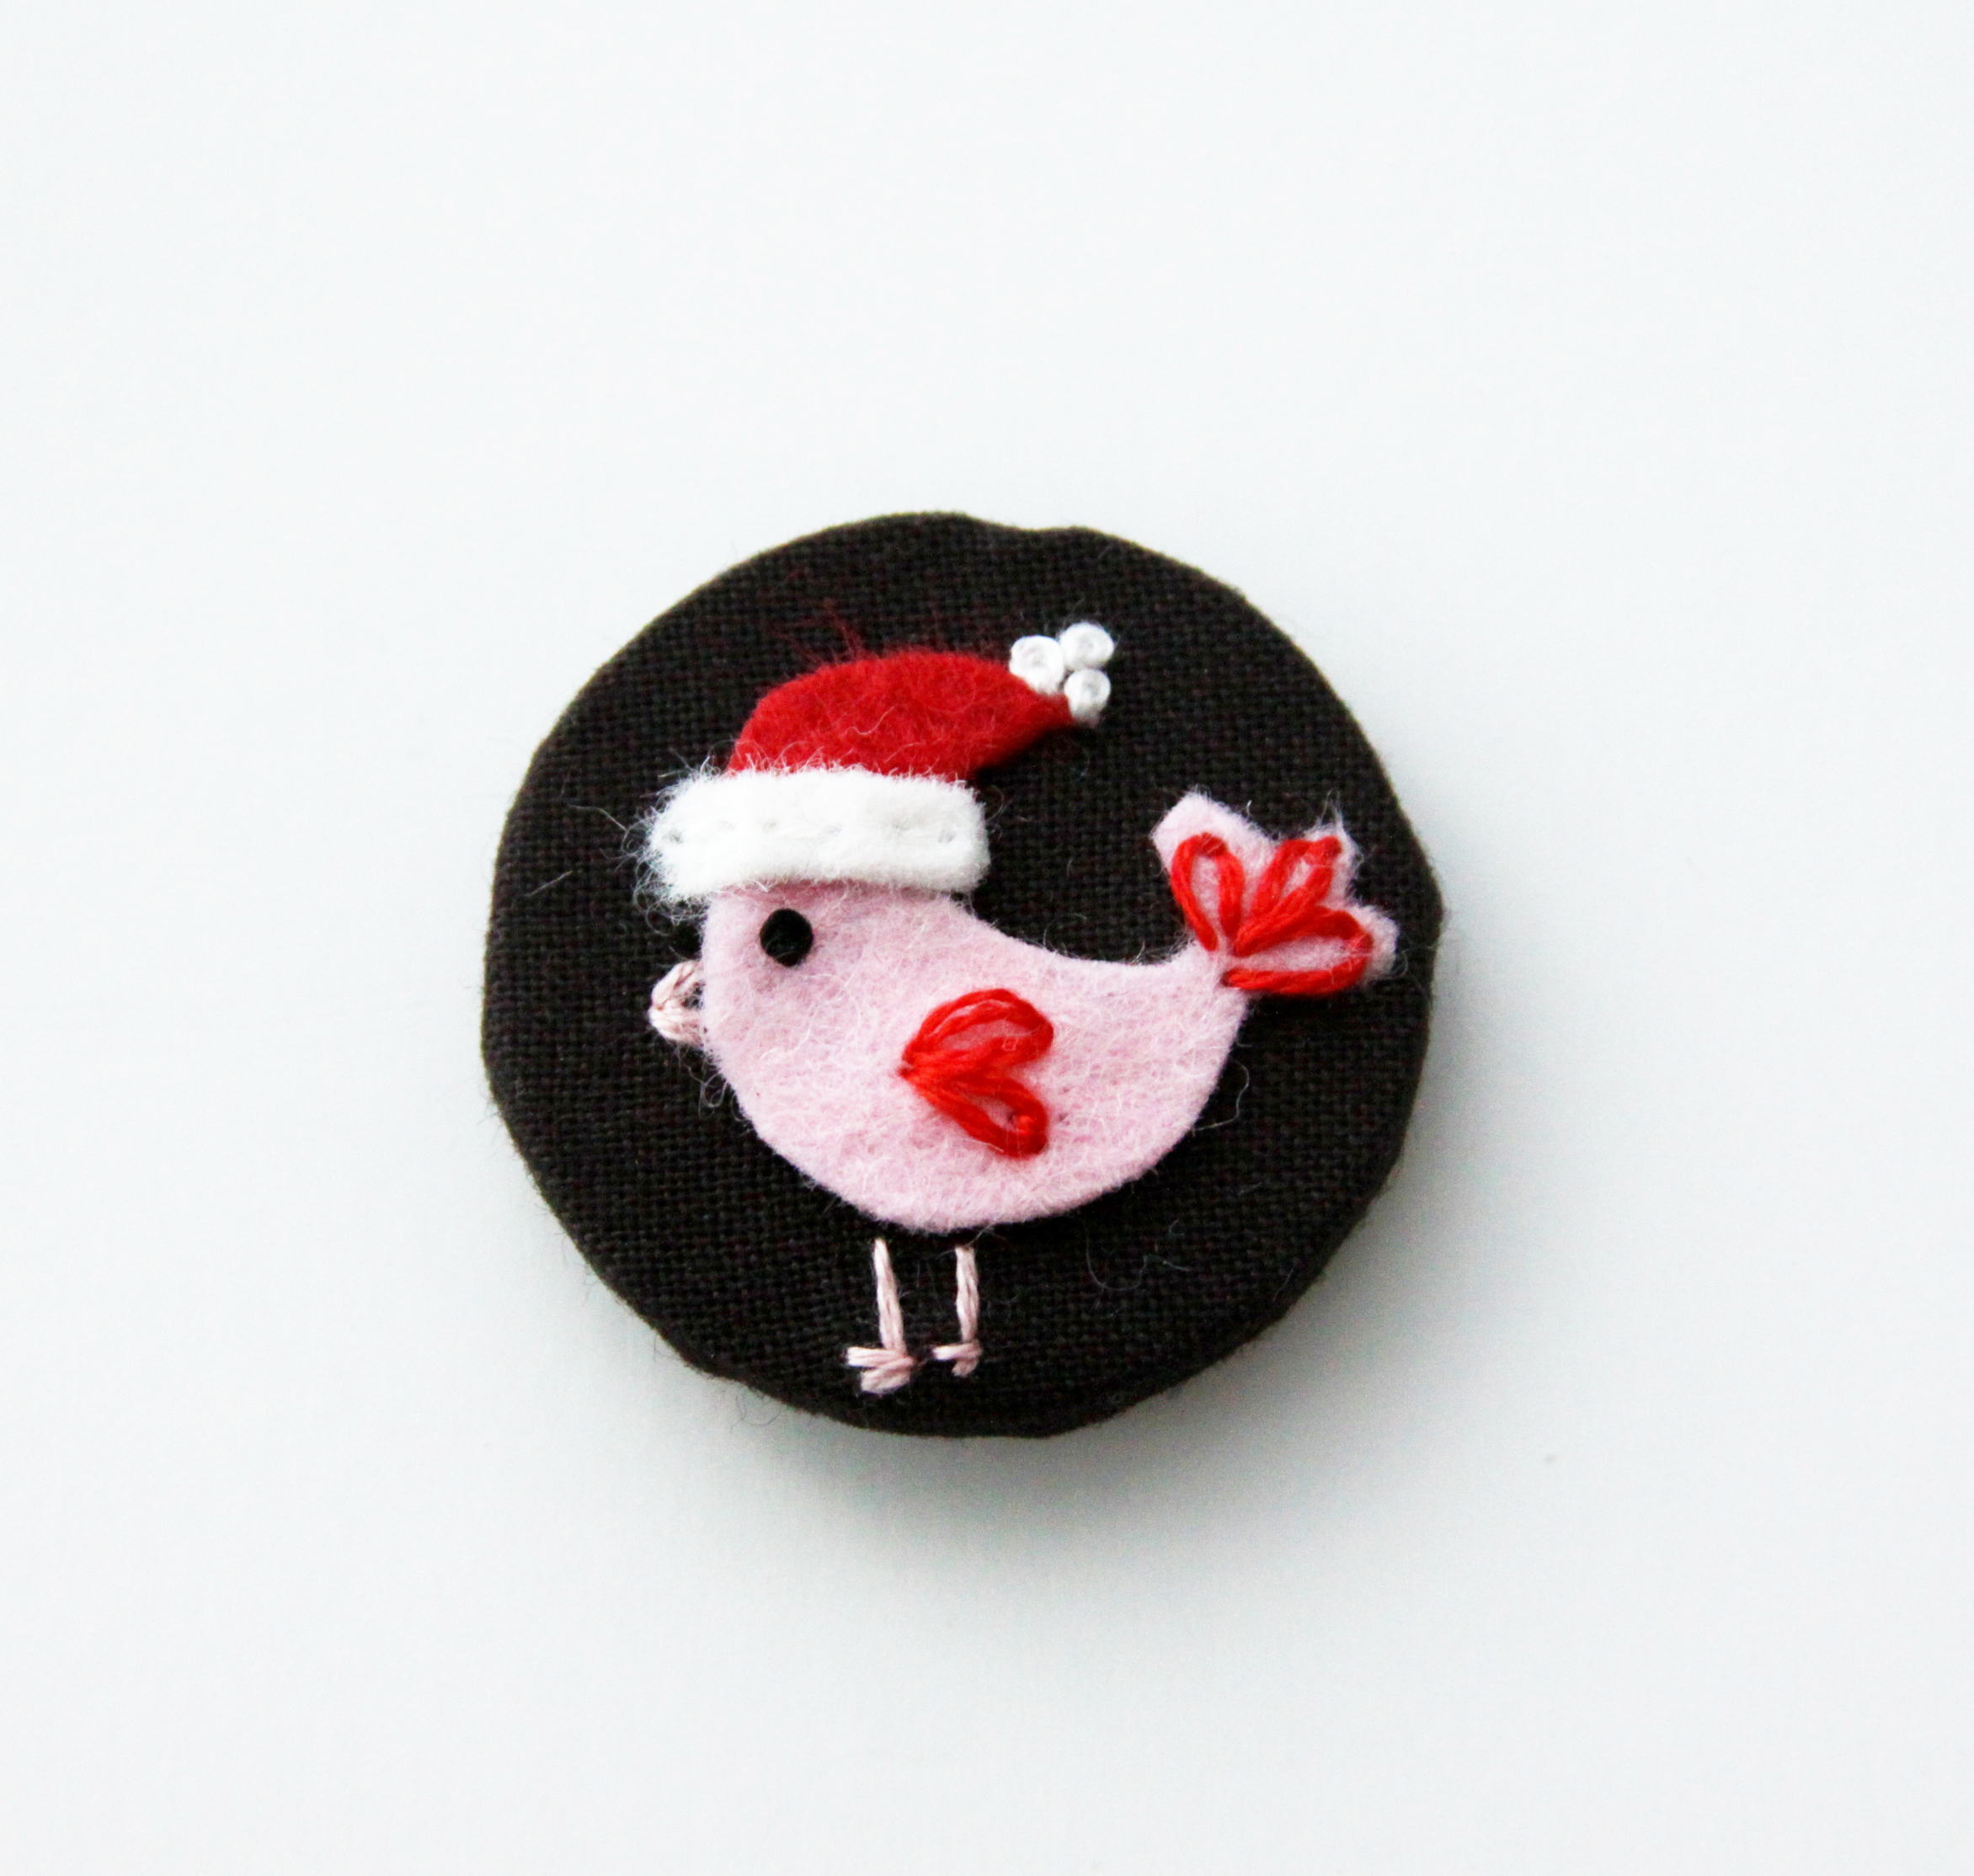
Cut out your bird pieces and fuse them to the black fabric, according to the pattern placement. Embroider the bird with a French Knot for an eye, lazy daisy stitches for the tail and wing feathers and straight stitches for the beak and feet. Do a running stitch along the white edge of the hat and three small French Knots for the pom pom at the end of the hat.
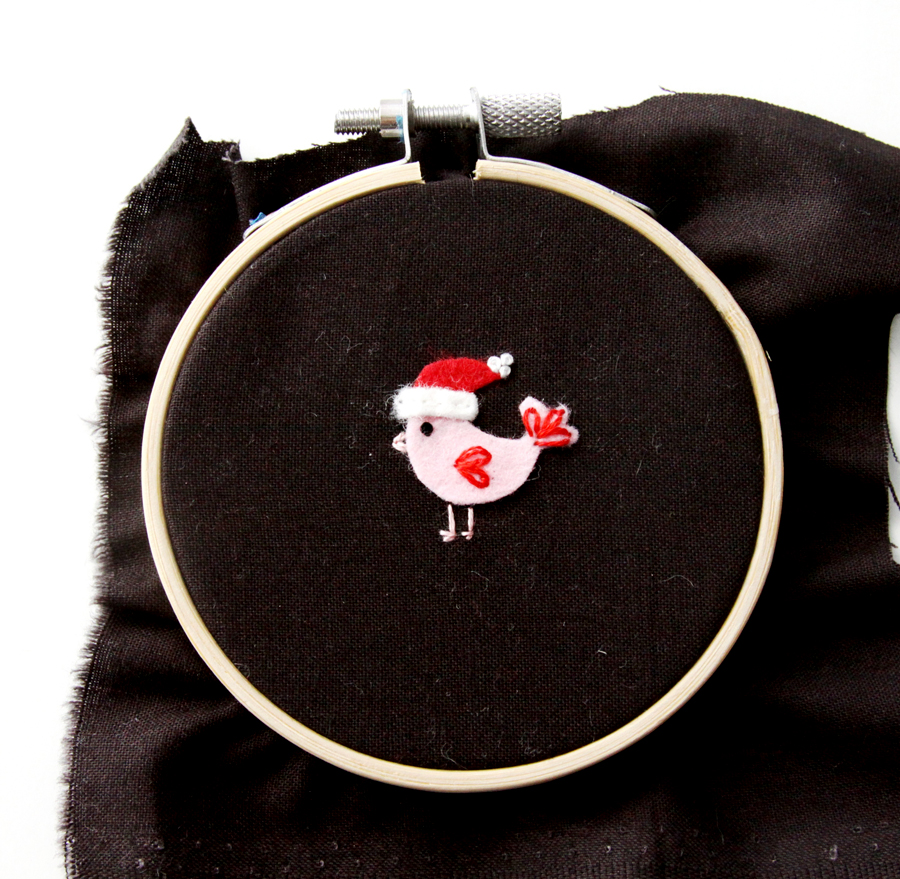
Place the bird in the mini hoop so the feet are right along the bottom edge. Don’t tighten the outer ring all the way, just use it as a placement holder. Trim the fabric around the hoop edge so you have enough to glue down to the back side.
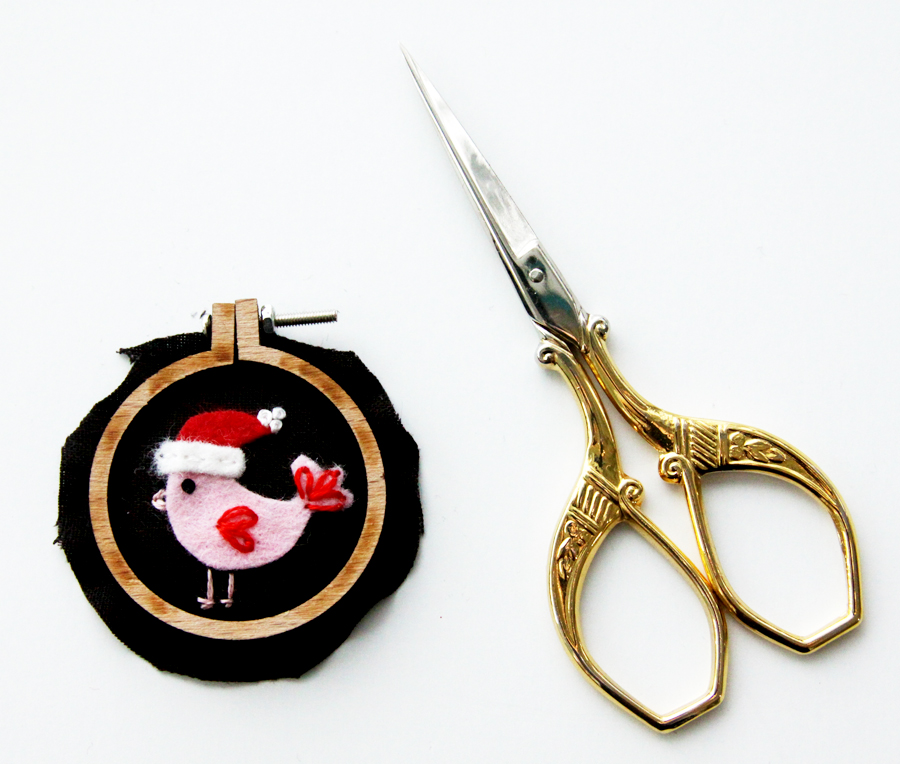
Glue the fabric to the back side of the wooden inner circle with hot glue. Remove the outer ring.
Cut out the shapes for the birdhouse, house trim, house stand and snow from felt. Cut a piece of fabric slightly smaller than the main section of the birdhouse. Remove the paper backing and fuse these pieces to the background fabric.
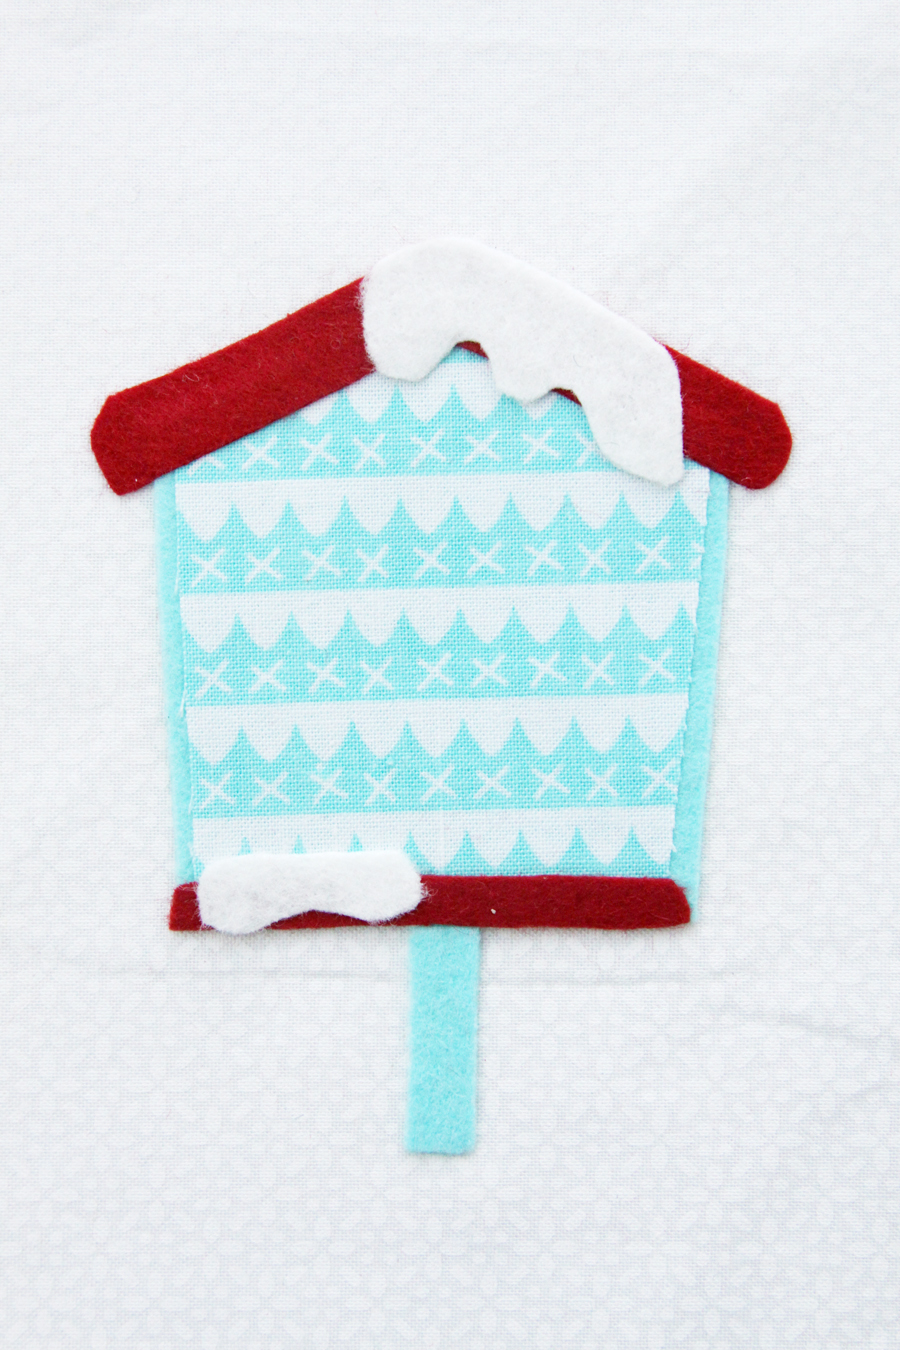
Stitch the felt pieces in place with a running stitch. Use contrasting thread on the sides of the birdhouse and the stand.
Place the black circle on top of the birdhouse according to the pattern, then carefully turn the hoops face down. Be careful to keep the mini hoop in the correct place. Place the outer ring of the mini hoop set on the back side, using your fingers to align the hoops. Draw a circle inside the ring of the hoop. You’ll need the outer hoop open almost all the way to go around all the fabric and felt.
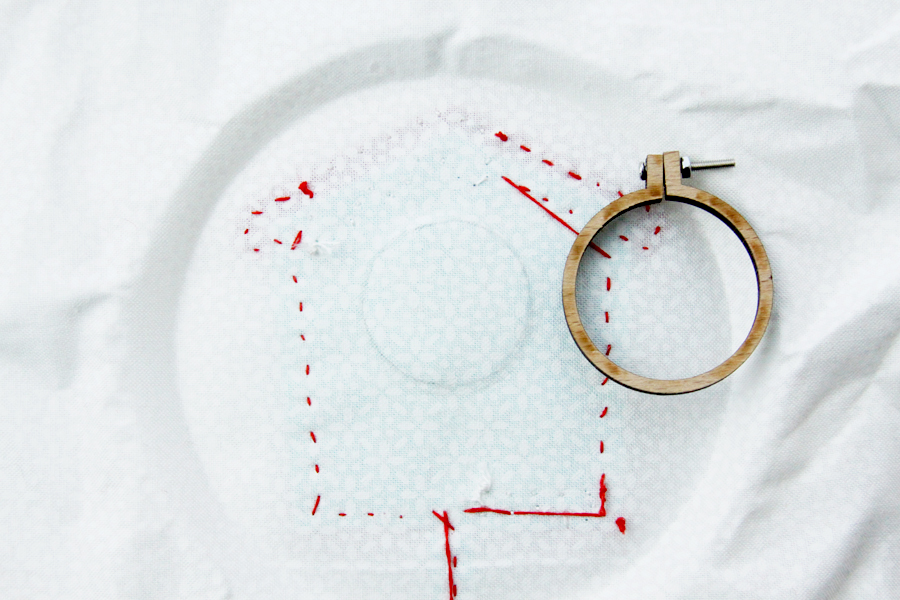
Starting in the center, make small cuts diagonally out to just inside the marked circle edge. You want to get pretty close to the line without going over or you’ll have puckering on the front side of the birdhouse.
Place the outer ring hoop over this circle and carefully push down so the inner hoop sits inside the outer ring. It will be pretty tight with all that fabric. Glue the cut pieces back around the outer hoop ring to hold everything in place. Run a bit of glue along the back side edge of the inner circle as well to help hold the inner circle in place.
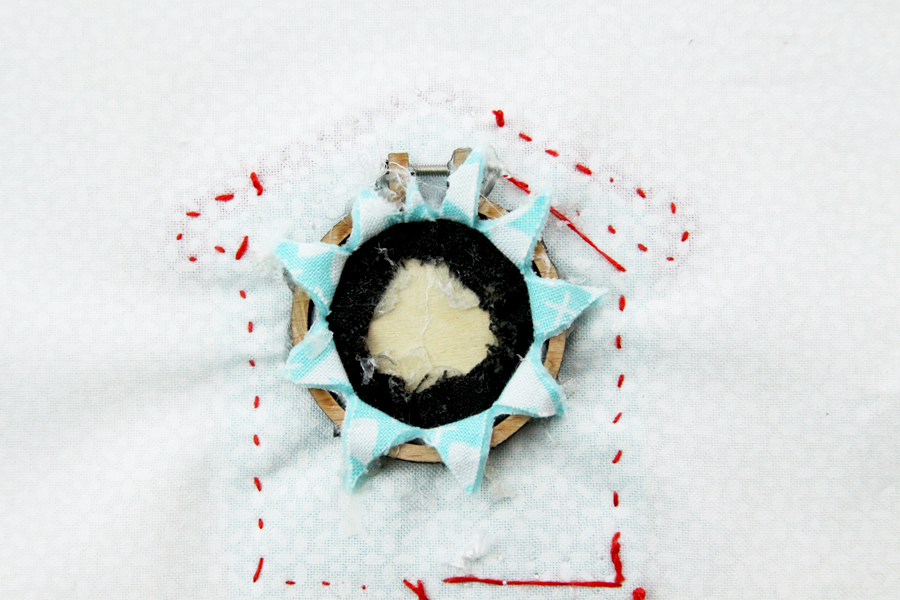
That’s not very attractive but we’ll cover it all up at the end.
If you don’t want to do the double ring section, just add your felt bird to a felt or fabric circle and stitch the circle in place on the front of the birdhouse. That will be super cute too!
Carefully iron the holly and berries to the front of the birdhouse. If you need to, add some hot glue to the berries to hold them in place since they sit on the outer ring of the hoop and it’s a bit tricky to get them ironed on.
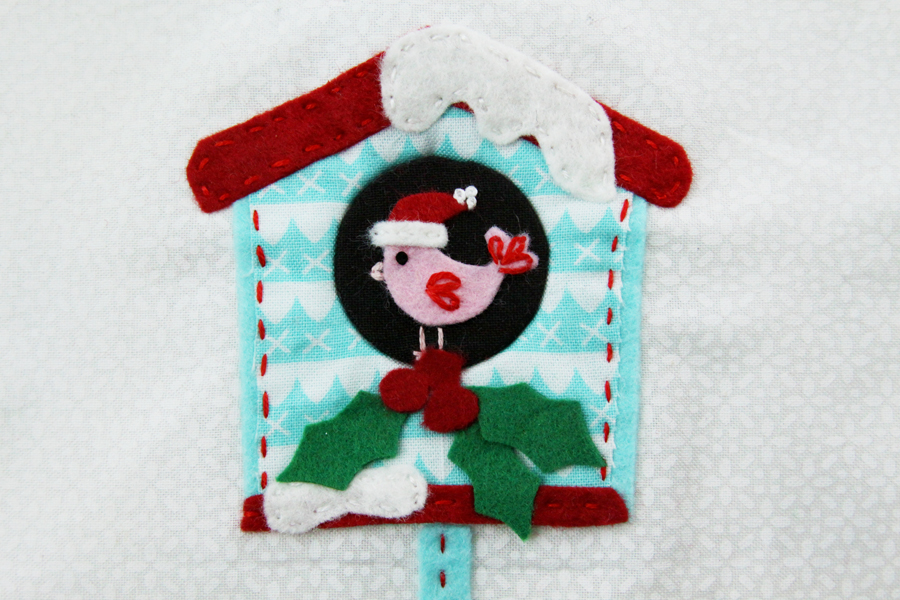
Stitch running stitches down the center of each holly piece.
Finish the back of your hoop by trimming the fabric to about 1/2″ and gluing the fabric to the inside back of the hoop edge. Glue your trim around the edge and add a ribbon for hanging.
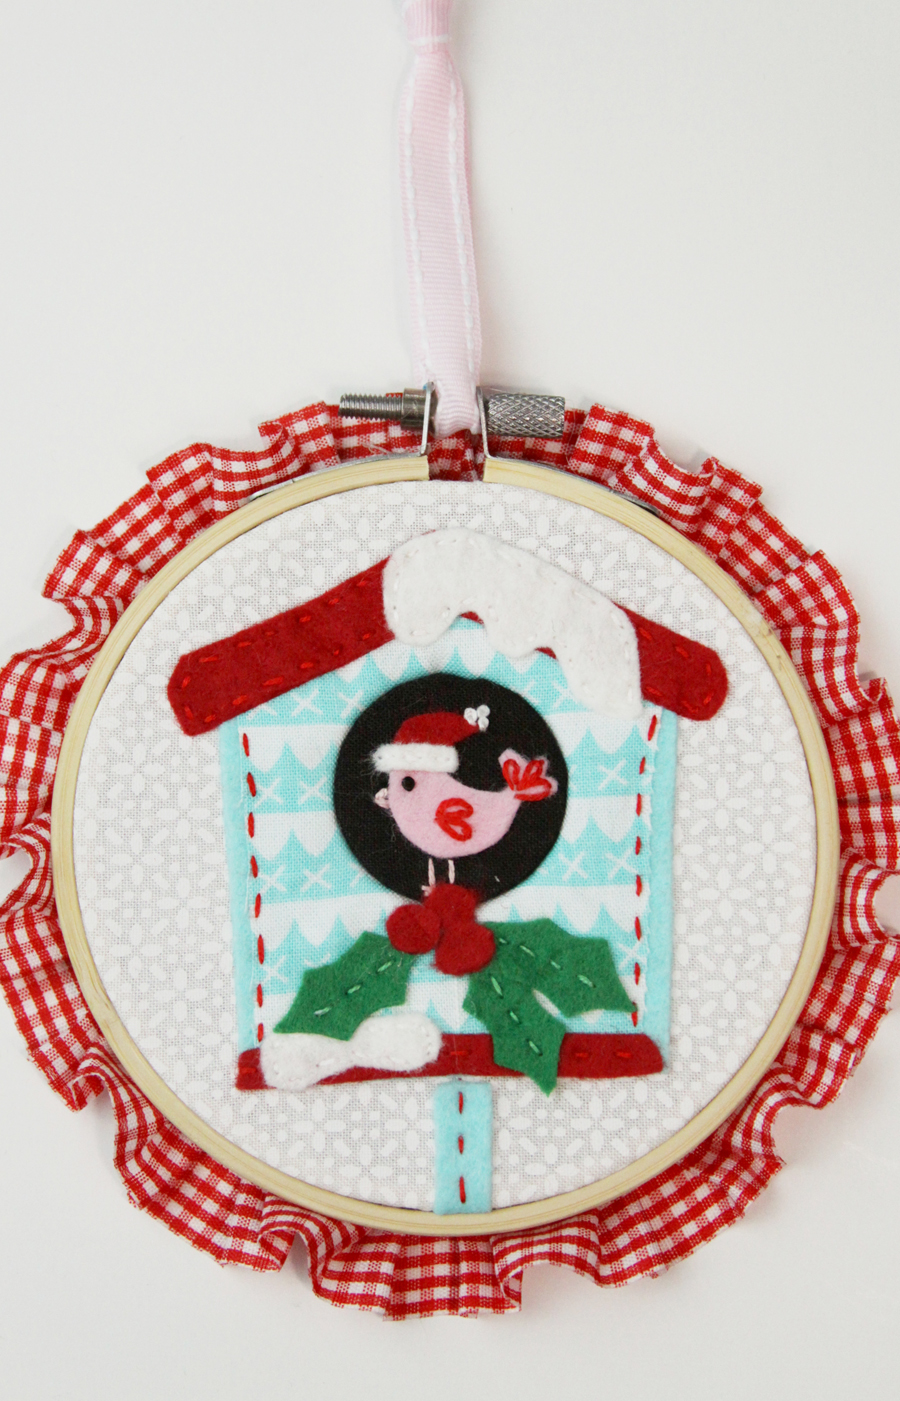
And we’re all done! Such a fun way to finish off Ornament Week!
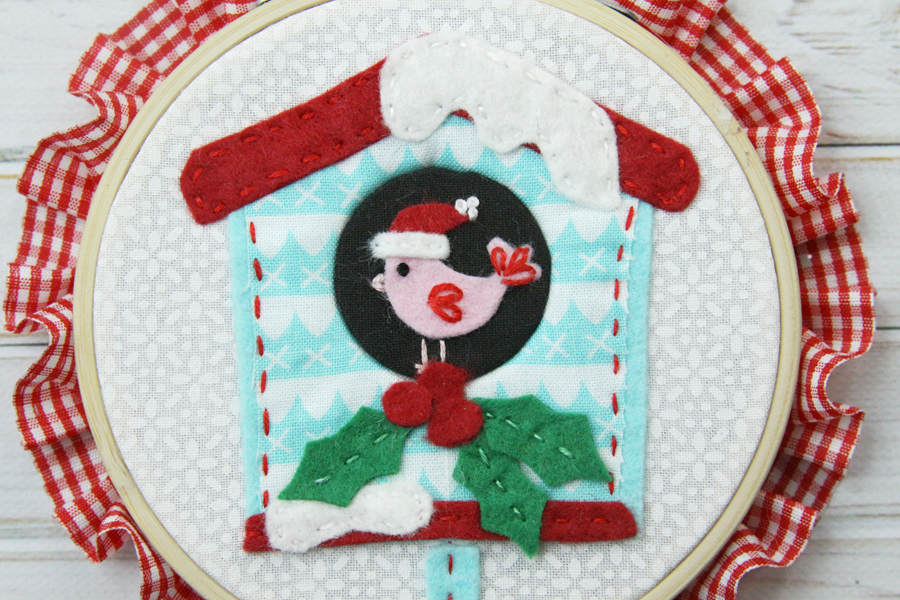
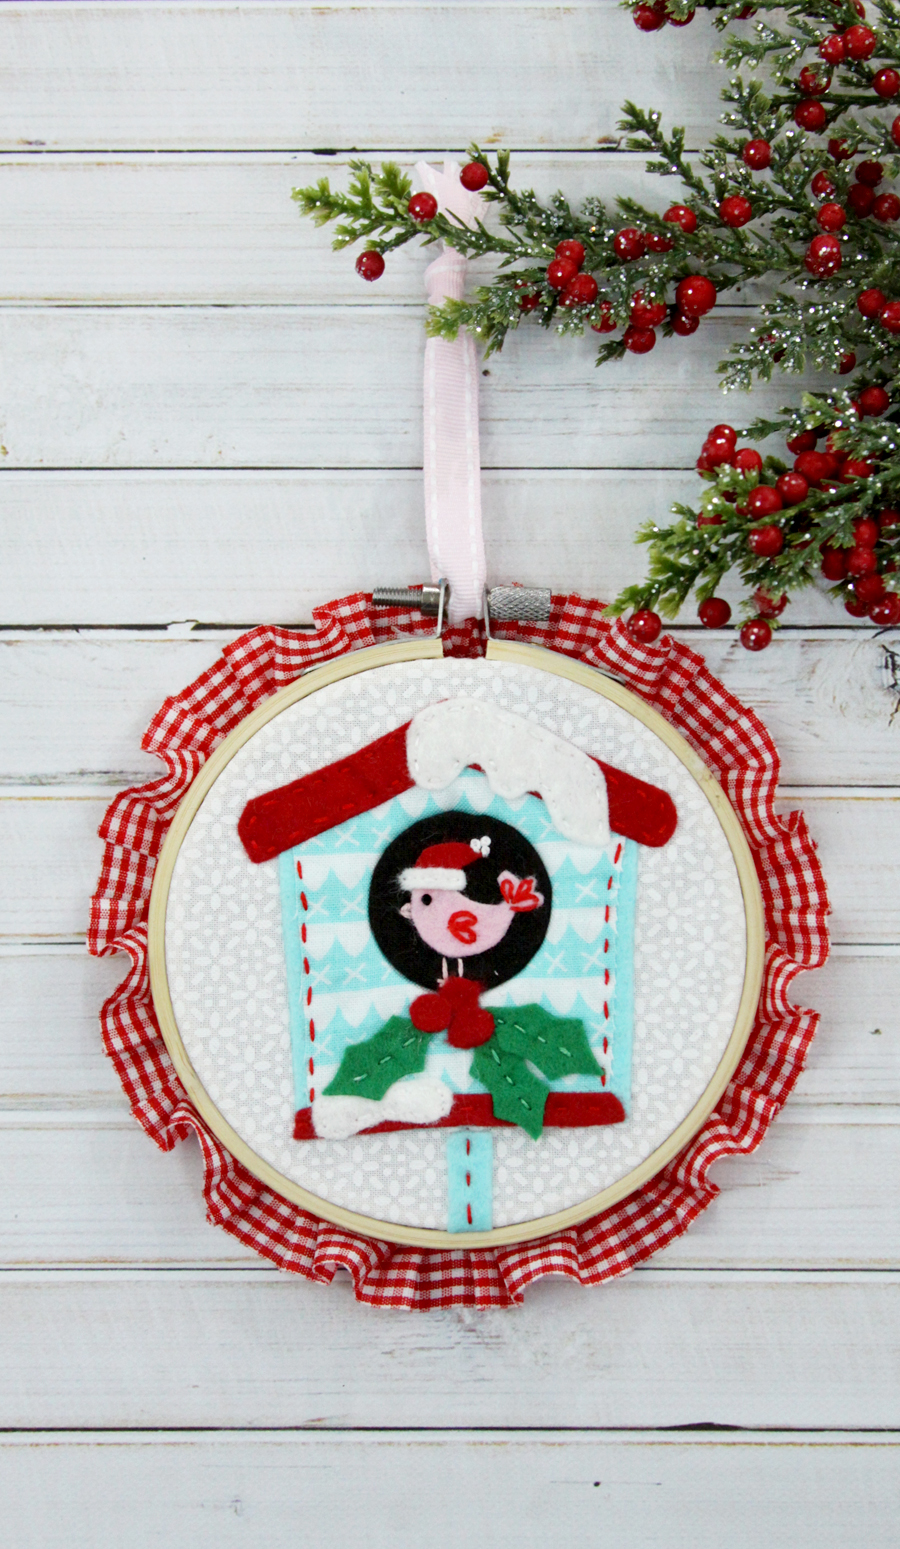
I hope you’ve enjoyed the week!
You can find several more ornament and Christmas projects here!


Do you sell your ornaments?? Love to purchase the lamp one