No matter what time of year it is, this Spring Diamonds Free Quilt Pattern is quick and easy to sew and it’s perfect for showing off your favorite fabric prints! I shared this last month over at Fabric.com and I’m posting here today in case you missed it. :)
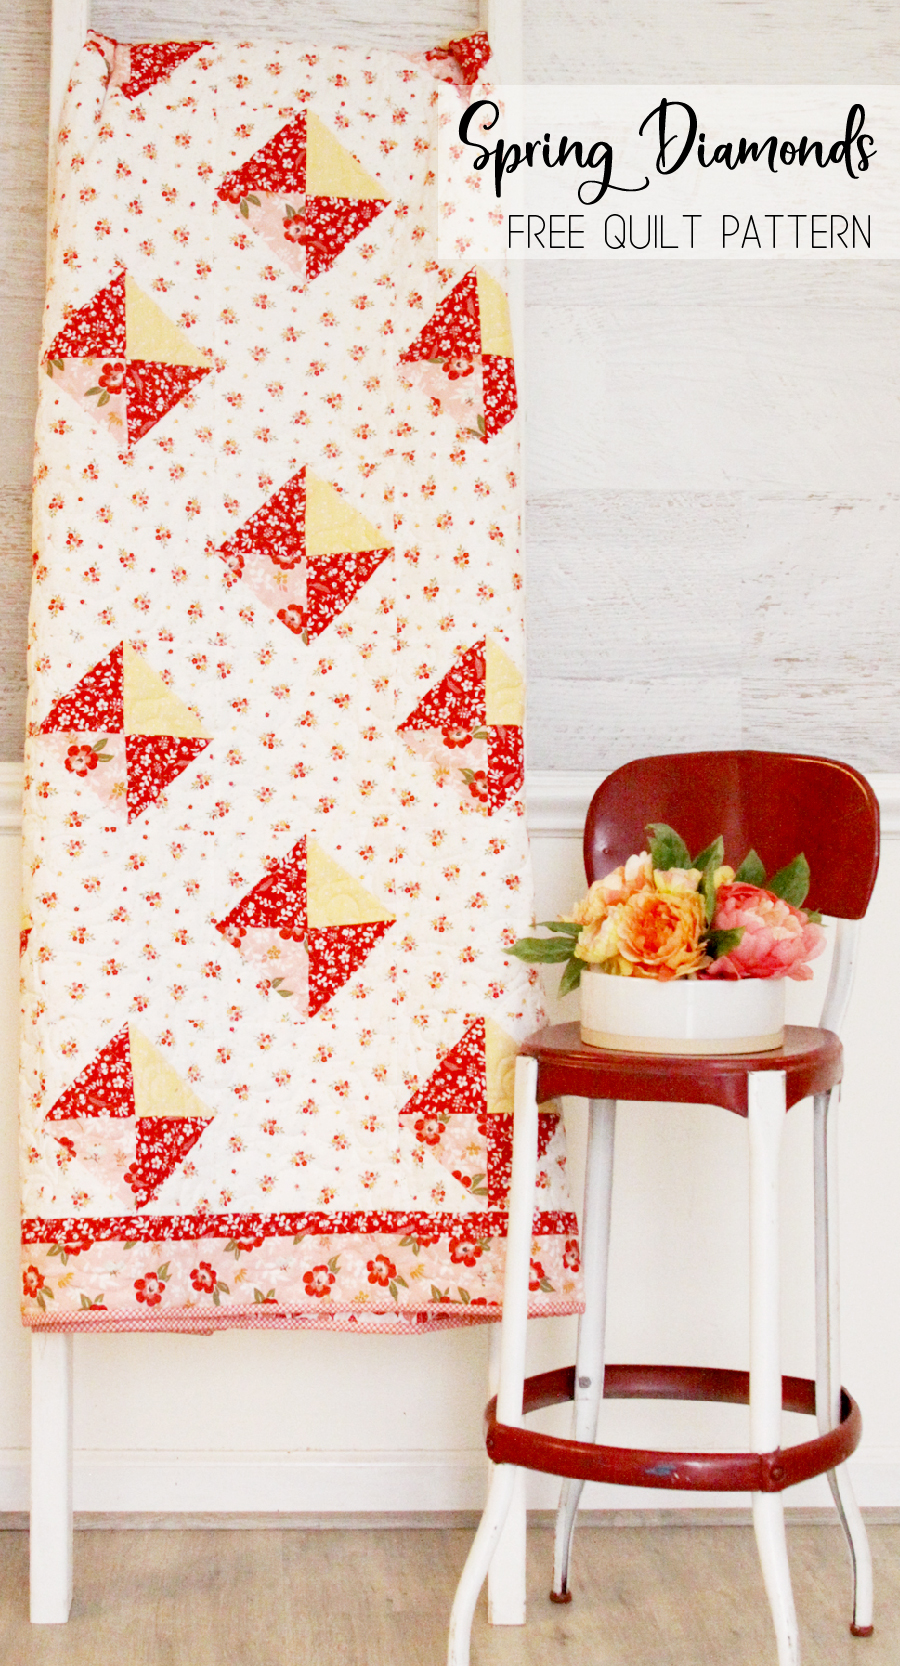
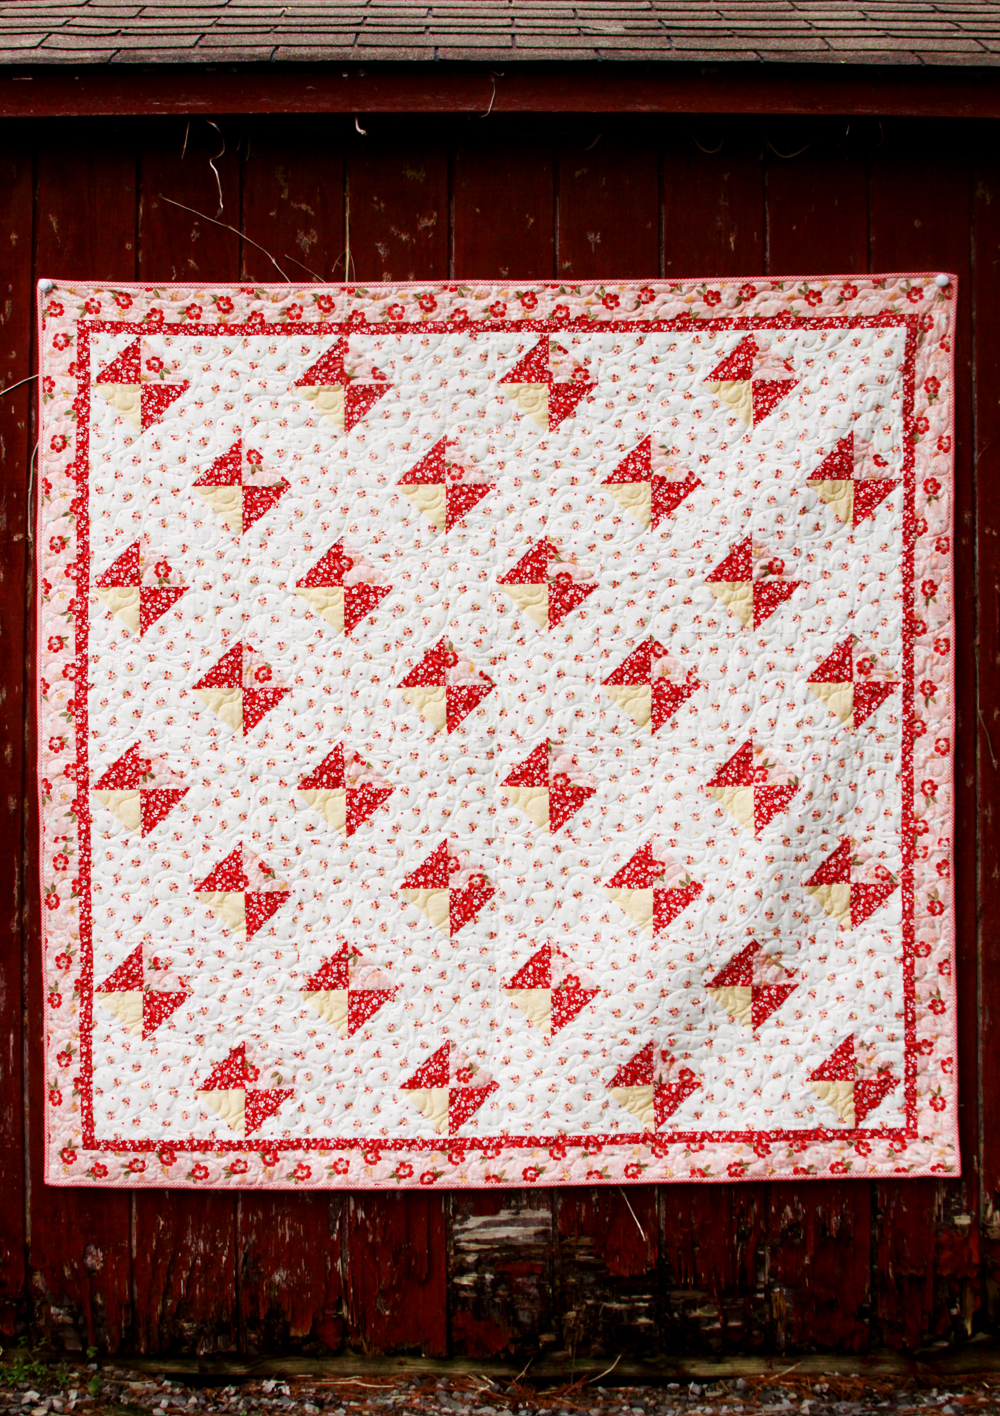
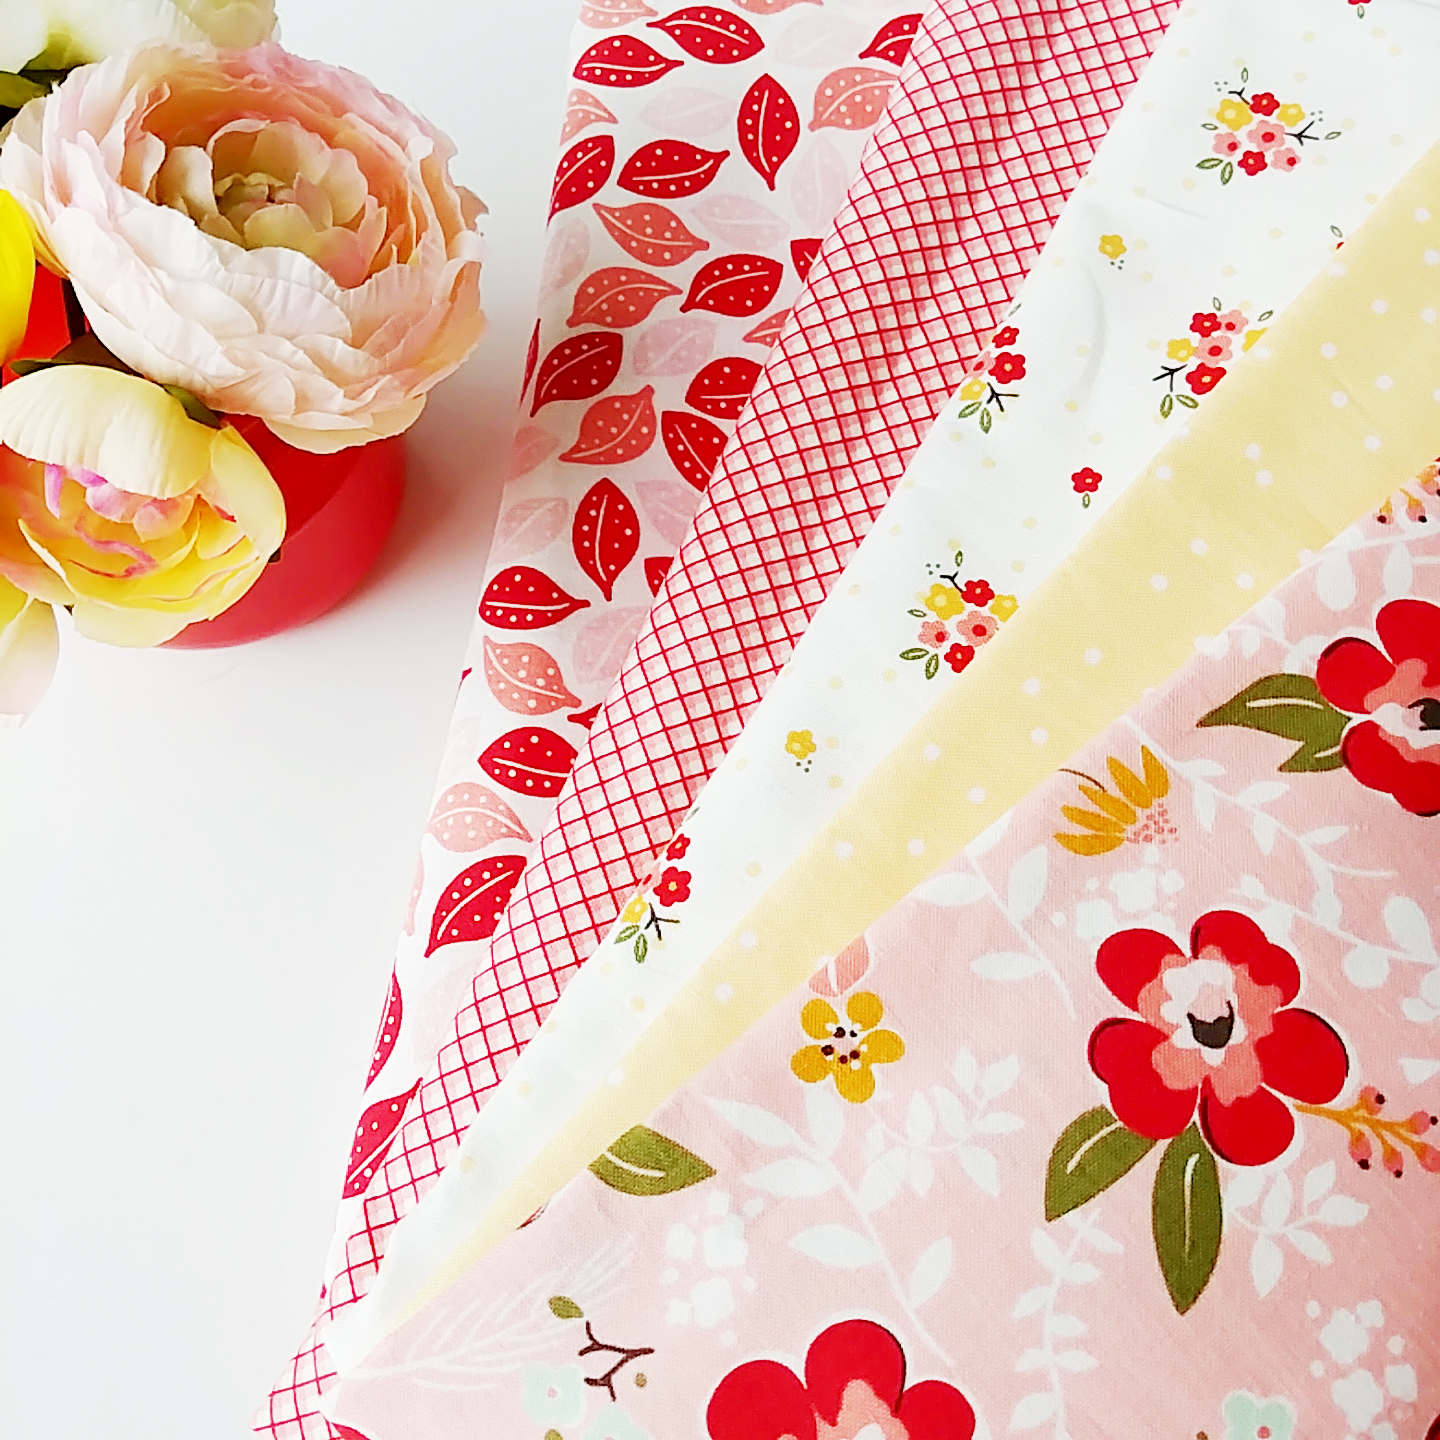
For this free quilt tutorial I used the gorgeous Sweet Prairie line by Sedef Imer Of Down Grapevine Lane for Riley Blake Designs. It’s full of gorgeous florals and prints – I chose the red, pink and yellow prints. They are perfect for Spring!
Let’s get sewing!
Spring Diamonds Free Quilt Pattern
Finished Quilt size: 71″ x 71″
Materials: (contains affiliate links)
I used Sweet Prairie from Riley Blake in this quilt – though I think it would look so pretty in lots of different colors for a scrappy look, a patriotic look with red, white and navy, or even a fun Christmas quilt!
- Main background fabric – Sweet Prairie Main White – 3 1/2 yards
- Primary Half Square Triangle fabric – Sweet Prairie Floral Red – 1 yard
- Secondary Half Square Triangle fabric – Sweet Prairie Night Sky Yellow – 1 yard
- Secondary Half Square Triangle fabric – Sweet Prairie Main Coral – 1 1/2 yards
- Binding – Sweet Prairie Gingham Pink – 1 yard
- Backing – Sweet Prairie Leaves Pink – 5 yards
- Batting
- Aurifil White Thread – 50 wt
Cut out of your fabrics:
- 32 Sweet Prairie Main White squares – 8 1/2″
- 64 Sweet Prairie Main White squares – 5 1/8″
- 32 Sweet Prairie Floral Red squares – 5 1/8″
- 16 Sweet Prairie Night Sky Yellow Squares – 5 1/8″
- 16 Sweet Prairie Main Coral Squares – 5 1/8″
- Sweet Prairie Floral Red – 8 strips – 1 1/2″ x 42″
- Sweet Prairie Main Coral – 8 strips – 3 1/2″ x 42″
If you’d like, you can purchase a low-cost PDF version of this pattern in my shop. It includes everything in the tutorial below, along with a blank quilt printable of the design so you can plan colors and prints.
You’ll be making 32 half-square triangles from the floral red and main white and 16 each of the yellow and the coral with the main white. To make a half square triangle, place a 5 1/8″ square of main white with a 5 1/8″ square of floral red, right sides together. Draw a diagonal line from one corner to the opposite corner with a marking pen on the wrong side of the fabric.
Sew a straight seam 1/4″ on either side of the marked line.
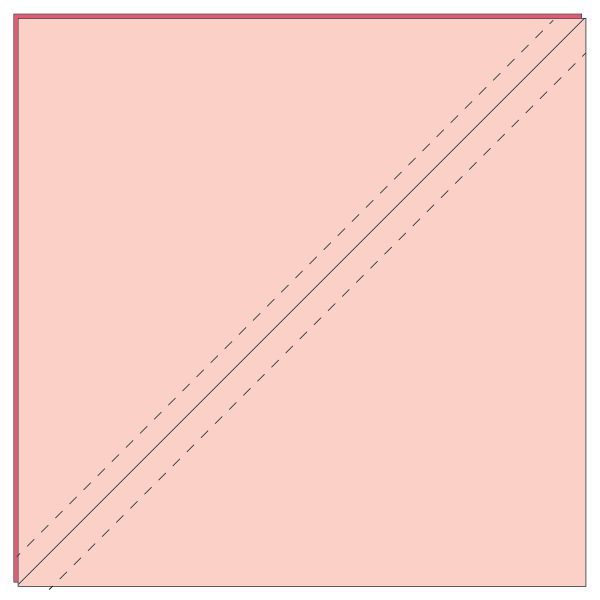
Cut on the marked line with your rotary cutter to separate the two triangles. Open up the squares and press the seams to one side. Trim the square to 4 1/2″.

Repeat for all of the Red Floral, Yellow, and Main coral 5 1/8″ squares. You will have 64 Red and White squares, 32 Coral and White squares and 32 Yellow and White squares.
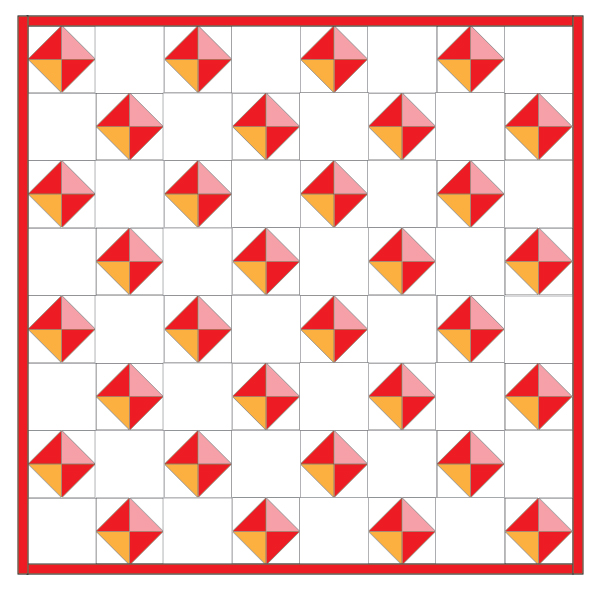
Begin sewing your pieced blocks together. Start by sewing a red/white square to a coral/white square. Sew a yellow/white square to a red/white square. You’ll now have 2 sets of two block rows. Press the center seams opposite directions. Place the two rows right sides together and sew together, matching the center seams. Press the seam to one side. Use the photo below for half square triangle alignment and directions.
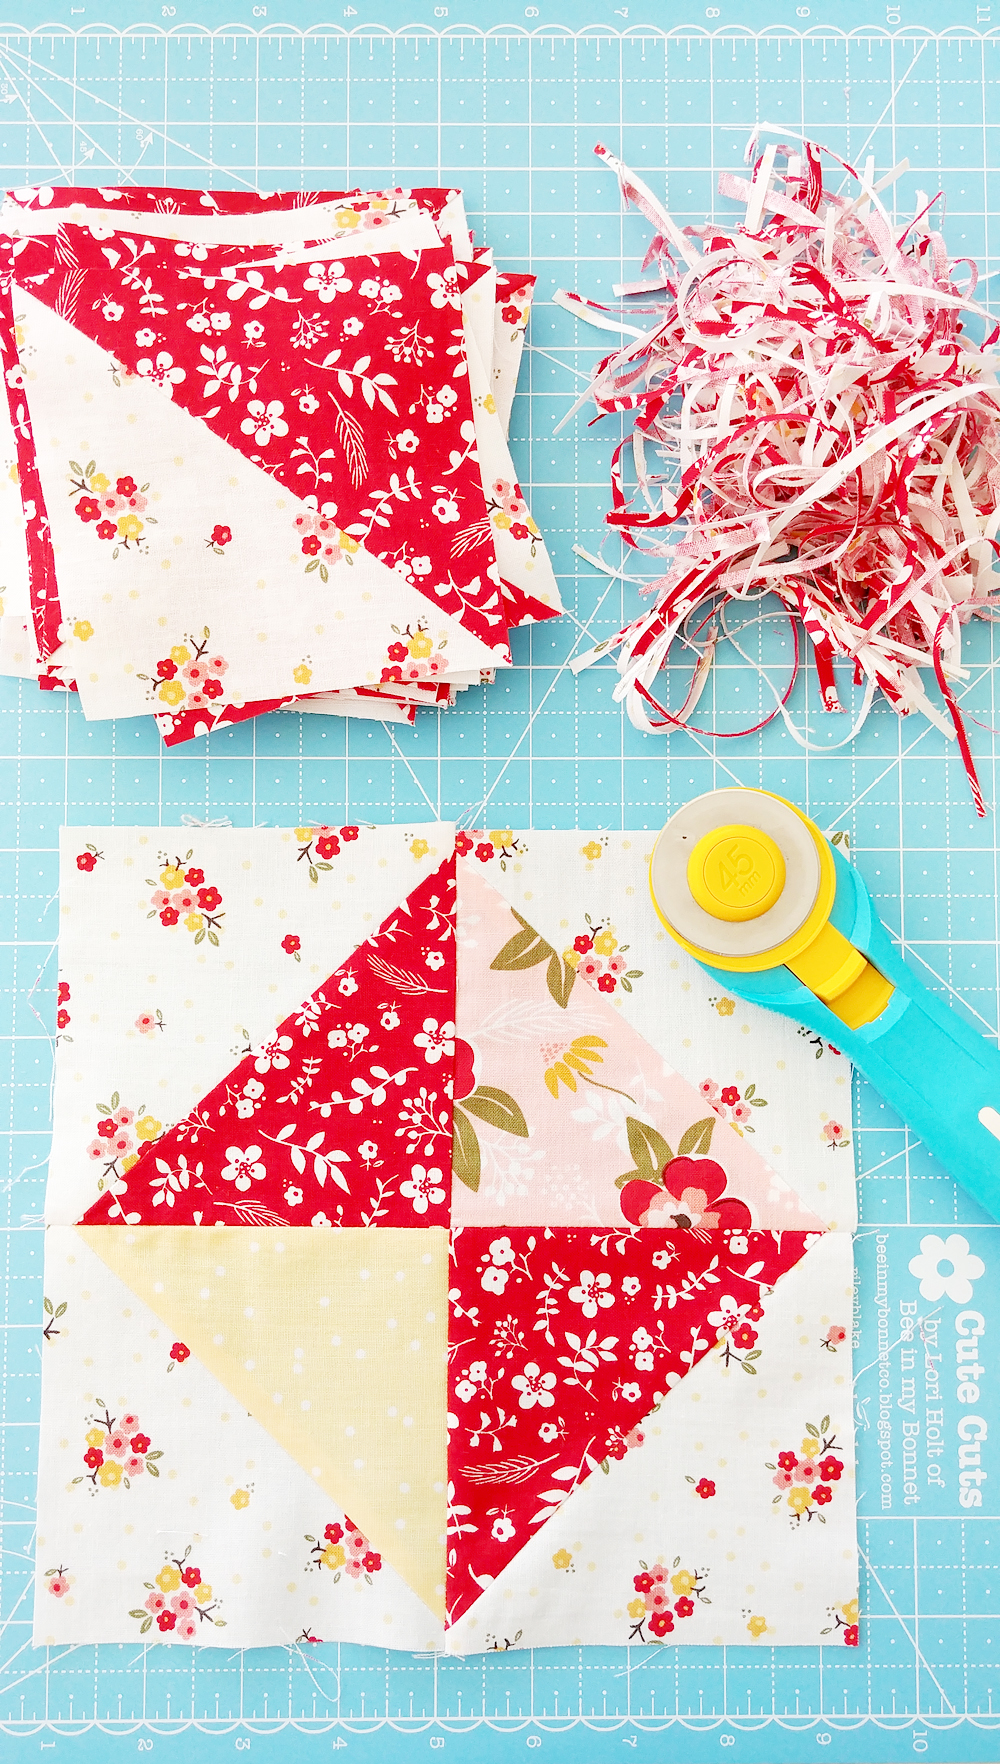
Your four squares should form a diamond of prints in the center with the main white floral on the outside of all of the triangles. Repeat this step to sew a total of 32 diamond blocks. The finished size of the blocks should be 8 1/2″.
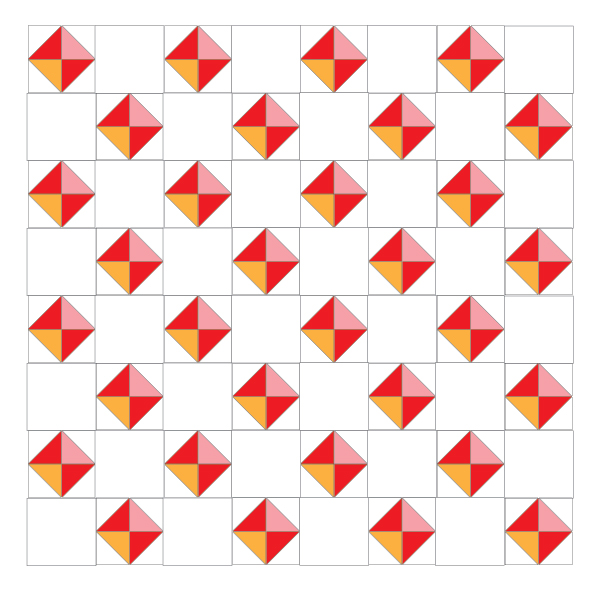
Begin to sew your rows together. For all of your diamonds, the red/pink side should be at the top of the block. Alternate a diamond block with an 8 1/2″ main white floral block. Row 1 should start with a diamond block.

Row 2 should start with an unpieced block, then alternate the pieced and regular blocks.

Continue for 6 more rows. You should have 4 rows that start with a diamond block and four that start with a plain block. Press the seams to one side, alternating the direction with each row.
Sew your rows together to form the center of the quilt.
Press the row seams towards the bottom of the quilt.
Sew two of the red floral 1 1/2″ strips together to form a 1 1/2″ x 84″ strip. Repeat with the remaining strips to sew 3 more long strips. Press the seams to one side.
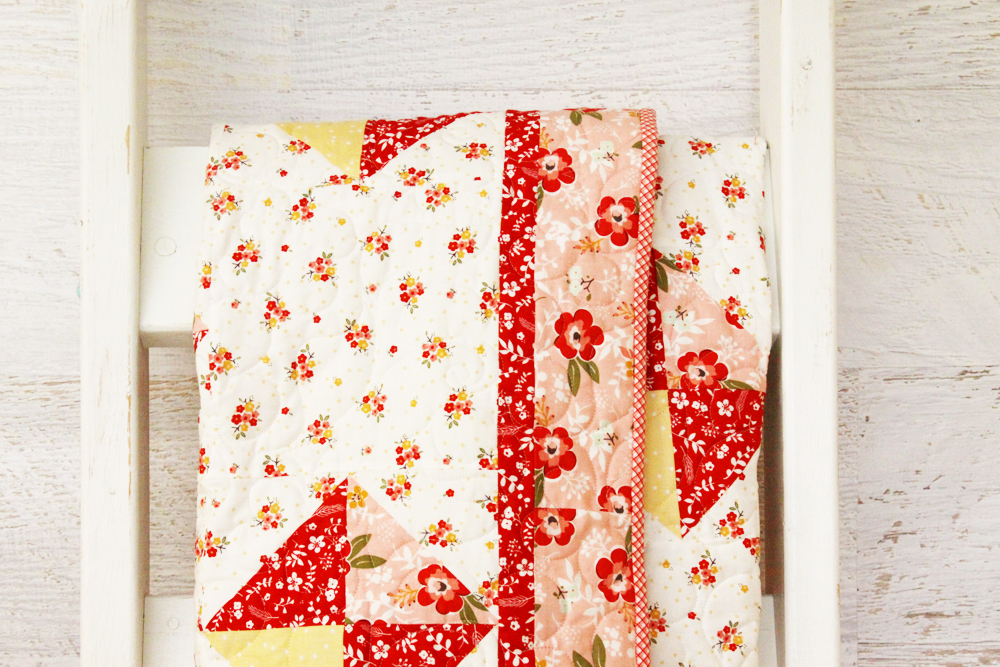
Sew one of each of the strips to the top and bottom of the quilt. Trim off the ends to line up with the center of the quilt. Sew the remaining two 1 1/2″ strips to the left and right sides of the quilt.
Repeat for the larger coral border, sewing the strips together to form four long pieces, then sew the top and bottom border pieces, trimming, then the left and right border pieces.

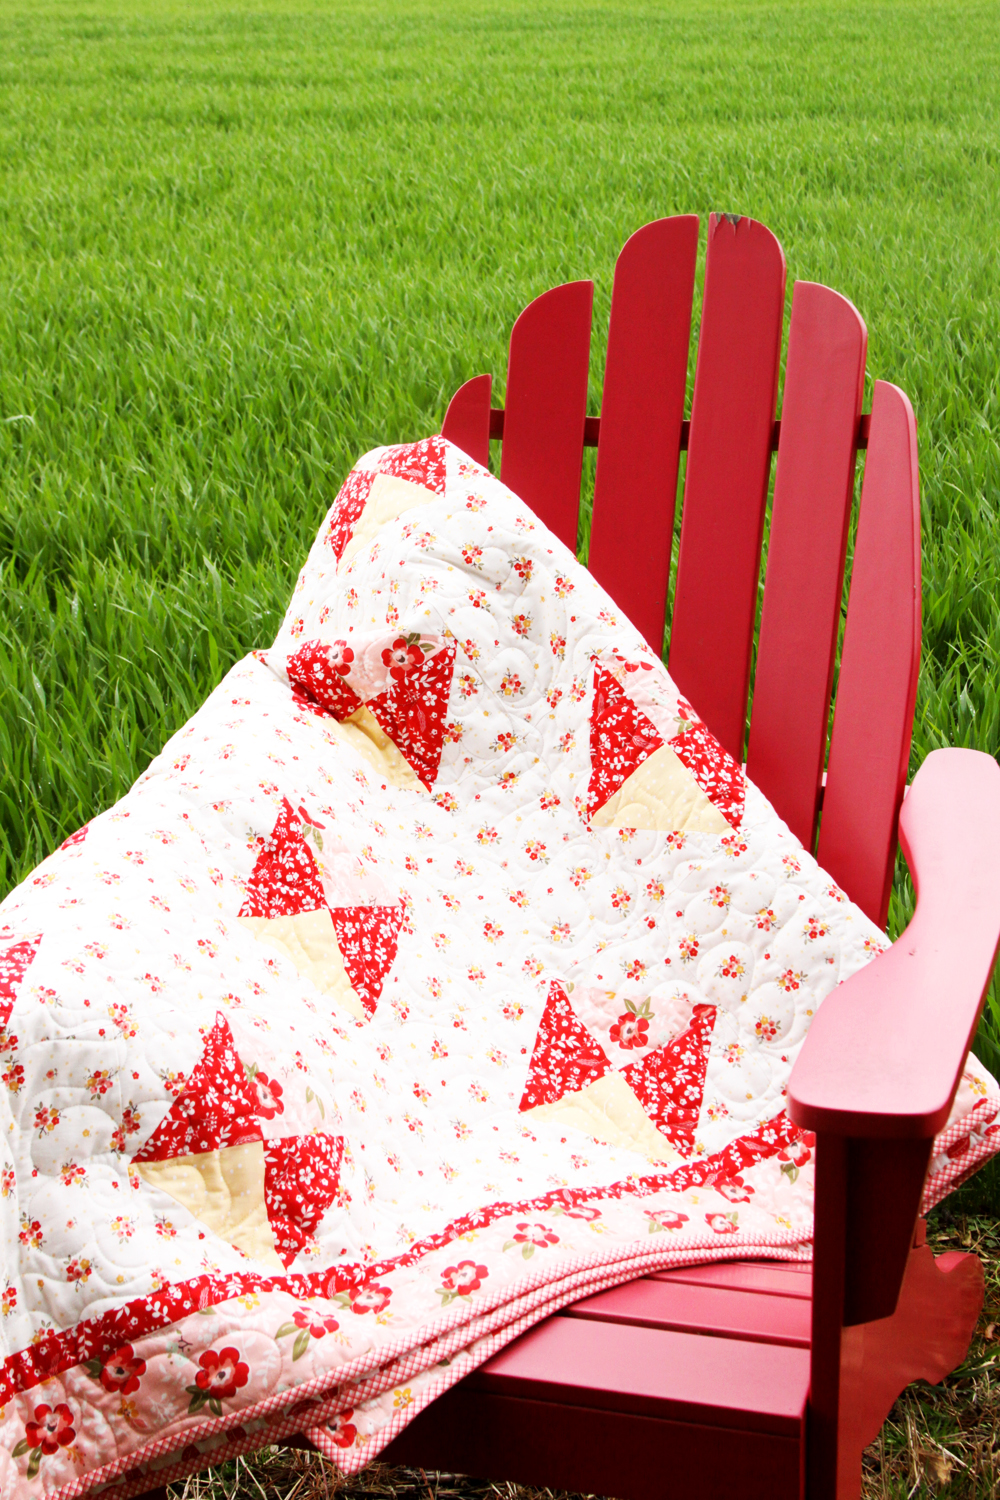
This finishes your quilt top! Prepare your backing fabric (I used the Leaves Pink fabric as the backing) and quilt and bind as desired. Mine was quilted by Julie’s Longarm Service. I chose a pretty floral quilting design – I thought it looked great with the floral prints!

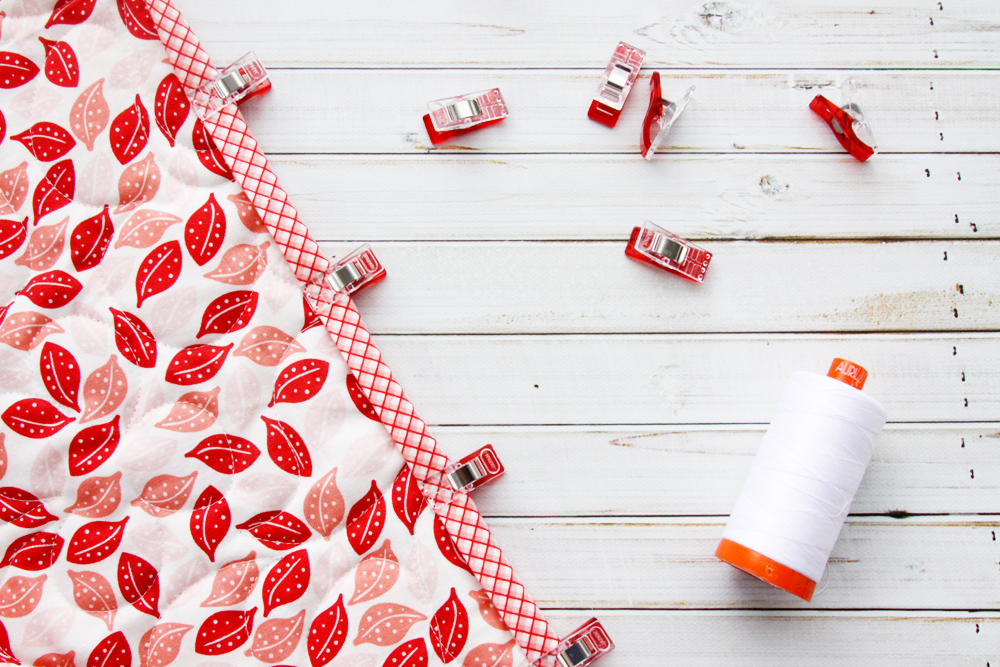
Once your quilt is quilted, bind it with the Gingham Pink print. I cut my binding straight (not on the bias) because I wanted the gingham to be at a diagonal. My strips were 2 1/2″ and I did double fold binding, sewn to the front and hand-stitched to the back. Feel free to bind it however you choose!
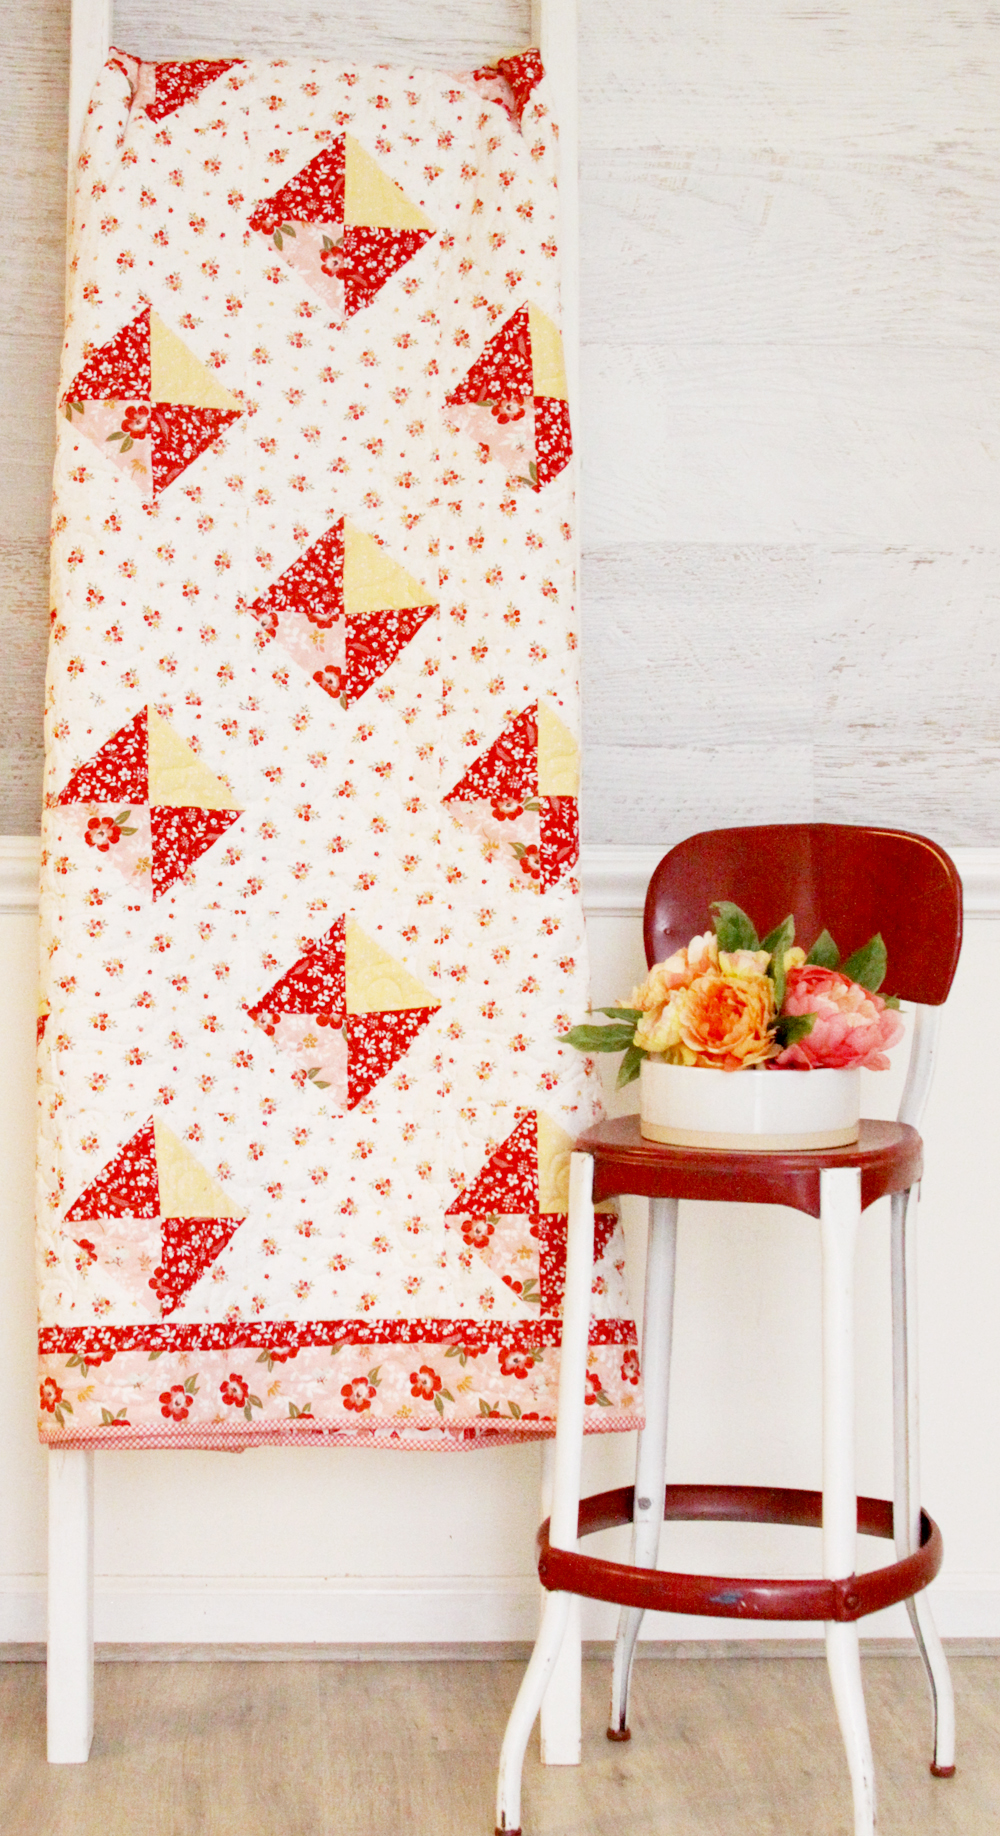
Now you can show off your sweet new quilt for Spring!


I love it! Super cute quilt. The fabrics are gorgeous!
Oh my heavens! Such a beautiful quilt and perfect to use some of the gorgeous yardage that’s I just can’t bear to cut into! Thank you!
I cannot wait to try this. I love your fabric choices for so many of your designs, especially how they work so nicely with the borders. Perfect! Thank you for sharing your wonderful talent.