This post is a partnership with Nancy’s Notions. All opinions and ideas are my own.
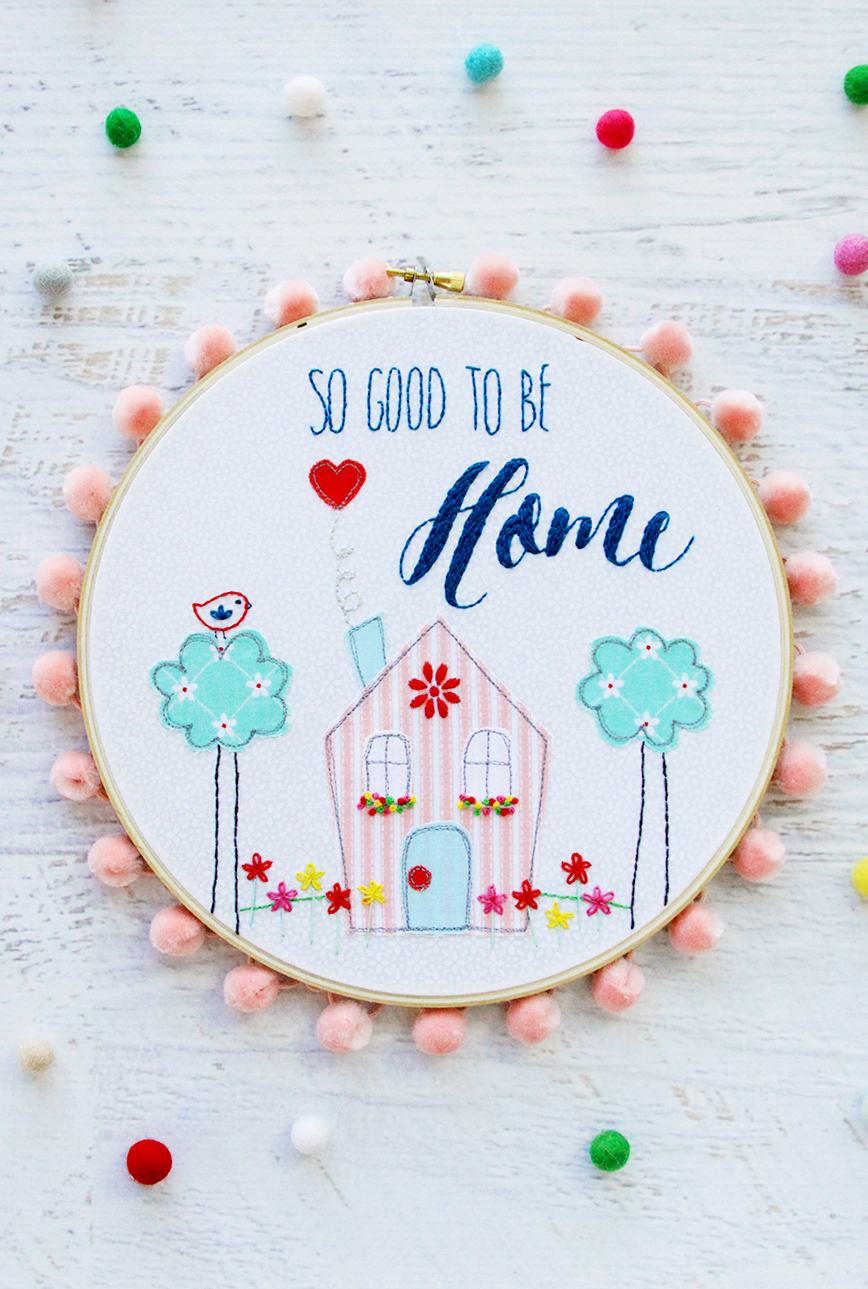
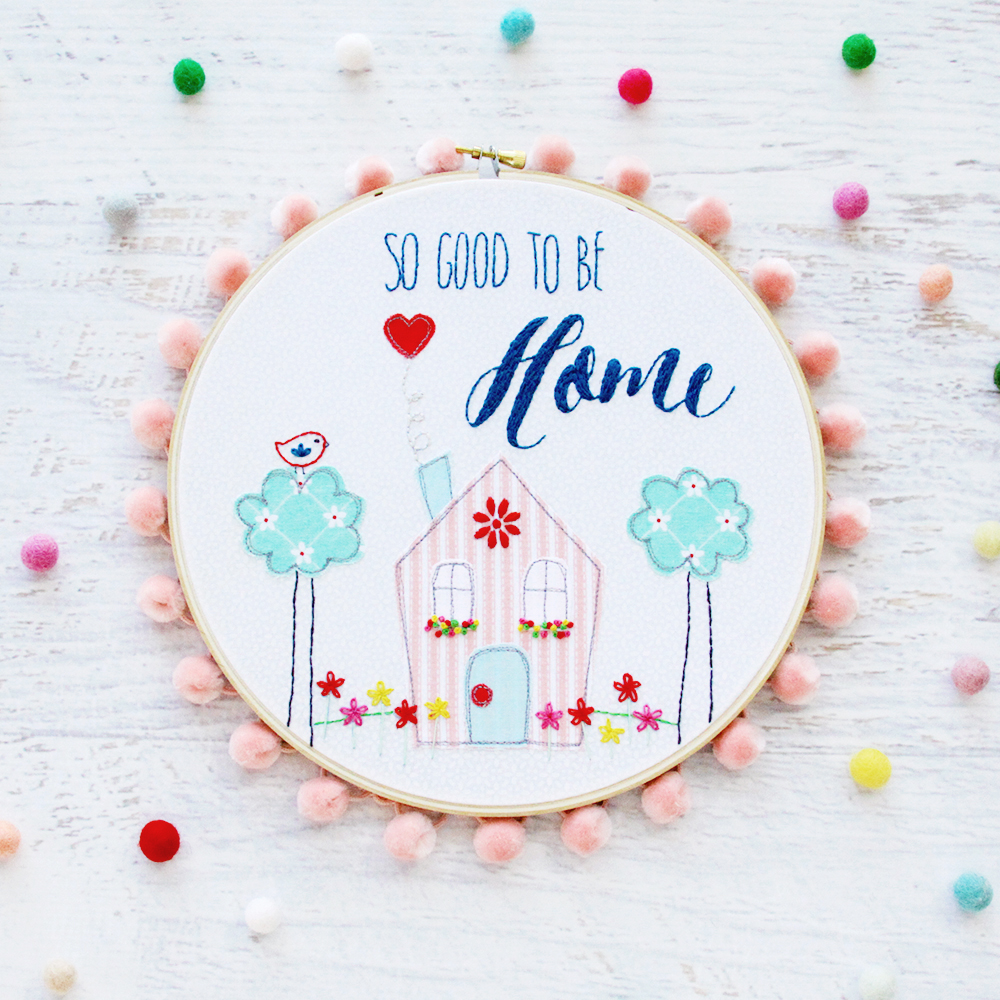
I was going to start out my comments on this post by pointing out how cold it is this time of year and how much that makes me love to be home and all cozy. But then I realized – I always want to be home!! I would much rather be all cuddled up on the sofa with my people than pretty much anything else. What about you? Are you a homebody too? If so this So Good to be Home Embroidery Hoop Art is perfect for you too!
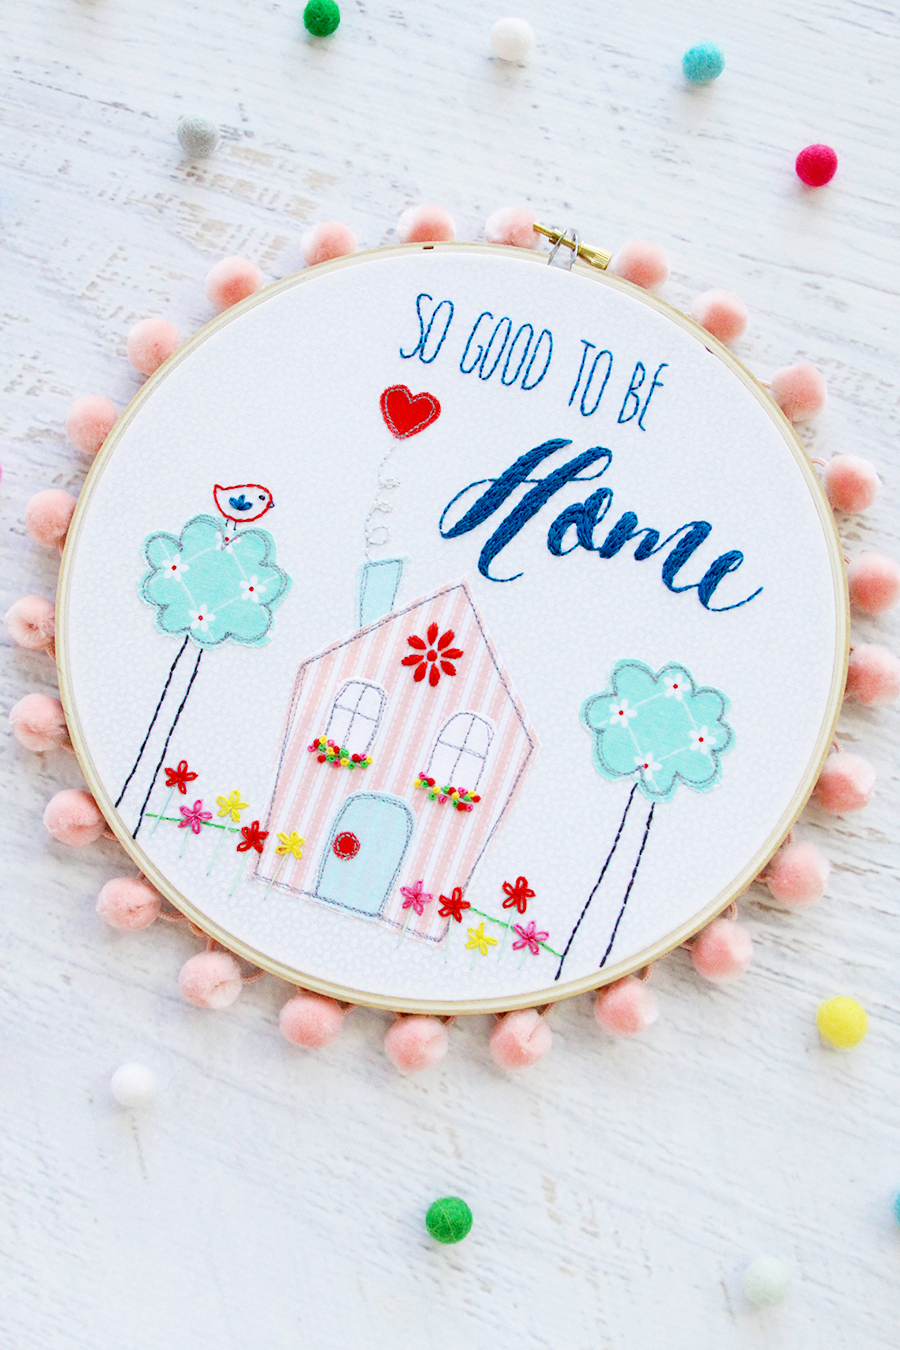
It’s all decorated with a sweet little house, trees and my little flowers I have to scatter on everything. It’s a great project for a beginner too! The stitches are all simple and so easy to learn, even if you’ve never done embroidery before.
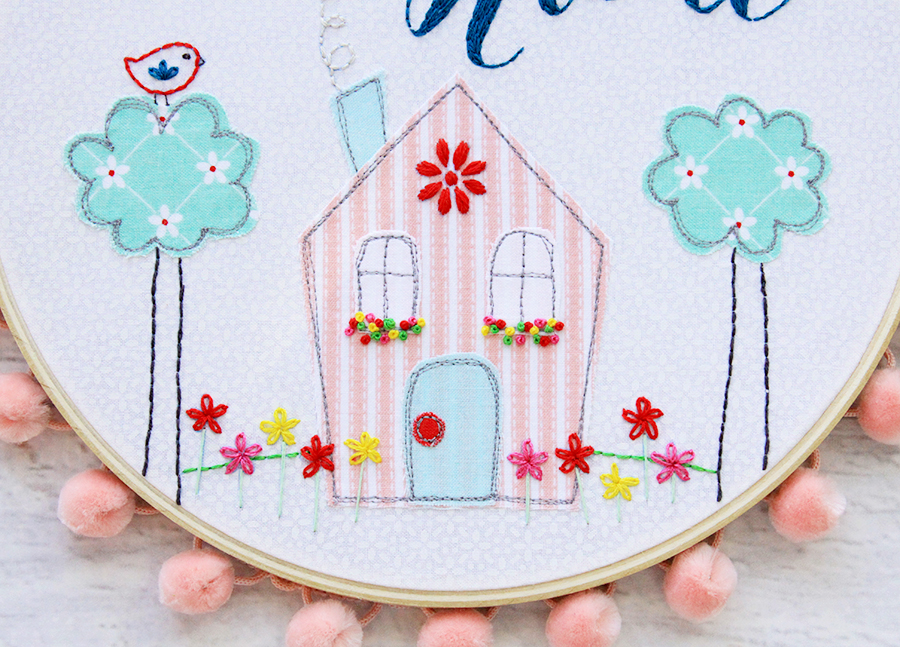
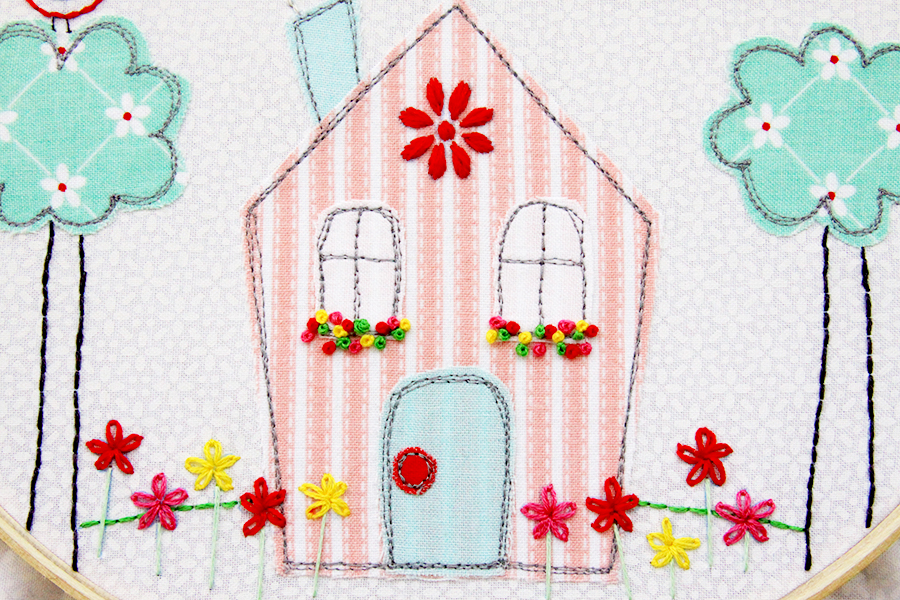
I’ve added in a little free-motion applique that is fun to do but if that’s not your thing you could stitch down the fabric by hand!
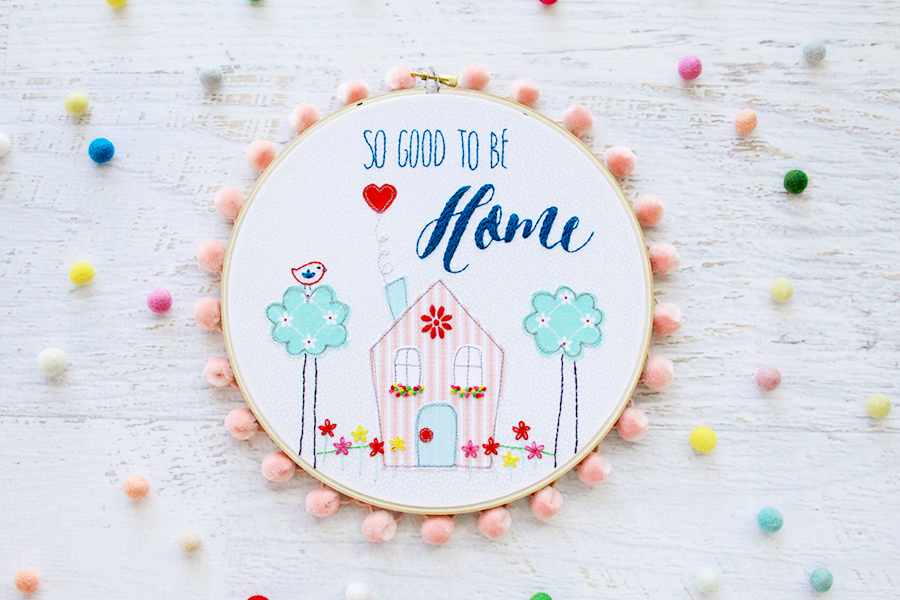
So Good to be Home Embroidery Hoop Art
Materials:
- 12” piece of white background fabric
- 9” embroidery hoop
- Mouline embroidery floss set -I used colors 702 pink, 1306 green, 1105 blue, 510 red, 106 yellow, 614 light pink, 1210 light green, 1714 dark gray, 2505 teal, 709 light gray
- Fabric for house, tree, heart, door and chimney. I used Vintage Adventure for the house and trees and scraps of aqua and red for the rest
- Lite HeatnBond Soft Stretch
- Dark Gray Machine Thread
- Embroidery needle
- Marking pen
- Glue
- Pom pom trim – 1 yard
- So Good to be Home Embroidery Pattern
You can also access a downloadable pattern with instructions at Nancy’s Notions!
Begin by cutting out fabric pieces slighty larger than the pattern pieces. Iron fusible webbing to the wrong side of the fabric and cut out the pattern pieces. Lay the fabric pieces on the background fabric and fuse in place according to the full pattern. Trace the embroidery designs onto the background fabric.
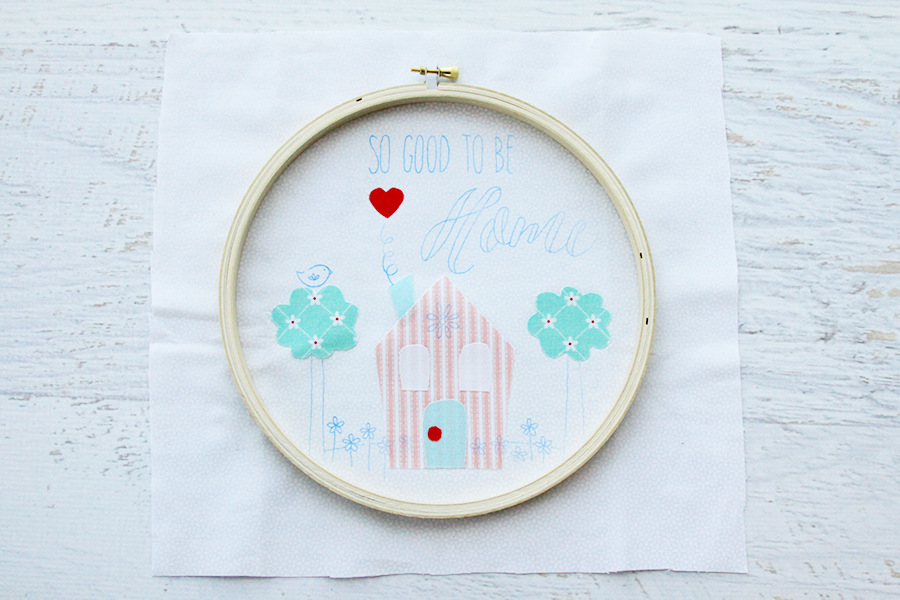
Stitch around the fabric pieces on your sewing machine, just inside the raw edge. Outline the pieces two or three times to give the pieces a sketched look. Place the fabric in the hoop and gather up your embroidery floss. Time to get stitching!
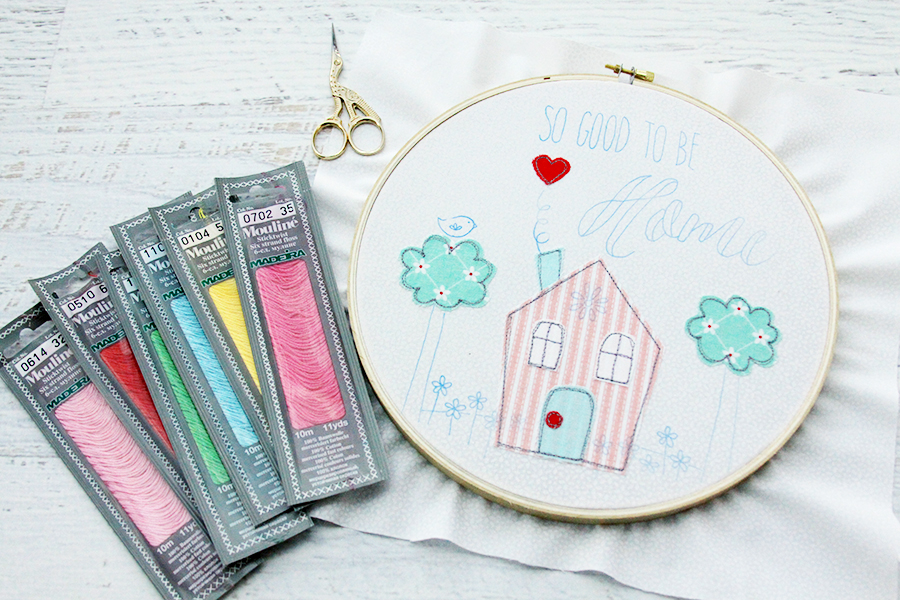
Embroider the hoop with the following stitches. Use three strands of floss for all stitching unless noted.
- Lettering – stitch all lettering with a backstitch. Outline the word Home with a backstitch, then fill in the center with layered back stitches.
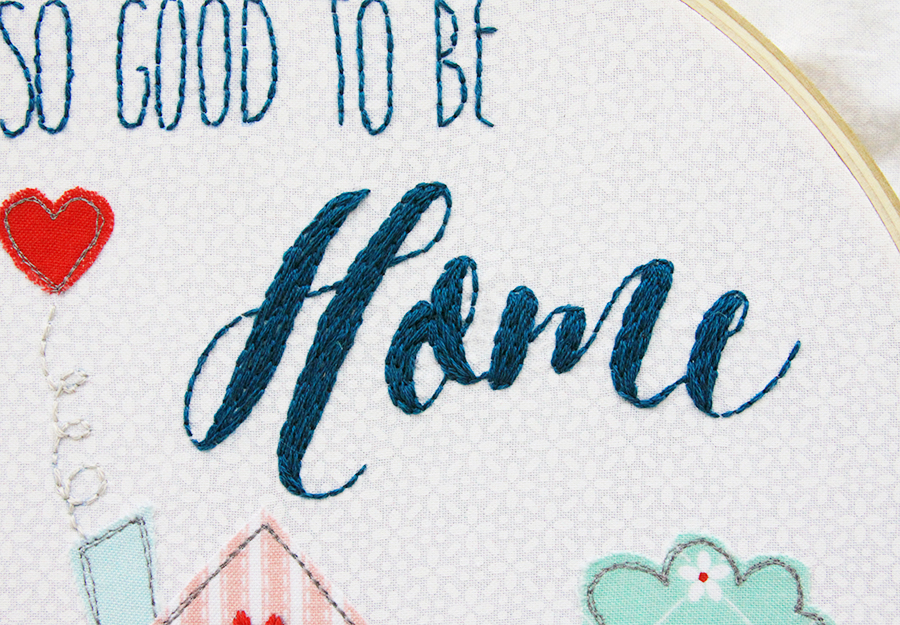
- For House – embroider large flower at top of house with a satin stitch. Small flowers under window are french knots.
- Bird – outline body with a back stitch. The wing is a set of three lazy daisy stitches. Use one strand of floss and straight stitches for the feet and beak. Use one strand for a French Knot for the eye.
- Chimney Smoke – use a back stitch
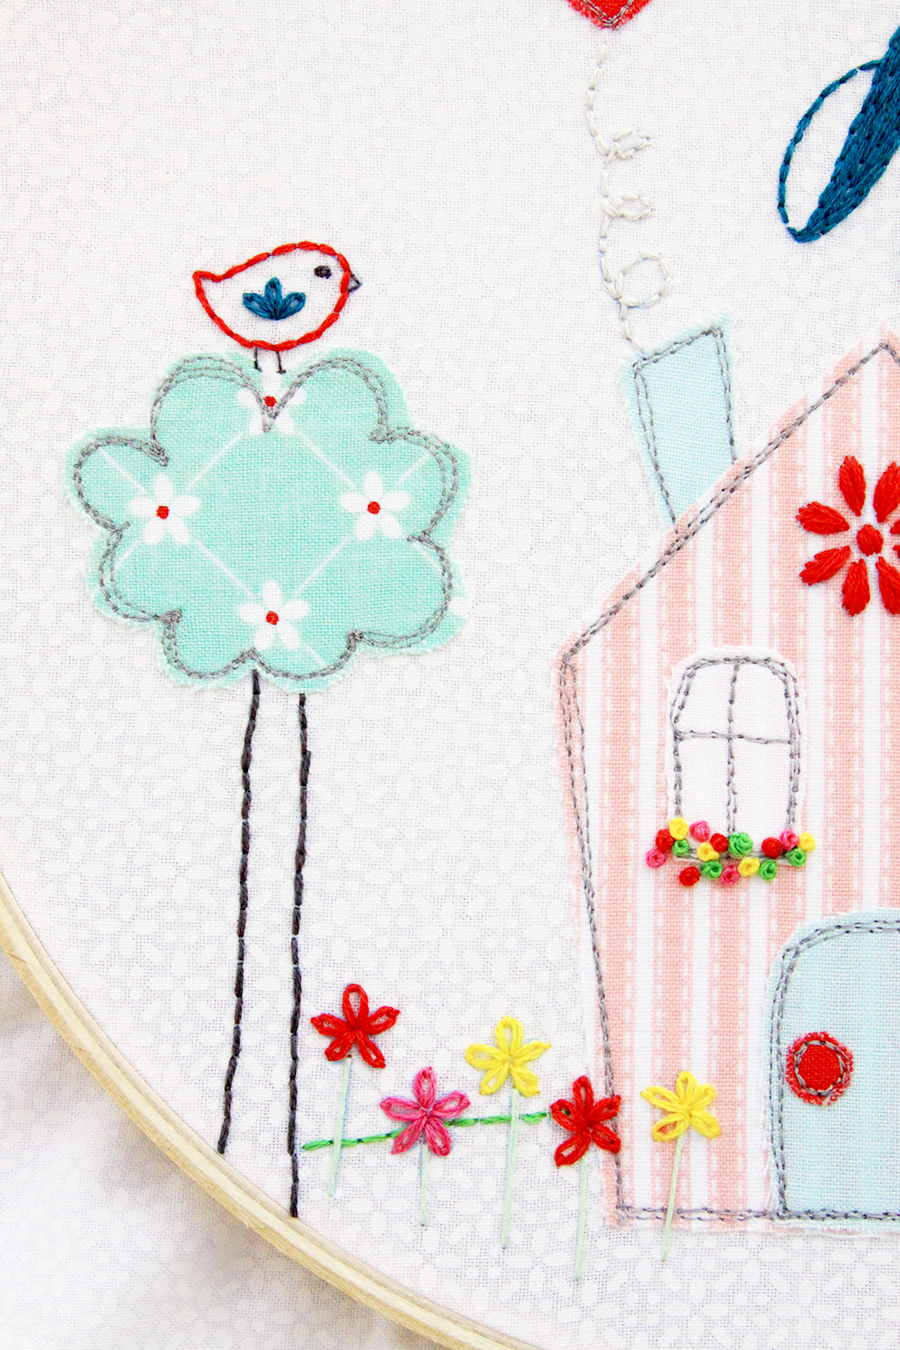
- Stitch Grass with a back stitch.
- Flowers are lazy daisies for the flower and straight stitch for the stems.
- Tree trunks are backstitched.
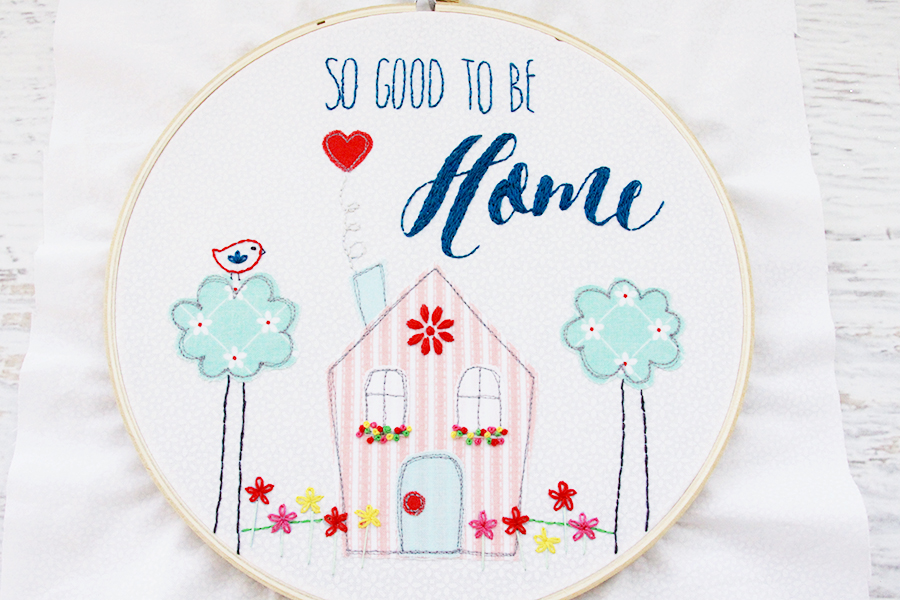
Trim the fabric around the hoop to just under 1/2″ and glue to the inside of the inner hoop. Glue pom pom trim around the edge of the hoop so the pom poms point out from the hoop.
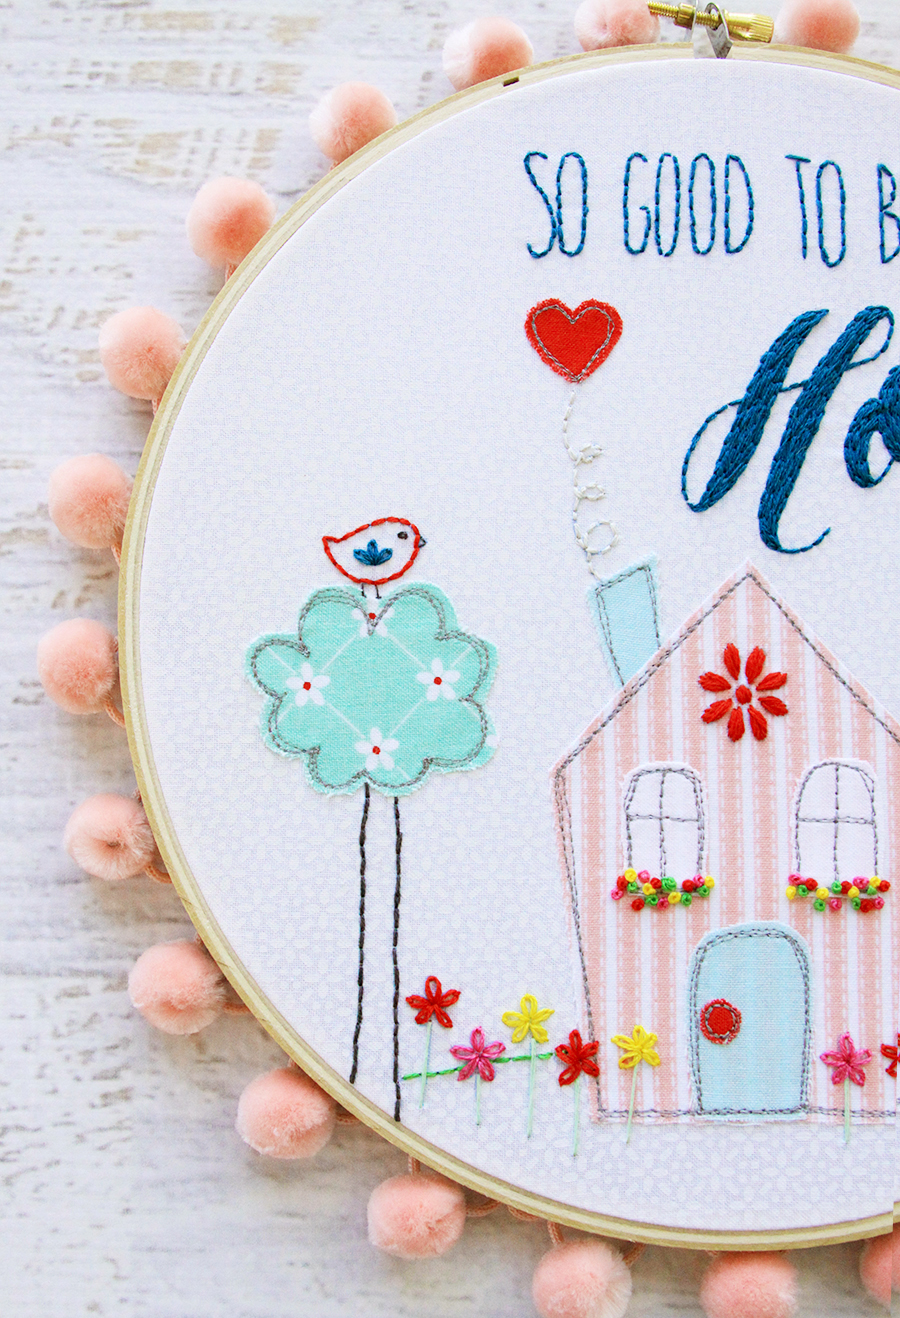
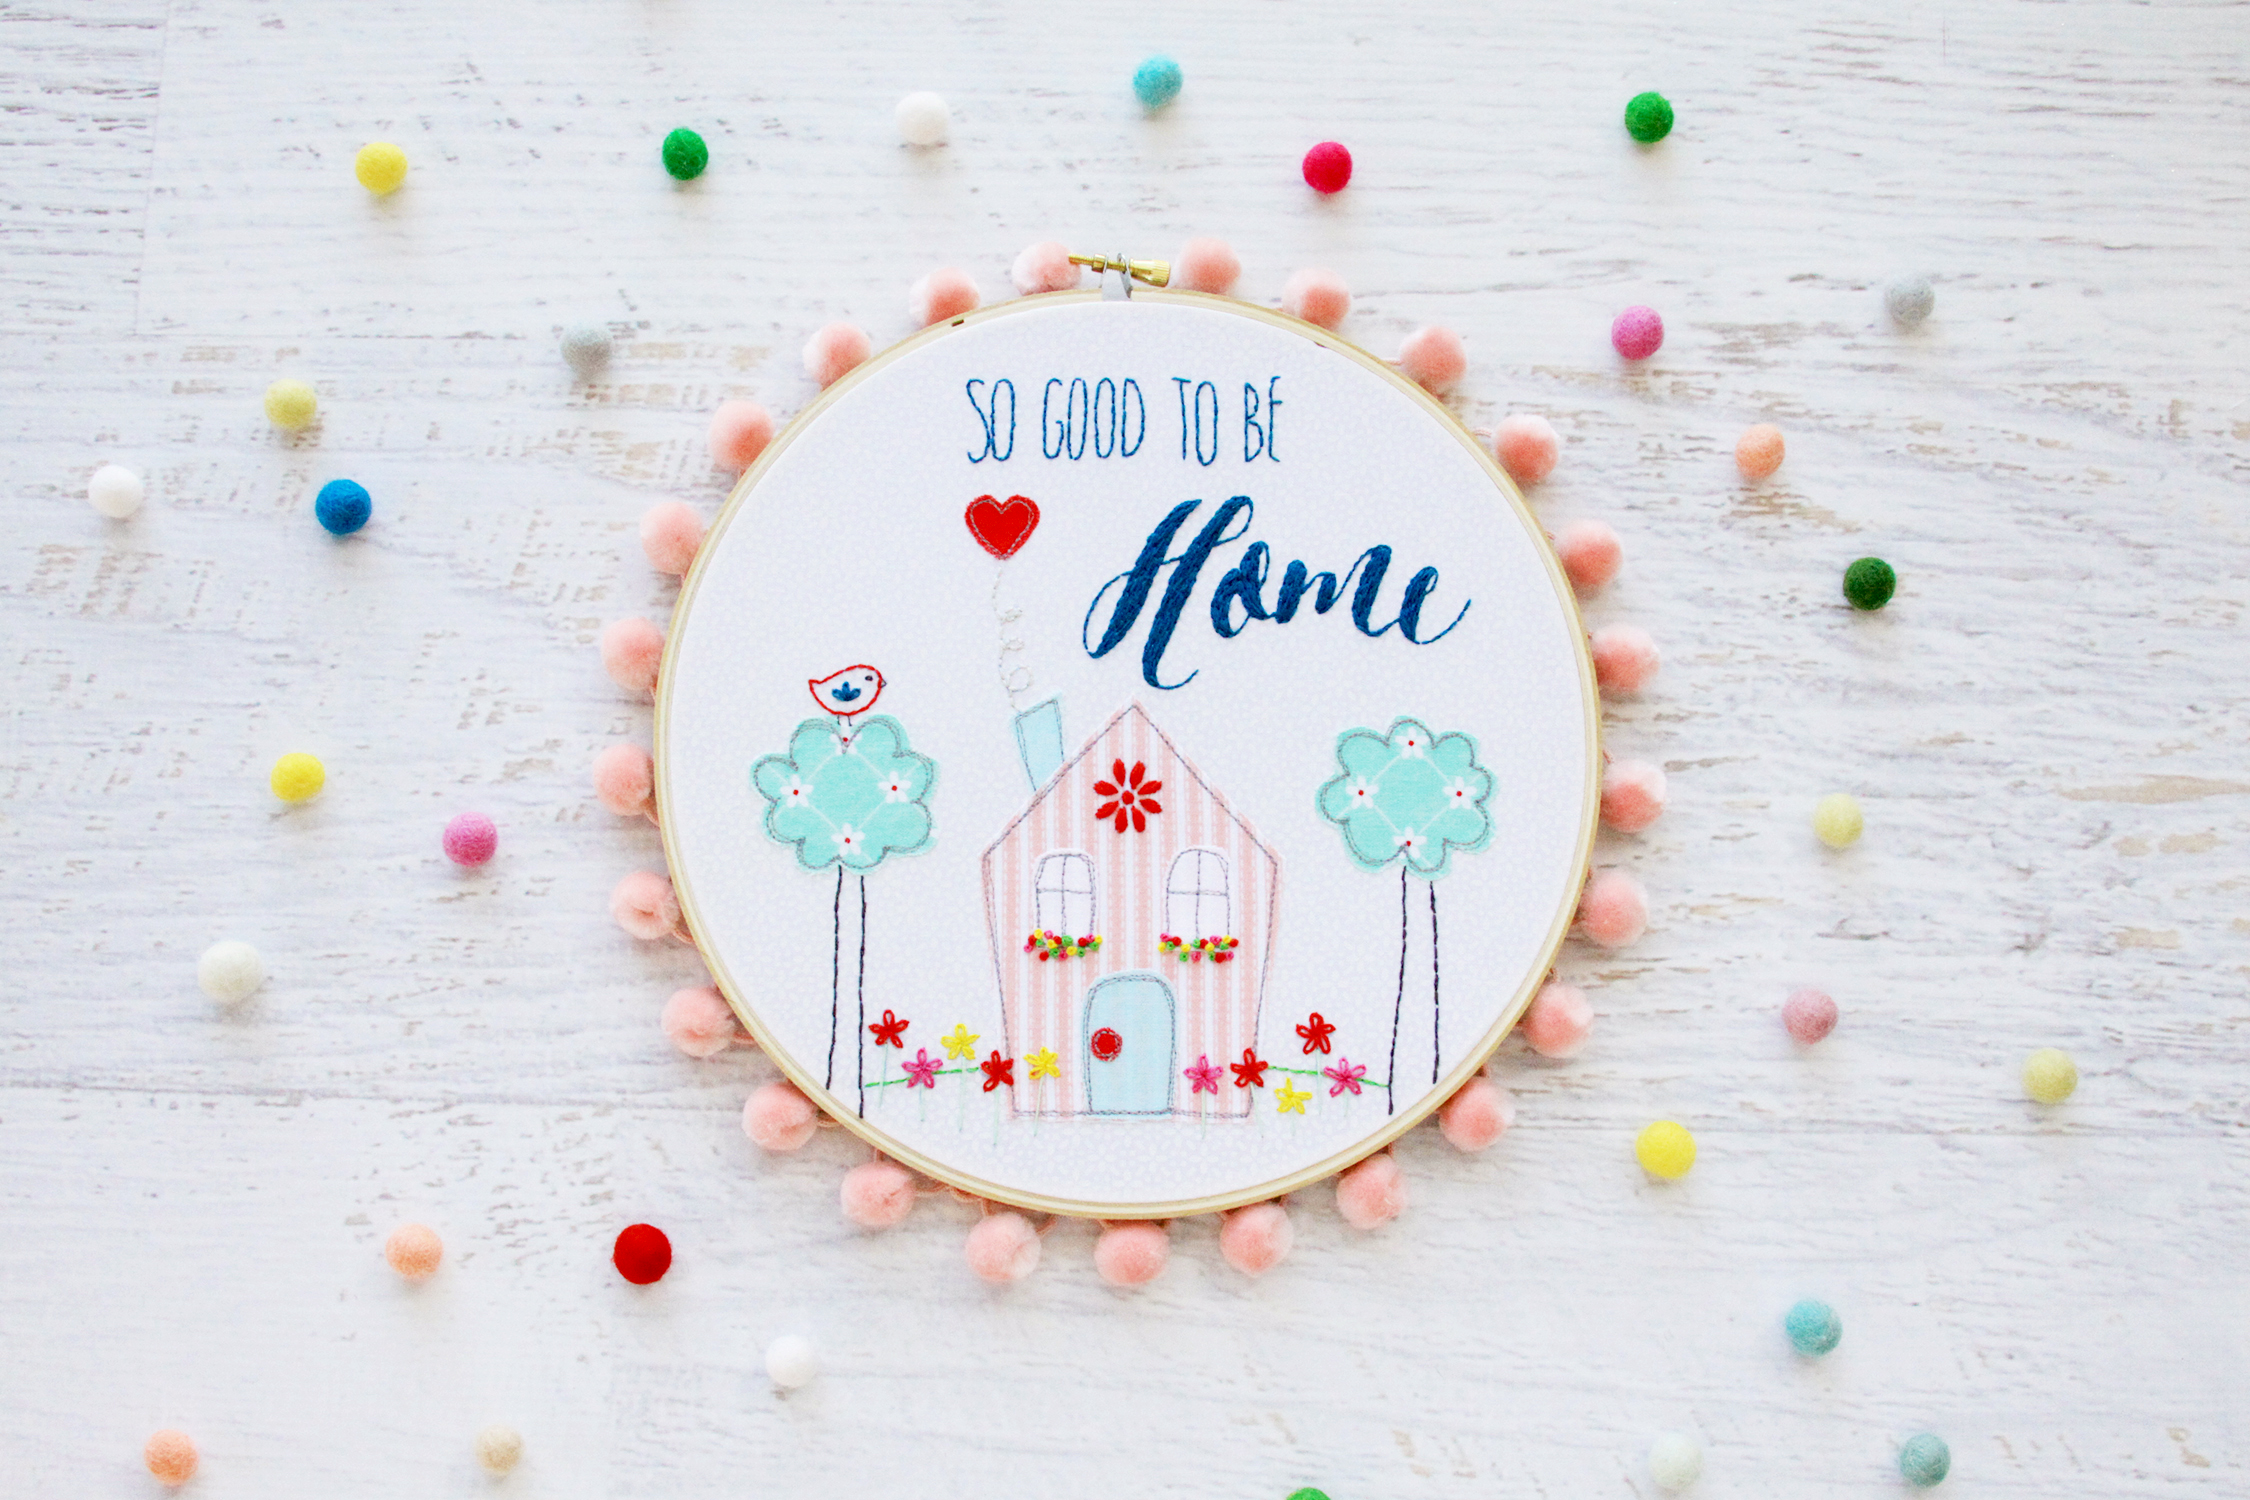
Show off your cute new hoop!


Oh Bev, that is just too cute! I am a homebody too so I definitely need to make this! Thanks for sharing!
I love this thanks so much for sharing.
Another fun and cute project! Love it.
Thanks. :)
So very cute! But what did you use for the lettering?
I am asking the same question as Kris, what did you use for the font as it didn’t come across in the pattern?
So sorry about that Denna! I’ve updated the pattern – I think it should show the correct fonts now! If you’re still having trouble let me know!
Thank-you so much for updating the pattern. Was able to print it out.
This is so cute!! And I love the pom pom edging for the embroidery hoop. Just adorable!