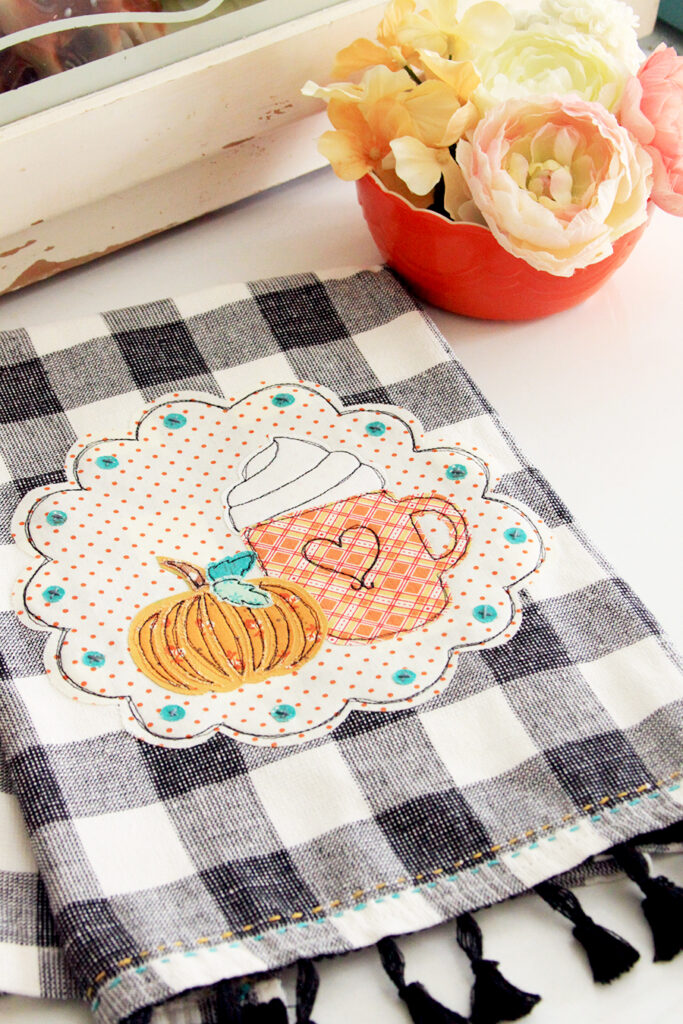
I just adore creating seasonal dishtowels – they are so fun to put out and make such an easy way to decorate the kitchen for different holidays!
Today’s I’m sharing my newest dishtowel – this little Pumpkin Spice Fall Dish Towel – it’s so fun to make!
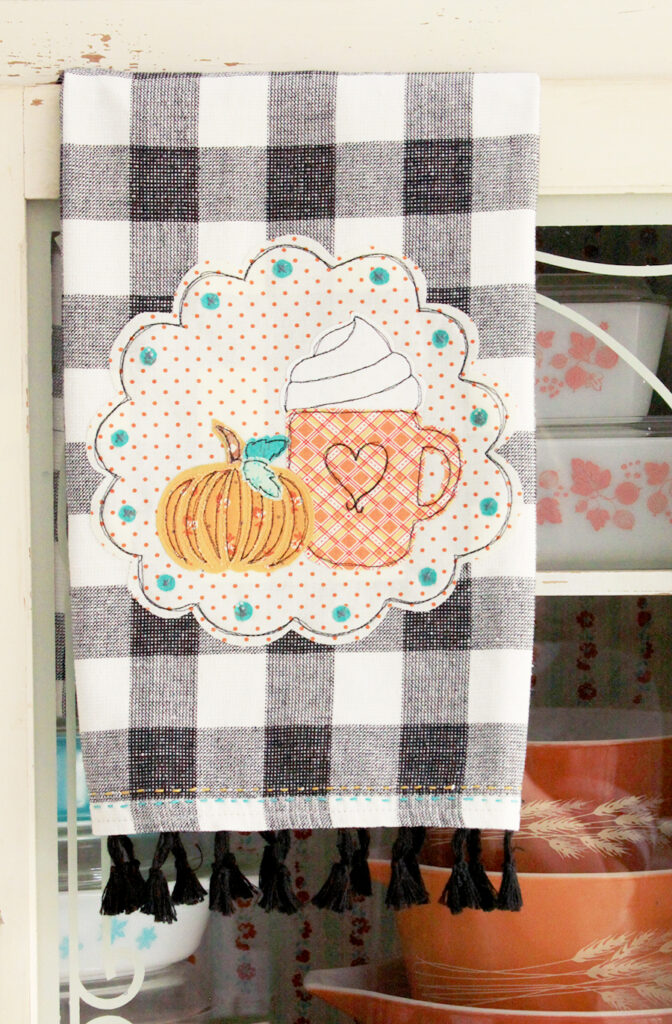
I found this sweet buffalo check dishtowel at Hobby Lobby and added my applique to it, but you could definitely stitch up your own dish towel first! I just loved how easy it made this – it even came with the cute little tassel fringe.
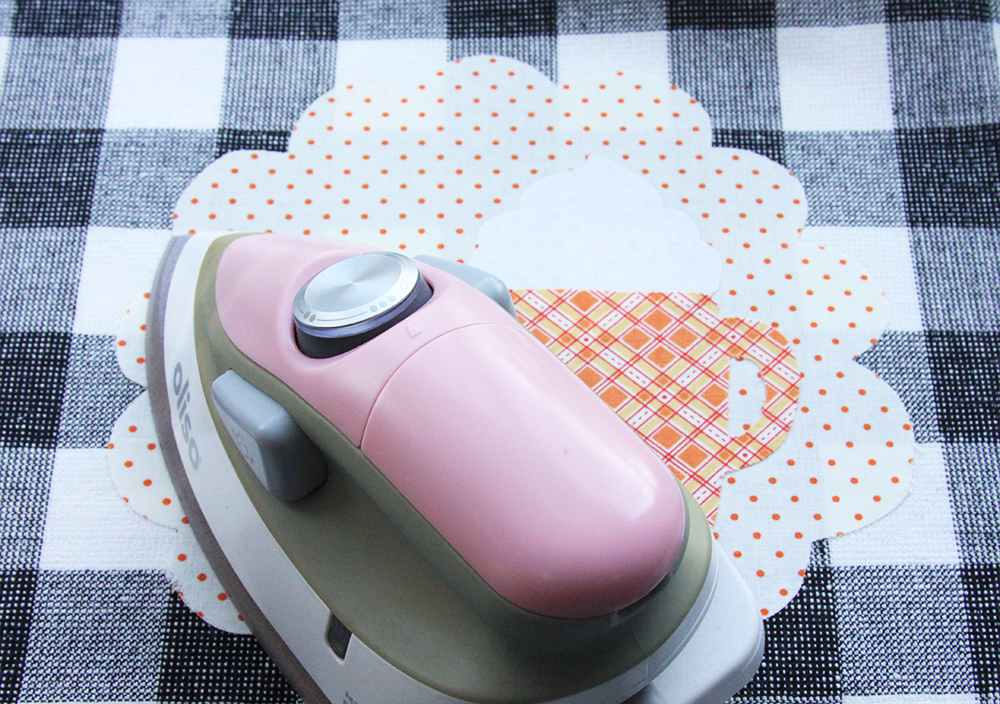
I also used my new Oliso Mini Iron for this! I keep it right next to my sewing machine for quick pressing while I’m sewing and it works perfectly for applique projects as well. It’s so handy – and it’s also pink! So of course it’s super adorable. :) I’m also having a giveaway for a new Oliso Mini Iron – check out details at the end of the post!

So let’s dive right in!
Materials Needed for your Fall Dish Towel:
- Premade (or you-made) dishtowel
- Assortment of fabrics for applique – I used a mix of Lori Holt and Riley Blake basics
- HeatnBond fusible webbing
- Aurifil 50 wt thread in contrasting color
- Embroidery Floss
- Oliso Mini Iron
- Pumpkin Spice Pattern
Begin by pressing the fusible webbing on the wrong side of the fabric pieces for the mug, whipped cream, pumpkin and leaves. If your Fall dish towel is a bright color, consider cutting out a background circle, oval, or scalloped pattern to place behind the applique pieces so they show up well.
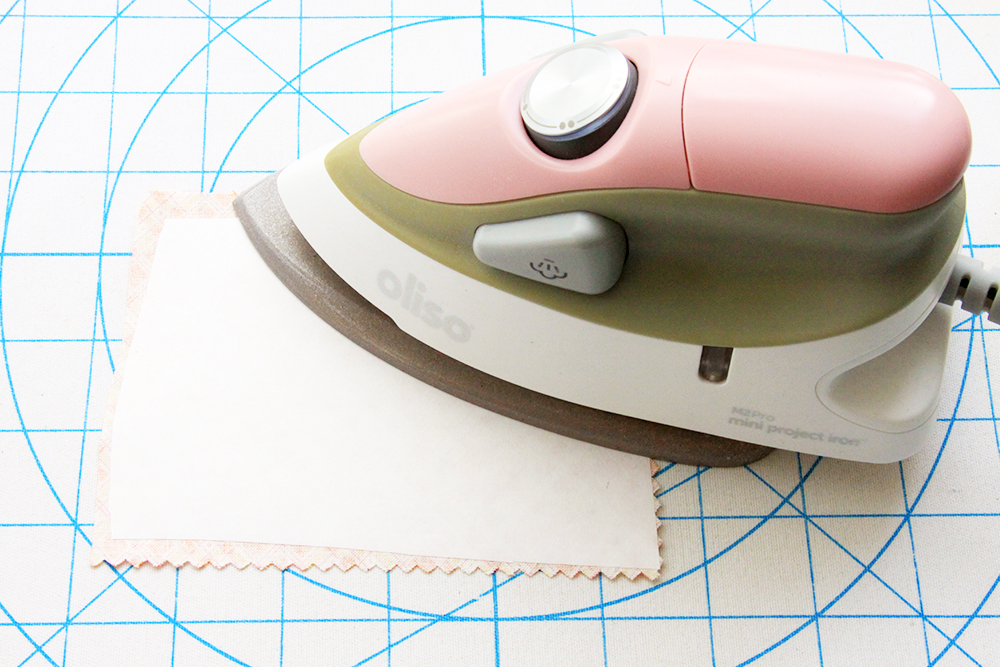
Some tips for using the Oliso Mini Iron –
- Make sure the setting dial is perfect for the fabric you’re using. For the fusible webbing I used the three dots dial
- I don’t leave my iron on for long periods. It heats up quickly so you can turn it off after using it.
- The iron comes with a handy little resting plate! So you can leave it sitting on that when you’re not ironing.
Once you’ve ironed on your fusible webbing, cut out the shapes using the pattern I’ve provided. Iron the background pumpkin, mug and whipped cream in place.
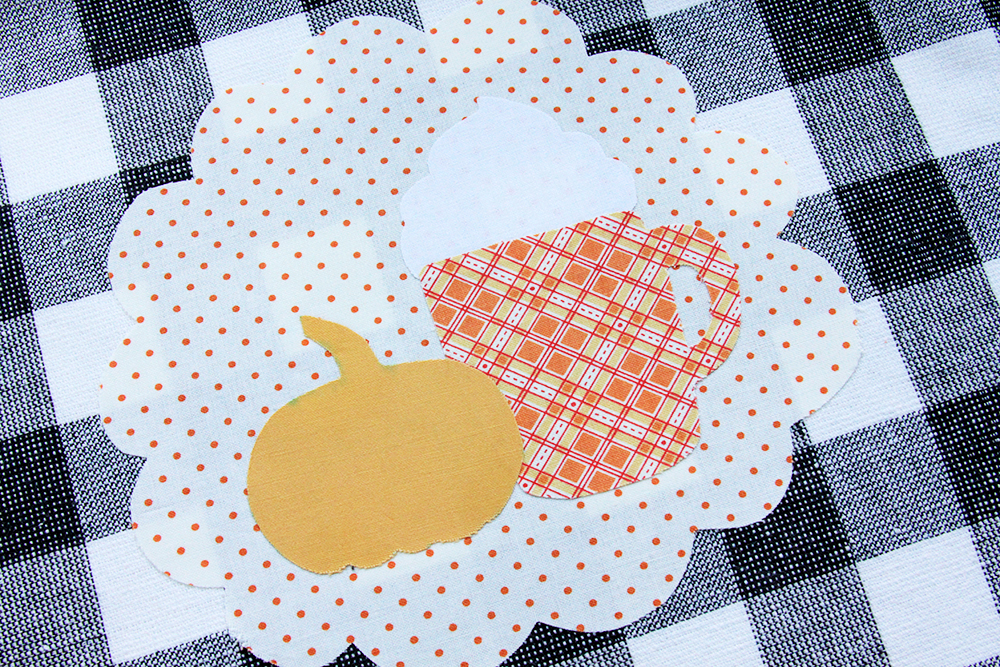
Now iron the extra sections of the pumpkin, stem and leaves in place.
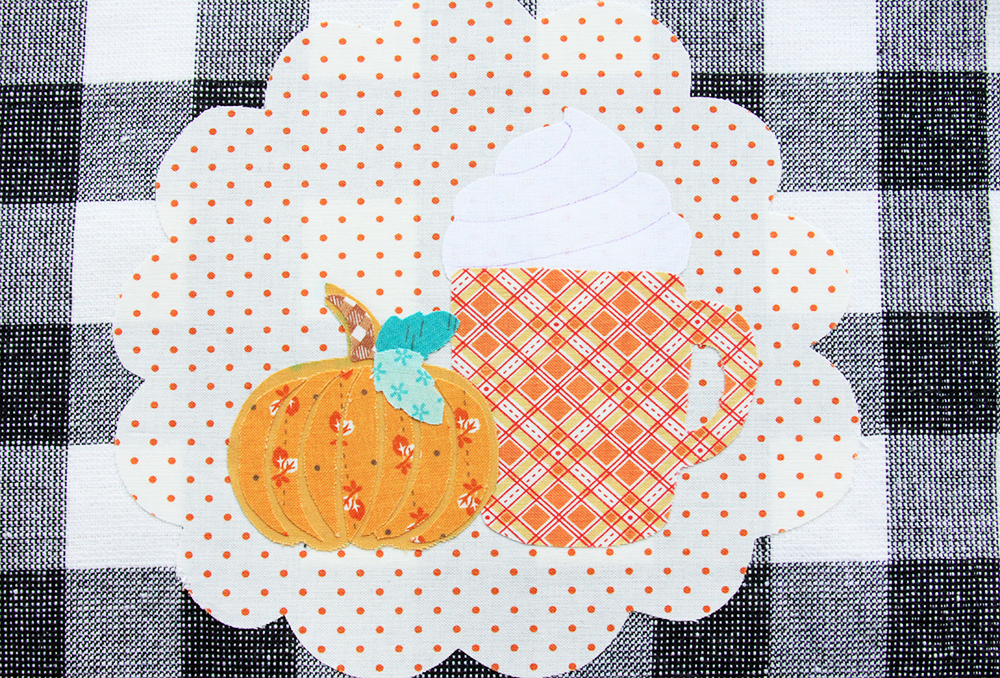
Draw the little swirls in the whipped cream in with a disappearing marking pen.
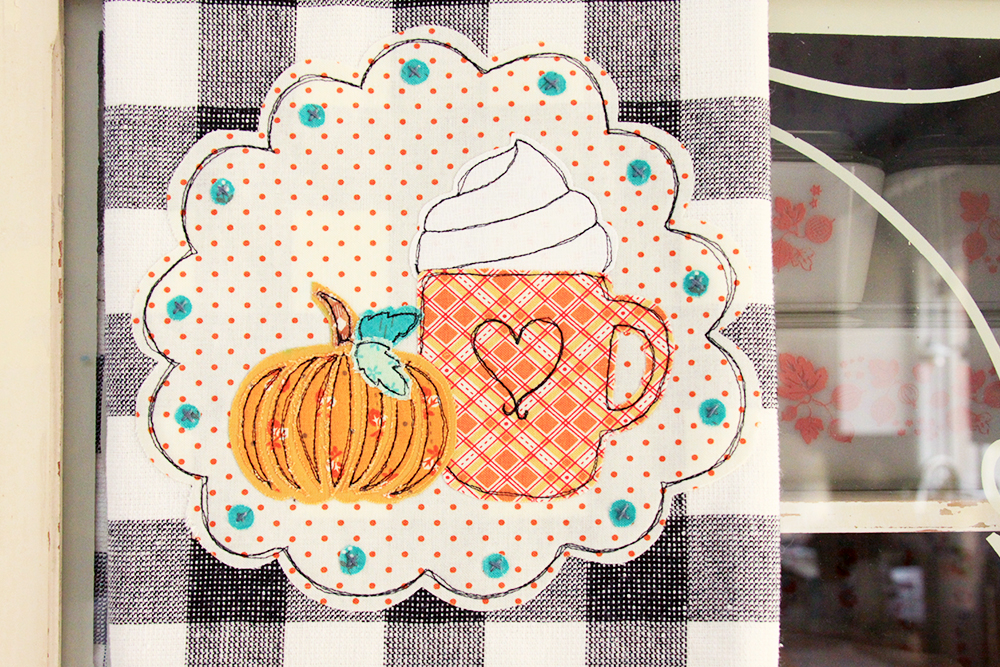
Stitch all the lines in place and around the different pieces, just inside the edges. Go over the stitching two or three times to give the lines a darker look.
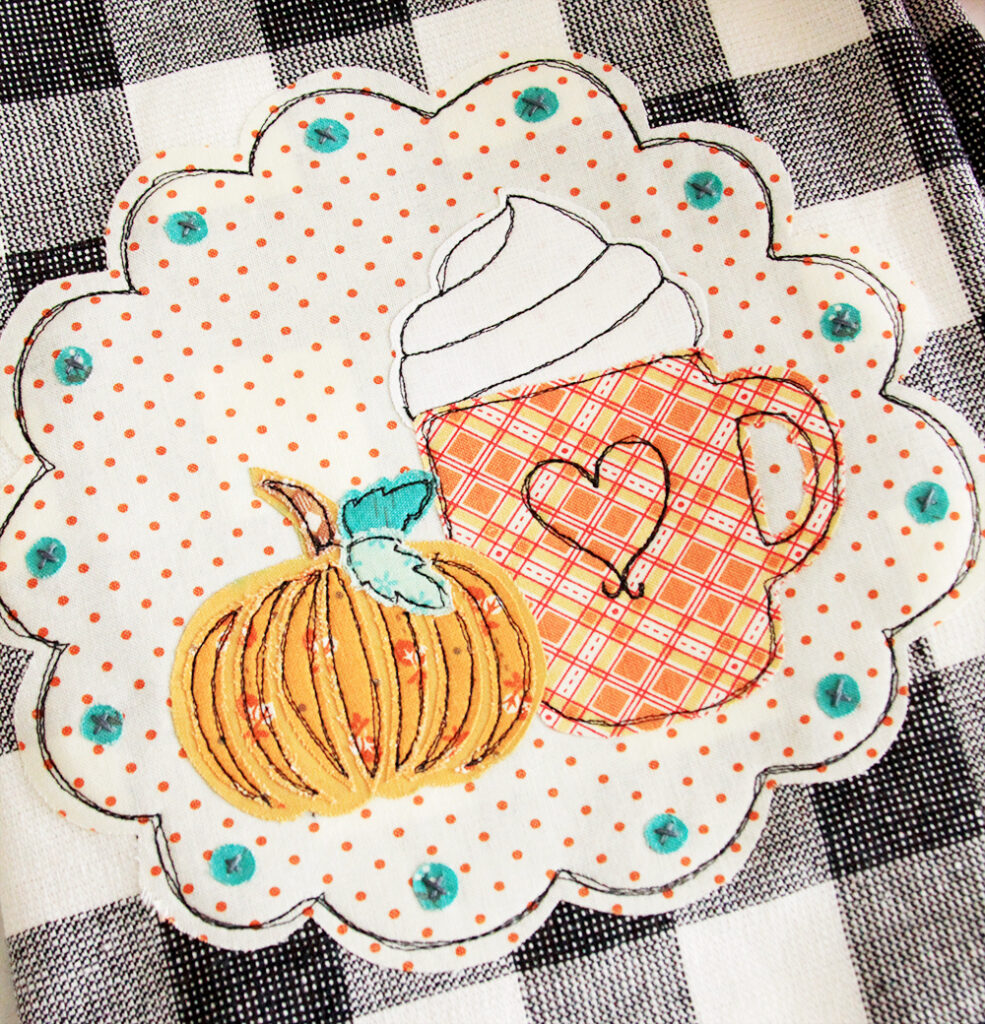
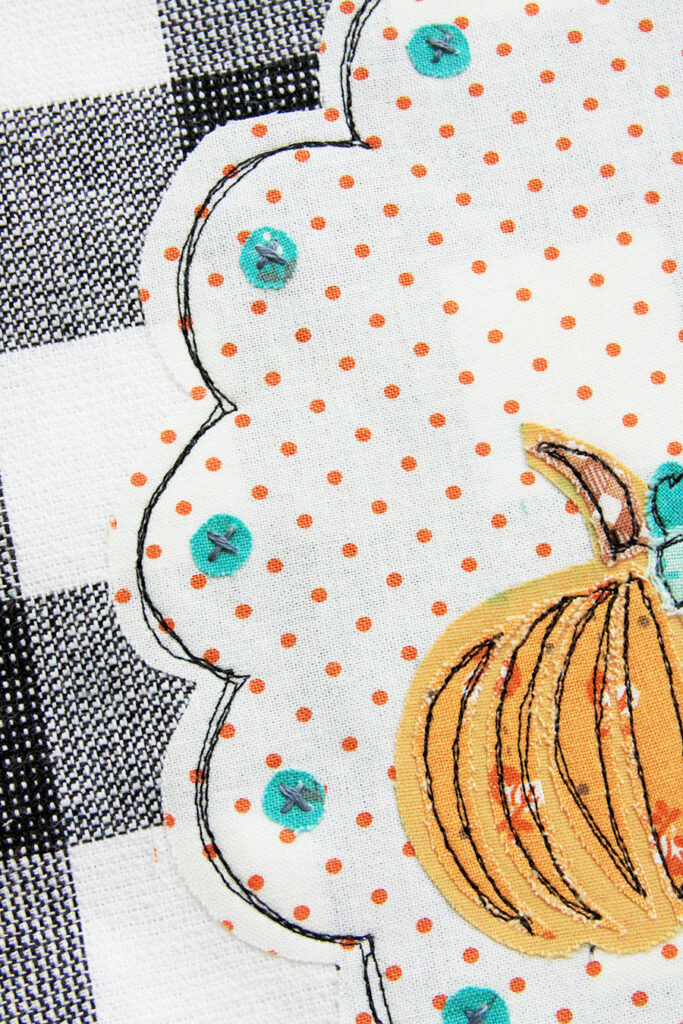
Add a little embroidery in each of the dots. I didn’t use a pattern for those – I just cut out small circles and added an embroidered X in the center. You could also add little buttons to the design!
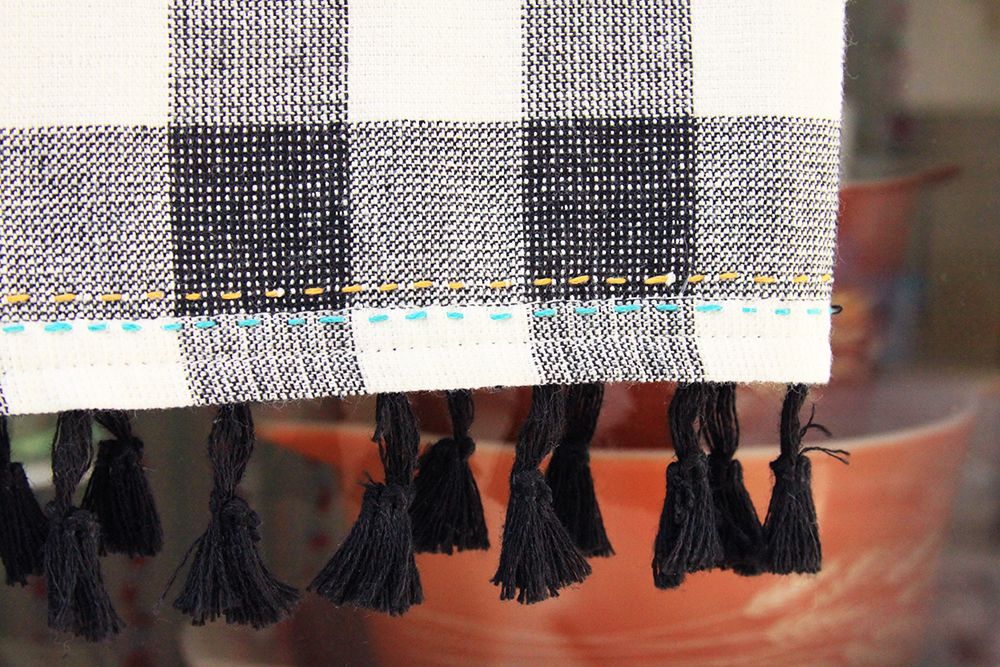
I also stitched two rows of running stitches along the bottom of the dishtowel for a little extra color.
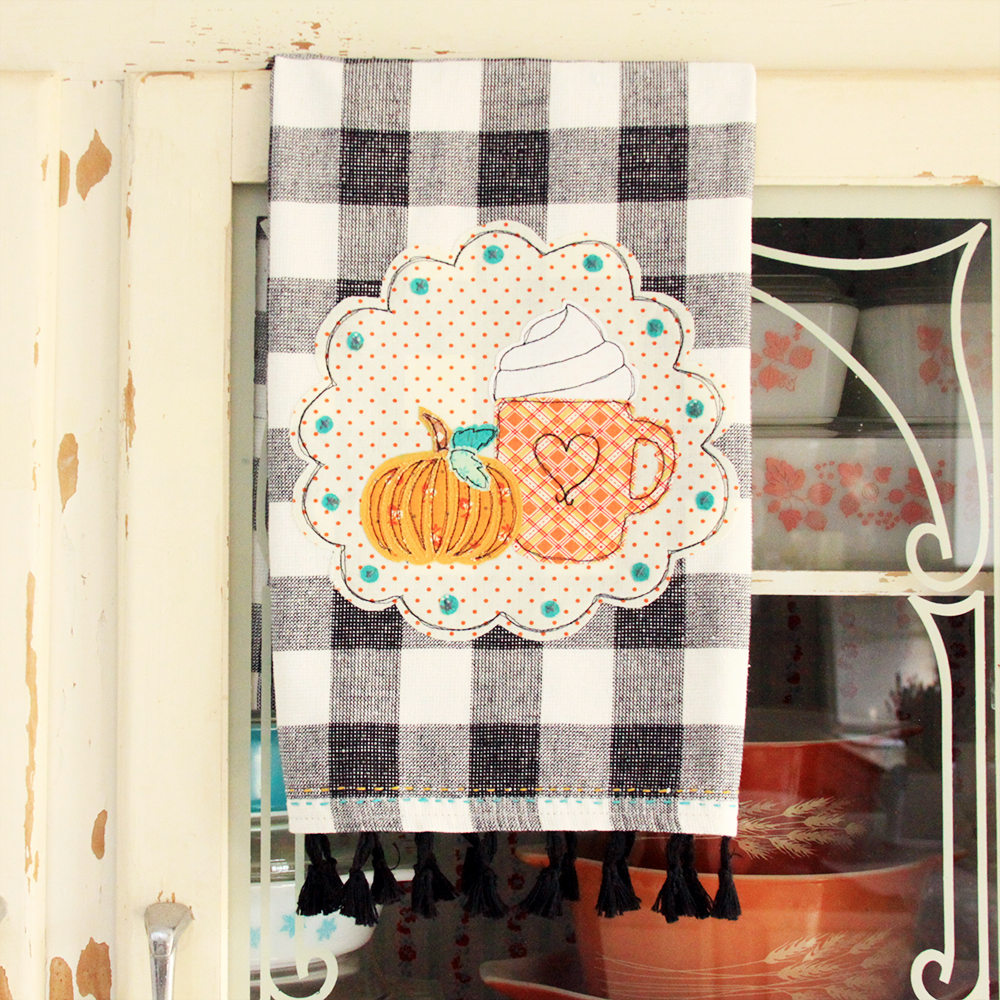
Show off your cute new Fall dish towel!

I’m also having a giveaway for a Mini Oliso Iron over on Instagram today! Head over there and look for this project and enter to win! :)


How fun! When I saw this dish towel I thought how cute several of them stitched together would make a darling balance for my kitchen window. The appliqué would look wonderful there.
What a fun, easy project for a fall afternoon! This would give me a smile hanging in my kitchen! Thank you!
Super cute, love the color choices. Thank you for telling me about the Mod Bee online event. Although I wasn’t able to watch it during the event (my computer operating system crashed on Tuesday and watching by my phone wasn’t an option), I’m so happy that the classes are available for a year! Practically a new computer now, I’m looking forward to doing the pretend sew along ; )
Towels..and pillows –you can never have too many! Super cute..let me head over to IG! Thanks
Thank you for this cute pattern and directions for making this fun all dish towel.
That is totally cute dishtowel! I love it!
Thanks so much for the steps how to make it.
I just love your dishtowel design and the pattern..I have to make this..thank you for sharing..