I love making new pillows. I love making Pillow Covers even more. Cause I’m fickle.
I can make a sweet little pillow cover in whatever style I like, and when I’m tired of it, or want to change it out for something else, I can do it – easy peasy!
So I have a new little Pleated Pintuck Pillow (I love alliterations, don’t you?) to brighten up the living room!
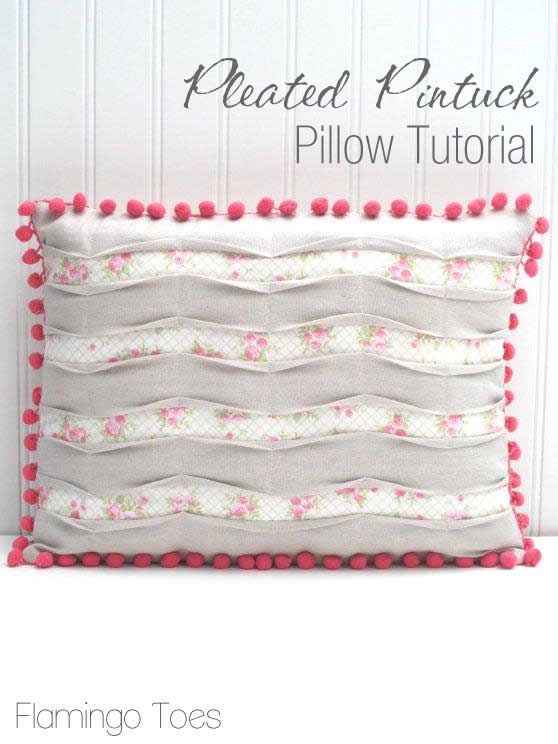
Isn’t it sweet? It’s all vintagy and pom pomy. I love it. I think I’m on a pom pom kick right now. They’re so yummy.
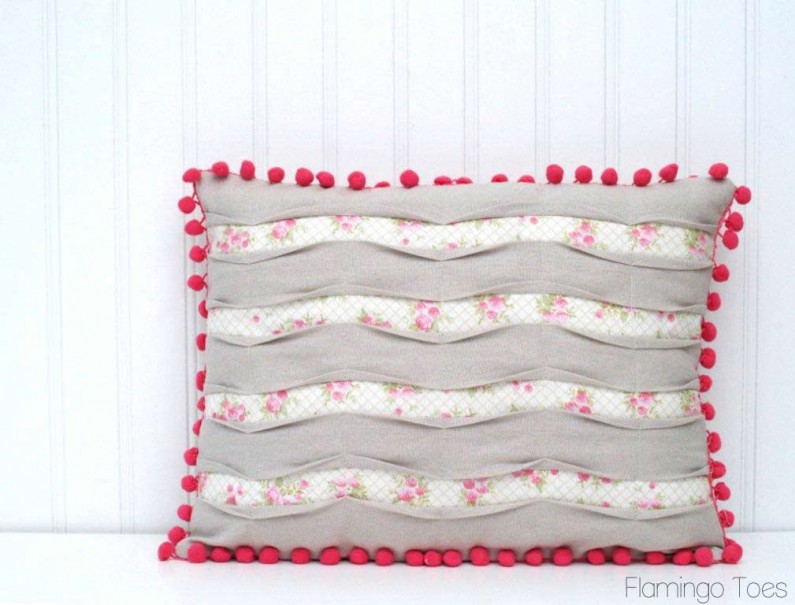
The pleated pin tucks are super fun too – and soooo easy to do!
So are you ready to get started on the tutorial? Here’s your materials list:
- One 12″ x 16″ pillow form
- Main fabric – 1/2 yard should be plenty for front and back
- Accent fabric (the print on this pillow) 1/4 yard is plenty
- Pom pom trim – 1 2/3 yards
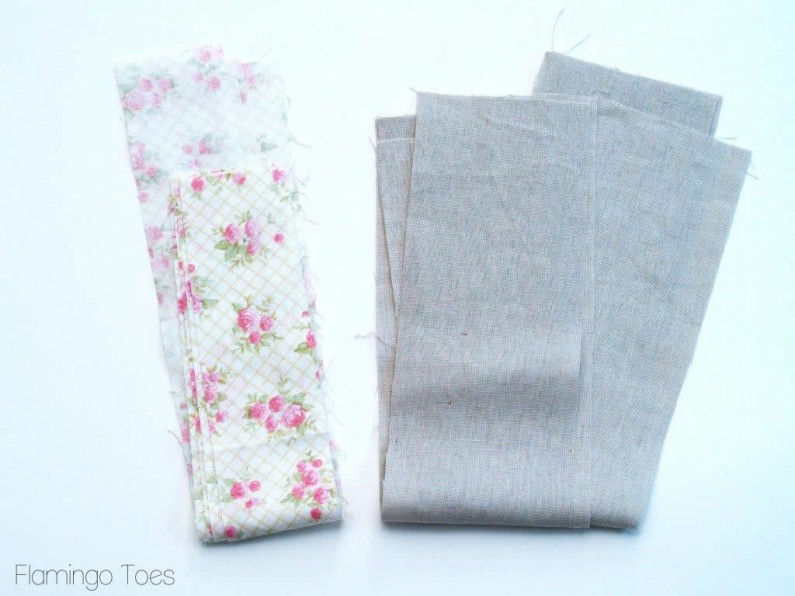
Start by cutting the front pieces for your pillow. You’ll need 5 strips that are 3 1/4″ x 16″ of the main fabric and 4 strips that are 2″ x 16″ of the accent fabric.
Sew your strips together, alternating main and accent prints, along the long edges, with a 1/2″ seam allowance. Press the seams away from the accent fabrics.
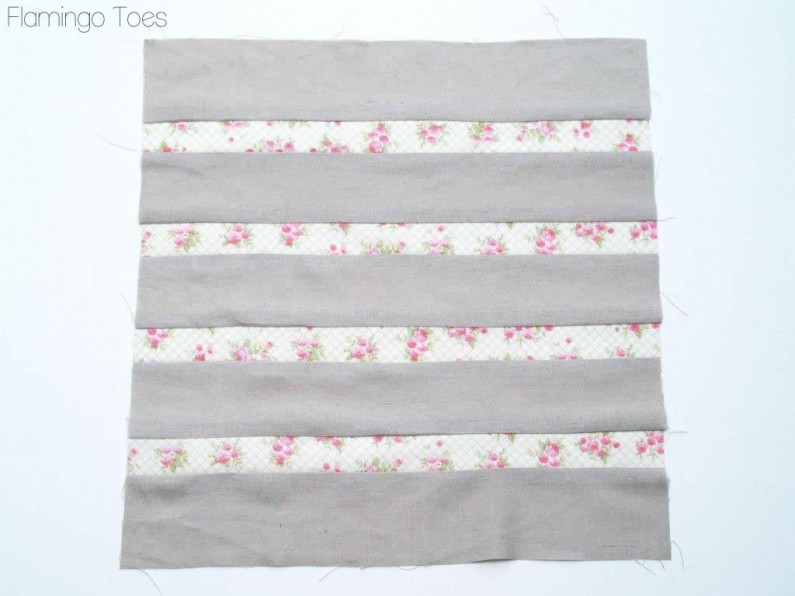
Now, you’re thinking this is wayyyyy to big for a 12″ x 16″ pillow. And you’re right. So let’s fix that.
We’re going to start pressing pleats into the main fabric. All pleats will face the accent fabric. So the top strip will have a pleat that folds down over the accent fabric and the second main fabric’s top pleat will fold up over the 1st accent strip. All the pleats will be 3/8″.
Here’s a little tip to make pressing super easy. Cut a piece of posterboard and draw a line along one long side, 3/8″ from the edge. Place the edge of the posterboard along one of the seams and fold the fabric so that the pressed edge will line up with your line. Makes it all super easy to have even pleats.
(Also, please ignore my scabby ironing board cover.)
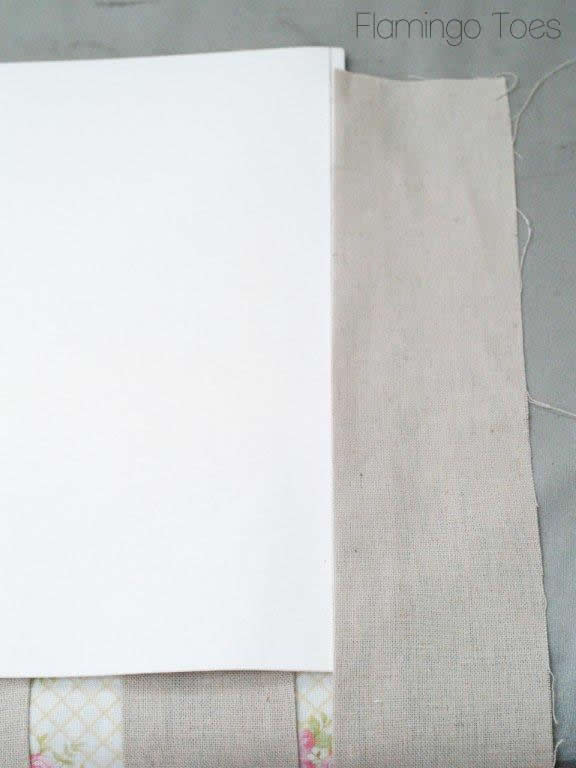
Press in pleats in all the main fabric strips.
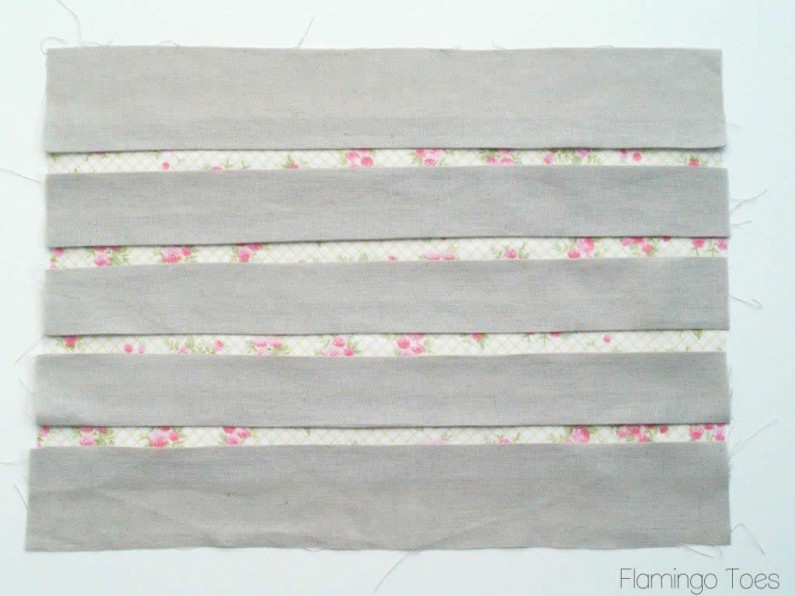
The panel should now measure 12″ x 16″. Yay you!
Mark the sewing lines for the pintucks next. Painter’s tape works great for this – it holds all the pleats in place when you move the panel around. Place one strip of tape in the center of the panel – 8″ from each end. Place two more strips of tape 5″ from the center. It will help if you keep your tape pieces on the same side of each of your future stitching lines. Mine are all to the left.
Go through and fold back the bottoms of the pleats in the main fabric and hold them in place with the tape.
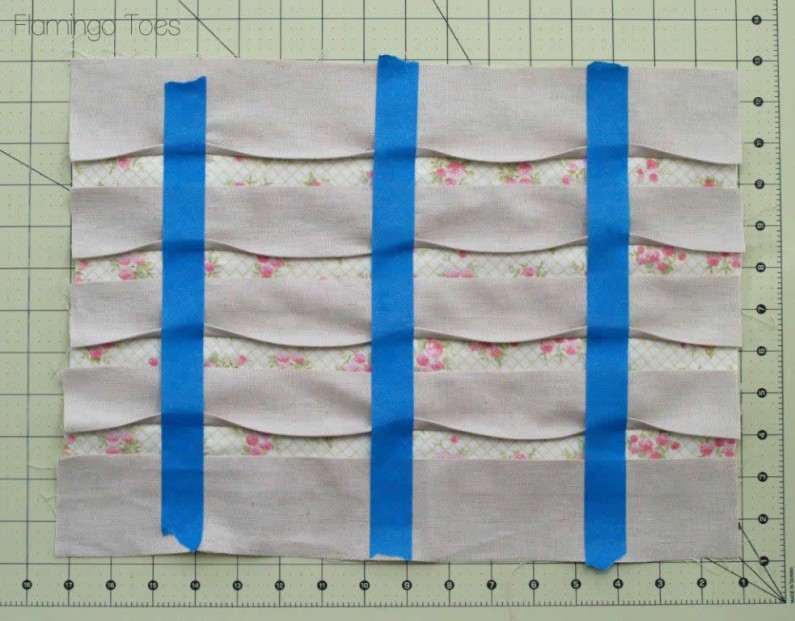
Sew along your tape lines, making sure you sew the pleats back and that everything lays flat as you go.
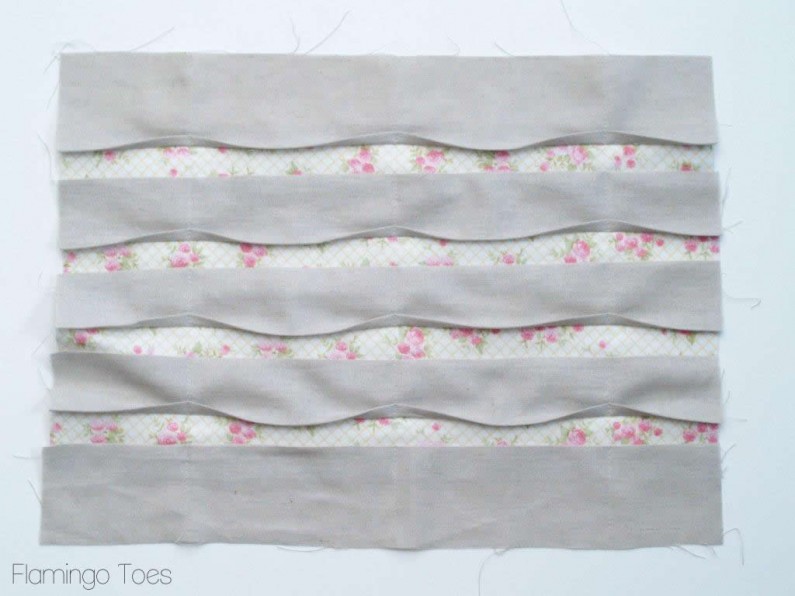
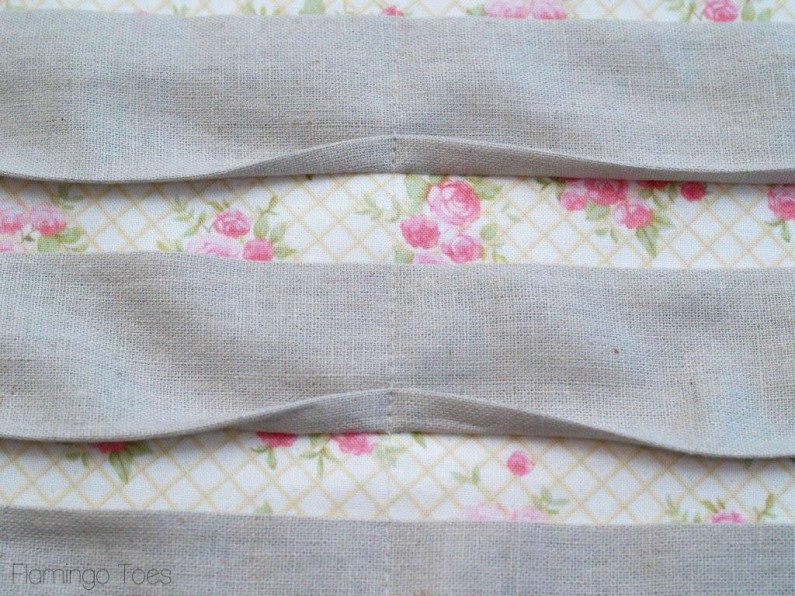
Measure new lines 2 1/2″ from each side of the center. Add tape to mark your place. Fold back the tops of the main sections so these pleats go the opposite direction. Sew them in place.
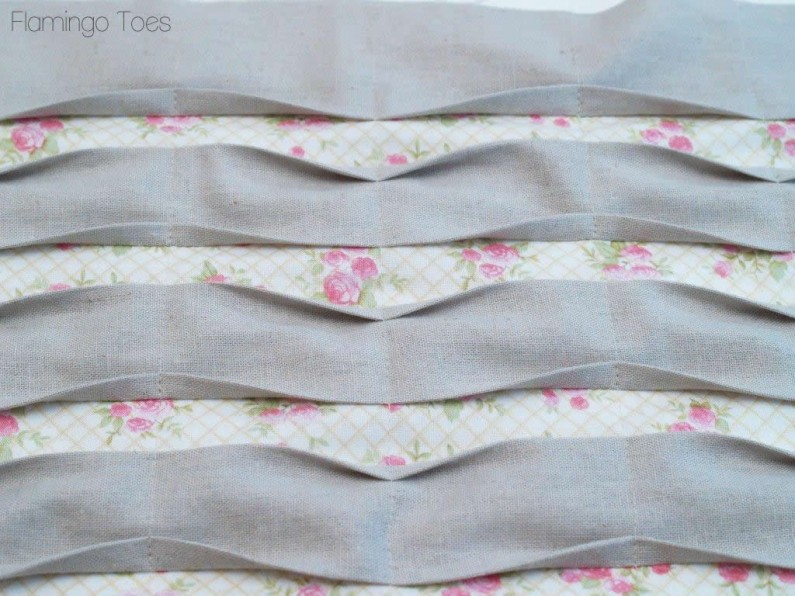
Fold the sides of the main strips up or down to keep the pattern going all the way to the ends of the panel. Baste in place by sewing 1/4″ from the edge.

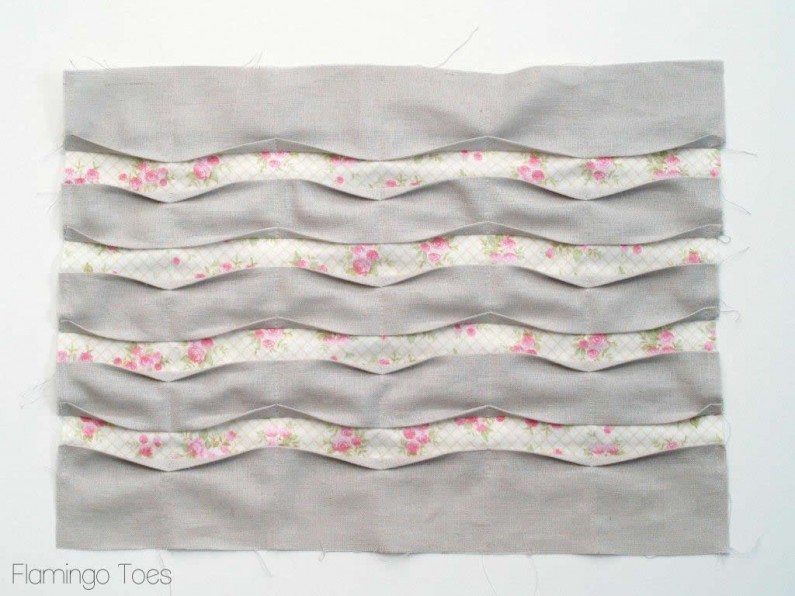
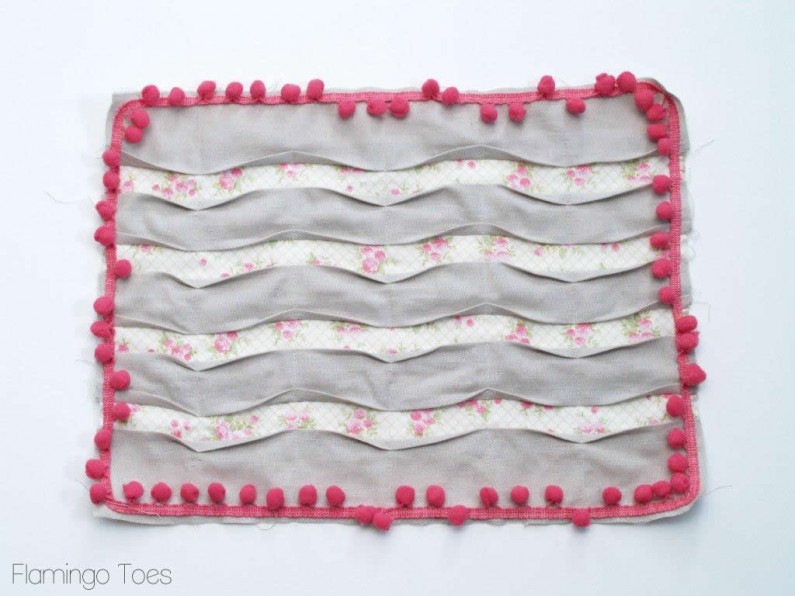
Lay your pom pom trim just inside the edge of the panel and pin in place. Overlap the trim at the bottom and sew in place. (The pom poms should point inward towards the center.)
Cut out the back pieces for your pillow. Cut 2 pieces of the main fabric 8″ x 16″ and 1 strip of the accent fabric 2″ x 16″.
Fold the accent fabric in half long ways, wrong sides together. Press. Place the raw edges along one long side of one of your 8″ x 16″ pieces. Sew together using a 1/4″ seam allowance. Zig zag stitch the edges so they don’t fray. Press the seam allowance towards the main fabric and top stitch just above the seam.
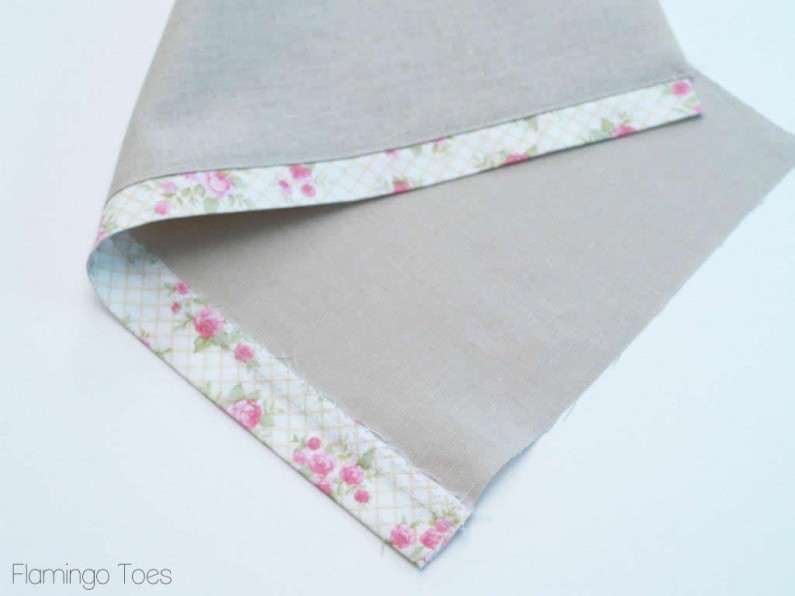
Zig zag one long side of the other 8″ x 16″ piece. Lay the piece with the pretty edge right side up over the right side of the other piece. They should overlap to make a panel 12″ x 16″. This will give us an envelope back. Baste the pieces together where they overlap 1/4″ from the edge.
Place the front and back pieces right sides together and sew around all four sides. Make sure the pom poms are all out of the way. Accidental pom pom sewing is no fun. Clip your corners and turn right side out. Be careful if you need to press that you don’t mess up the pin tucks, or press them too flat.
Pop in your pillow form and you are all done!
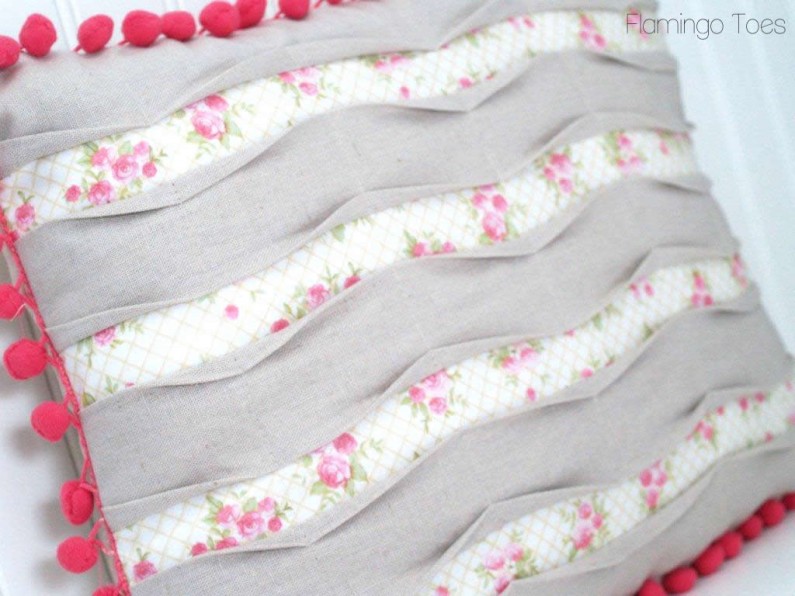
So cute and fun – and it was easy right? But it looks complicated. Which is totally awesome. :)
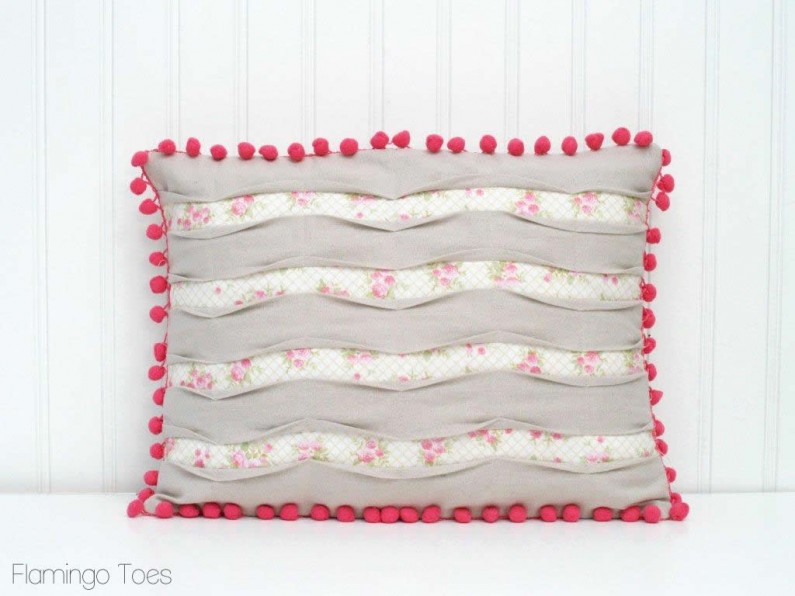
How about you? Do you like to change out your throw pillows often?
Linking up at Sunday Scoop, Today’s Creative Blog, Met Monday, Tutorials & Tips Tuesday, Shabby Creek Cottage, My Repurposed Life, 504 Main, and the other fabulous parties on the party page – make sure you check them out!


So pretty I love the tape trick so much easier than pinning!
Super cute pillow, I love how it looks wavy after all the tucks! The pompoms are a fun touch!
I have to make one of these for my 9 year old grand daughter–she will love it!!
Og Bev, they’re so pretty! I need do make pillow covers so badly but it never gets marked off the to do list. I’ve not seen pillows like this before, what a beautiful technique!
This is SO cute!
I would LOVE for you to join my Link Up this week!
http://www.pluckys-secondthought.com/pluckys-link-up-5-with-co-host/
Super cute pillow!!! Love it!!
Love the tape idea for the pleats – what a timesaver!
TOO cute, Bev!! I love your fabric choices and that paint trick is awesome. When I finally makeover the living room I’m determined to make my own pillow slipcovers!!
PINNED! This is so cute!
Totally love it! Those cute little tucks actually do look easy. Who woulda guessed! Pinned it–of course! :)
LOVE!! So pretty…the fabric combo and the tucks! Love the tape trick…I can totally manage that one. Love me some vintagey pom-pomy pillows ;)
I’ve pinned this, not real sure how successful I will be. Can you just come and make some for me? :D
~ Michelle
http://lifeonthehorizn.com