So my daughter and I are serious bookworms. And as you might know, we’re redoing her room with a “bookish” theme. Yes. Still redoing the room.
I’m apparently not a rushing-into-decorating sort of person.
We’re working on things piece by piece and I’m excited to show you our new favorite thing!
It’s this sweet Alice in Wonderland design on a dictionary page – with a cute custom fabric covered artwork mat to match the room.
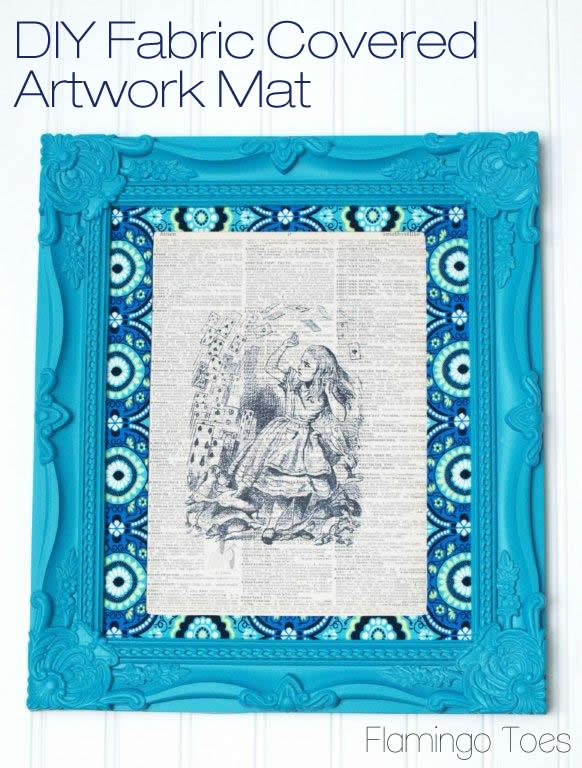
Doesn’t the fabric add such a fun look? It’s so bright and I love the way it sets off the frame and the design.
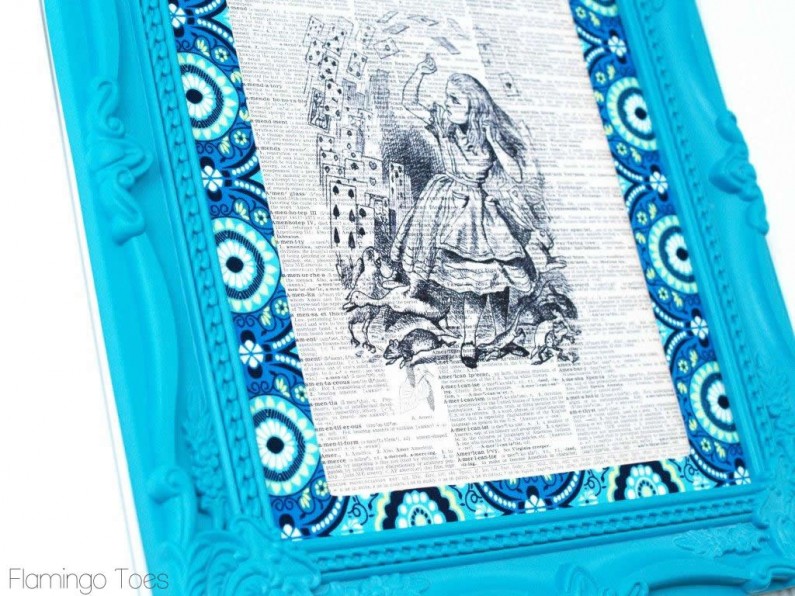
This is soooo easy and inexpensive to do too! It’s perfect for odd sized artwork as well. For this cute design, a regular mat wouldn’t have worked – it would have cut off quite a bit of the text on the dictionary page. But by making my own, I was able to cut it to exactly the size I needed!
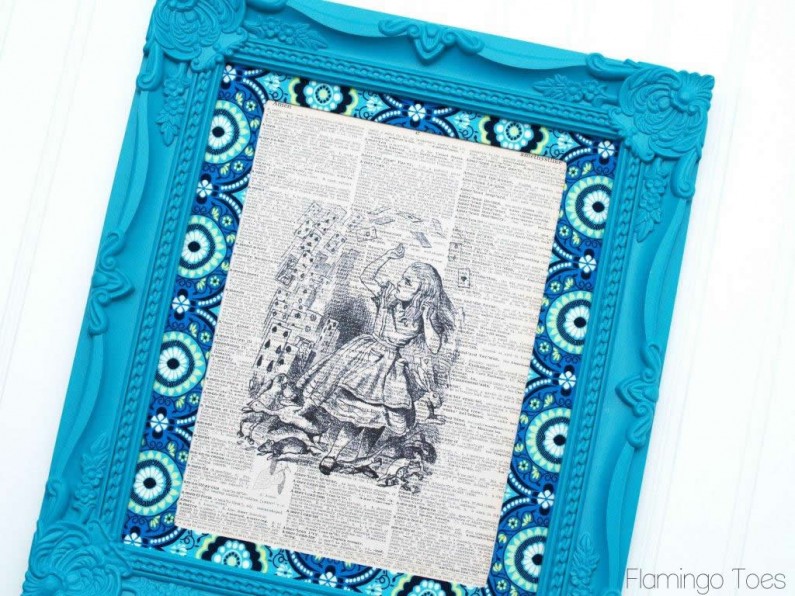
This is just a tutorial for the fabric covered mat. The artwork is a sweet printed dictionary page I found at a Queen Bee Market last fall – and unfortunately I don’t remember the vendor. I just love the Alice design on it, don’t you? So cute.
So here’s what you’ll need to make your own custom fabric covered mat:
- piece of posterboard at least the size of your artwork
- Fabric – a piece about 2″ larger than your artwork all the way around
- spray adhesive
- scissors/rotary cutter/exacto knife – some or all of those
Decide how big you’d like your mat to be. Cut your posterboard to that size. I like to use a rotary cutter (that I only use on paper) for this – so it doesn’t look like monkeys cut out my rectangle.
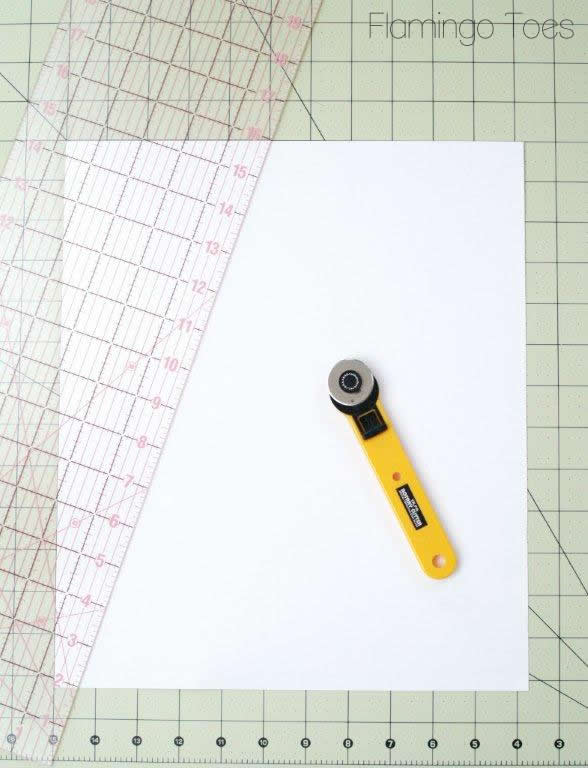
Once your outer edges of the mat are cut, we’re going to mark off the inner edges. Decide how far into the artwork you want the mat to come, then draw lines on your posterboard for your cut lines.
(Using a washi tape covered pencil is entirely optional.)
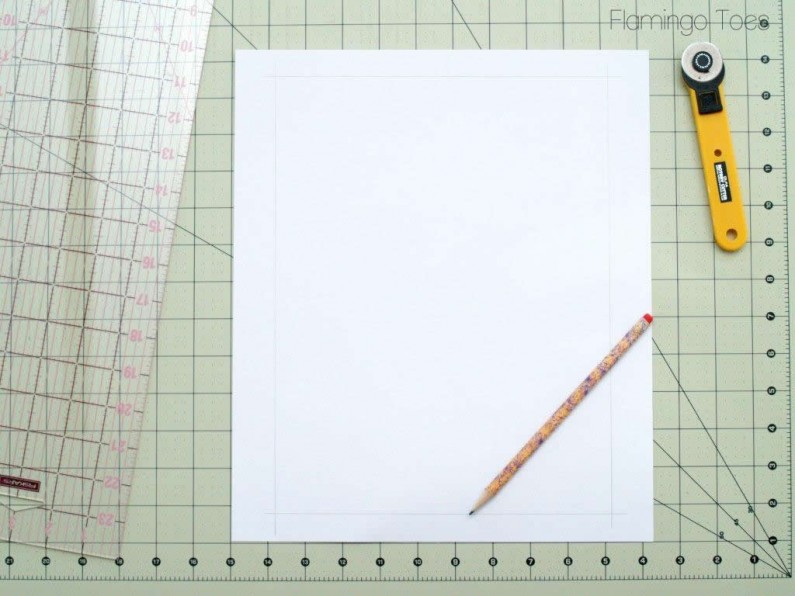
Once your lines are drawn, cut the center out with scissors – or if you’re using a rotary cutter, cut the lines almost to the corners.
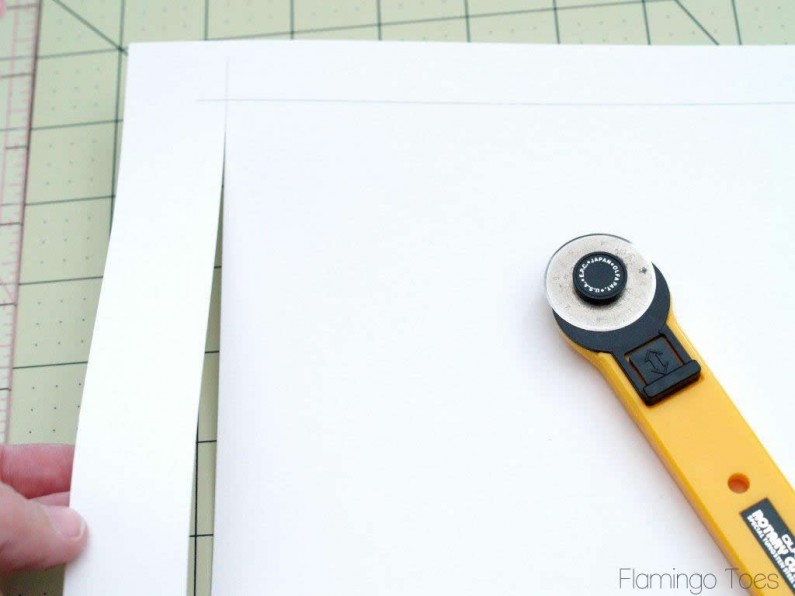
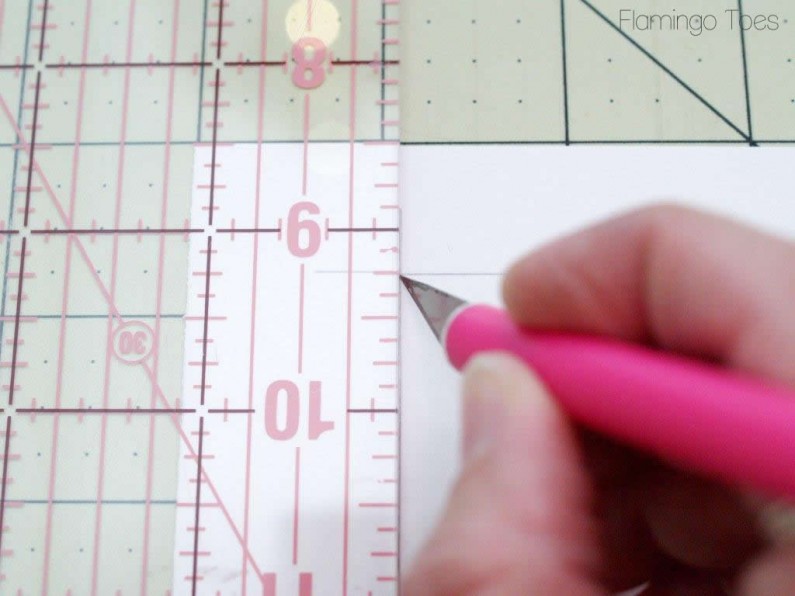
Once all four sides are cut, finish cutting the inside rectangle out with an exacto knife.
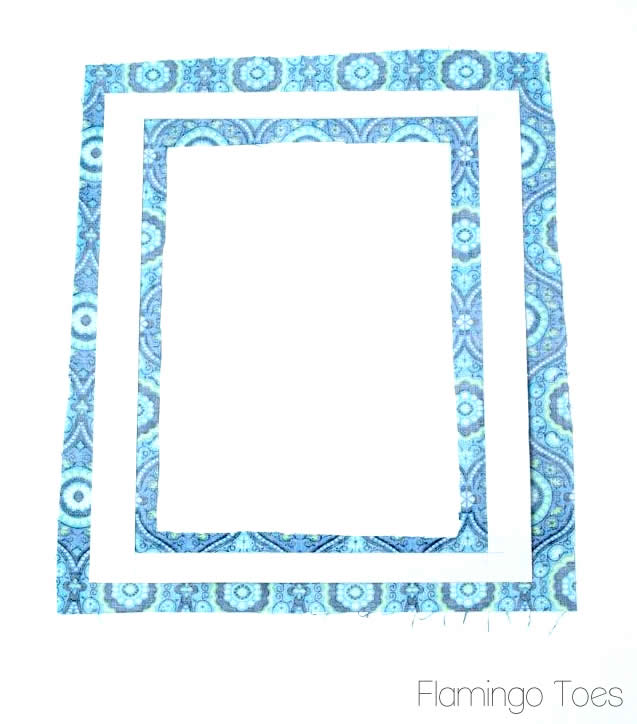
Cut a piece of fabric about 2″ larger than your mat all the way around. Cut out the center rectangle as well, about 1″ smaller than the mat. You can always trim this later.
Spray the fabric lightly with Spray Adhesive.
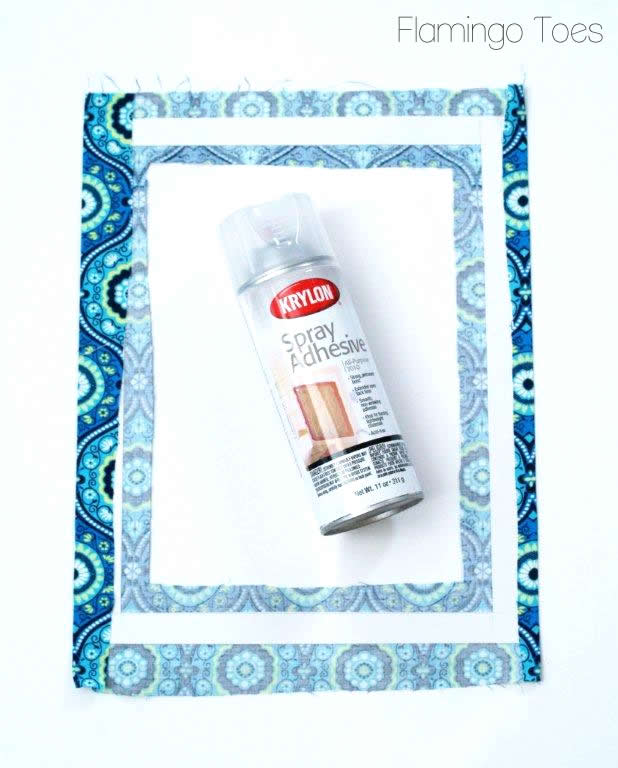
Place the mat on the fabric and press down, making sure there are no wrinkles on the front. Fold the two long sides in.
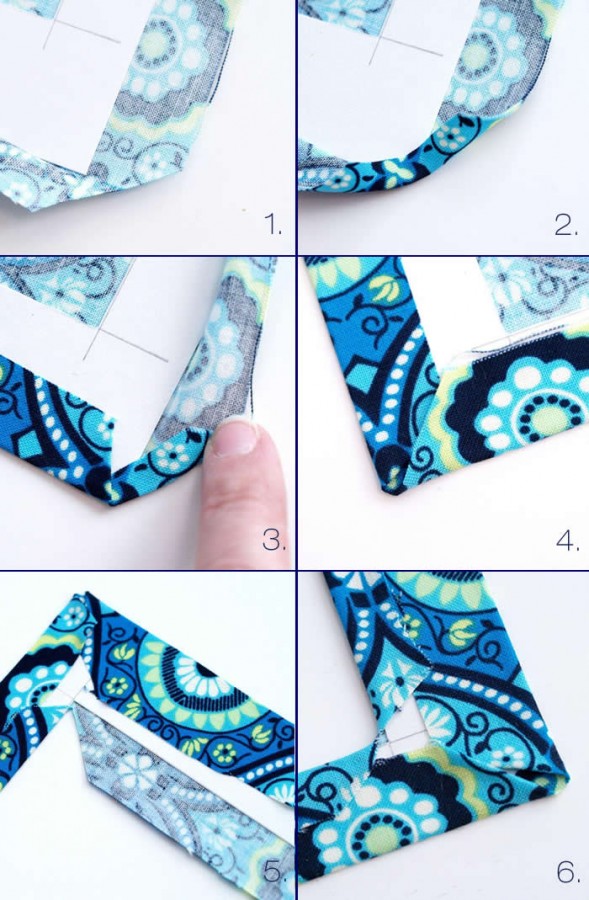
To make the corners nice and tidy:
- Trim the fabric at an angle at each corner, but leave about 1/3″ of fabric.
- Fold the fabric back so it touches the corner.
- Fold one side of the fabric back onto the mat and press down. The adhesive should hold all this in place.
- Fold the other side of the fabric up. This should give you a clean corner.
- To make the inside corners, cut a slit in the fabric almost to the corner. Fold one side of the fabric back.
- Fold the other side of the fabric back. If you need to make the slit a little higher, to have a crisp point, you can. You just down want the it cut showing.
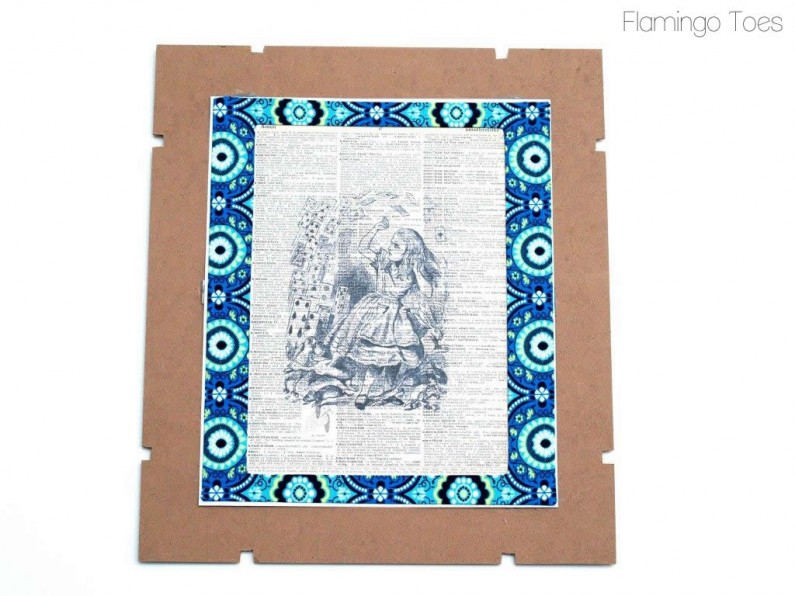
Once your mat is finished, layer it with your artwork. I used a very light coat of the spray adhesive to hold the dictionary page to a light piece of cardboard. Lightly spray the back of the mat and center it over your artwork. My frame had a large backing piece, so I used the adhesive to hold the whole thing to that.
Pop it in the frame and you’re done!
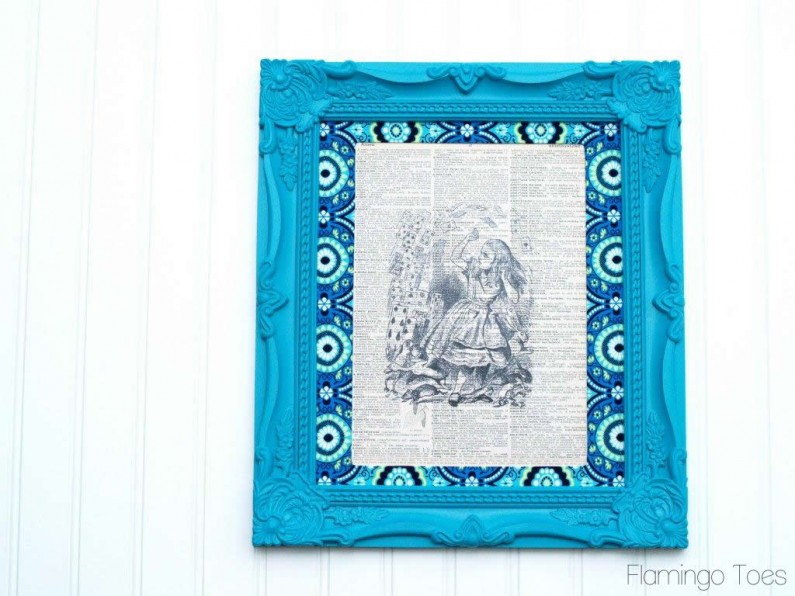
I love how it gives it such a custom look, and really sets off the design on the page!
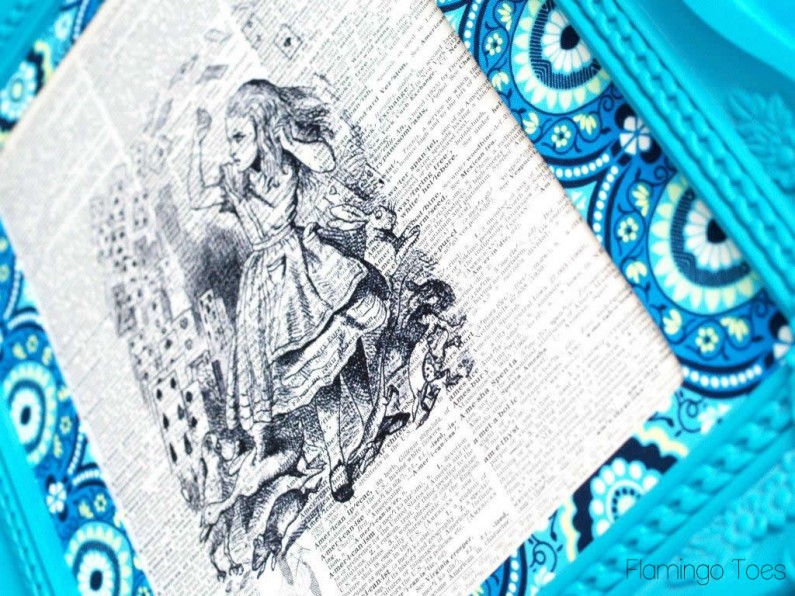
It’s a nice thin addition too – so it should fit in any frame.
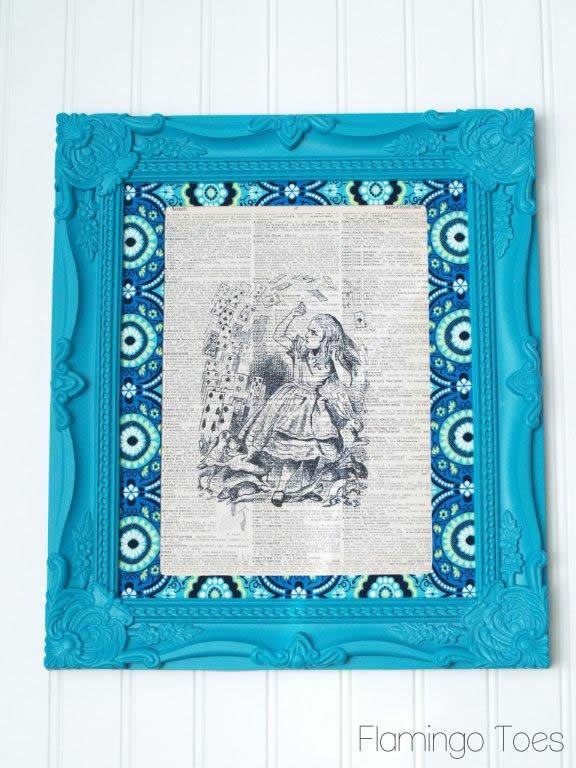
I can’t wait to show you the rest of the room – we’re almost finished!
Linking up at Sunday Scoop, Today’s Creative Blog, Met Monday, Tutorials & Tips Tuesday, Shabby Creek Cottage, My Repurposed Life, 504 Main, and the other fabulous parties on the party page – make sure you check them out!


I love the colorful fabric mat idea! What a fun theme for a room, I would have loved that as a kid!
Very clever, Bev! And it really makes the print pop. Great idea!!
I love this idea! It’s super fun! I’m jealous. I think I need to make one, so I’m pinning it!
This turned out beautiful! I love how colorful it is! I featured you today on my Kick-Off Friday post!
http://craftivitydesigns.blogspot.com/2013/04/kick-off-friday_26.html
Have a great weekend!
Erica @ Craftivity Designs
That may take more patience than I possess right now! Super cute though!
~ Michelle
http://lifeonthehorizn.com
This is fantastic! What an awesome way to add a bit extra texture to a picture :) Thank you so much for sharing!