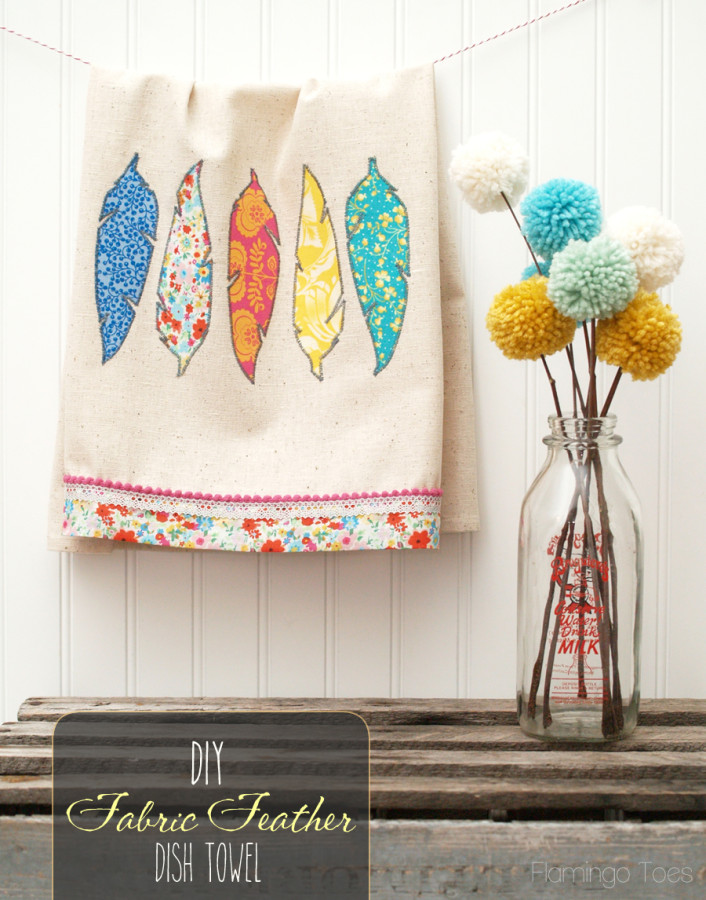
I am so ready for spring. I would like to go pick flowers and strawberries and to not have to wear a sweater all the time. I’m a big baby when it comes to weather.
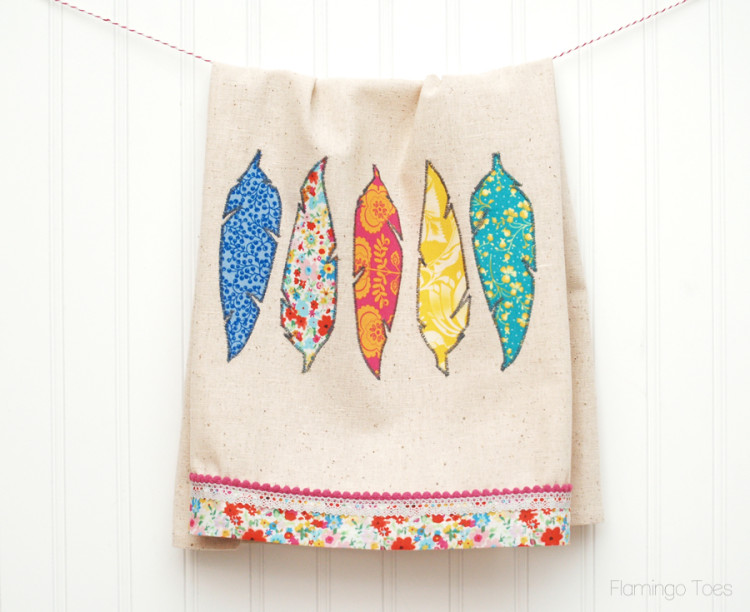
Usually when I get all anxious for Spring to come, I try and rush things inside a bit by doing all my spring decorating – as soon as Valentine’s Day is over. It’s my own personal Field of Dreams moment – “If you decorate for it, it will come.” Only I don’t do the creepy whisper. That would be a bit much.
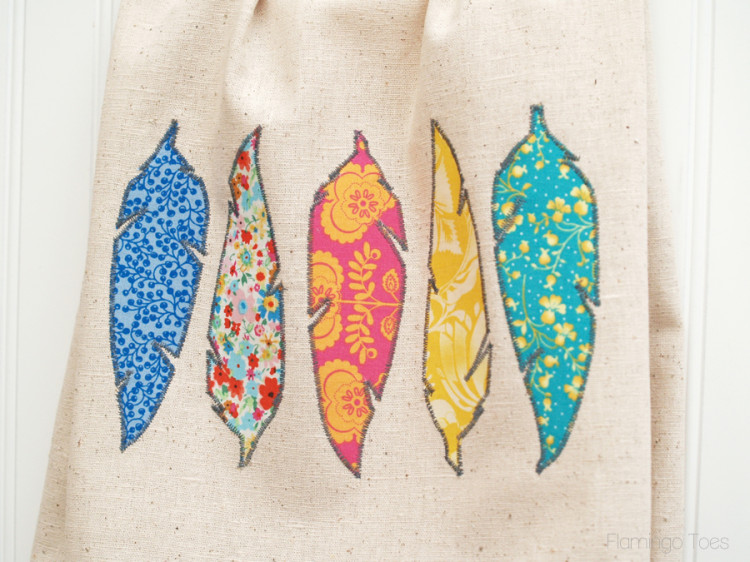
To help hurry things along, I have a new pretty diy fabric feathers dishtowel! It’s super easy to make up, and perfect for these bright, fun colors for Spring.
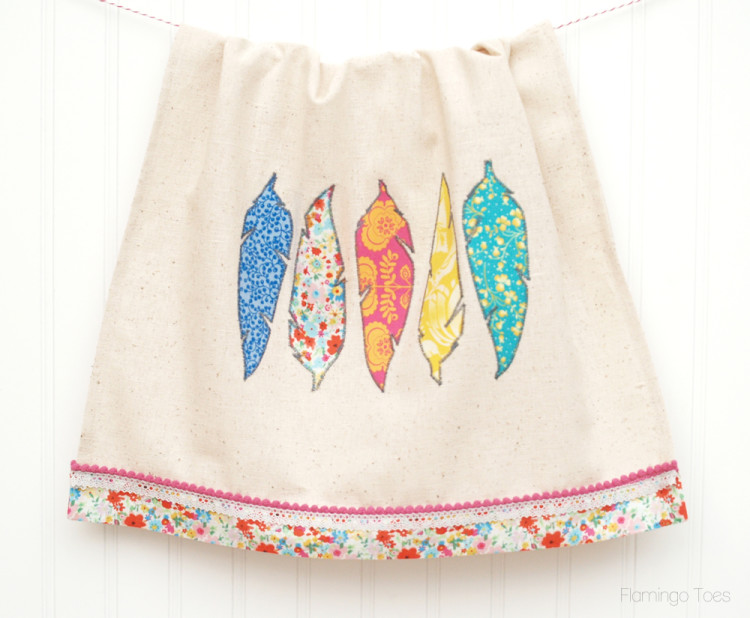
So let’s get started with the tutorial! Here’s what you’ll need:
- linen, twill or other heavy fabric for dishtowel (you can also use a store bought towel) 20″ x 28″
- fabric scraps for feathers – 3″ x 8″ for each feather
- fabric for layer on bottom of dishtowel – 20″ x 4″
- trims for dishtowel – 20″ of each trim
- contrast thread for applique
- fusible webbing
- Fabric Feather Pattern
Draw or print out a basic feather pattern, or you can use mine. Cut out your fabric scraps larger than the feather. Iron pieces of fusible webbing to the wrong sides of the fabric.
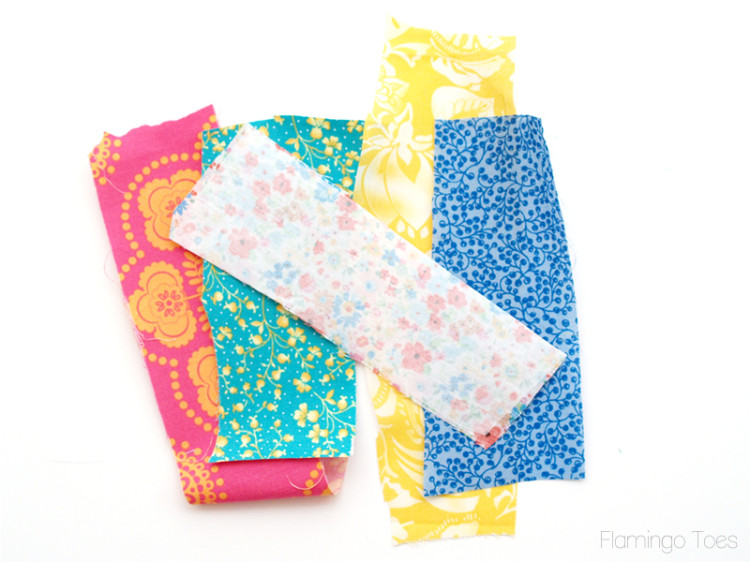
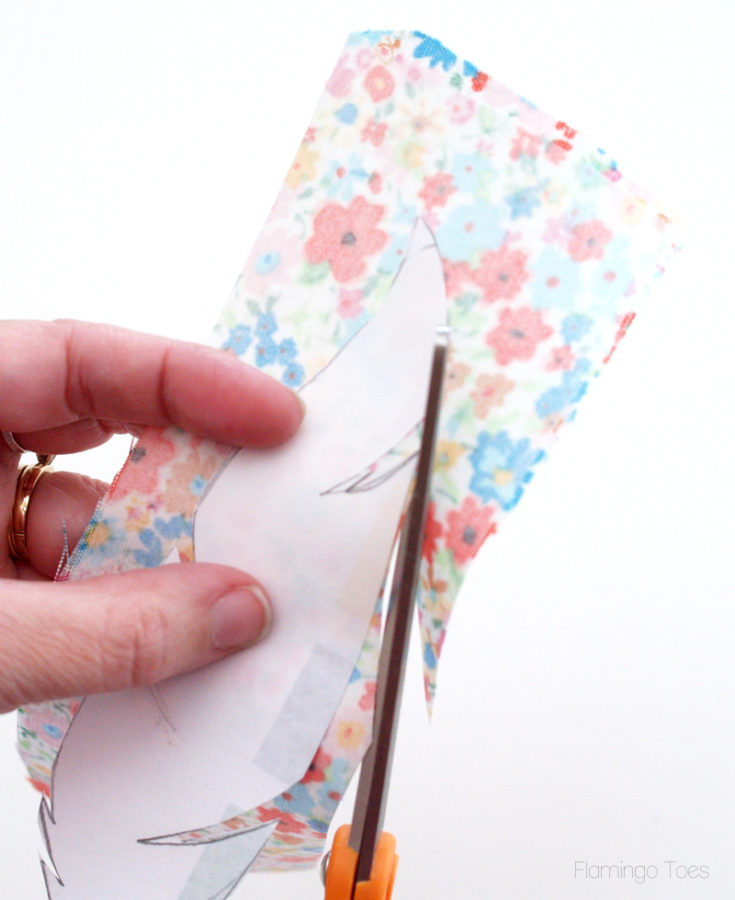
Cut out 5 feather pieces. Make the notches in the feathers a little different on each.
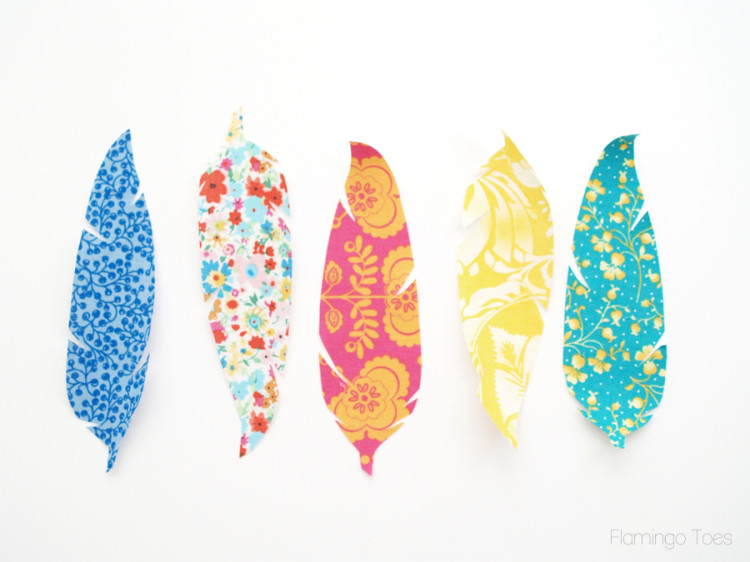
You should now have 5 feathers, all with fusible webbing on the back.
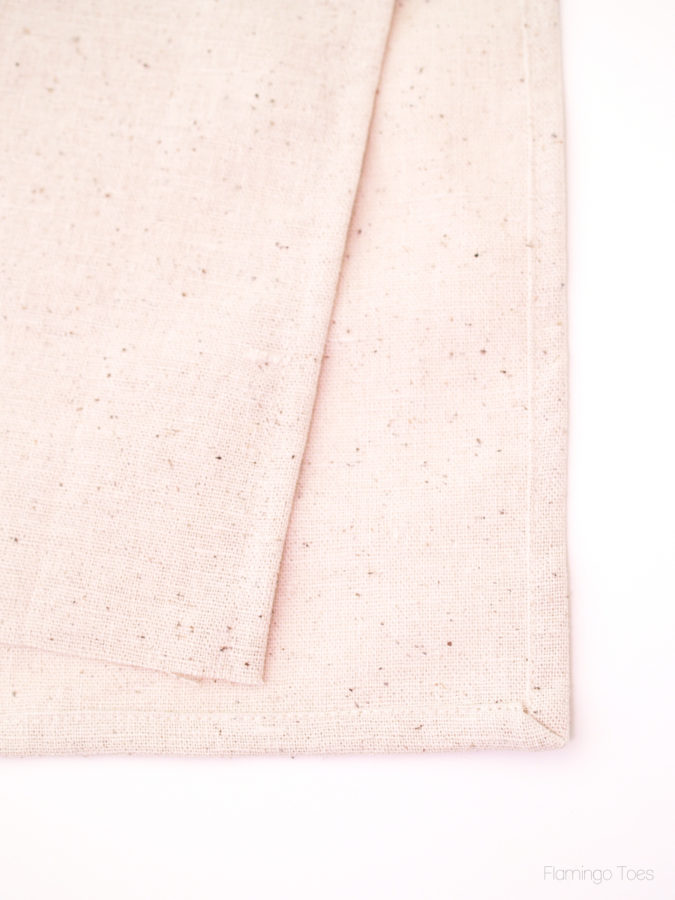
Hem the two long sides and one of the short sides of your dish towel. (You can skip this if you are using a store bought towel.)
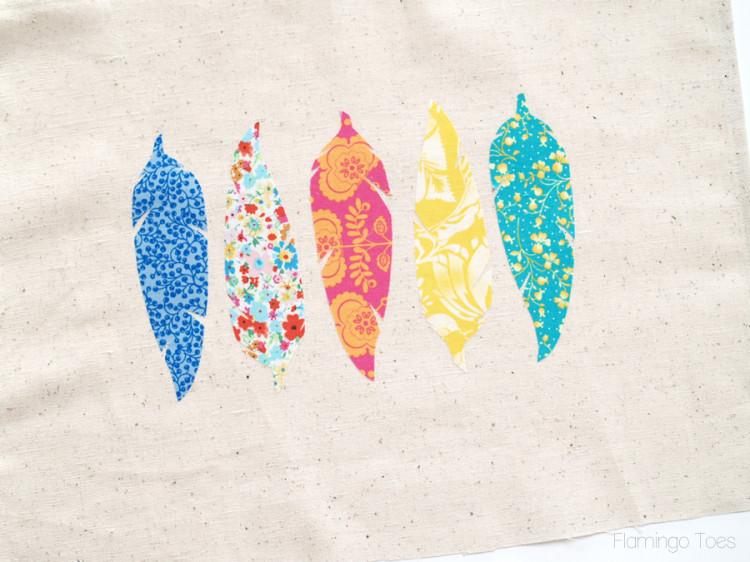
Carefully remove the paper backing on the fusible webbing. Mark the center of the dishtowel. Place the center feather so the bottom is 4″ up from the unhemmed edge. Iron the feather in place. Iron two more feathers on each side of the center, so the tops and bottoms of the feathers alternate.
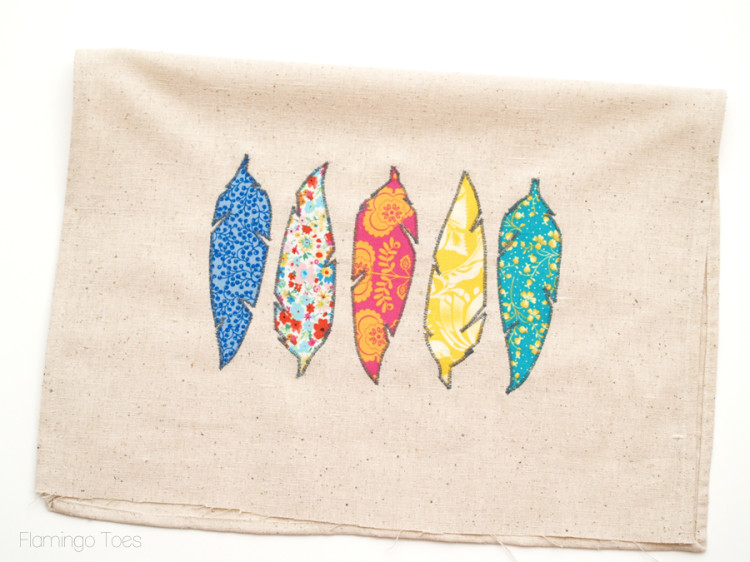
Use a small zigzag stitch to applique around the feathers.
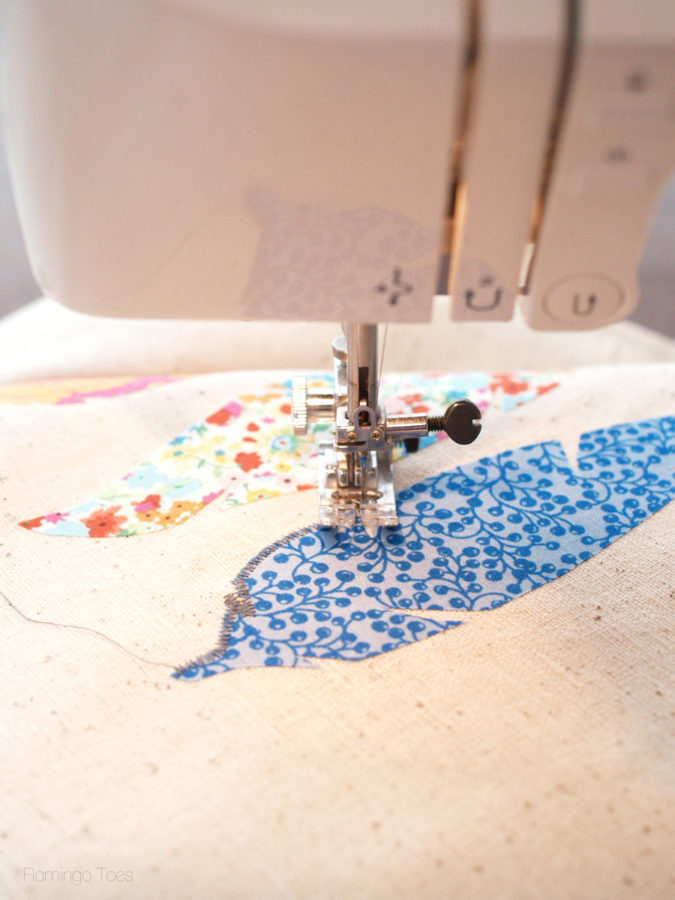
If you use a contrasting thread, it will help the feathers stand out a little more.
Ok now we’re going to finish off that bottom edge. You can do anything here – a ruffle, a bit of lace, or a straight fabric border like I did. Line up the fabric trim with the raw edge and sew them together with a 3/8″ seam.
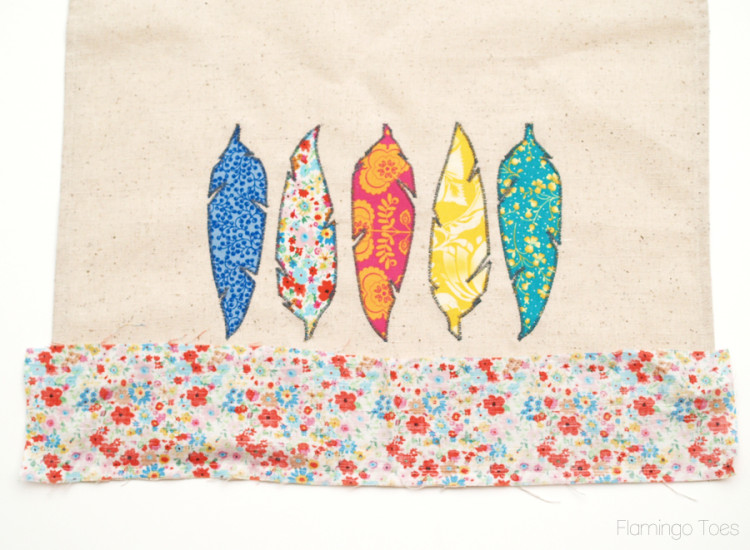
Fold the border in half so the side raw edges line up and the right side is inside. Sew the side seams along the edge of the dishtowel, down to the fold.
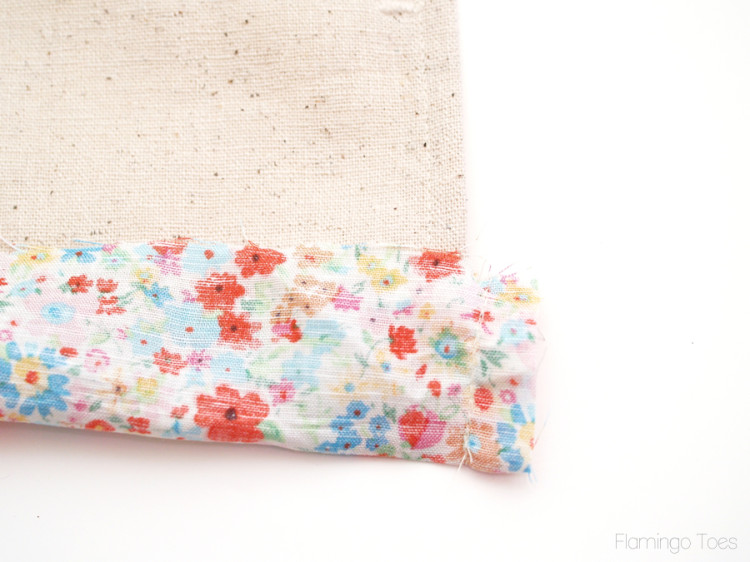
Trim the corners of the sides. Fold the fabric so the right side is out and the open edge is to the back of the dishtowel. Press the edge under 3/8″.
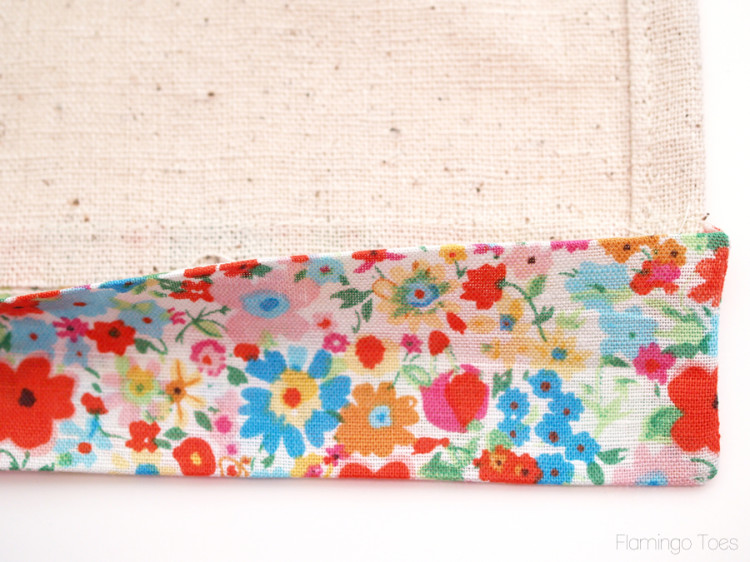
Now you can either sew the raw edge down, or live dangerously and when you sew your trim on, sew the edge down at the same time.
On the front side of your dishtowel, add your trim. I started be sewing on a row of mini pompom trim, with the pompoms facing up, along the seam.
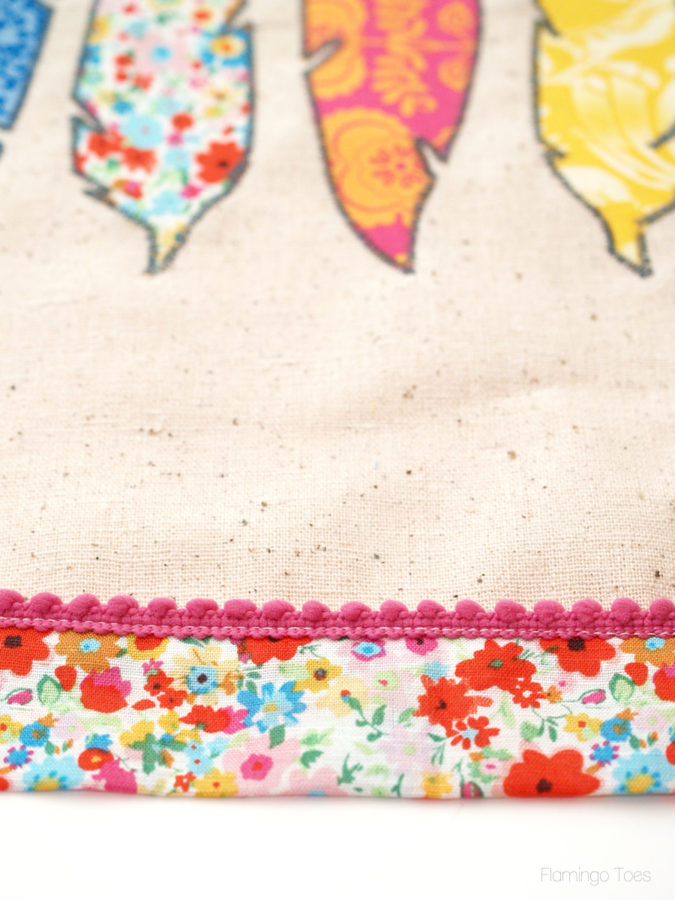
Sew on a row of crochet trim, so it overlaps the bottom edge of the pompom trim. Tuck the ends of the lace under on each side.
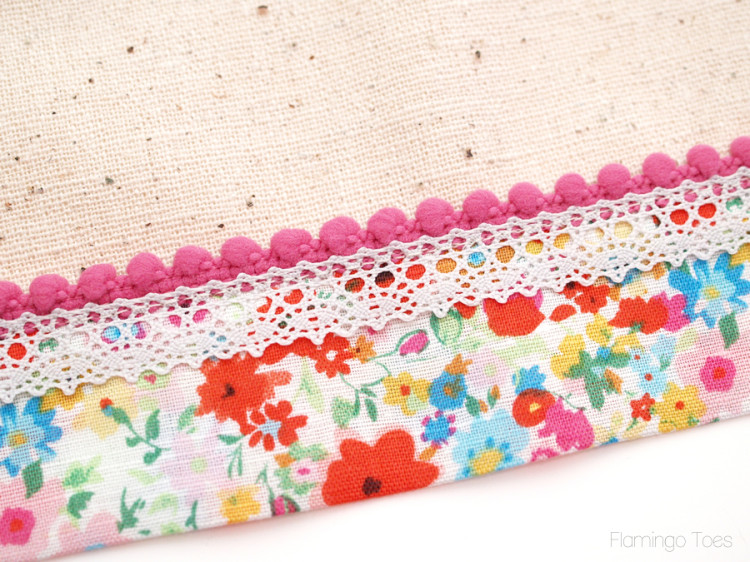
And that’s all there is to it! Now you have a super cute new fabric feathers dishtowel!

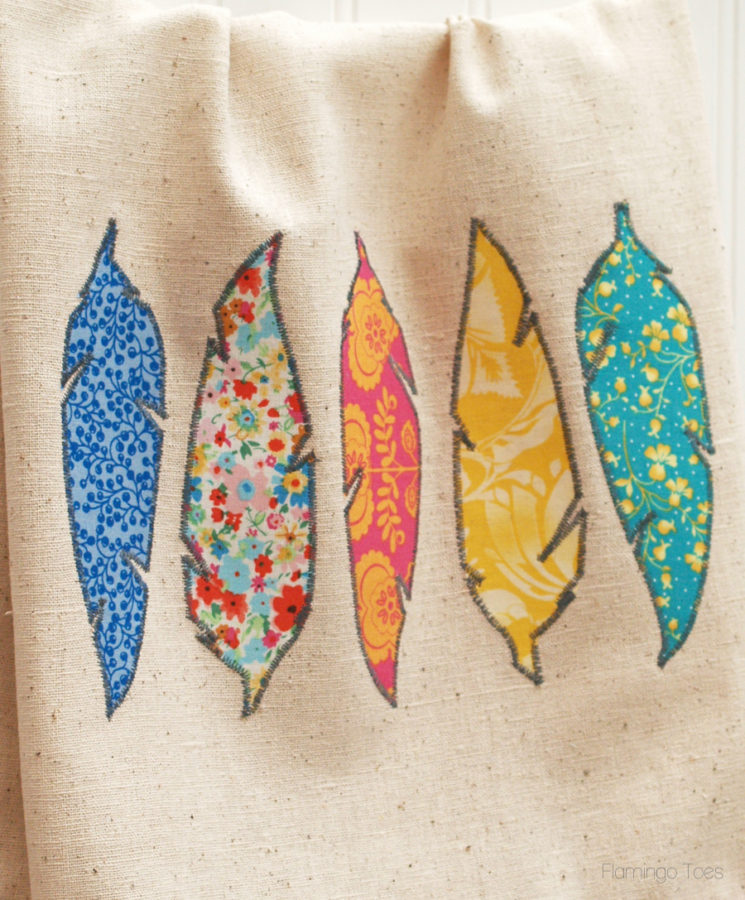
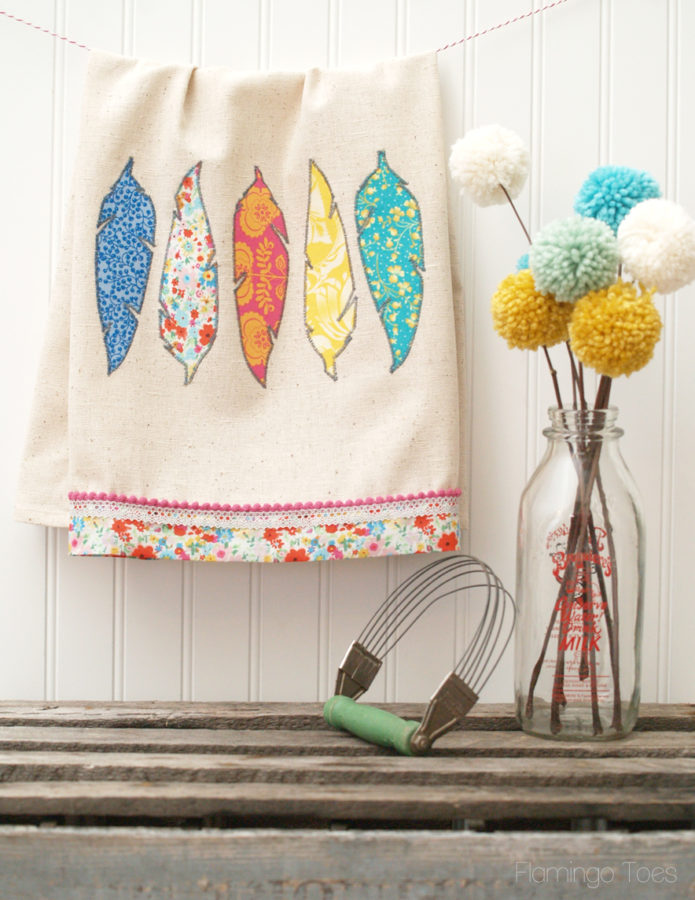
I just love how bright and colorful it is – so perfect for Spring!
Linking up at Met Monday, Tutorials & Tips Tuesday, Sugar Bee Crafts, 504 Main, Block Party, Snap, The Party Bunch, & Tip Junkie. Make sure you check them out!


Thank you so much for the tut. As I’m sitting here and getting so tired of yet 3-5 more inches of snow, this is a little taste of color and the spring that everyone has been waiting for.
I love, love, love this! I’ve got to go search my stash.
So colourful! Very pretty and it looks like it would be quite sturdy too.
That is sooo pretty!! I’ve linked to your tutorial on Craft Gossip:
http://sewing.craftgossip.com/tutorial-fabric-feather-dishtowel/2014/02/17/
–Anne
Thank you again for the feature Anne!! I really appreciate your support!
Too pretty to use.
Lol thanks Syl! It would be a cute pillow too! :)
How pretty! Thank you so much for this tutorial – I can see several dishtowels on my way! Greetings from Germany
That’s great! Thanks! I would love to see your versions if you make them!
Adorable! Thanks for sharing your inspiration.
Thanks Jenn! I’m so glad you like it! :)
Seriously too adorable for dished! I’d frame it! xo
Thanks sweet Malia!! It would totally work on a pillow too if you didn’t want to use it on dishes! :)
Beautiful, Bev! I love the bright colors and that trim along the bottom. Definitely too pretty to use! :)
I love your pom pom trim too and your great clear step by step tutorial, what a great way to use tiny scraps of fabric. I’m afraid it is just too beautiful for a teatowel though (sorry I’m so English, we call ’em teatowels!) What a lovely tote bag or cushion cover embellishment this would make, or maybe just the teatowel that looks nice but is never used (I could allow that, but in our house if someone spills a drink they just grab the nearest cloth to mop it up, I couldn’t bear them to use this!)
very, very pretty!
I linked to your tutorial on my blog – thanks for sharing!
♥, doro von Hand zu Hand
Very pretty and I liove how you stylized the photo with the pom flowers!
Love all your towels, and especially this one! Thanks for sharing. Wondering if you would mind sharing what kind of fabric you use?
Gina
Thanks Gina!!
For the feathers and bottom trim I just used cottons. For the towel itself I used Osnaburg, but I’ve used canvas, linen and heavyweight cotton in the past and they’ve all worked well. I would recommend prewashing your fabrics first also. :)
Love! I just finished making mine, its so cute! Theres more on the way!
Yay Shan! That’s awesome! I am so glad you made it and love it! Thanks!
Hi! How do you make this without fusable backing? I live in Brazil and can’t find any =)
Love your tutorial. The fabric scraps were perfect for this idea. Can’t wait to make one. Pinned for later. Thanks for the tutorial.
I love this. Bookmarking it, so I can make some! Thank you so much!
I love the towel Bev, it’s so festive! I bought a couple dish towels and embroidered Carla’s Kitchen on them! I love things that are personalized! Perfect for gifts too!
Just curious how long the appliquing took?
Hi Holly!
It didn’t take too long. It’s been a while – but I’m guessing maybe 45 minutes? Maybe not even that long. :)
Hope that helps!
Had to tweet this sweet tutorial! Thanks!
http://twitter.com/isabellaswhimsy/status/819404058058489856
How can I just get the pattern for the feather ? I have tried cutting the feather out like you have it but it just doesn’t look right can you help me ? Thank You Shelia Minor ;
Hi Shelia,
It’s hard to see sometimes, but the pattern for the feather is in the materials list in the post. The last item in the list is a clickable link for the pattern, it will open a PDF in a new window and you can print out the pattern from there. Let me know if you need any more help, thanks!
How can I just get the pattern for the feather , I have tried cutting the feather out just like you have it but it’s not turning out right and I’m glad I am using paper to cut the feather out hope you can help me : Thank You Shelia Minor P.S I started making my vintage aprons and the motor went out on my sewing machine so now I have to wait , my new motor will or should be in this week , but thank you and hope I can get just the pattern for the feather!!!!!!!!!!!!!!
Thank you Beverly for your help !!!
love it Bev! I made a bunch of ceramic feathers that i have yet to hang, but they sure would look great in your kitchen! thanks for sharing on craft schooling sunday!
Super cute little project to use up extra material. Home made tea towels are such a nice gift and this feather pattern isn’t seasonal so its an especially nice idea.
Pinning, thanks for the inspiration and the feather pattern.
These are so sweet! I hadn’t thought about fusible webbing in ages, but then, weirdly enough, it came to mind just about an hour ago. I think I still have some left from a while back, and I know I have fabric scraps. Thanks for the pattern!
What a darling project and also easy. love the feathers. Fun and creative. Thanks for sharing at Dishing It & Digging It.
Very cute! Thank you for the template, too :D