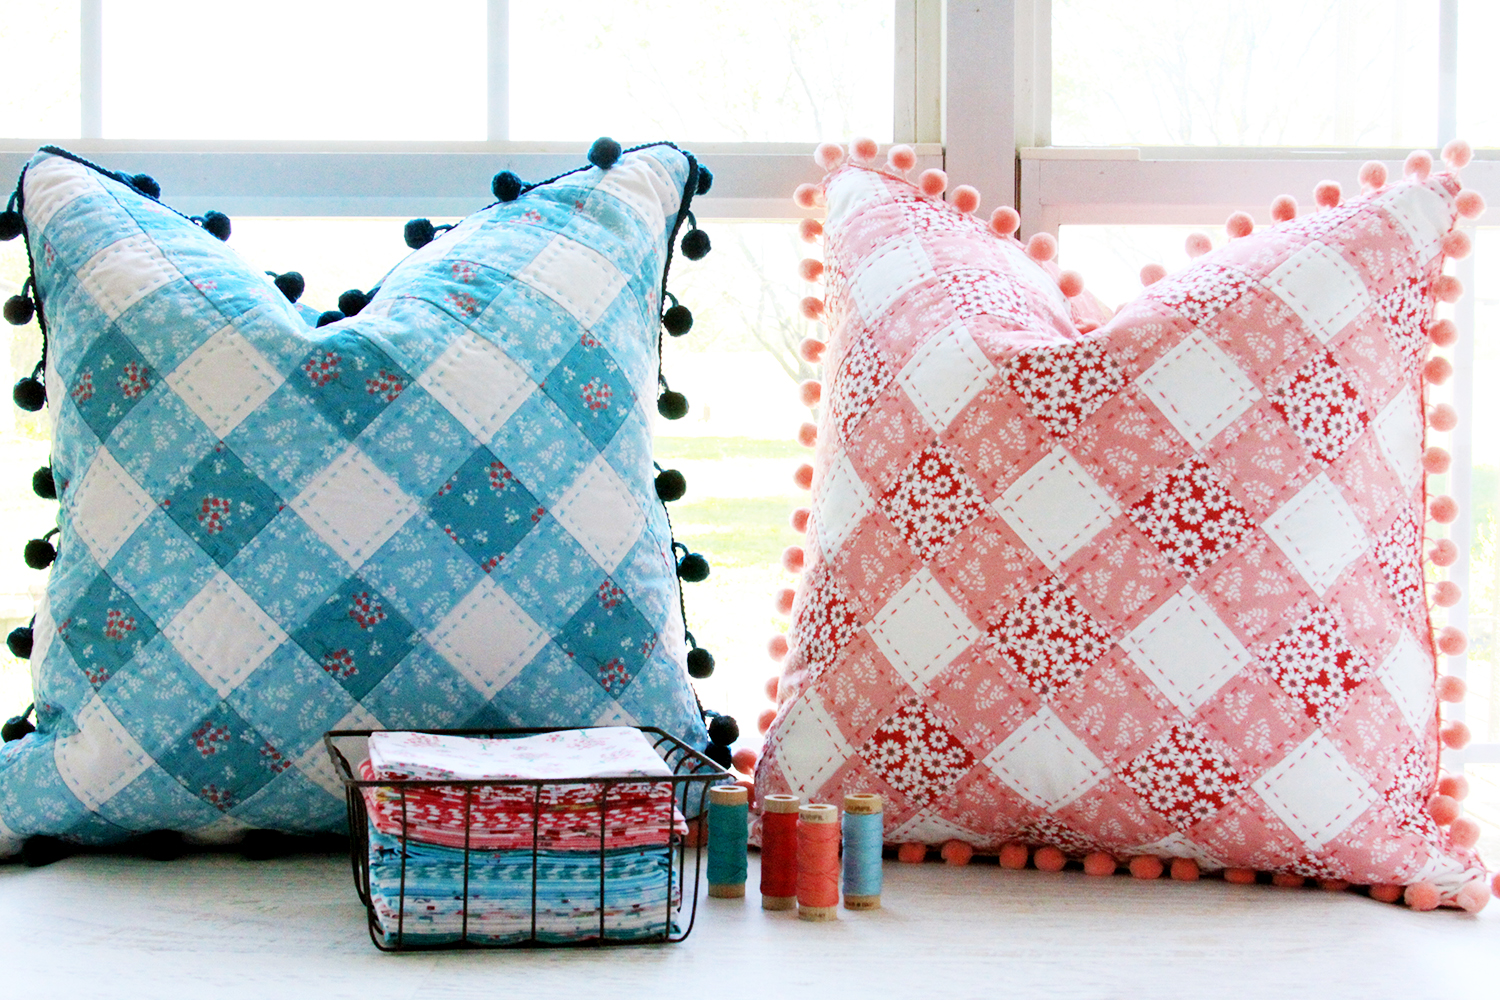
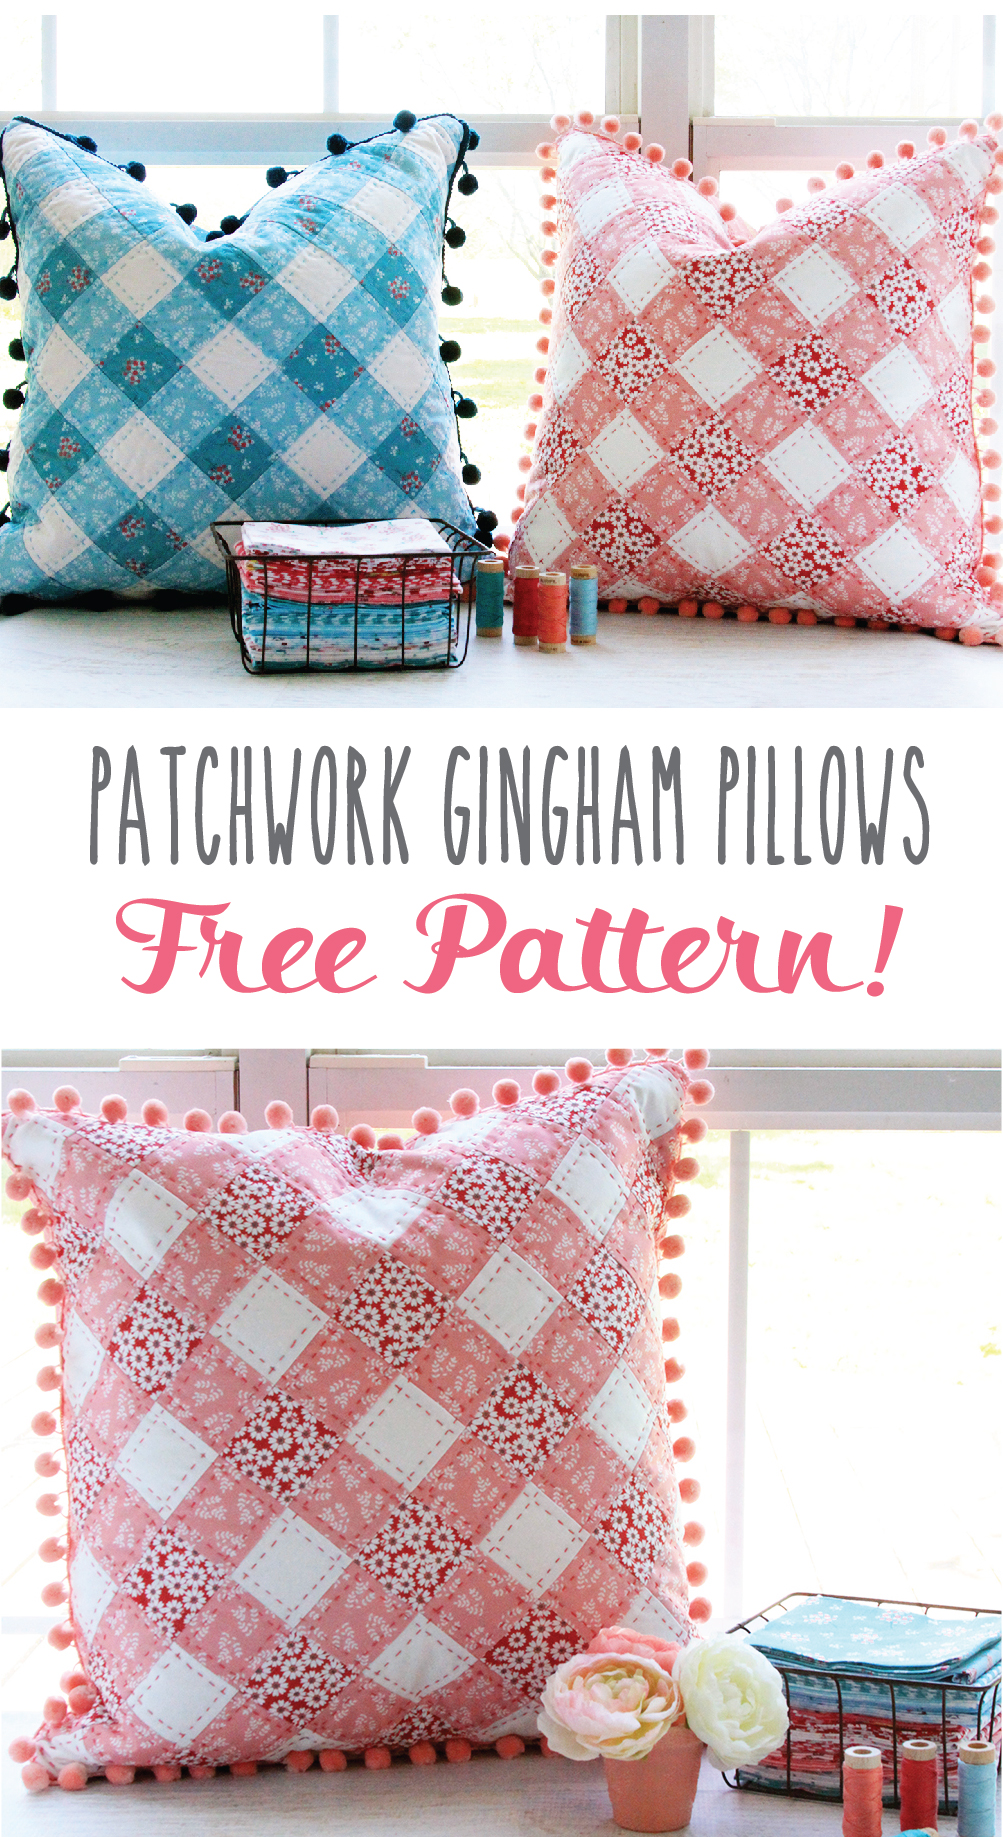
These Patchwork Gingham Pillows are so fun to stitch up! They look great with the hand stitched quilting as well!
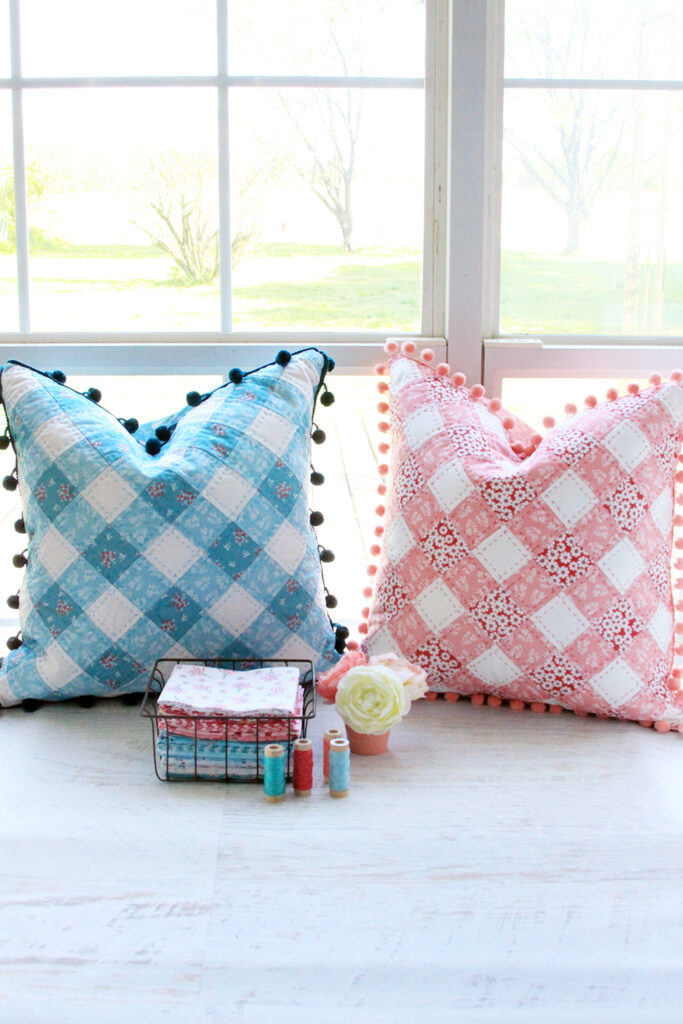
Add a bit of color and fun to your decor with these sweet patchwork gingham pillows! These are super simple and quick to put together and the hand stitching is such a relaxing detail to add.
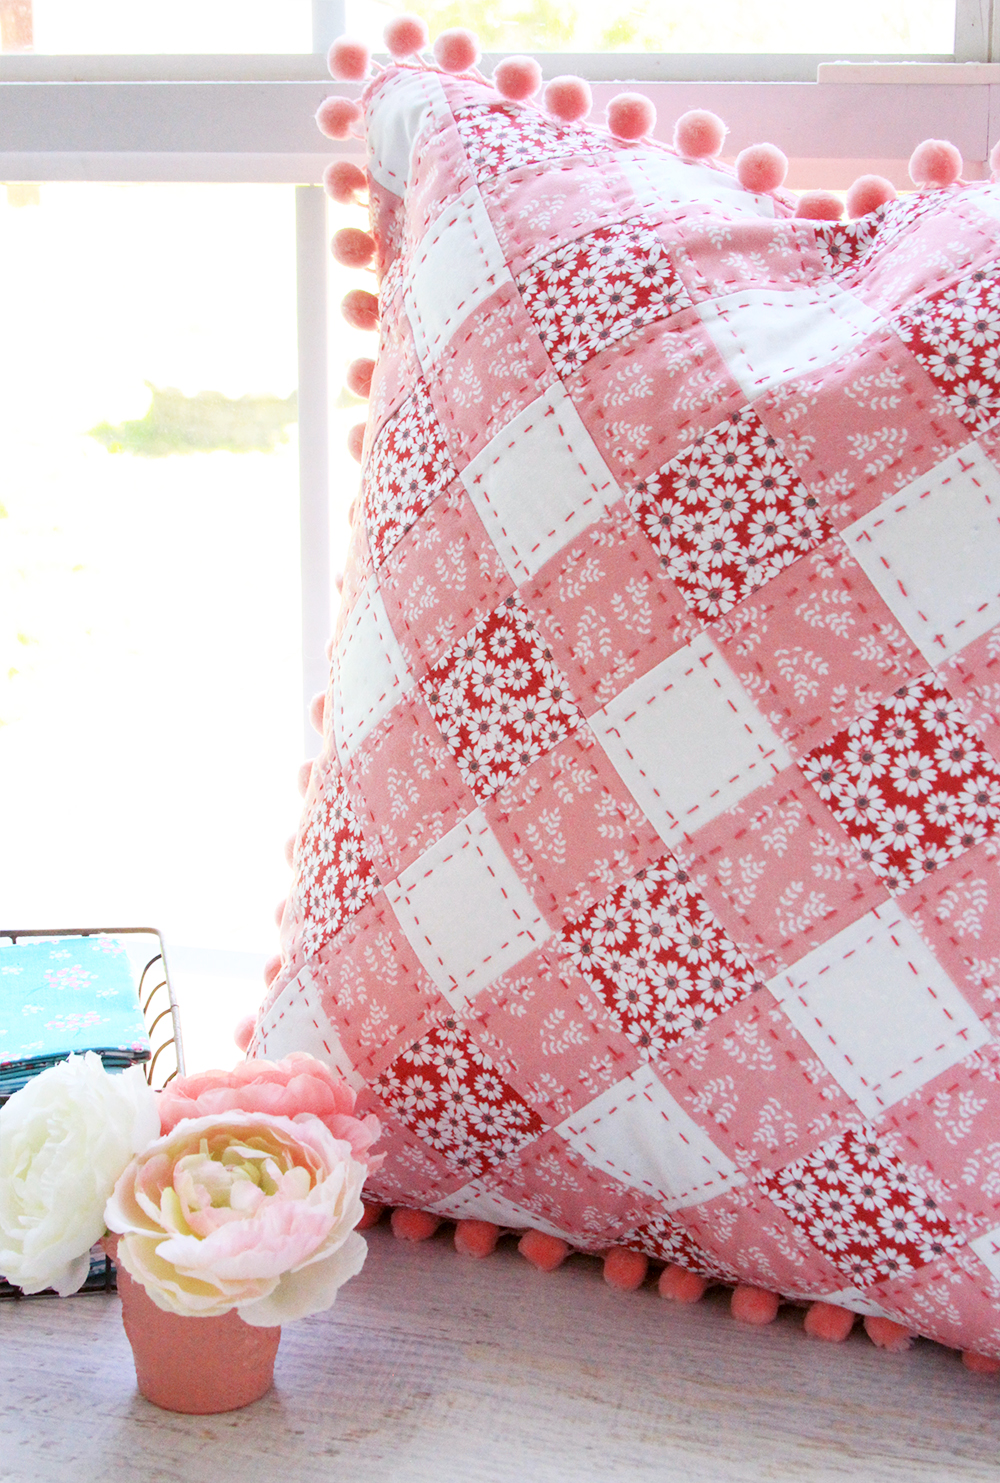
I had so much fun with these I had to make up two versions – a pink and a n aqua. And of course I added pom pom trim because I feel strongly that all things should have pom poms. Be pom pommed? Pom pomonized? ;)
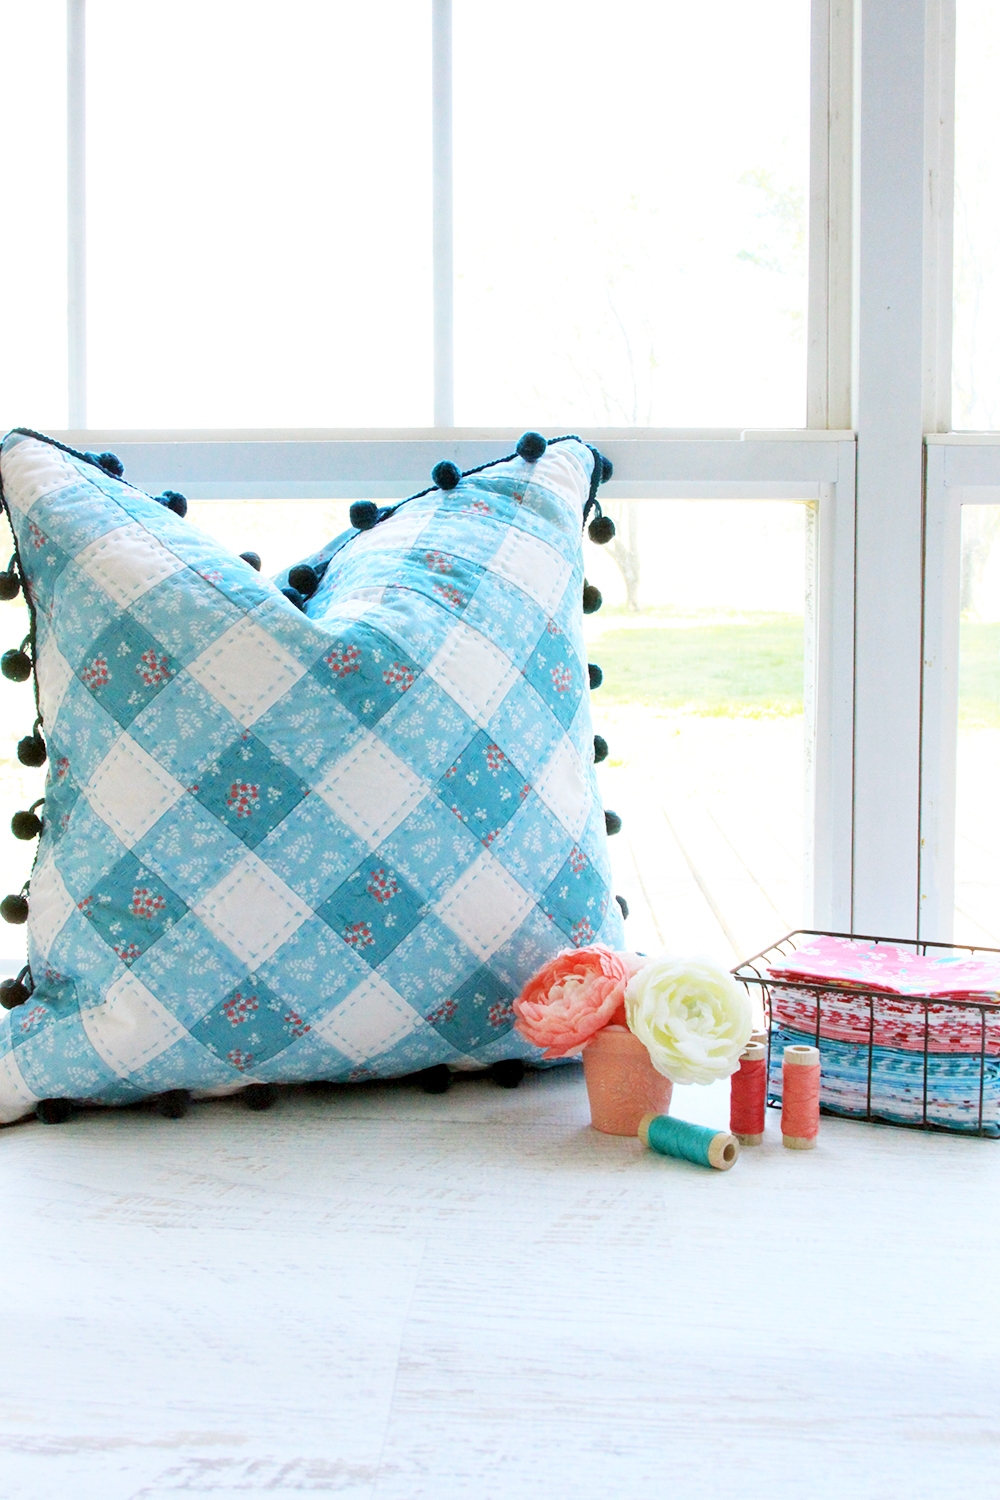
To get the gingham effect I chose two complimentary prints from my Singing in the Rain collection – one light and one dark and I paired that with a light background fabric for contrast. I love the pink and blue versions but now I think I might need to try other colors – maybe a yellow or pretty spring green!
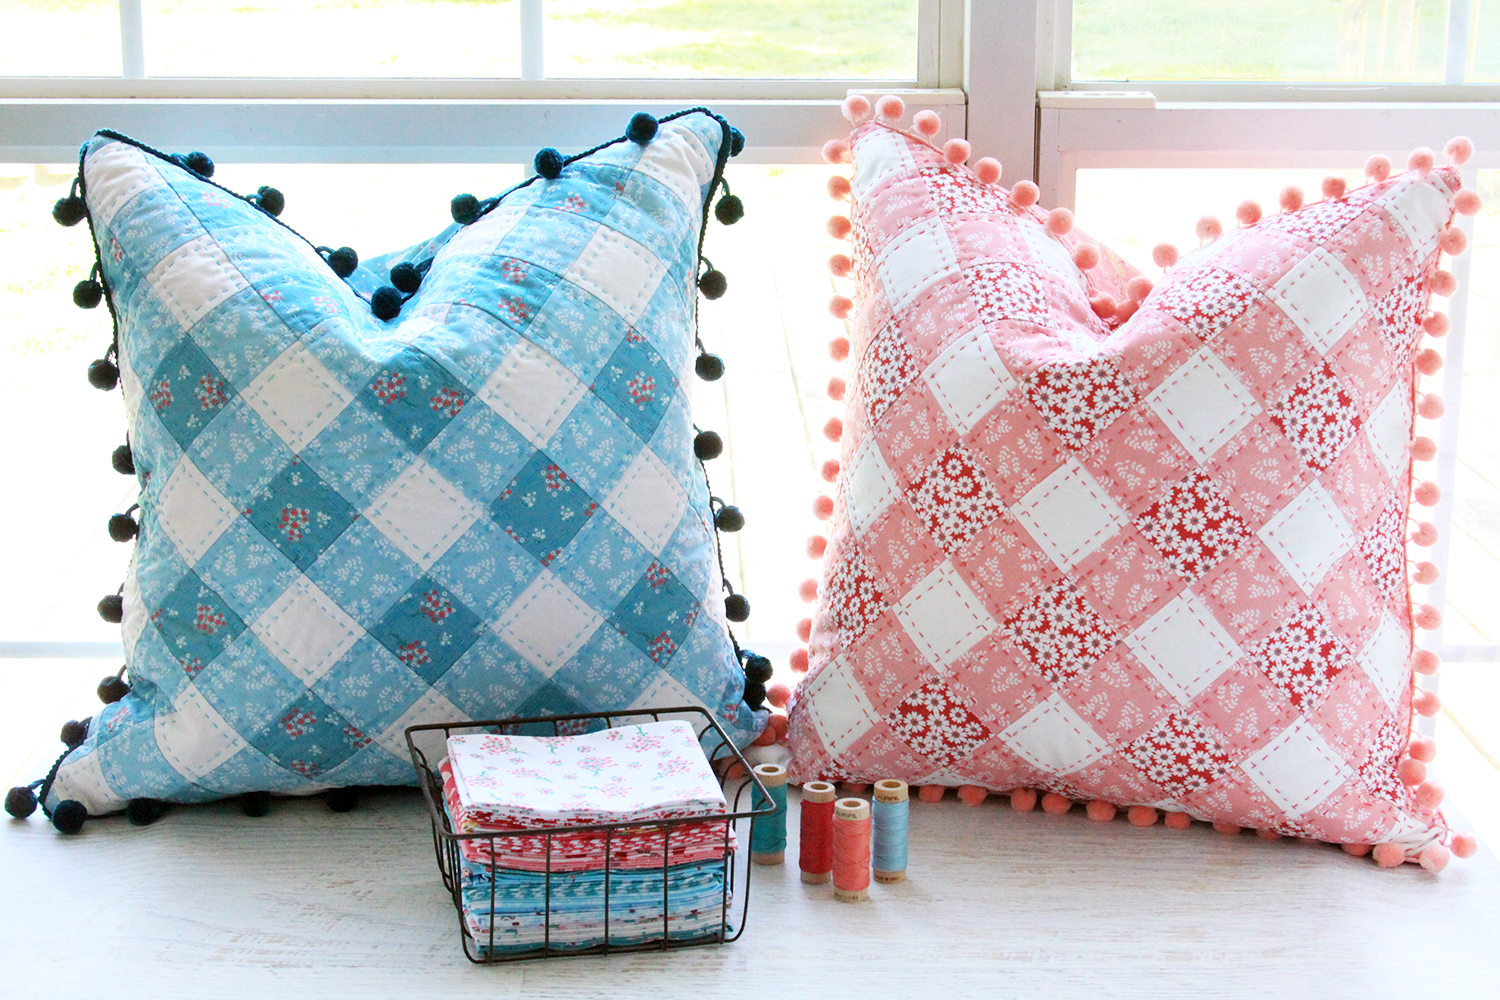
I have two easy methods for making these pillows – the first up is a traditional piecing method!
Patchwork Gingham Pillows Tutorial
Materials:
- 1/4 yard dark print fabric (dark squares in gingham)
- 1/3 yard light print fabric (light squares in gingham)
- 1/4 yard white fabric (background print)
- 22″ x 22″ piece of batting
- 1/2 yard fabric for pillow back
- 20″ pillow form
- 2 1/2 yards pom pom trim
- Embroidery floss – I used 6 strand Aurifil embroidery floss in a contrasting color
Fabric Cutting:
- Cut dark print fabric into 3 strips, 2 1/2″ x WOF (width of fabric).
- Subcut strips into 40 – 2 1/2″ x 2 1/2″ pieces
- Cut light print fabric into 4 strips, 2 1/2″ x WOF
- Subcut strips into 64 – 2 1/2″ x 2 1/2″ pieces
- Cut white fabric into 3 strips, 2 1/2″ x WOF
- Subcut strips into 37 – 2 1/2″ x 2 1/2″ pieces
This pillow is so easy to assemble! You’re just going to sew your squares together in rows, then sew the rows together. Use the following layout to assemble your rows, taking care where colors are to keep that “gingham” effect.
So for example – Row One is a dark pink square, light pink square, dark pink square. Row two starts and ends with a background fabric and alternates background and light pink squares. Continue creating rows according to this layout, then sew the rows together, making sure the rows line up like this. Alternate the pressing direction for each row so the seams nest together.
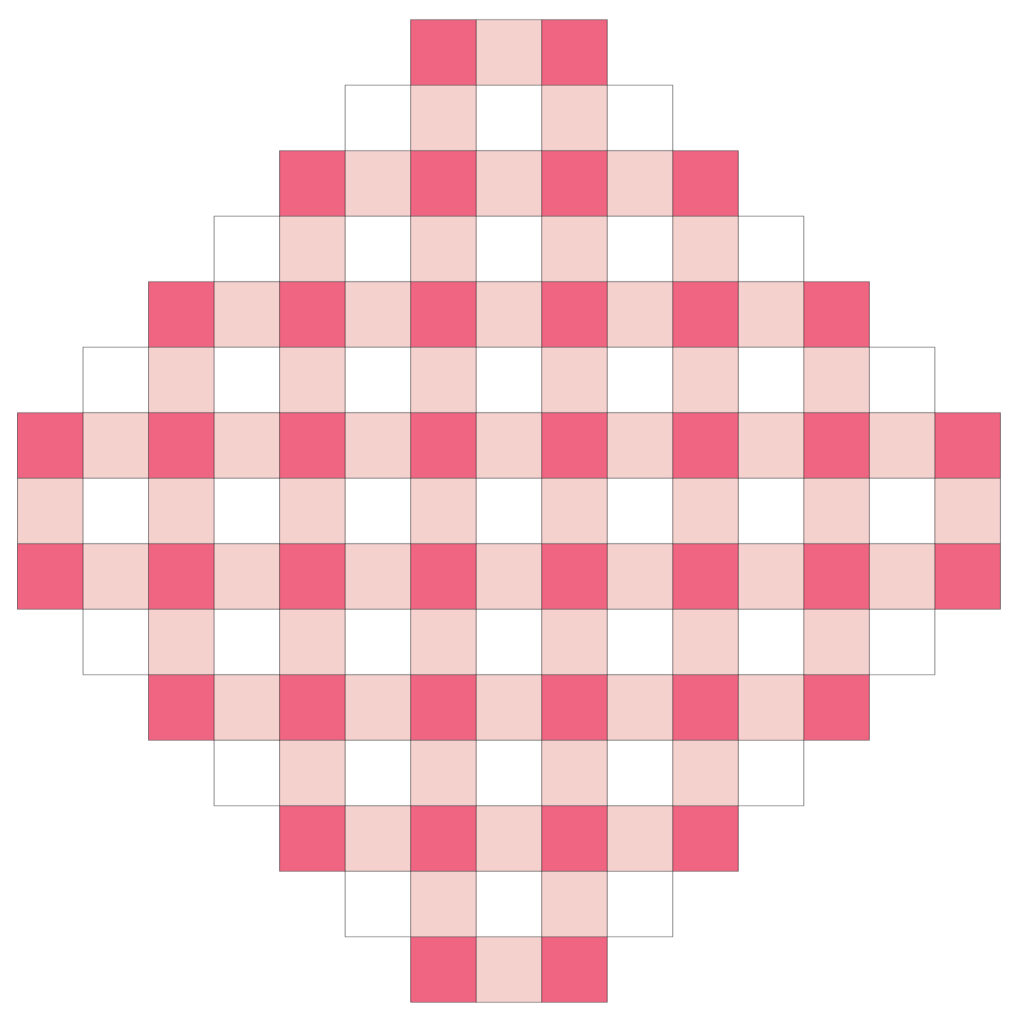
Once your rows are all assembled, turn the piece on point and trim to 20″ square.
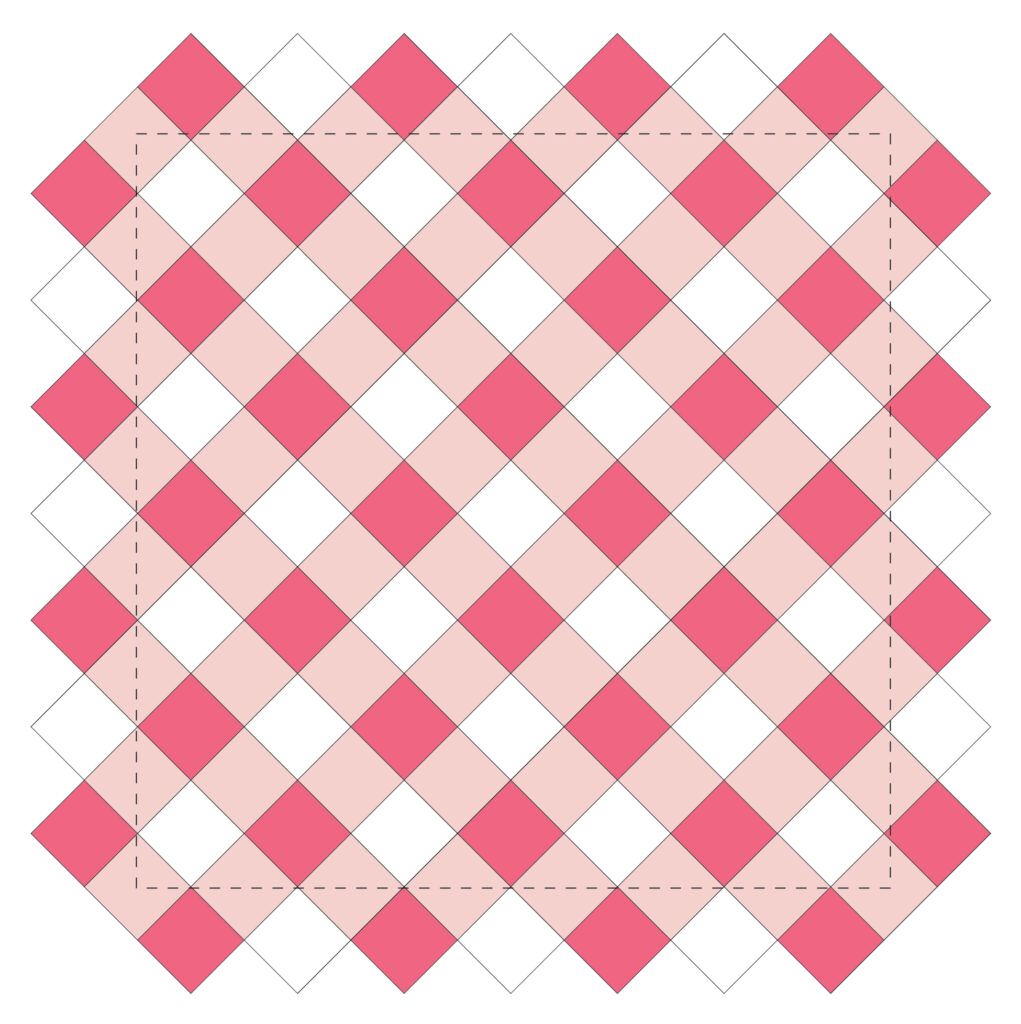
Alternative Piecing Method
You can also use a fabulous product called Easy Piecing Grid by Carmen at Ten Sisters.
Easy Piecing Grid is a preprinted fusible interfacing that is designed for piecing projects and quilts, just like this. It comes in panels and borders and you can choose the grid printed in different sizes, from 1/2″ finished squares on up to 2″. You can purchase the grid in panels – the packet of 6 panels in 2″ finished size is actually what I used when I made these.
When you purchase the panels you will get instructions on how to use them, they’re actually super easy! You cut your fabric squares (to the same sizes I listed above) and then lay them out on the fusible interfacing grid. You fuse them in place, then you just flip each row so right sides are together and sew, then turn the panel the other direction and sew. It is really quick!! For this pillow, you will need to piece together portions of two panels to create the entire pillow but there are instructions with the packet for piecing together the panels.
Hand Quilting
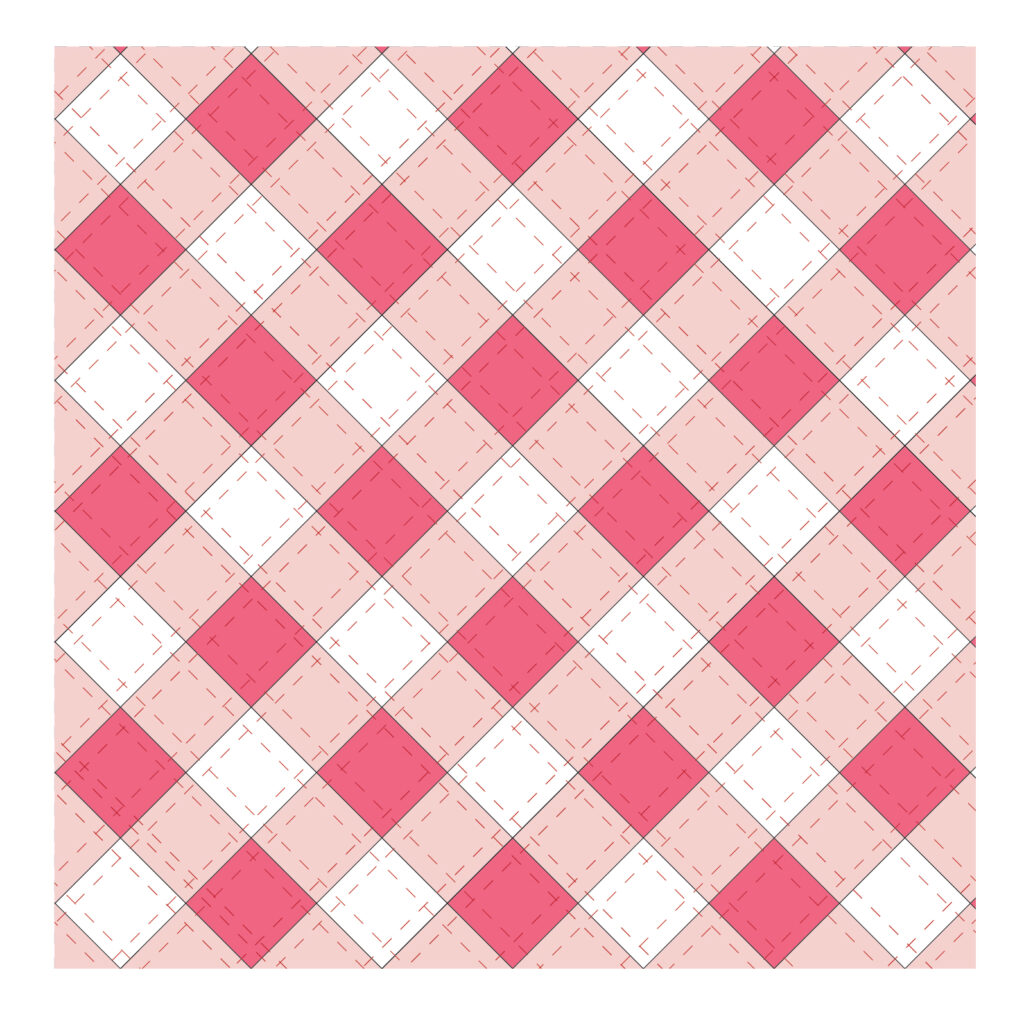
If you are adding the hand quilting, lay the trimmed piece on top of the batting piece and pin or spray baste in place. For the hand quilting, use 3 strands of six strand floss and sew a running stitch 1/4″ on each side of the seams. It helps to mark these with a washable ink pen so you have nice stright lines.
Once your quilting is all finished, trim off batting.
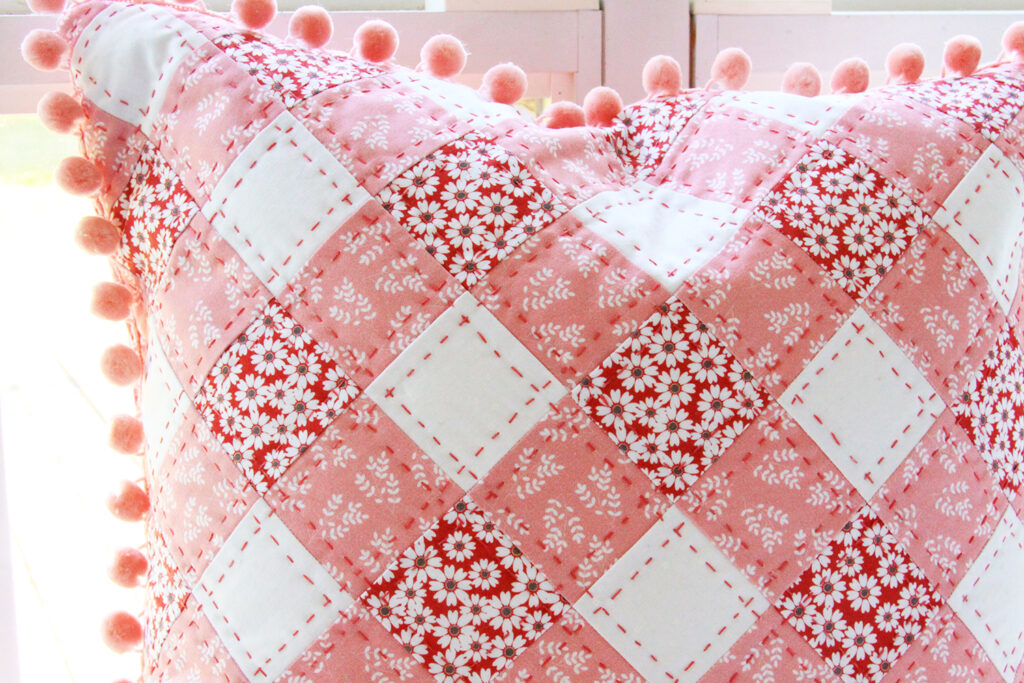
To create the envelope back, cut two pieces of fabric 16″ x 20″. Hem the top of one piece and the bottom of the second piece. Overlap the two pieces so they create a 20″ square, so the hemmed edges are opposite each other.
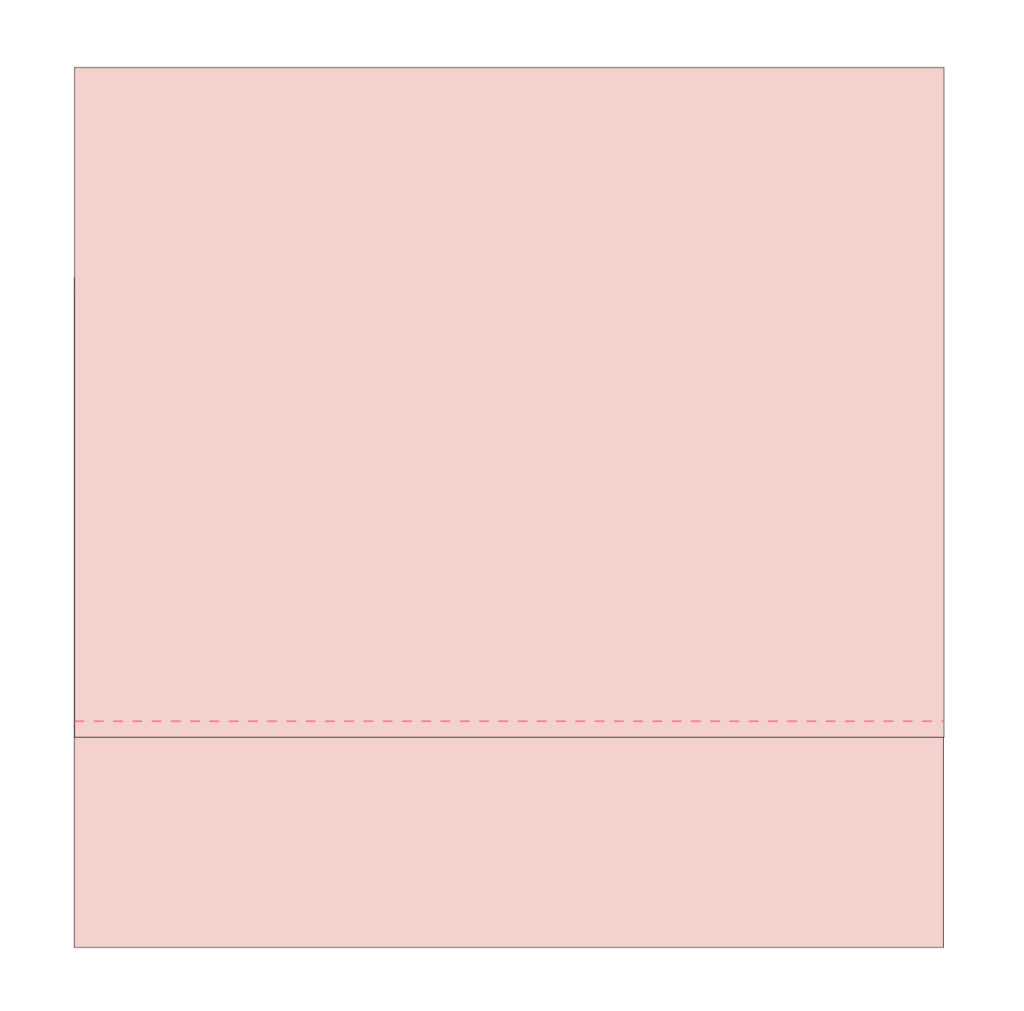
Sew the pom pom trim to the pillow front, lining up the braided trim on the pom poms with the edge of the pillow front. The pom poms should be pointing in towards the pillow center. Overlap the ends of the trim at one corner.
Place the pillow front and the envelope back right sides together and sew around all four sides. Clip the corners, turn right side out, and press. Put the pillow form in the cover and show off your cute new pillow!
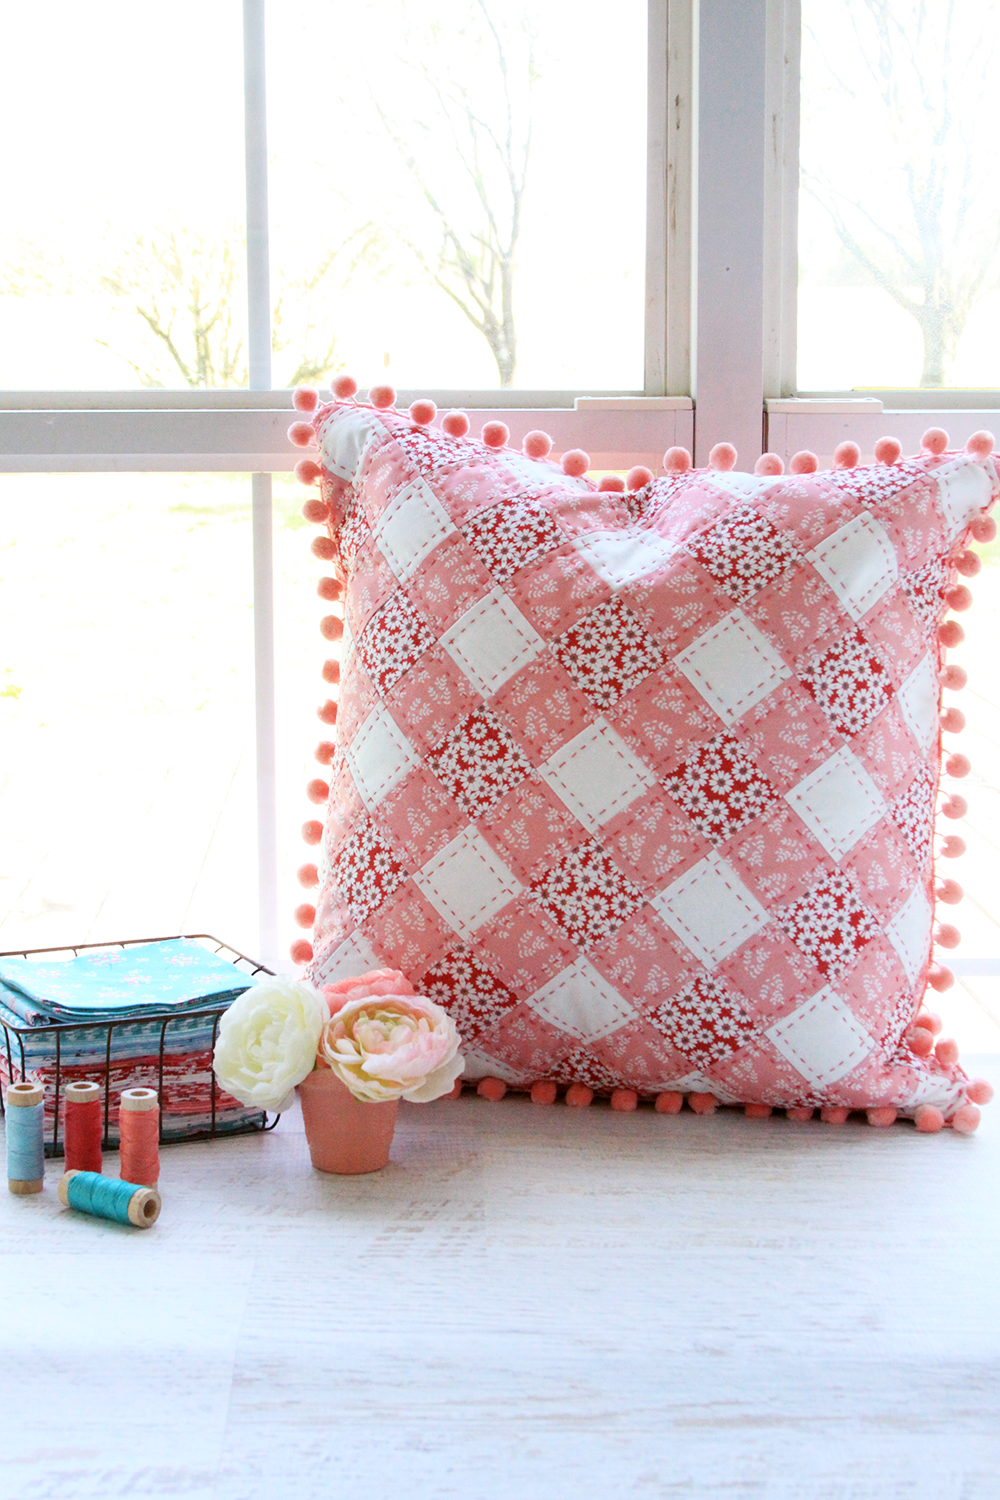
Even the back looks cute!
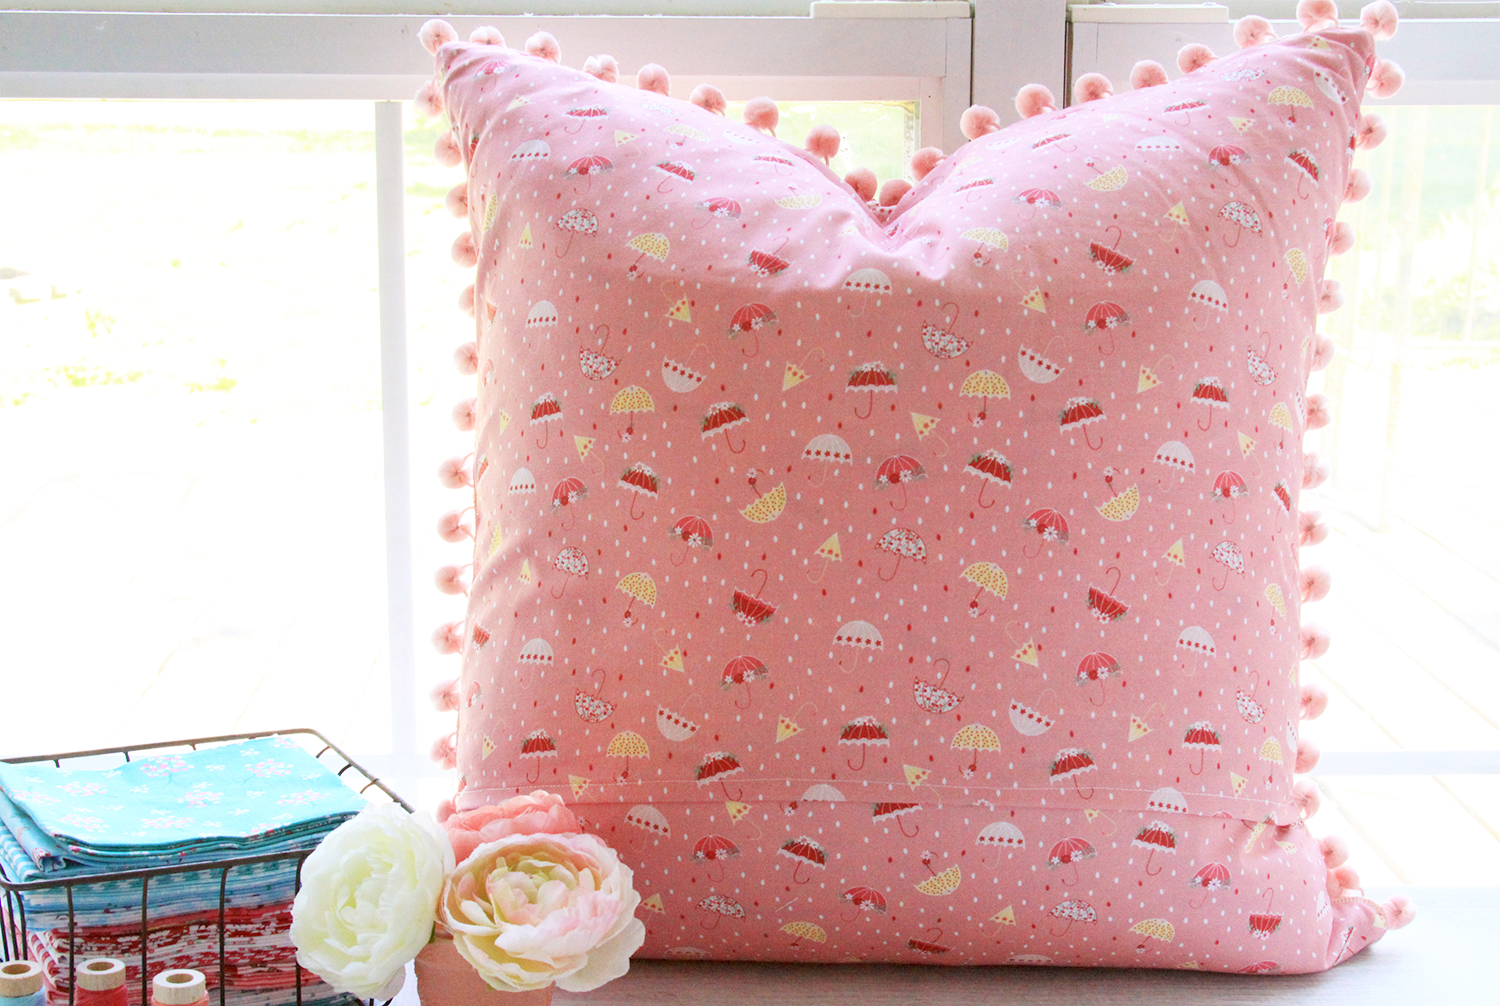
I think these would be a great gift too! Oooh and wouldn’t it be fun to have a patriotic version? Or one for Christmas or Halloween?
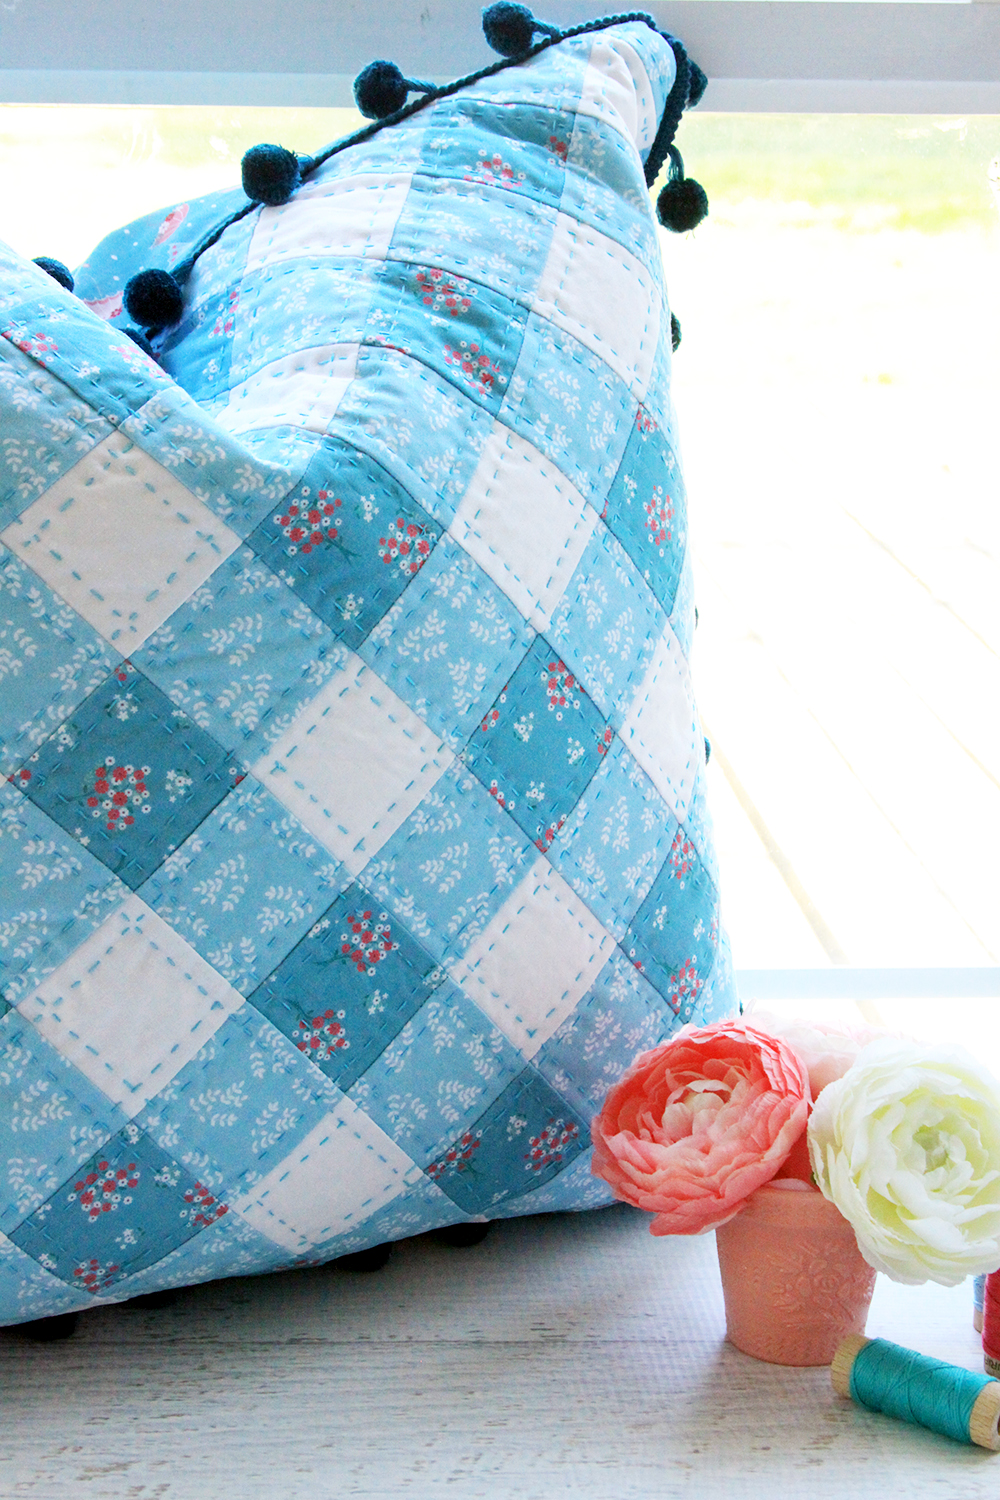
I can’t wait to see your versions of these Patchwork Gingham Pillows – tag me on social media (@flamingotoes) if you make them up!


This will be my next project for sure! Thanks for the free pattern
I am going to have ti but more fabric. These pillows are adorable
Thank you for the adorable pillow pattern. I have been scouring over patterns for a week now and this is exactly what I was looking for. I have been working on changing my pillow covers seasonally. Thank you again. Now I will stay awhile with a cup of coffee and get to know your site better.
So cute!! Wish I had some pom pom trim.
Thank you so much! These are just charming!
Love love love the pillows, I need the pattern so I can make this, thank you
Definitivamente este blig maravilloso me ha dejado buena enseñanza. hce un tapete para el comedor de mi cocna y me quedo bello . gracias. Lindos cojines etaran en mi cama lo mas pronto posible. Un saludo desde mi bella Colombia.
Hello, I love your gingham pillow pattern, but I am having a hard time downloading, any suggestions? Thank you, Roberta
I cannot wait to try this cute pillow! Thanks for the pattern!
These pillows are adorable! Thanks for sharing again!
Is there an actual pattern to download? I see the cutting instructions in your post but I like a pattern to print out. I’m using my phone so maybe I’m just overlooking the link. Thanks!
Hi Julia, All the instructions are in the post, I don’t have a download for this one.
Bev