Do you ever have one of those projects that takes infinitely longer than you think it will? For me, those are usually because I either don’t know what I’m doing and mess things up, or I procrastinate because it’s a big project and I think it will take a ton of time. When in reality, if I’d just dive in, it would be done!
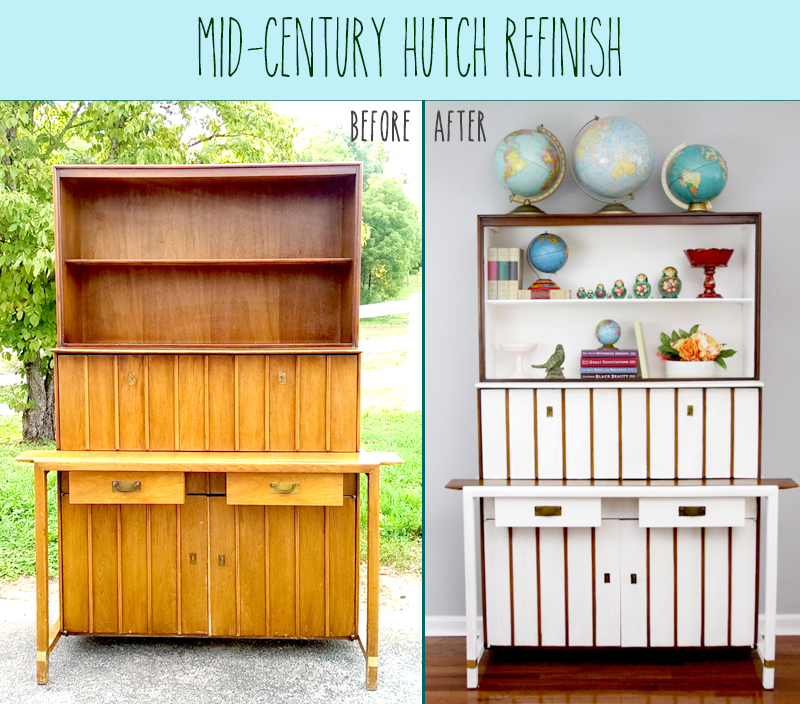
Well this mid-century hutch refinish was a mix of both those things. I started painting this hutch two summers ago. (hangs head in shame). And I really didn’t know what I was doing. I hadn’t done much furniture refinishing before, and like everything else, you get better with more time and practice. Thank heavens I’ve had both since then and I have finished it up – I absolutely love it now!
I purchased this beauty off craigslist – I just fell in love with her. I knew she’d be perfect for my craft room. All that storage! And open shelves! And mid-century prettiness! It was a match made on craigslist. The good kind.
I dived in with an excessive amount of painters tape, a paint I wasn’t familiar with, and some questionable color choices. Always a good combination. Fortunately I came to my senses, but not without almost doubling the amount of work that went into the piece. I taped off the top section of the hutch (not very accurately) and that had to be repainted twice. I did a bit better on the bottom section but it was still quite a process.
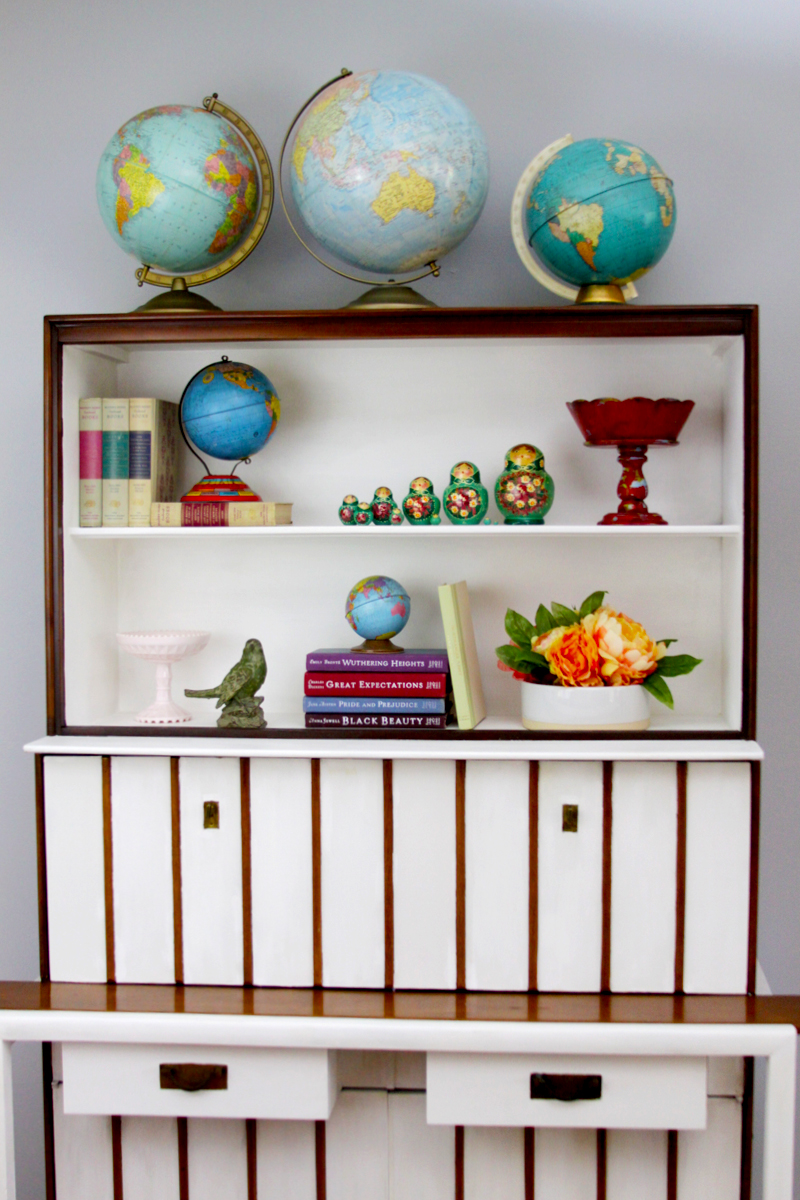
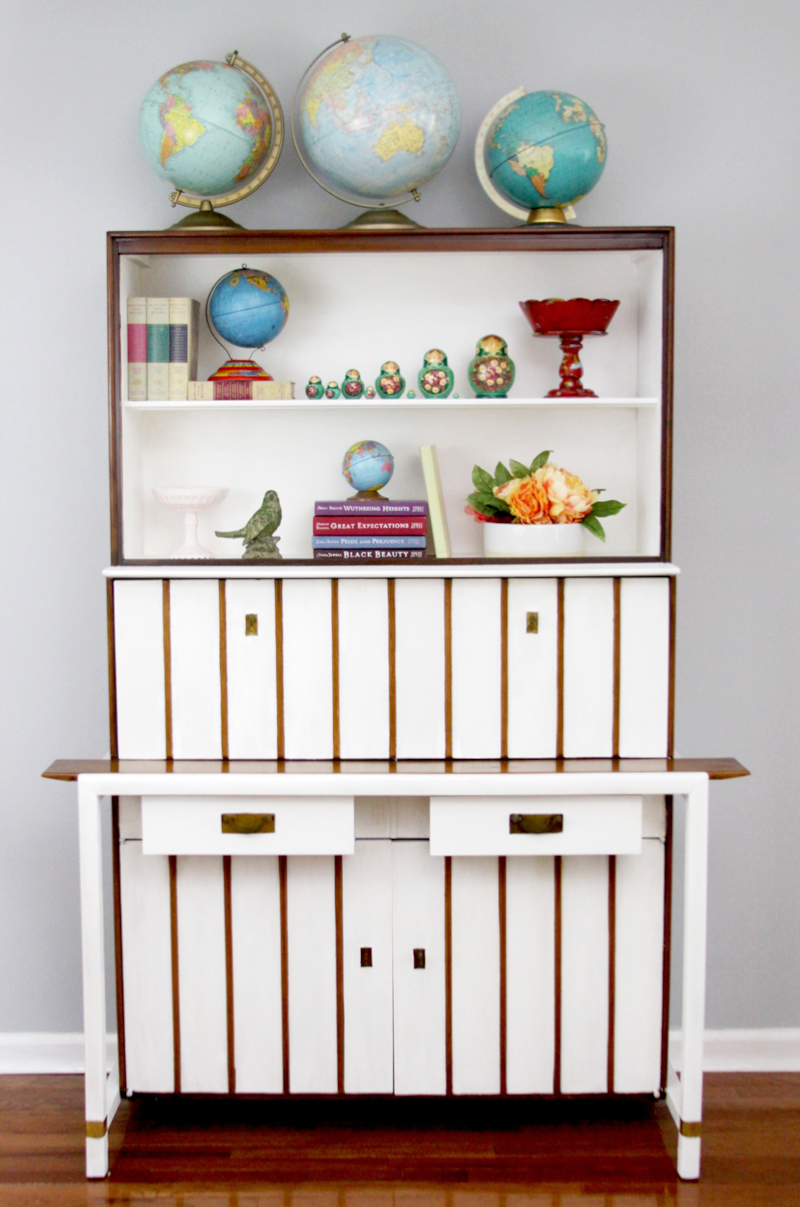
The before was kind of a scratched, chippy mess. It’s a little hard to see in the photos. I knew I wanted it to be two-tone, and I love how the white paint sets off the stain!
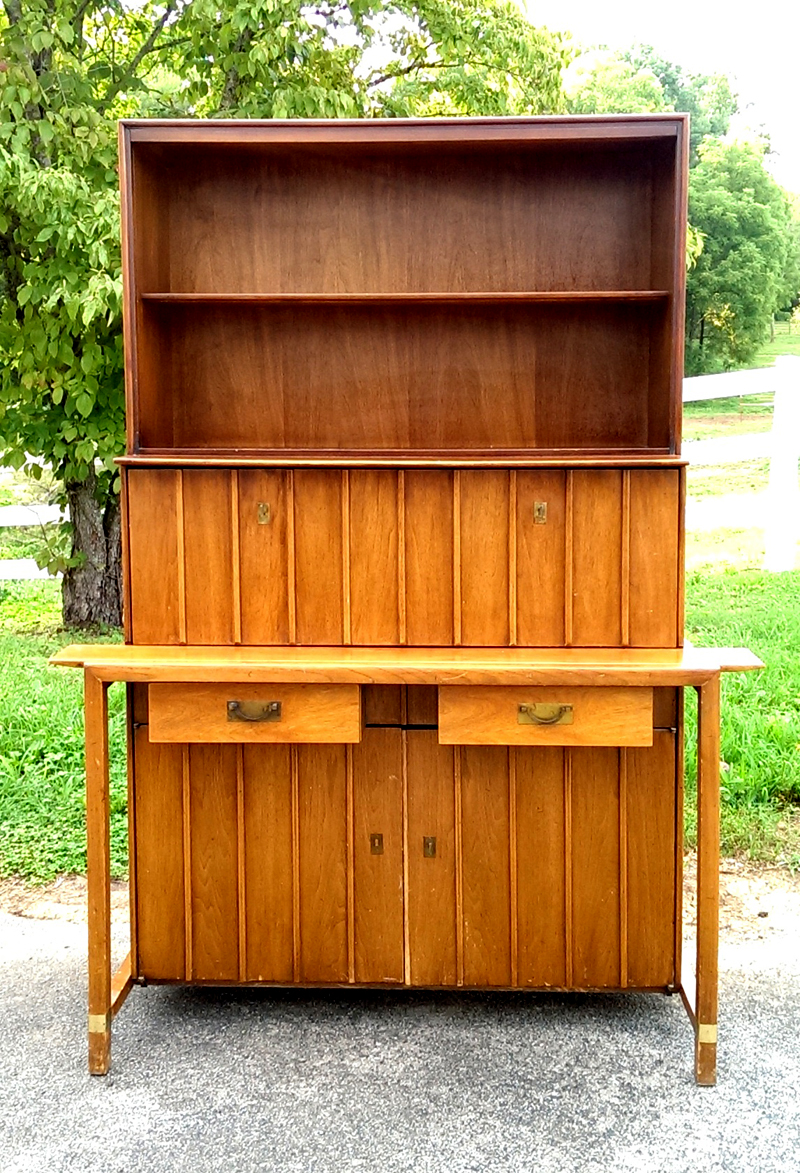
Repainting the Hutch
Once I came to my senses and decided to really finish the piece, I switched to a paint that I’ve come to know really well – and love. It’s the FolkArt Chalk finish paint and wax. I recovered all the sad painted areas and it worked perfectly! And it was actually much faster than I expected. Once I started repainting, it only took a few days to finish it!
For the wood portion, I used a minwax polyfinish in a cherry color and just applied that over the stain. It did a great job covering up all the scuff marks and dings!
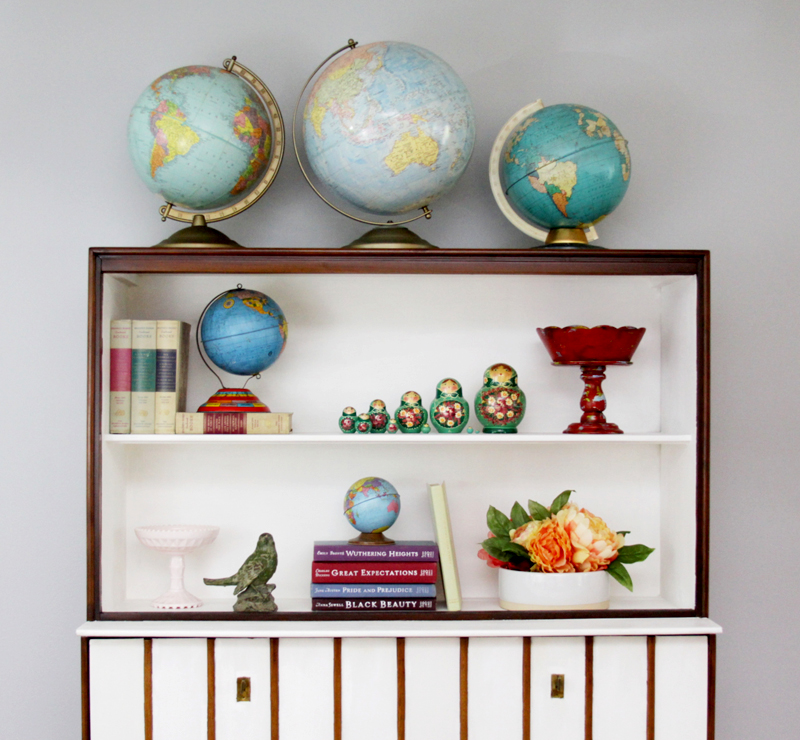
For the photos I set it up in the family room and staged it all cute, but it’s going in my sewing room and will be filled to the brim with yarn, jewelry supplies and paints! It holds soooo much. I adore it. I’ll have a photo of it soon for you in there – that room is verrrrry close to being finished! (hall-le-lu-ja)
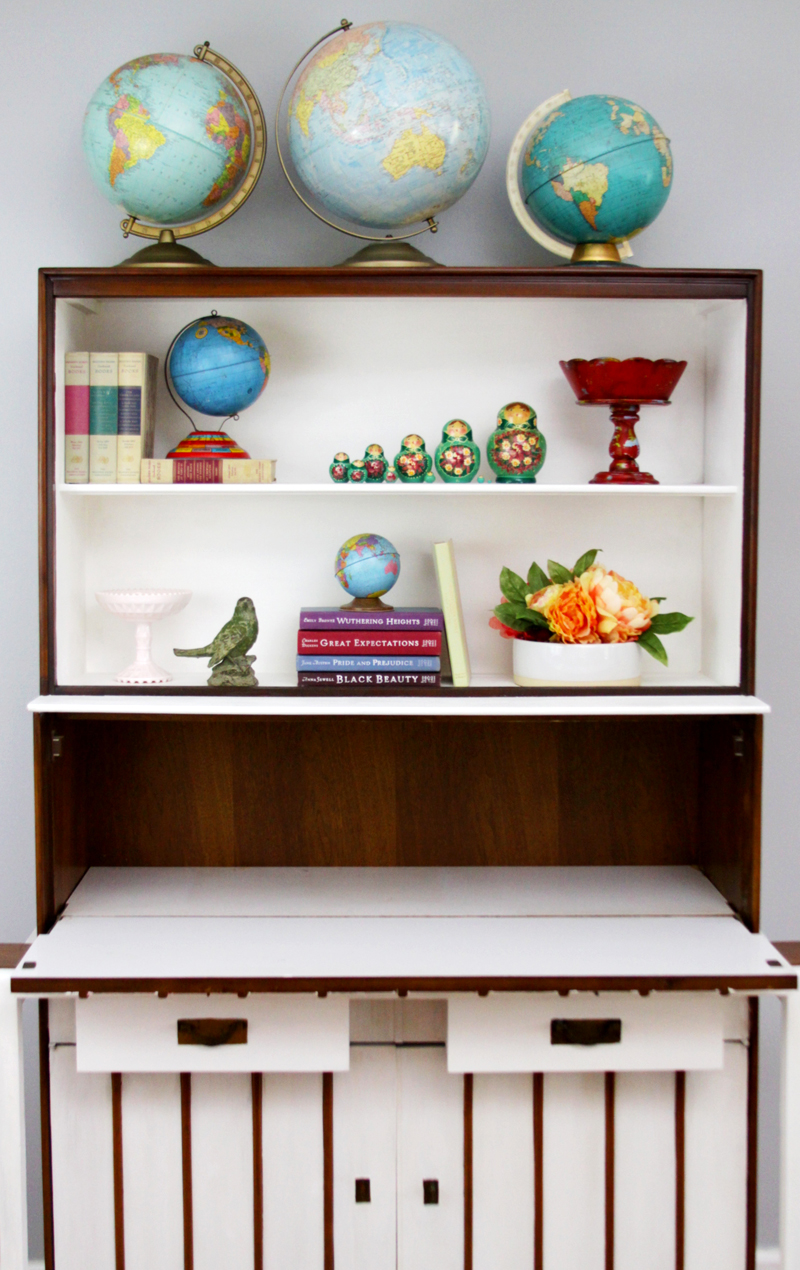

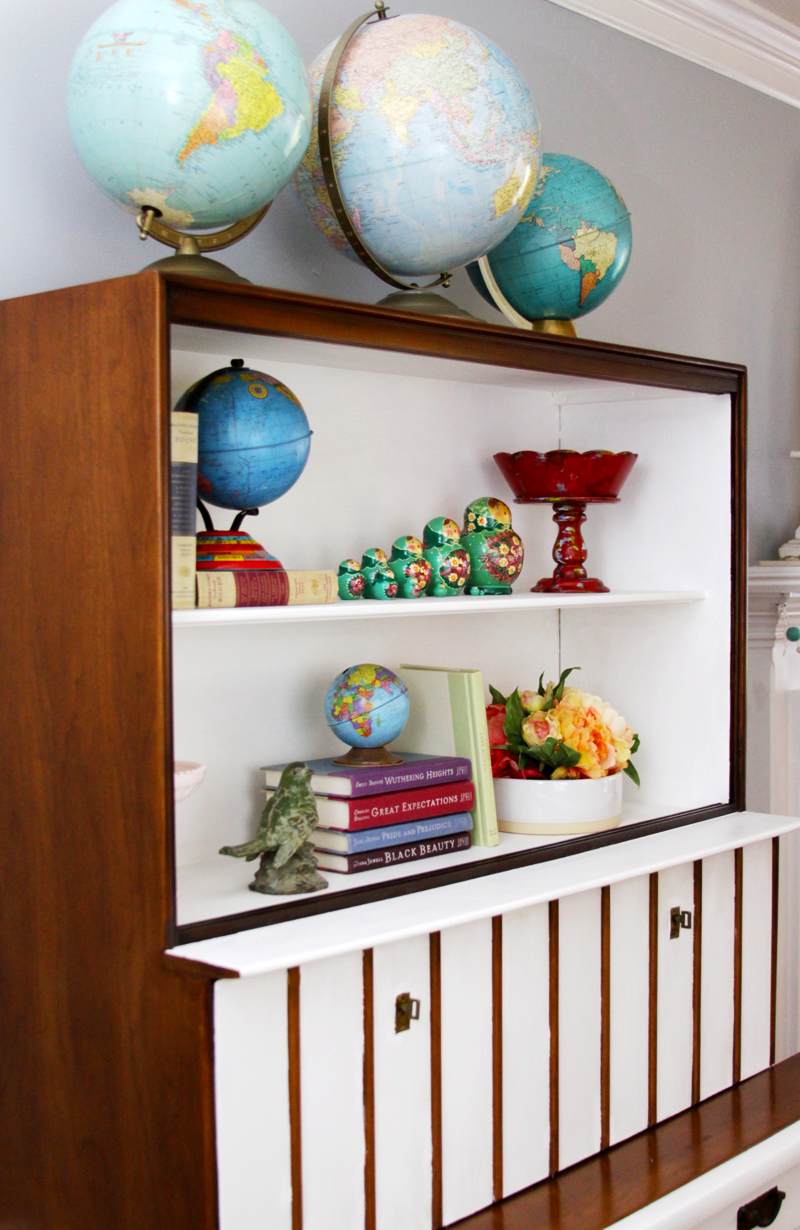
I love how the white chalky paint looks with the stained sides!
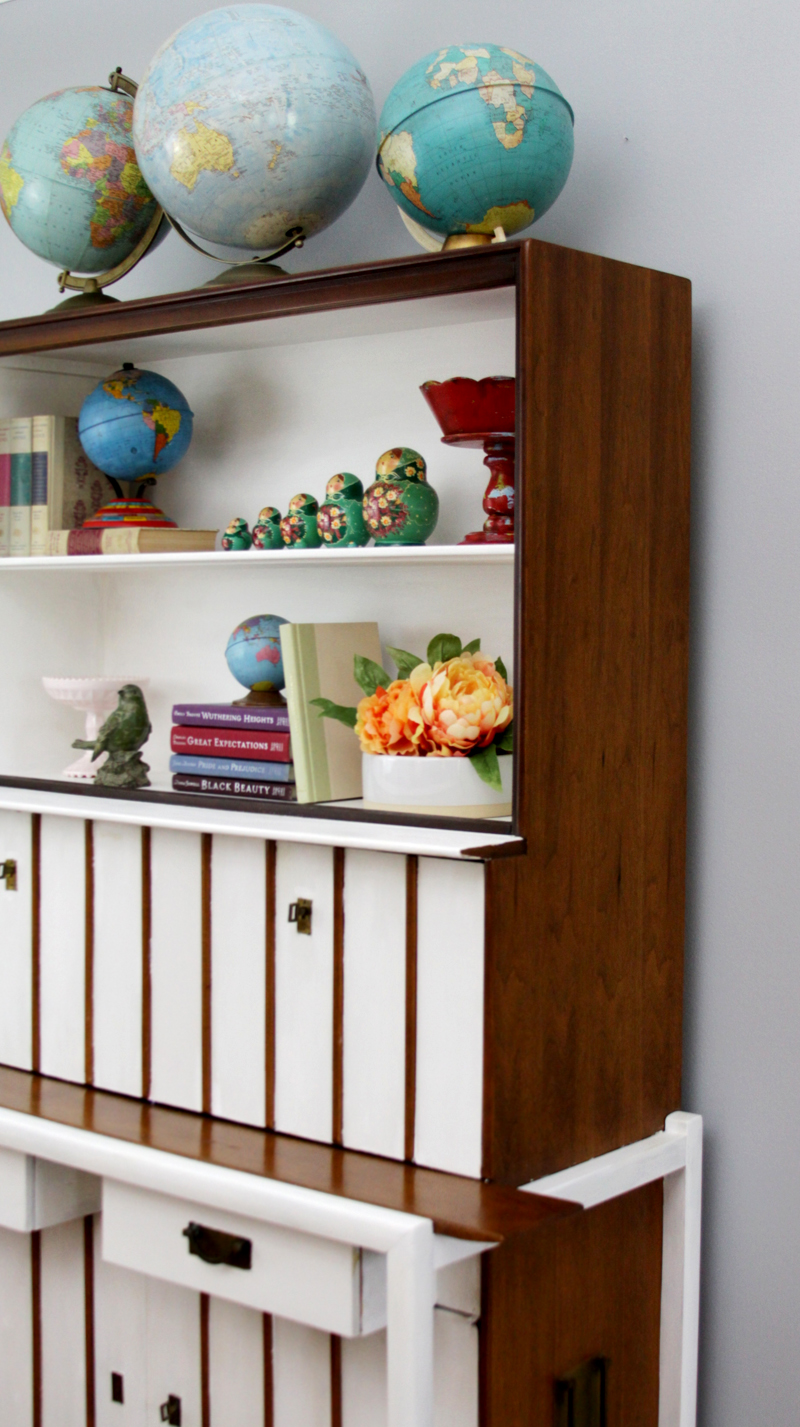
Ooh – I have to show you a closeup of my vintage matryoshka set. It’s a 10 piece set and the littlest doll is the tiniest thing I’ve seen – it’s so wee!! It rolls around on my fingertip. I am dying over the cuteness.

Despite the disaster it almost was, I’m so happy with the finished hutch. I need to maybe do a few more touch ups on the white sections – but that is a job that I could do for months I think, getting all those little stained separator pieces straight. For now, I’ll just fill it up with craft supplies and be very happy it’s all finished!!
I’d love to know if you’ve ever had a similar experience!
You may also want to try
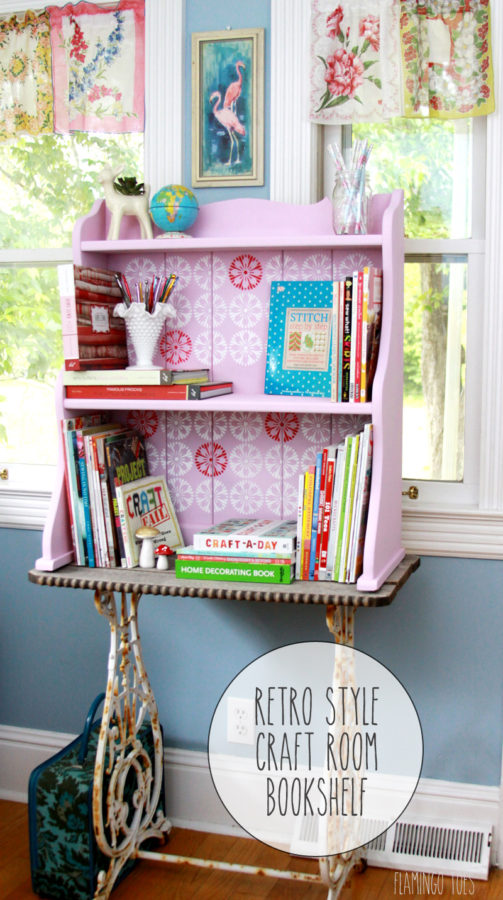
Retro Style Craft Room Bookshelf
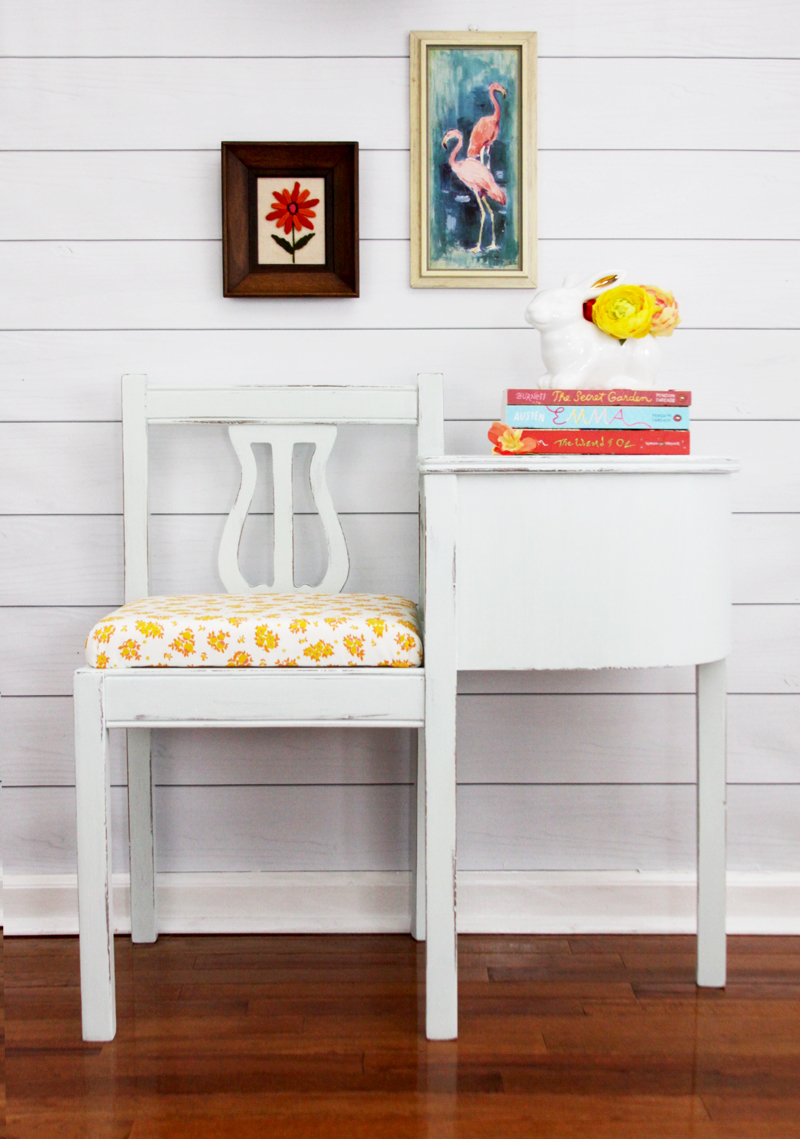
Milk Paint Gossip Bench Refinish


I love the finished product. I wouldn’t have thought of doing it that way, But it is a 100% improvement.
You did a great job on that piece!! I love it.
I am sure it took a lot of work, however the lines make me dizzy!
Wow, what a ton of work! Turned out lovely!
This looks great. Looks beautiful. Thanks for sharing with us at Family Joy Blog Link Up Party!
Love the new look. I have a lot of mid 20th century furniture and you have given me great ideal on how to update it. Thank you
You did a wonderful job with this. It looks great. I love the way you styled it as well. Pinning and Tweeting. Thanks for partying at Snickerdoodle Sunday.
Bev it is a amzing how some paint and elbow grease will change the look entirely to a beautiful piece of furniture!!
This was perfect for sharing on Friday Features this week!
Hope you have a wonderful “Safe” weekend!
This is so pretty! I love how your hutch turned out. Pinned & shared. Thanks for joining the #InspirationSpotlight party.
I’m usually pretty good at finding new ways to make items look great but I don’t think I would have even attempted this one! You’ve really got an eye and you’ve breathed new life into it!
Thanks for sharing with us at Throwback Thursday!!
Mollie