I just love quilted project bags – they are so perfect for keeping projects organized and taking them on the go! For a while now I’ve been wanting to create a bigger bag so today I’m sharing this free tutorial for a large Dresden project bag!
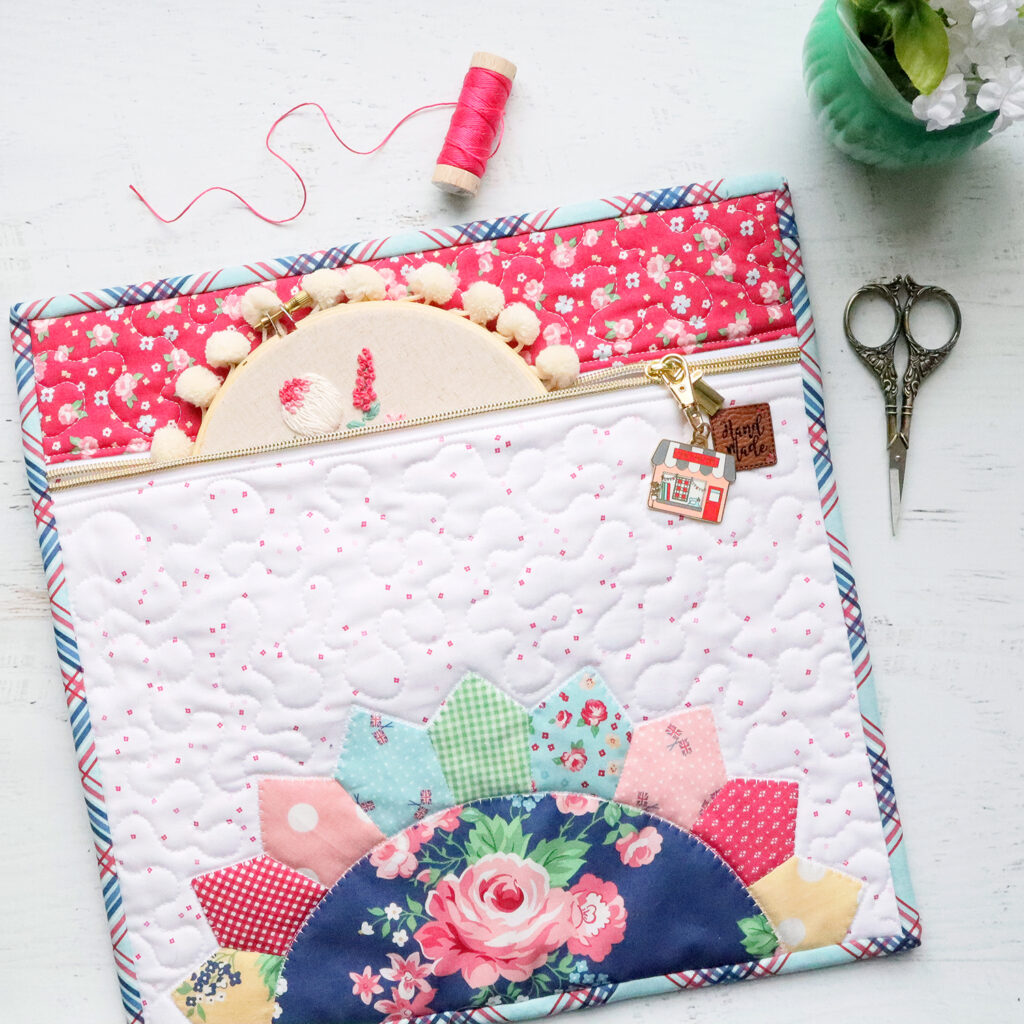
Embroidery is so fun to take on road trips or even just to sit on the sofa and stitch in the evenings, but sometimes I have a hard time keeping everything tidy. Project Bags are so perfect for keeping all my threads, along with my hoop and scissors together. I have made a few but I’ve run into larger embroidery projects that don’t fit in my bags. So it was clear – we’re gonna need a bigger bag. (please say that in your head just like Chief Brody from Jaws, k?) :D
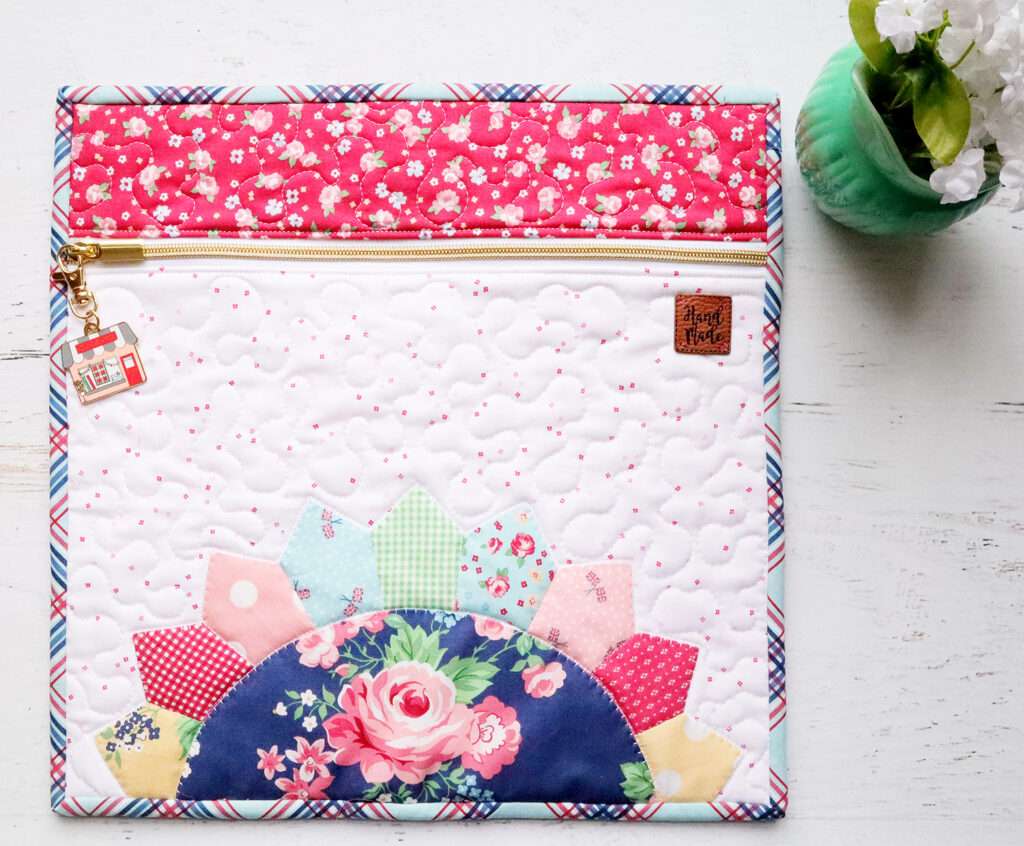
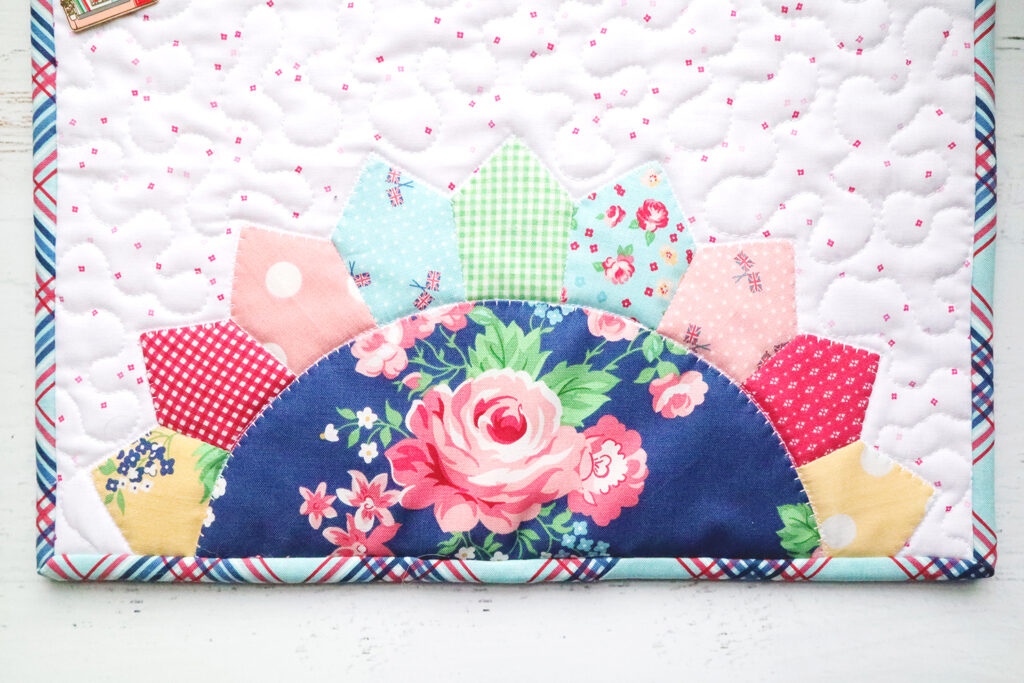
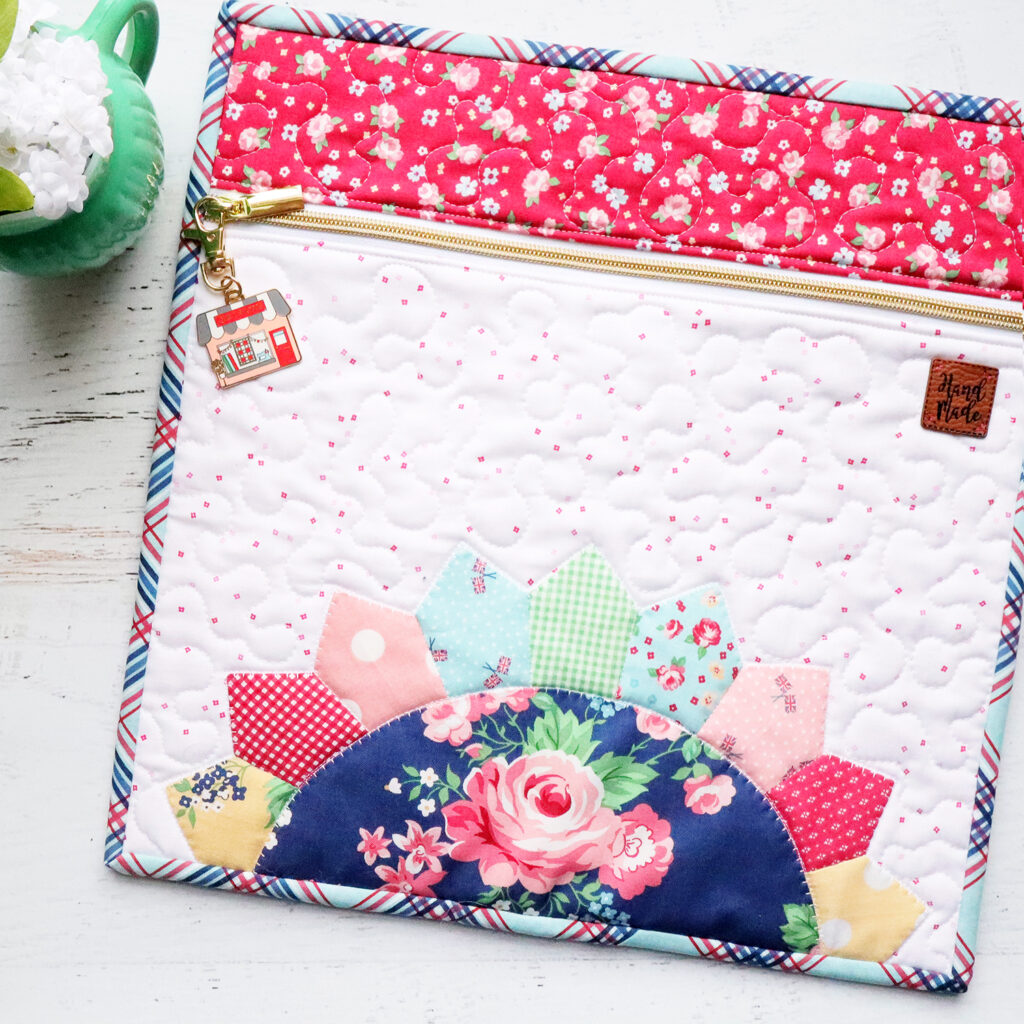
I’m pretty addicted to Dresdens on my bags! They are such a fun way to show off a fabric collection. Like this bag, made up in Notting Hill from Amy Smart! That big floral print is so perfect for a big showy Dresden center and looks so cute with the little supporting prints fanning out from it. These smaller Dresden projects are a great way to try out a Dresden if you’ve never made one before!
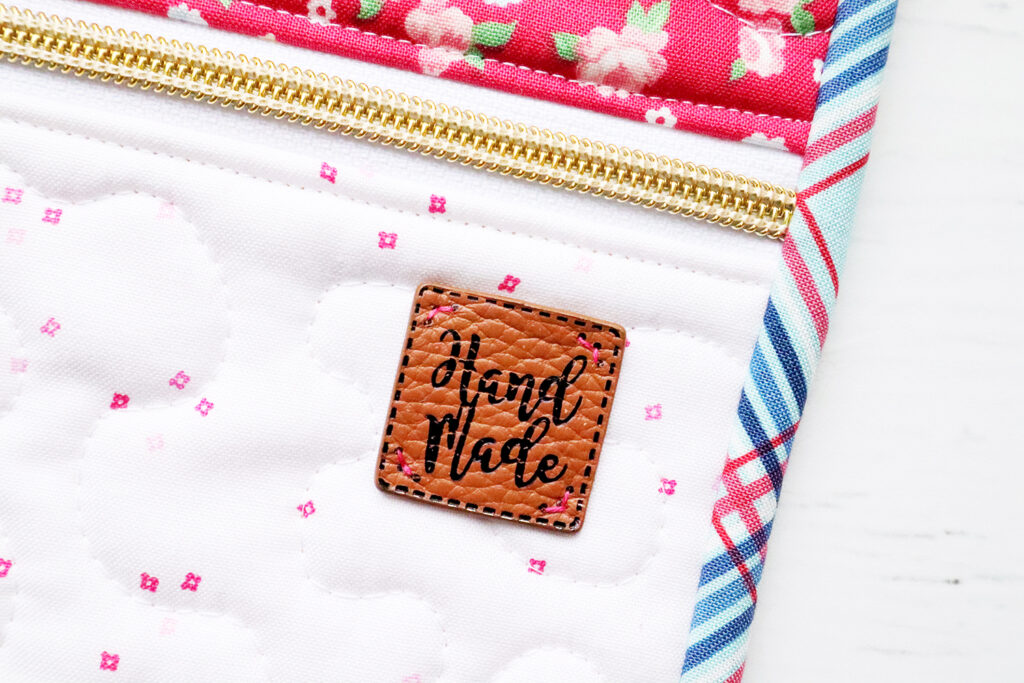
I also added a couple fun touches to the bag! I added one of my new leather Hand Made Labels on the right side, and I clipped one of my new Quilt Shop Enamel Charms to the zipper pull!
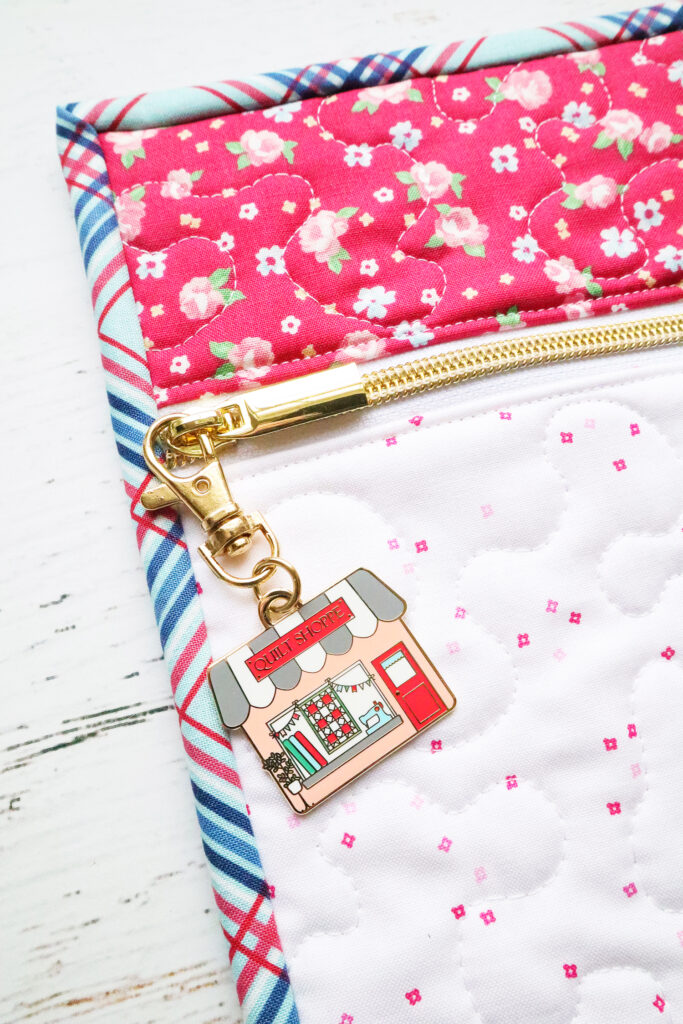
There are lots of project bag tutorials out there, this one is made pretty much the same way, but bigger! So this will be a quick and easy tutorial. :)
Large Dresden Project Bag
Materials:
- 10″ x 4″ piece of fabric for half circle of Dresden
- Small amounts of fabric (3″ x 5″ piece each) for each fan
- lower front fabric piece – 10 1/2″ x 13 1/2″ – I used Blossom in All the Pinks for mine so the Dresden would really pop
- upper front fabric piece – 3 1/2″ x 13 1/2″
- Back fabric – 3 pieces 4 1/2″ x 13 1/2″, or one piece 13 1/2″ x 13 1/2″
- batting – 1 piece 10 1/2″ x 13 1/2″, 1 piece 3 1/2″ x 13 1/2″, 1 piece 13 1/2″ x 13 1/2″
- Lining fabric – 1 piece 10 1/2″ x 13 1/2″, 1 piece 3 1/2″ x 13 1/2″, 1 piece 13 1/2″ x 13 1/2″
- 14″ of zipper tape (I use Sallie Tomato zipper tape – this is white with gold finish)
- 10″ x 4″ of interfacing or thin lining fabric
- 5″ x 42″ piece of fabric for binding
- Dresden Pattern
Large Dresden Project Bag Instructions:
- Place each fan piece right sides together, lining up the top edge. Sew a 1/4″ seam along top, straight edge.
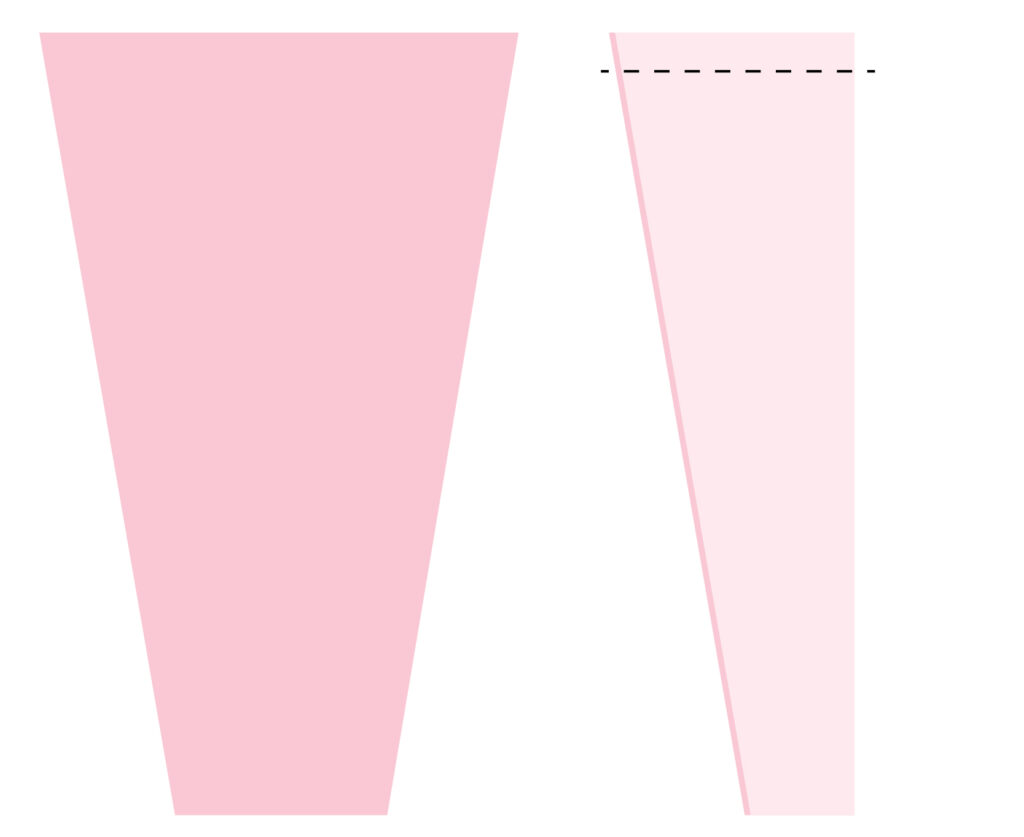
2. Open out fan piece to create a point, the seam you just sewed will be on the wrong side of the fabric. Use a point turner to get a nice sharp point. Press the fan so the seam is in the center of the fan.

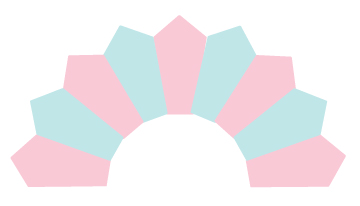
3. Sew the nine fan pieces together. Place the second fan on the first, right sides together, and sew a 1/4″ seam along the right side. Open out the fans and place the third fan on the second. Sew the right seams together. Continue until all 9 fans are sewn. Press seams open.
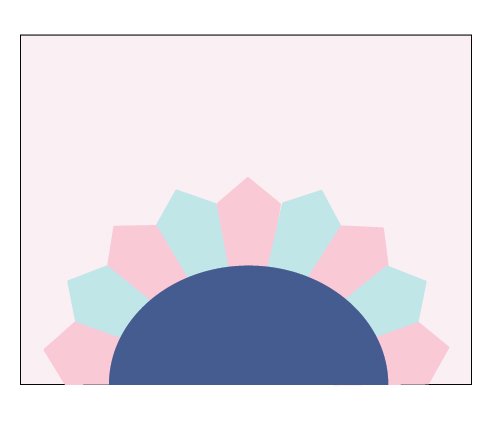
4. Cut out the center of the Dresden shape from the pattern and trace the shape onto the interfacing piece. Place the piece on top of the fabric piece you’re using for the half circle of the Dresden. You can move this around if you want to fussy cut the piece. Sew along the curved line, sewing the interfacing to the fabric. Trim the piece 1/8″ outside of the seam. Turn the piece right side out and press.

5. Place the fan section on the bottom section of the lower front piece, lining up the bottom edges of the fans with the bottom of the fabric. Place the half circle on top of this, lining up the straight side with the bottom edge. Sew around the Dresden with your favorite applique method. I used a small blanket stitch on my machine.
6. Place the 10 1/2″ x 13 1/2″ batting piece on the wrong side of the Dresden piece. Place the zipper tape right side down on the Dresden piece, lining the edge of the tape up with the top of the Dresden piece. Place the lining fabric right sides together with the Dresden piece. Line up the top edges. Sew the pieces together, 1/8″ above the zipper teeth.
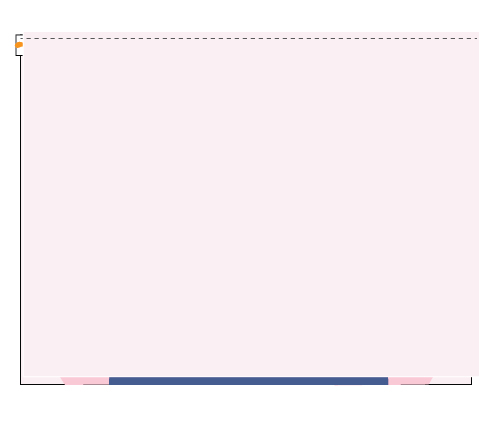
7. Fold the pieces open so the wrong sides of the Dresden piece and the lining are together, the zipper tape between the. The unsewn edge of the zipper tap should be at the top.
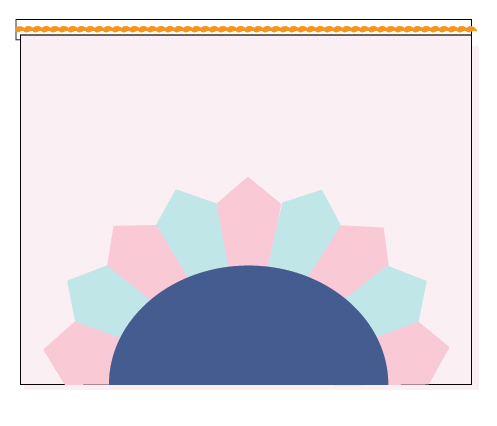
8. Repeat steps 6 and 7 with the upper front fabric piece, batting and lining, sewing these to the top section of the zipper tape.
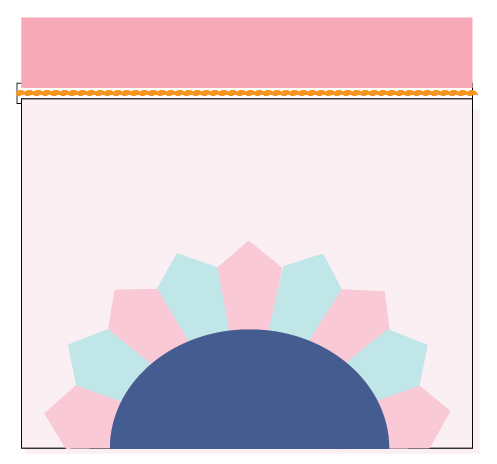
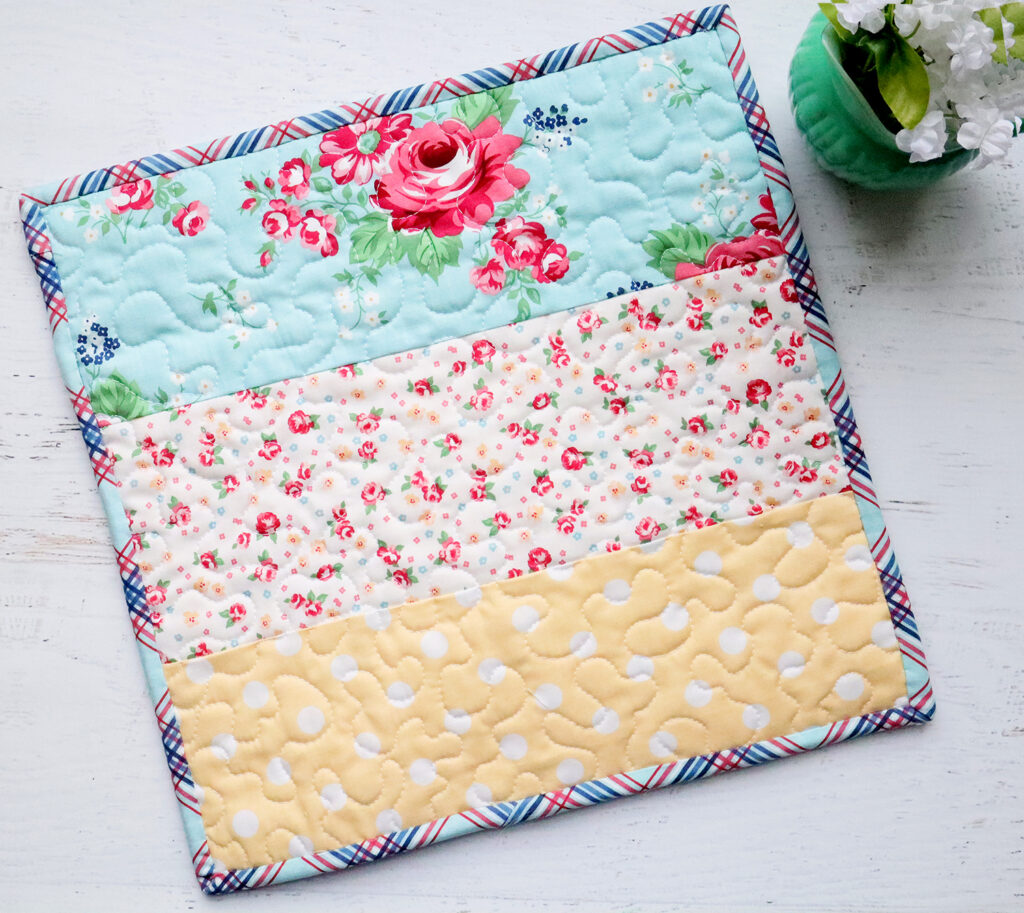
9. Sew together the back pieces, if you are piecing the back. Place the batting on the wrong side of the back, and the lining, wrong side to the batting. Quilt the pieces as desired. I used a free motion meandering stitch on all pieces.
10. If you are using continuous zipper tape, add the zipper pull to the tape and open up the zipper a little bit. If you are using a regular zipper, you can just open up the tape.
11. Place the front and back, with the lining right sides together, and trim the pieces so they are the same size. (If you need to trim the front piece, trim off the top, not the Dresden.)
12. Cut your binding into 2 strips, 2 1/2″ x 42″. Sew your binding on the bag, just as you would a quilt. Make sure that you are sewing through the front and back of the bag pieces.
Your Large Dresden Project Bag is all finished! You can now add any cute details you want – like a charm or Hand Made label! You can find both those in my shop!
I’d love to see your version if you make one up! You can tag me on Instagram or Facebook (@flamingotoes), or you can share photos in my Facebook Group!


This bag is so cool! I love your
little label and charm too.
The bag is very cheery!
Thanks for the idea to use a
partial Dresden. :)
This is adorable! I just got my order of Notting Hill fat quarters yesterday, so I know what I’ll be doing today! Thanks so much for the tutorial.
Love this cheerful as well as beautiful bag. Thank you for sharing.
So cute! Thanks so much for a fantastic tutorial! I have saved this. I love those labels and the charm, too!
This is so cute Bev! You make the best things!
This is a beautiful bag. I make and use project bags for my embroidery and English Paper Piecing. I love yours.
Love it. Is there a link to print or download the pattern to print