
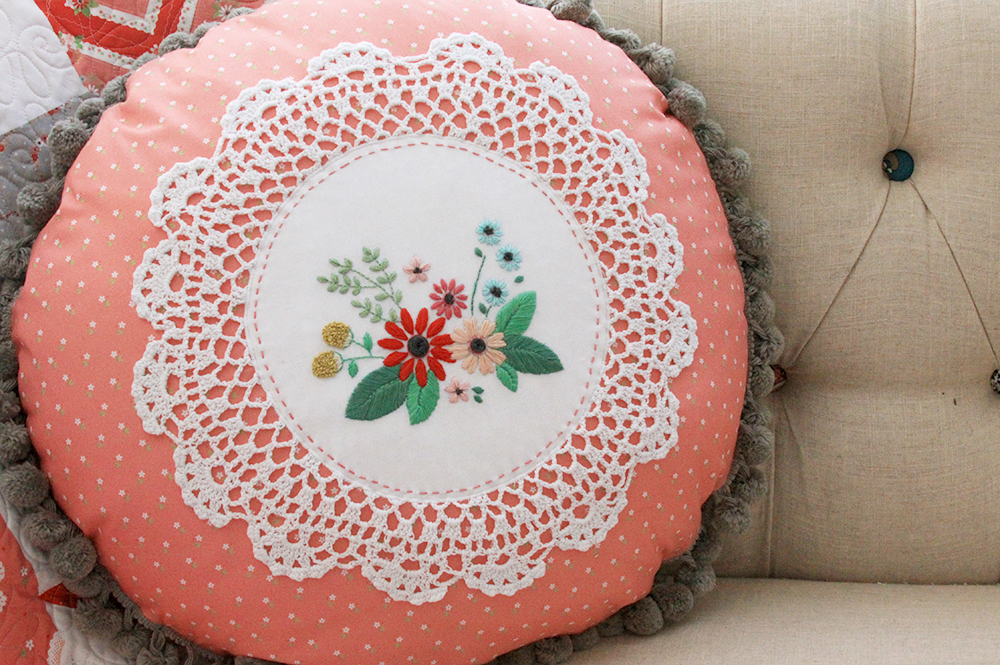
If you’ve visited before, you have probably come across my thoughts on how much I love all things vintage! I especially love giving new life to vintage pieces – like the doily in this Floral Vintage Embroidered Doily Pillow! It was torn and stained in the center but you’d never know because it’s all hidden under this sweet embroidery!
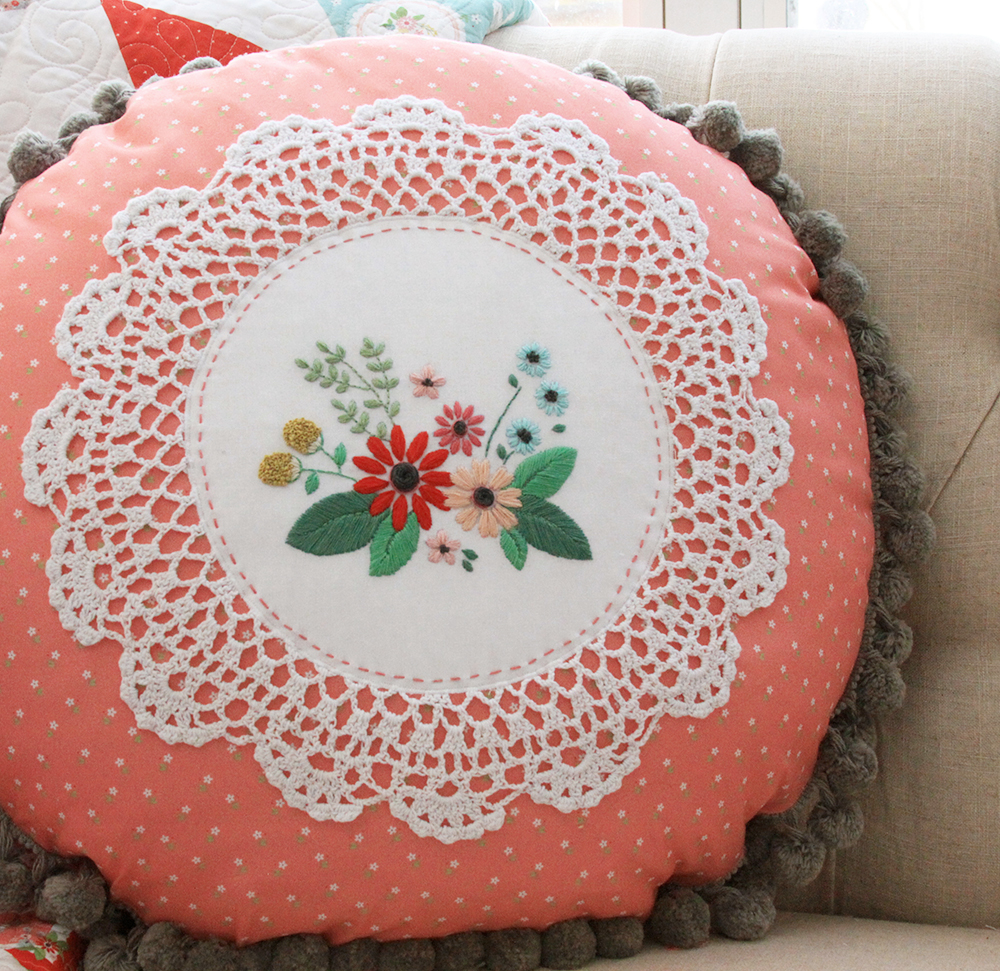
I designed this to go with my Vintage Keepsakes fabric collection – it matches perfectly one of the floral bouquets on the main doily print! But it’s a fun design that would go great with any fabric on the pillow – and you could change up your colors to match the fabric you use.
This pattern is really flexible too! The pillow is 21″ but the design is in an 8″ circle. So you could make your pillow smaller if you don’t want a large round pillow – or you could create an embroidery hoop with the design too!
Floral Vintage Embroidered Doily Pillow
Materials: (contains affiliate links)
- 1 yard Vintage Keepsakes Daisy Pink
- 2 yards home decor pom pom trim
- 10″ white fabric (for embroidery background)
- 8″ embroidery hoop
- 8″ x 8″ piece HeatnBond fusible fleece
- Doily – I used one about 13″ in diameter – these aren’t the same as mine but they look really close!
- 22″ pillow form
- Embroidery Floss – 3 shades of green (moss, medium green, dark green), red, light pink, dark pink, peach, aqua, mustard yellow, white and dark gray
- Aurifil 50wt thread for piecing
- Embroidered Flowers Pattern
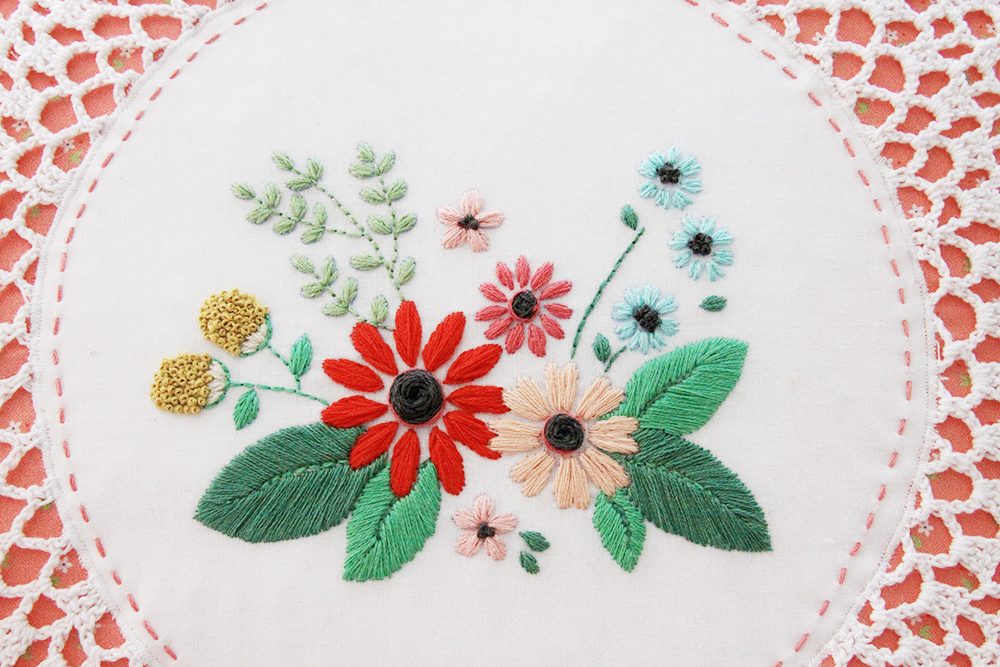
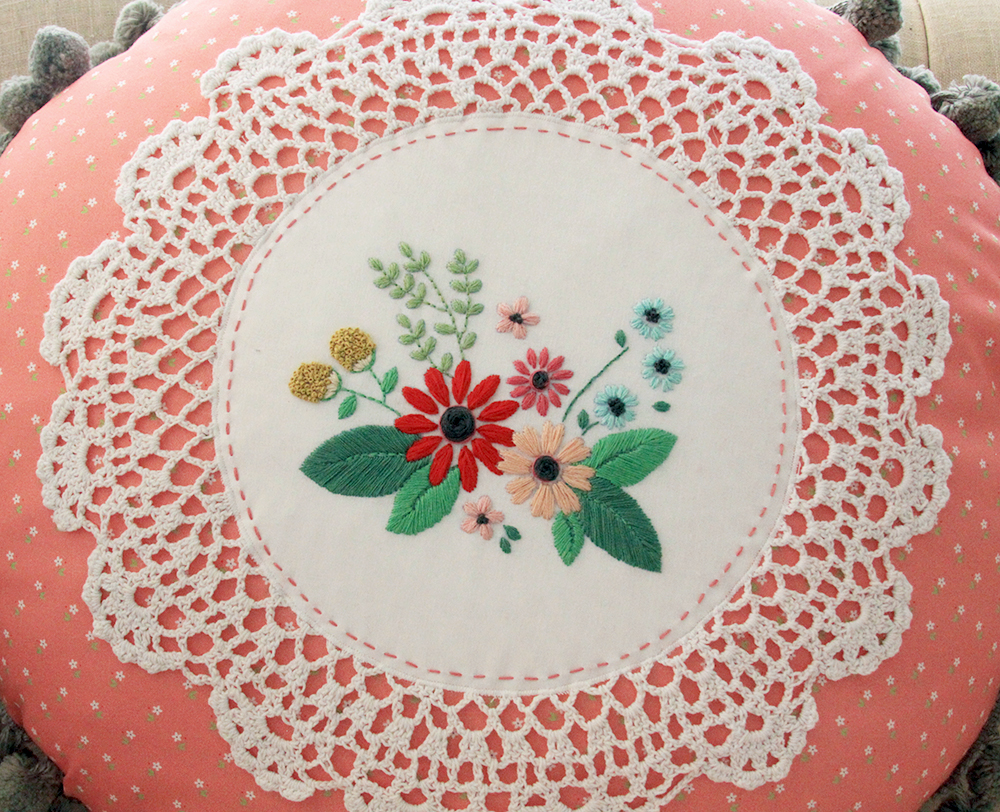
Begin by tracing the floral pattern onto your background fabric. Stitch the design with the following stitches:
- Flower petals, base of mustard flowers, and leaves – satin stitch
- Stems – back stitch
- Center of large daisies – wagon wheel roses in dark grey, then outlined in pink
- Centers of aqua flowers, small pink daisies, and mustard yellow flowers – French Knots
Once your stitching is finished, remove the design from the hoop and carefully press. It will help to place the design face down on a towel or wool mat so the stitches aren’t flattened. Carefully cut around the design in an 8″ circle.
Iron the fusible fleece to the wrong side of the background fabric.
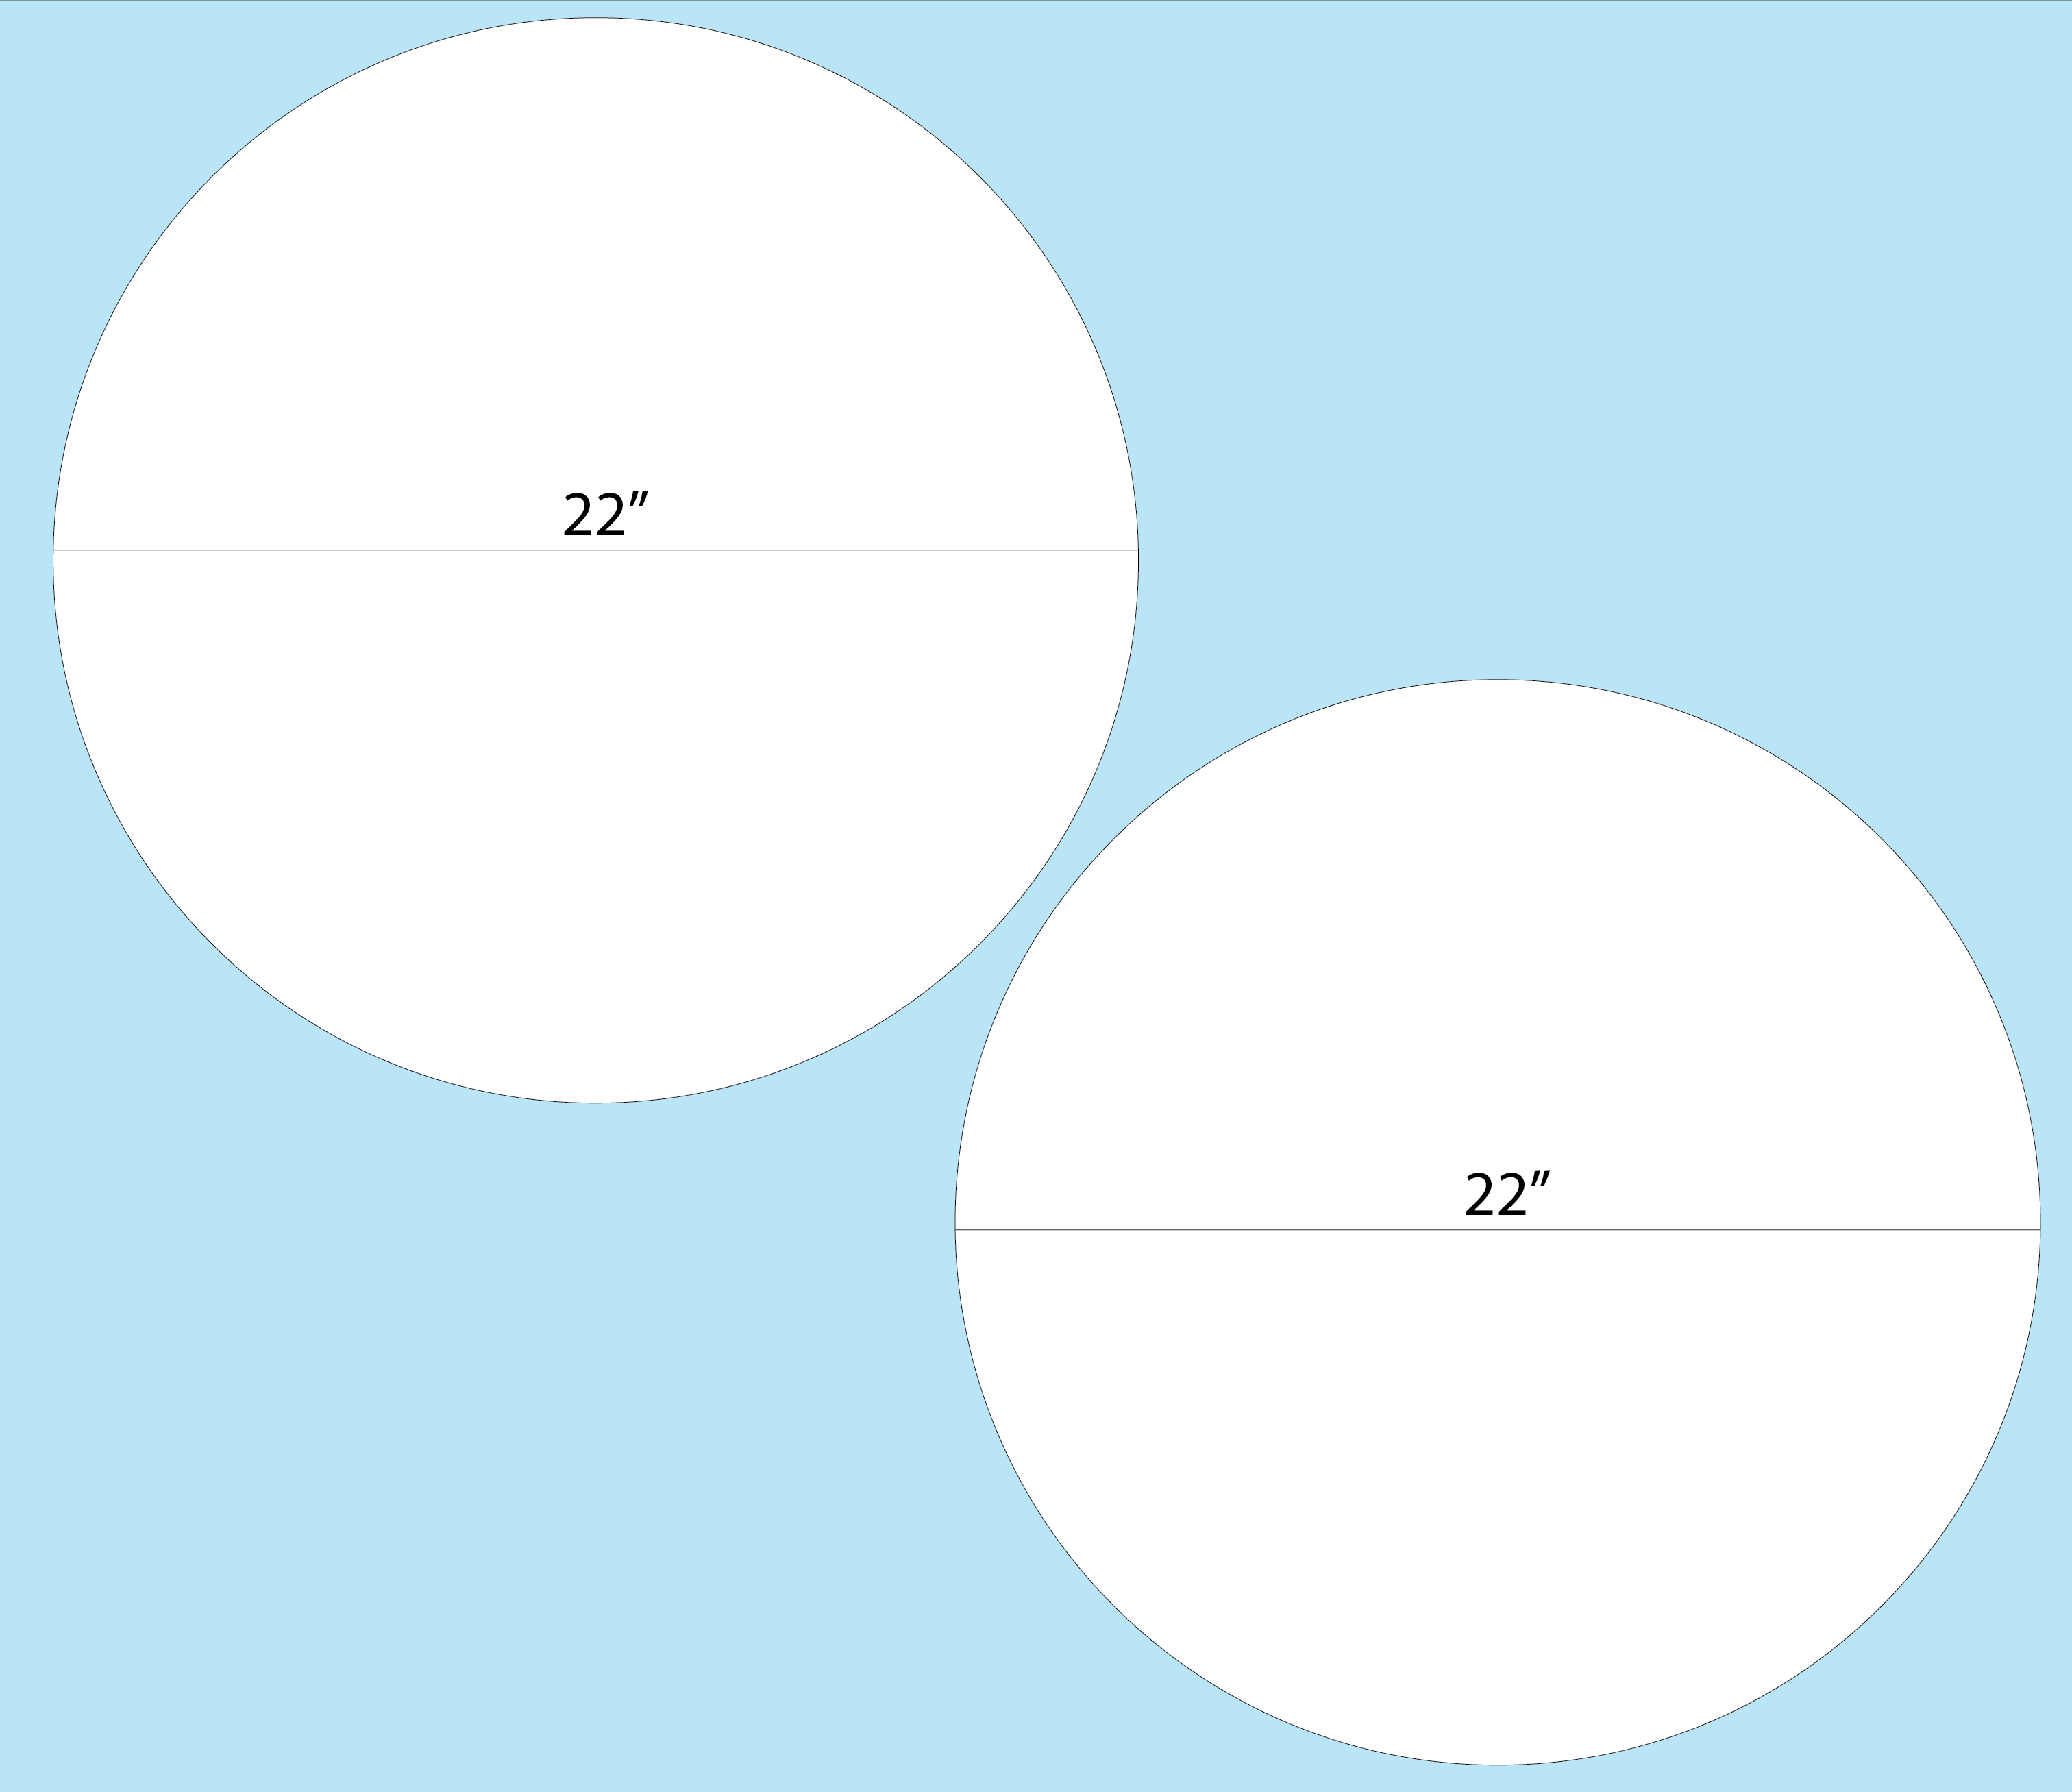
Cut out two circles from your fabric 22″ in diameter. You’ll need to place them diagonally for them to fit on one yard.
On one of the 22″ circles, center the doily. Stitch down along the edge – either by hand or with a machine. You can also use a strong fabric glue if you’d like. Center the embroidery design on the doily and pin carefully to the pillow front. Zigzag around the white background fabric, sewing the fabric to the pillow front. Measure about 1/4″ inside the stitching and embroider a running stitch around the circle.
Sew the pom pom trim around the outside edge of the pillow top, with the balls of the fringe pointing in towards the center. Place the pillow back on the pillow top, right sides together. Sew around the pillow, 1/2″ from the outer edge. Leave an opening of about 12″ for turning. Trim the seam allowance, turn right side out and press. Place the pillow form inside, then hand sew the opening closed.
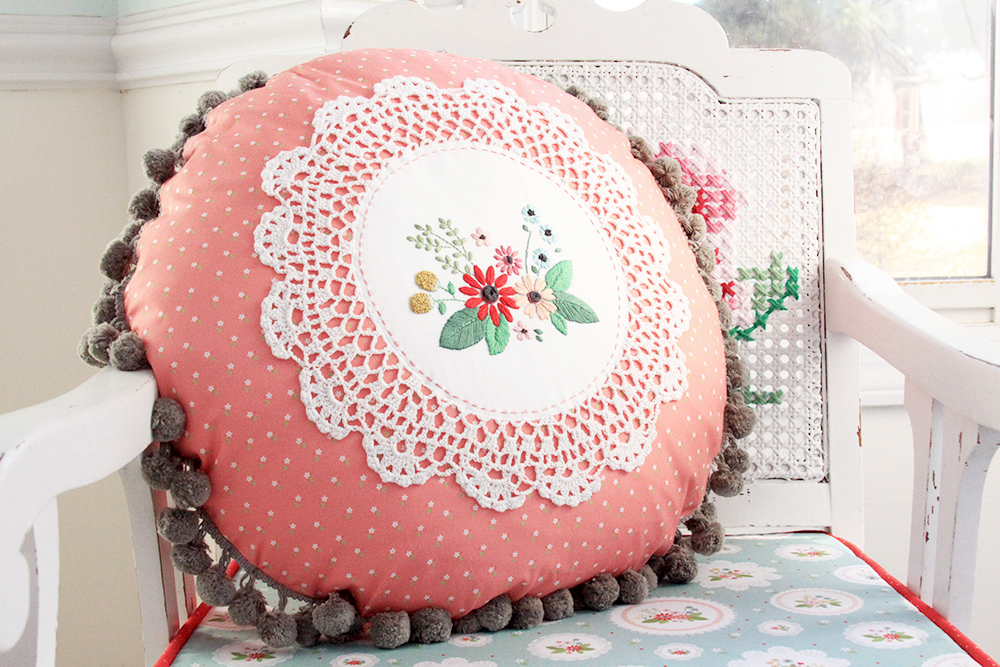
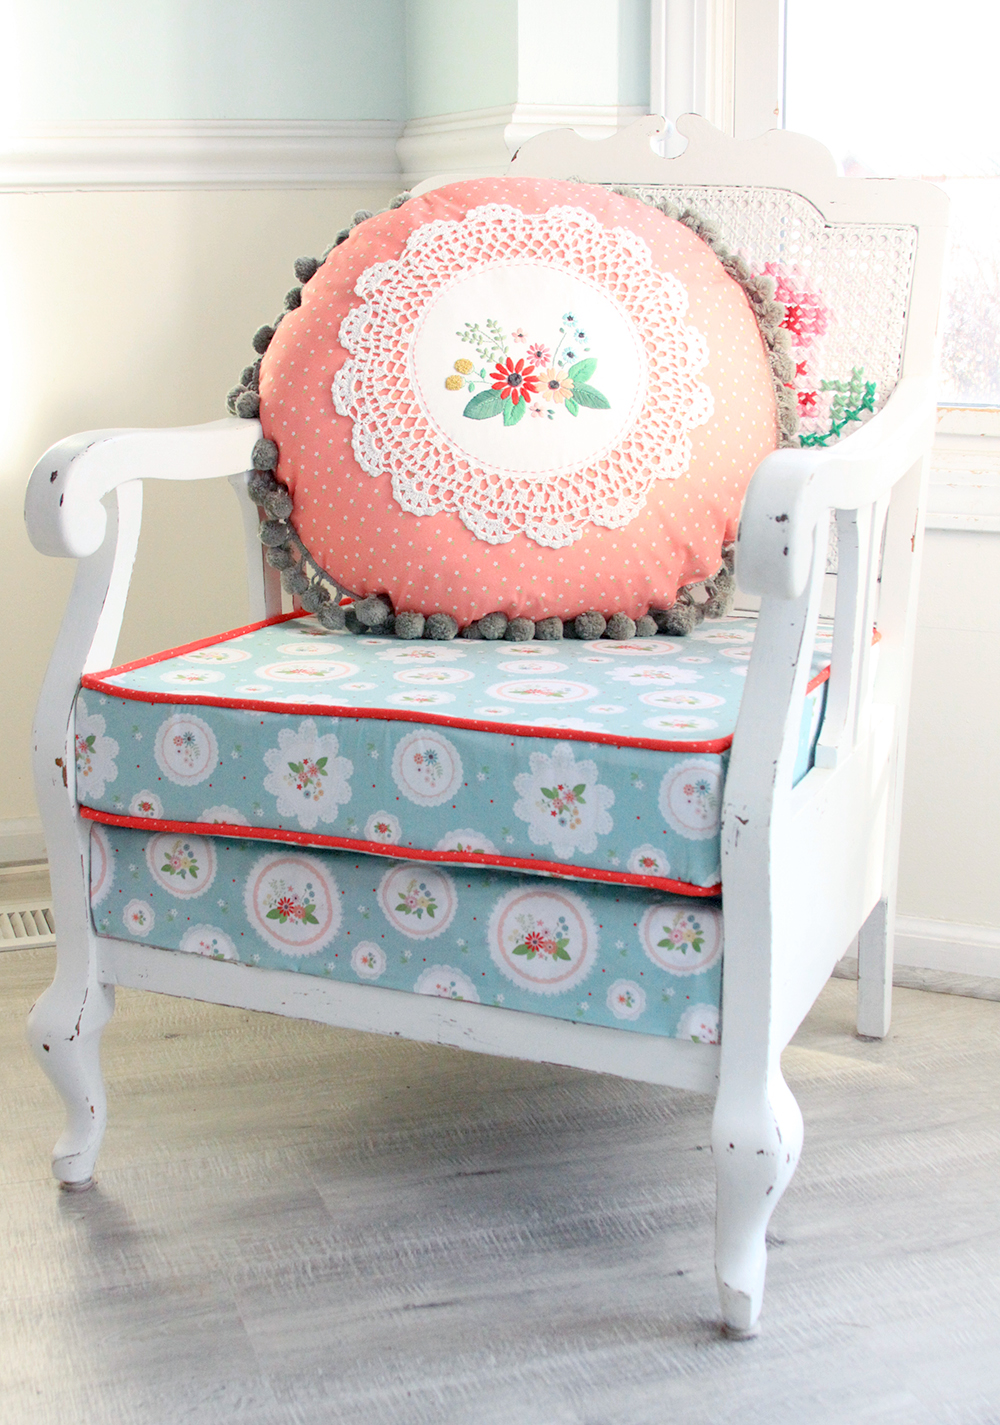
I just love the texture on the embroidery, don’t you? You can find the chair tutorial here if you want to check that out!
I’d love to hear what you think! Do you like repurposing or using doilies in your projects?


I absolutely love this! I do hand embroidery, but this type of design never came across my mind:)
Thank you for sharing!
Lili
I really love this! Such a cute idea! I have a few extra doilies in my craft room I’ve been wanting to use in something soon so I think I will try something like this! Thank you for the inspiration!
So sweet!
I love the pillow and THAT CHAIR!!!
This pillow is beautiful! I wouldn’t let anyone touch it. That vintage daisy print is so pretty and the doilie is perfect on it with the flowers. Thanks for sharing this amazing project at Merry Monday!
I’ve never tried the wagon wheel stitch, i’ll have to look that up. Also, did you hand or machine sew the pom pom edging? Does it go between the layers, or did you sew it on the outside? I use iron on adhesive a lot. i didn’t know they sold fleece. I was featured next to you on OMHGWW. Have agreat week!
I love the chair and pillow! So pretty!
It is absolutely divine! I love it!
I adore this vintage doily project Bev… so perfect!
Thank you for sharing it at Create, Bake, Grow & Gather this week. I’m delighted to be featuring your embroidered doily pillow project at tonight’t party and pinning too.
Hugs,
Kerryanne
Bev it is absolutely gorgeous and I love the whole chair too! I was happy to feature you at TFT this week!
https://followtheyellowbrickhome.com/enjoying-the-colors-of-spring-at-thursday-favorite-things/
Happy Easter!
How do you trace the embroidery pattern onto the fabric?
Hi Lisa! You can find instructions on transferring patterns here: https://flamingotoes.com/how-to-transfer-embroidery-designs/ :)