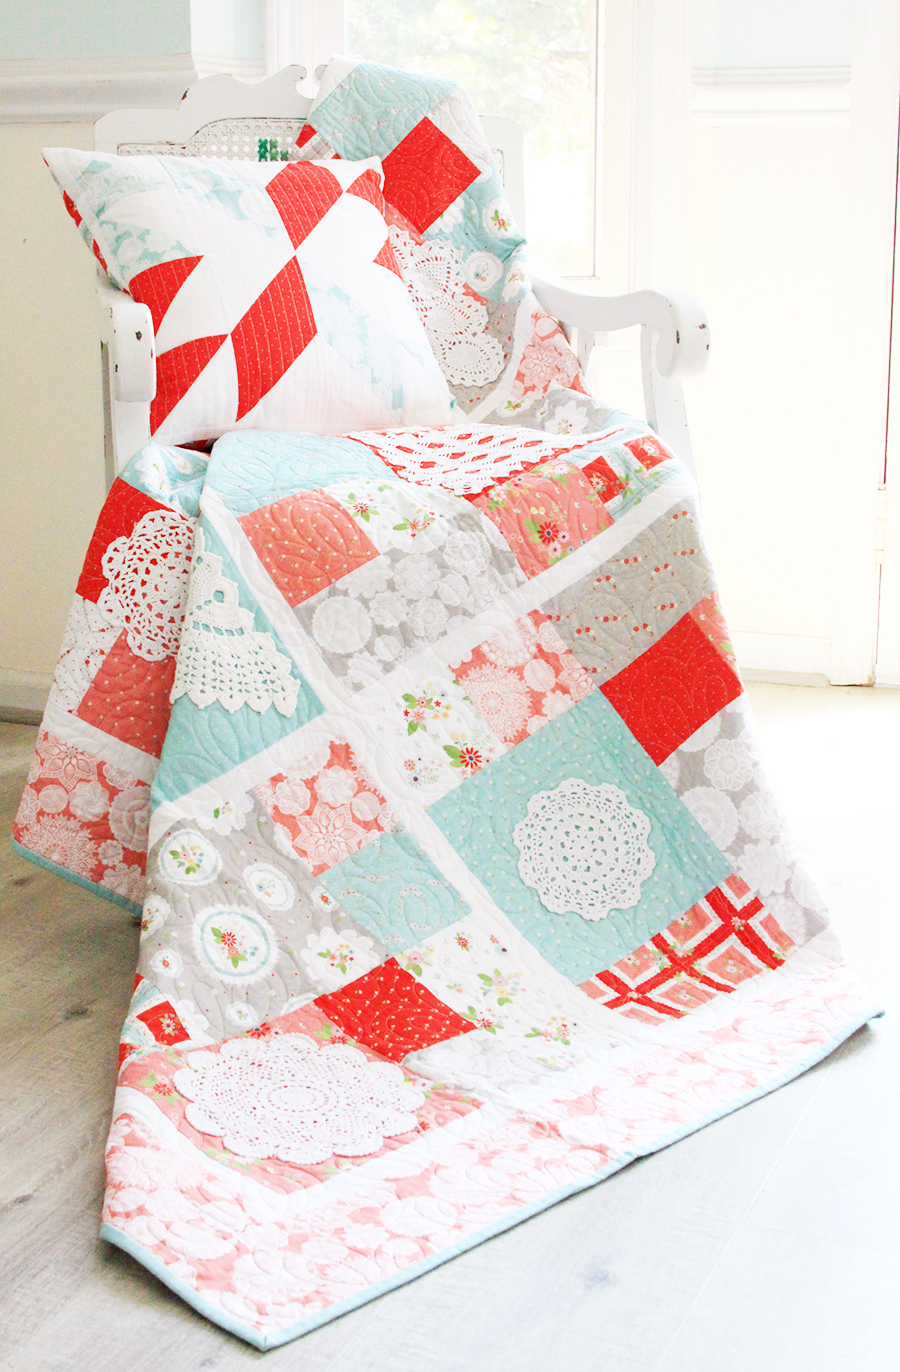
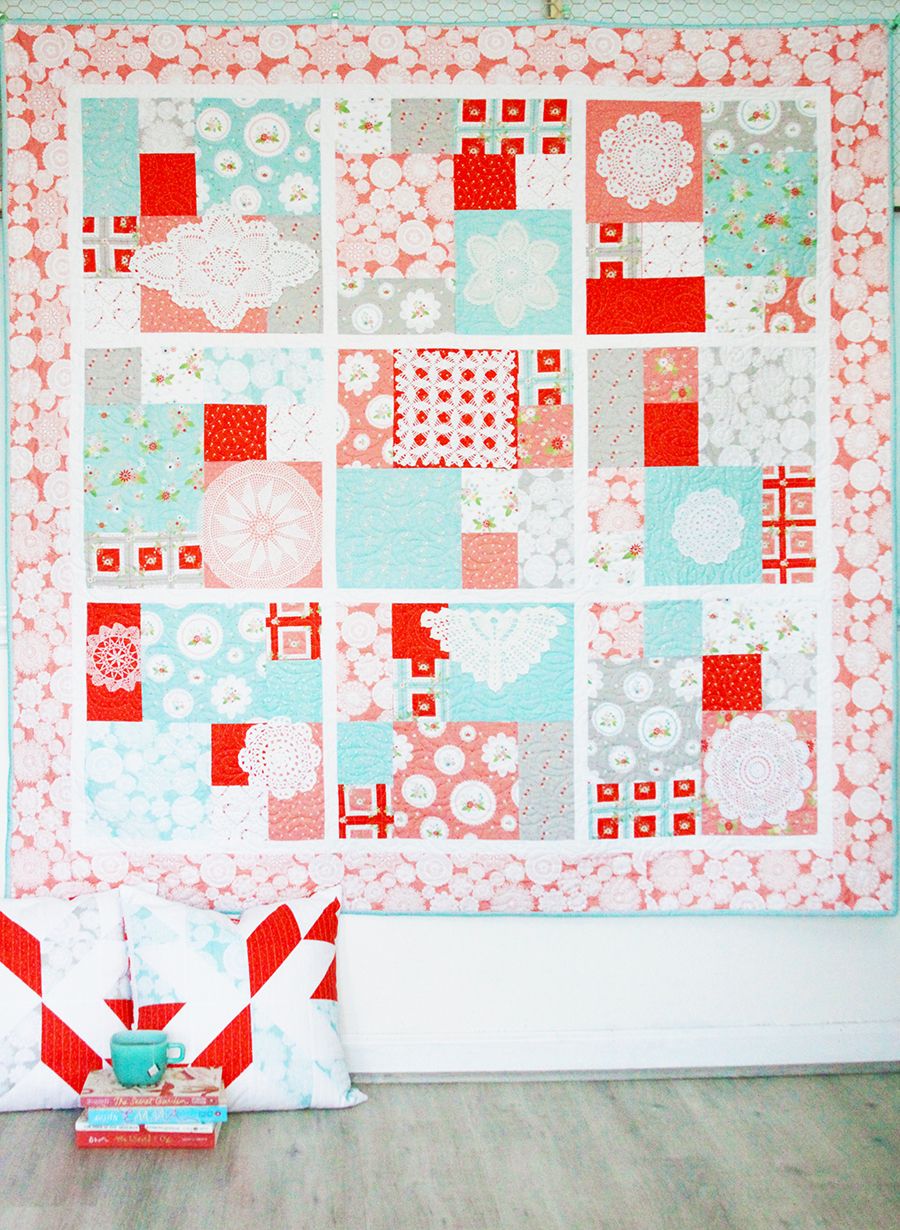
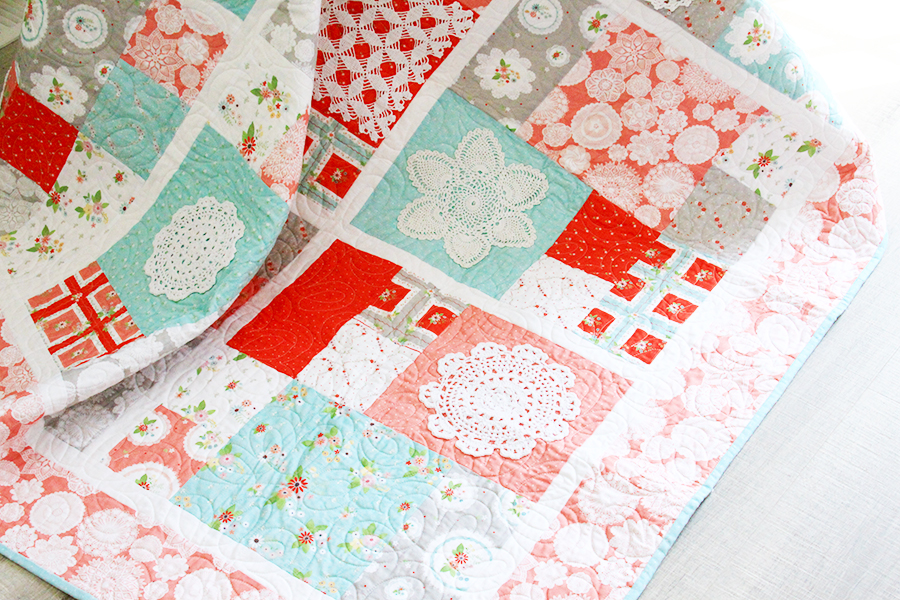
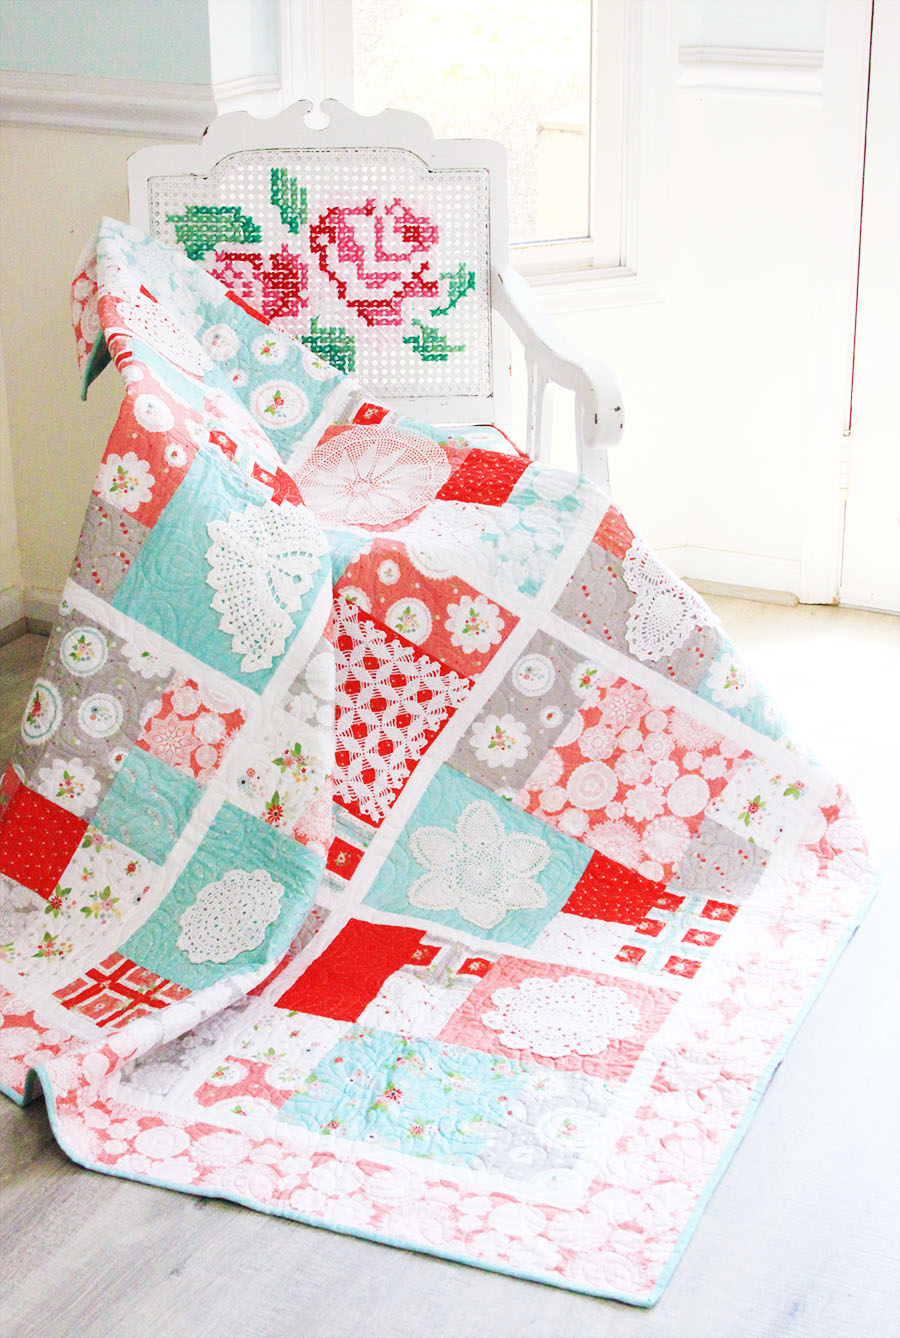
I’m so excited to share this quilt pattern with you! When I designed Vintage Keepsakes, I knew right away I wanted to develop a quilt pattern that would be perfect for showing off vintage doilies. I have such a collection of these and I love that this Vintage Doily Keepsakes quilt highlights some of them!
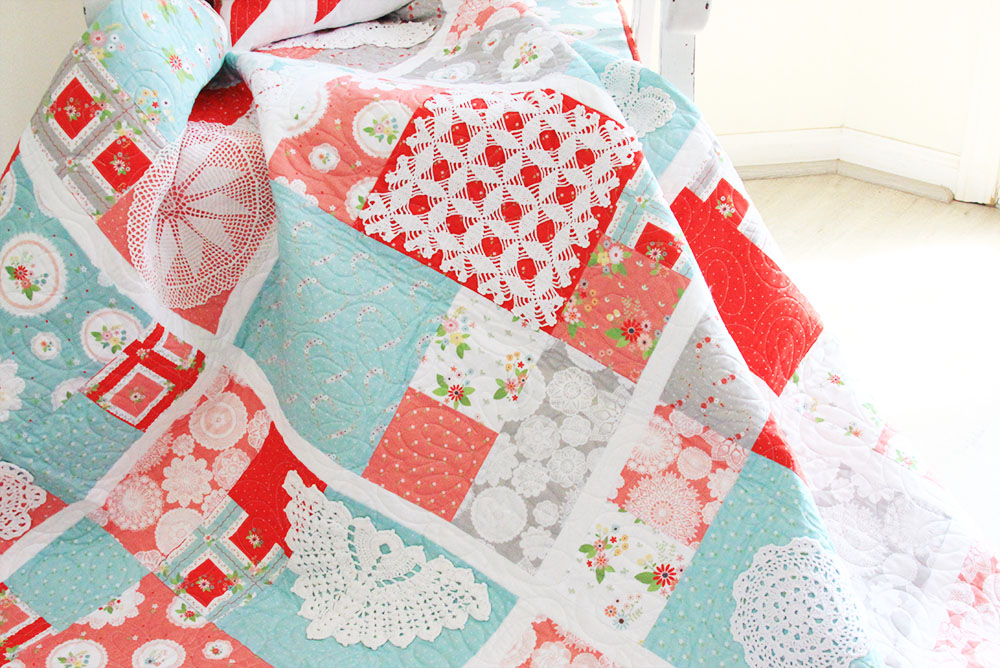
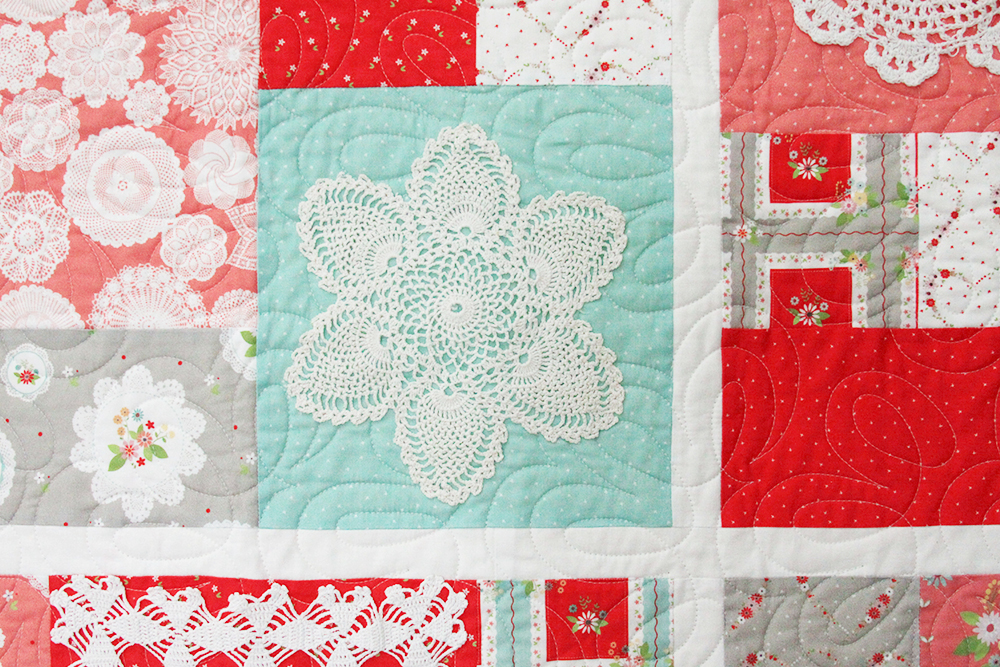
The quilt uses a 10″ stacker (or layer cake) of Vintage Keepsakes and a little fabric for background sashing and a border. It’s so fast to sew together too! It’s a great beginner quilt as well. I think it would be so pretty even without the doilies too.
So let’s get started!
Vintage Doily Keepsakes Quilt – Free Pattern
Finished Quilt Size – 63″ x 63″
Materials:
- Assorted sizes of doilies. I used 10 but you can cover as many squares as you’d like.
- 1 10″ stacker (layer cake) of Vintage Keepsakes
- Background Sashing – 1/2 yard – I used Riley Blake White
- Border – 1 yard
- Binding – 3/4 yard
- Backing – 4 yards
- Batting – 70″ x 70″
If you’d like to purchase an ad-free printable version of this pattern for a low cost – click here!
Cutting:
Before cutting, take note if your fabrics are directional. If they are, you’ll want to decide if you want to cut everything out so the all the directional fabrics are the same. Refer to the Layout if you’d like to do this.
From your 10″ stacker, cut the following:
Trim 16 – 10″ stacker pieces to 10″ x 8 3/4″. Vary the fabrics so you’ll have different fabrics as your large pieces. I used these mostly for the doily background squares so I chose fabrics with smaller, more subtle prints.
Cut 18 – 5″ x 10″ pieces and 34 – 5″ x 5″ pieces. You can cut 9 pieces in half and 9 pieces into fourths, or you can mix and match. Cut some pieces in half, then cut half into half again. It’s up to you!
Cut background fabrics into 1 1/2″ strips.
Cut border into 5″ strips.
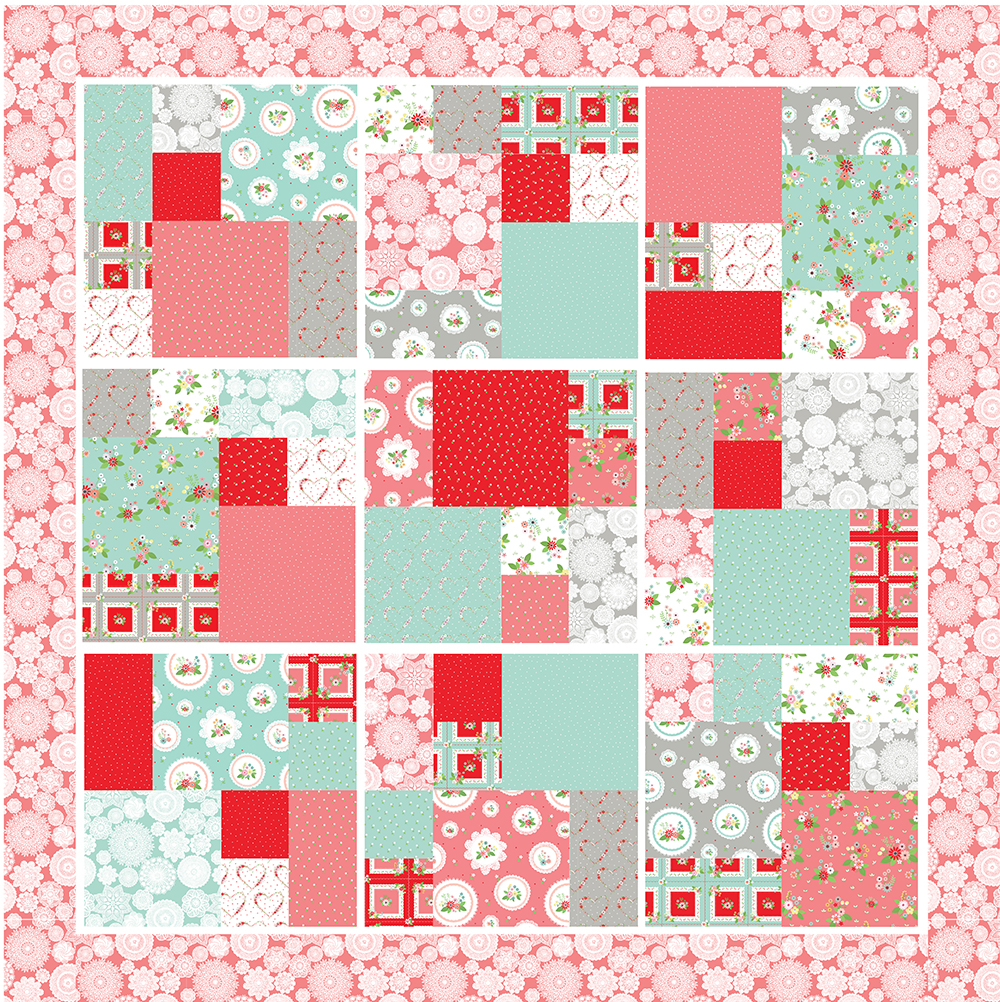
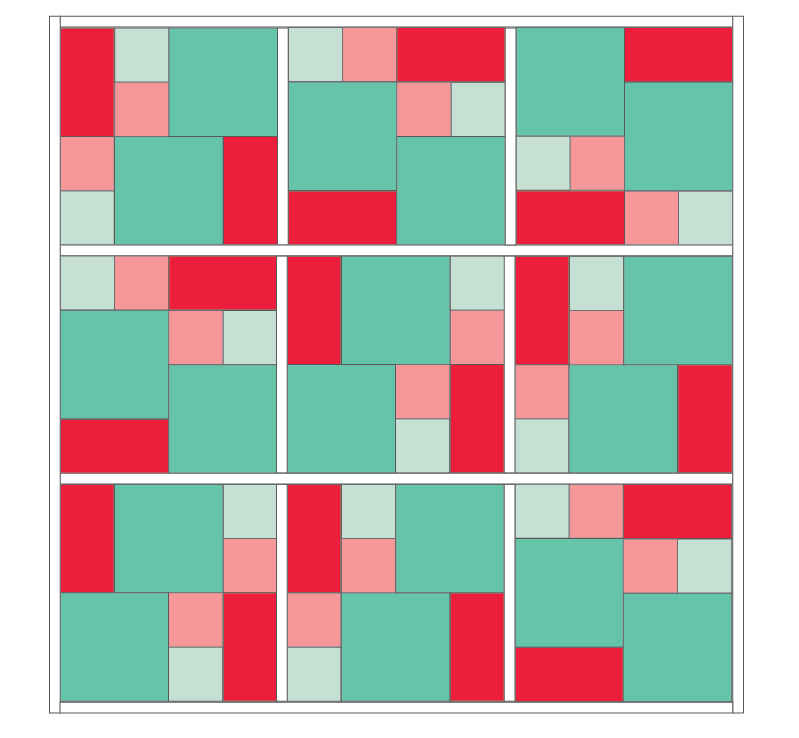
Begin with your layout plan. You’ll want a mix of fabrics in each large block. Each block is made of 2 large 10″ squares, 4 – 5″ x 5″ squares and 2 – 5″ x 10″ pieces.
Each block is sewn together in two halves.
Sew together the two 5″ squares. Trim down the piece to 4 1/4″ x 8 3/4″.

Trim a 5″ x 10″ piece down to 4 1/4″ x 8 3/4″. Sew the long side to the two square pieces.

Sew the large 10″ x 8 3/4″ piece to the side of the 4 1/4″ x 8 3/4″ piece of fabric to form a large rectangle. Trim this to 17″ x 8 3/4″

Sew together a similar panel but switch up the order of small pieced squares, rectangle piece and large piece. Sew the two panels together to form a 17″ x 17″ square.
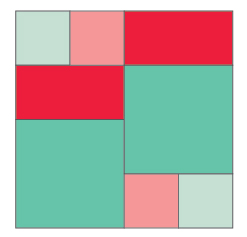
If your squares are slightly different than mine in size that’s totally ok. As long as all your blocks are the same size, that’s the most important thing!
Create 9 patchwork blocks this way. Alternate the direction with some of the center seams going vertical and some horizontal.
Cut 6 strips of background fabric 1 1/2″ x the length of your blocks. Sew together three blocks with a background strip between them. Repeat for three rows.

Piece together the remaining 1 1/2″ strips. Measure the length of your rows and cut 4 strips this length. Sew together three rows with a strip between each row and above and below the center section of the quilt.
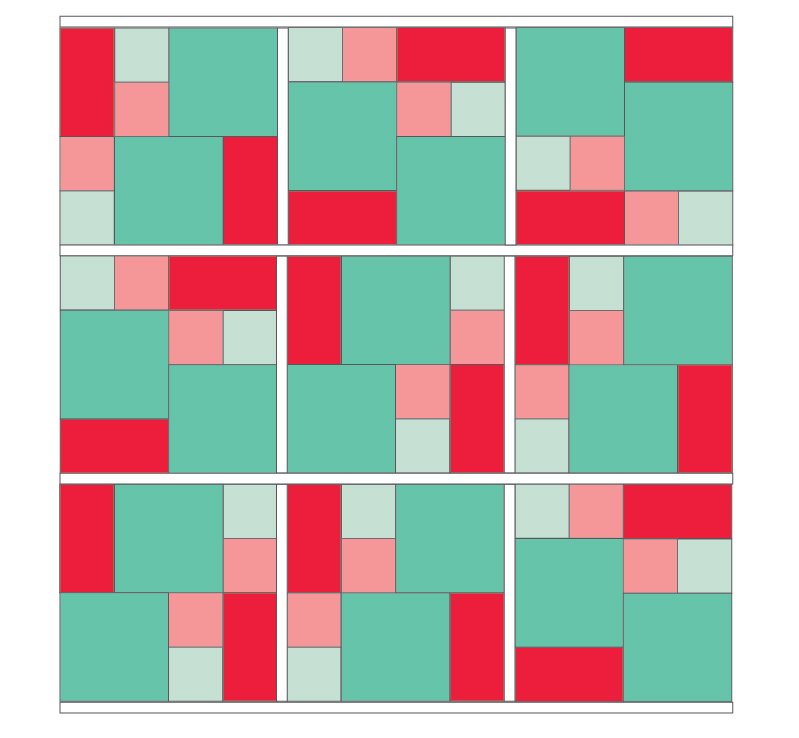
Sew the remaining 1 1/2″ strips on the left and right sides of the center quilt top.
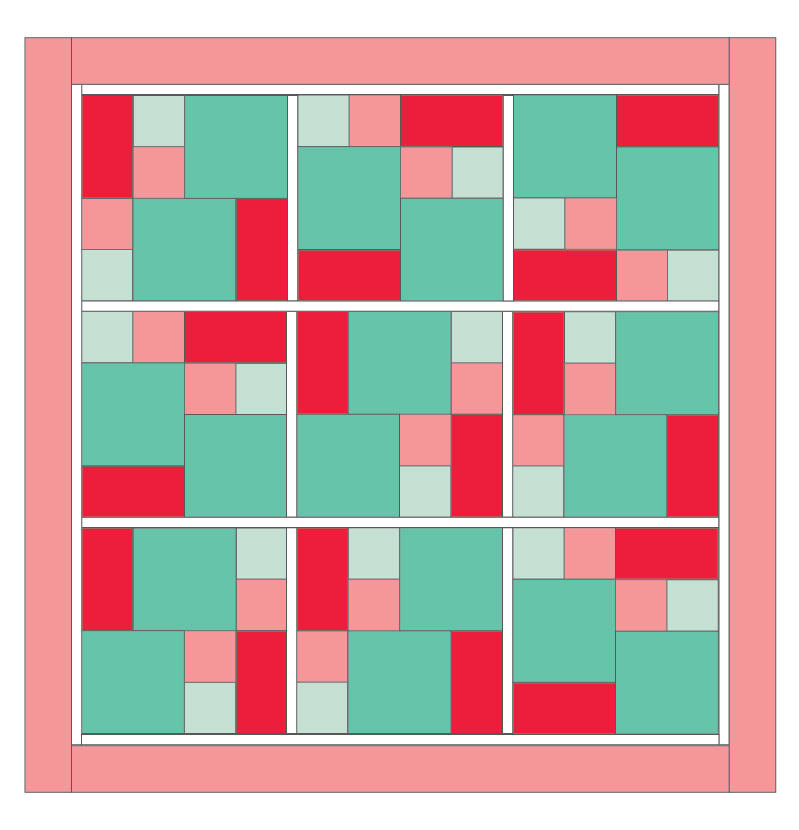
Piece together the 5″ strips for the outer border. Sew strips to the top and bottom of the quilt top, then the left and right sides.
Layer together your quilt top, batting and backing. Quilt and bind your quilt.
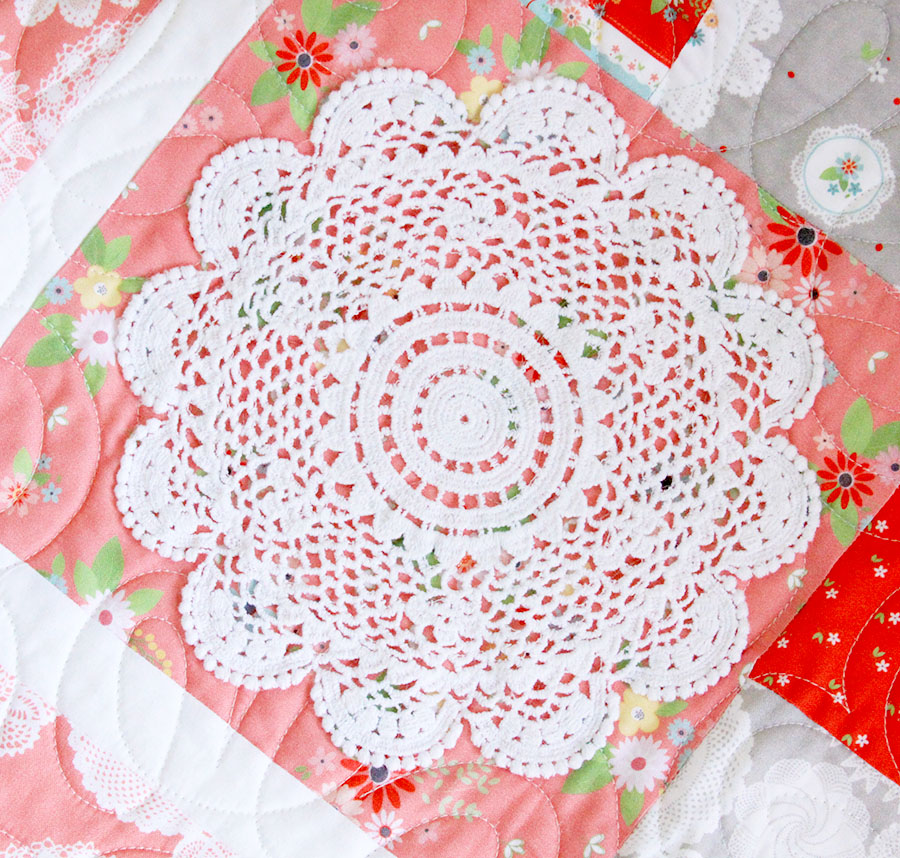
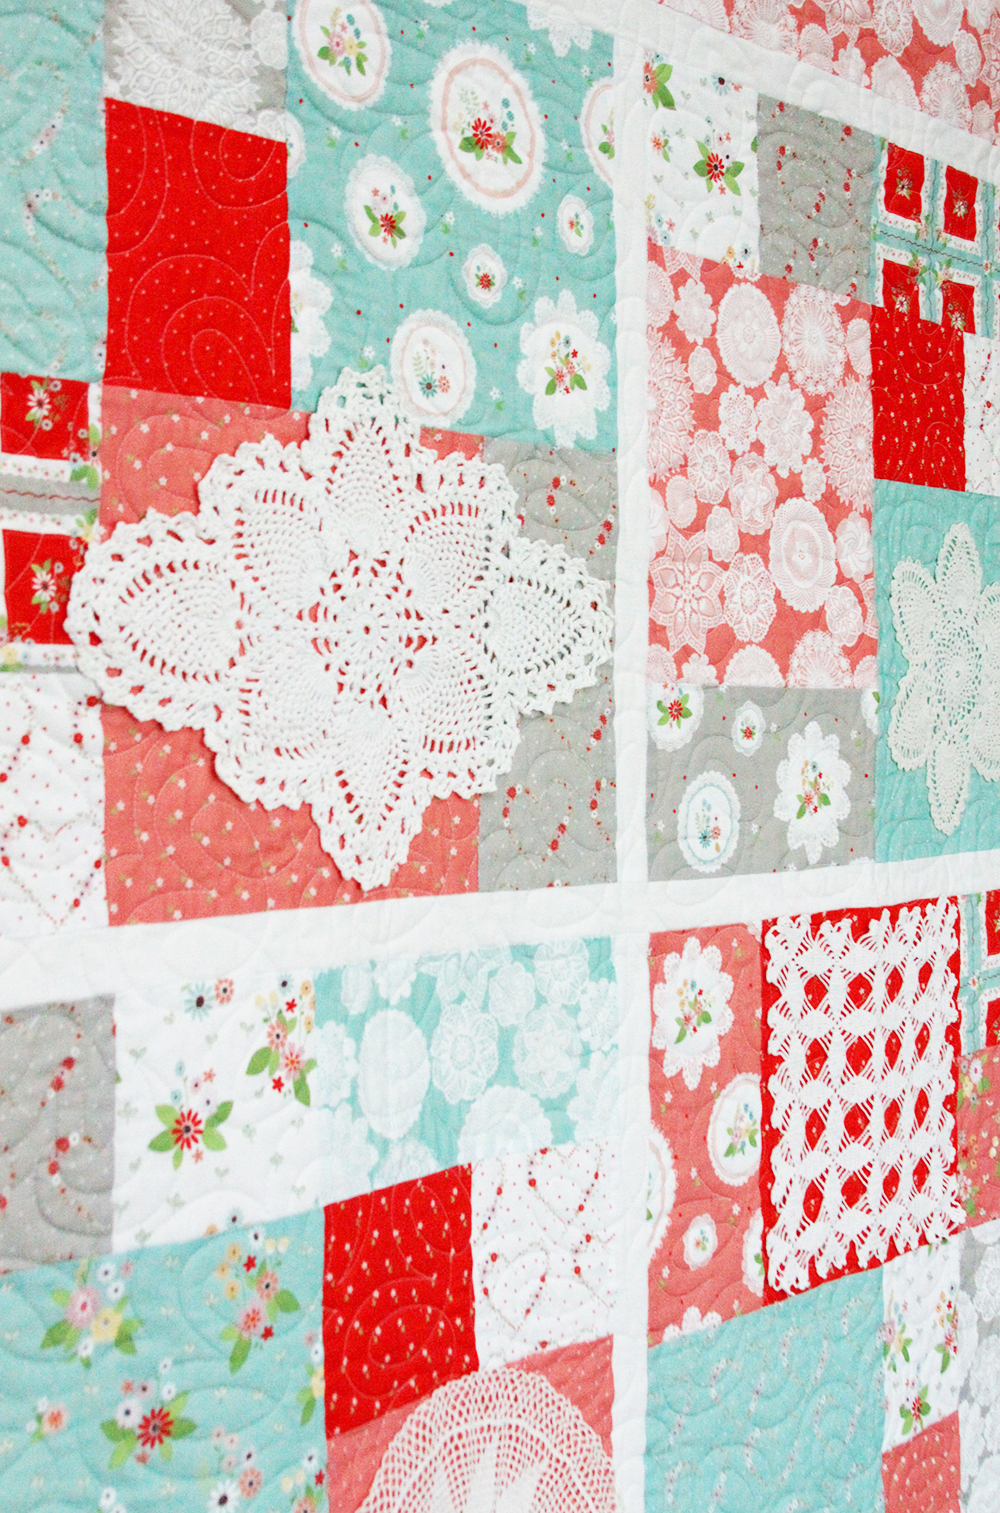
Now it’s time for the doilies! Lay out your quilt and place your doilies on the squares you’d like to cover. You can either hand sew down the doilies or use a strong fabric glue like the one Thermoweb makes.
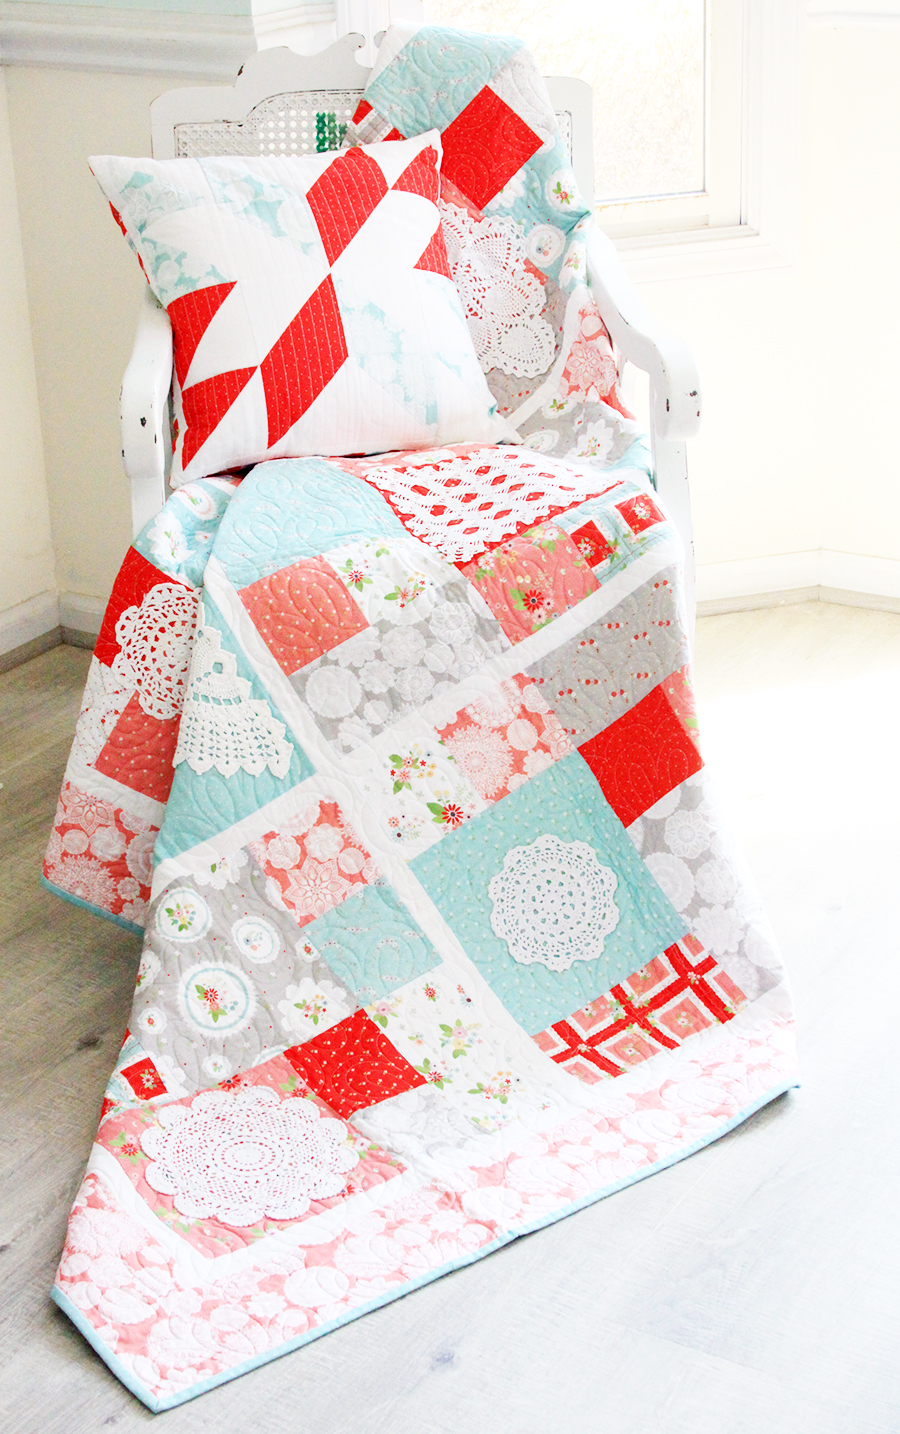
Now you can show off your great new heirloom quilt!


This is exactly what I need for my doilies! Can’t wait to try this, thank you!
Thanks, Bev! I don’t have a lot of vintage doilies, but I do have a lot of vintage embroidered pieces that would also look grand with your pattern! Can’t wait to give it a whirl!
If this is a FREE pattern I don”t see where we can download it Can you please advise? It is a beautiful quilt and fabric!!!Thank you!
Hi Patricia! You don’t actually need a paper pattern for this quilt so maybe tutorial would be a better word. But all the instructions to create the quilt are here in the post. If you’d like a printable version (with the exact same instructions, just in an easy-to-print format, you can find one in my shop for a minimal charge. Thanks!
Thank you for the free pattern. It will look beautiful made up with different fabrics.
Just lovely and happy for spring. Thank you for the free tutorial
This is a beautiful fresh quilt. I collect doiliesand have a bag waiting for a project. I also have a friend having a birthday next month. The perfect print for a gift.
This is gorgeous and I love the idea of adding doilies to quilting! Pinning! :) Lisa
Wow Bev, truly a work of art, and the inexperienced quilter it actually looks fairly simple. Thanks so much for sharing on craft schooling sunday as always!
Oh my goodness! This is STUNNING! I love everything about it–the patterns and colors–it’s perfection! Thank you so much for linking up and sharing this with us this week! xoxo
That quilt is just fabulous! I love the addition of the doilies. I have a relative new linkup party on Thursdays called Creative Compulsions geared towards those makers of things. I’d like to invite you to link up!
This is a beautiful quilt, Beverly! What a nice way to show off your vintage doilies. Thank you for the tutorial
Hello, what a wonderful idea and what a wonderful pattern! I like the colors! And one question: I didn’t find something about the seam allowance: i suppose it’s a 1/4 inch?
Thnak you so much and many greetings from Germany!
Regina
So sorry about that – yes it’s 1/4″ seam allowance!
I’d like to know if these doilies are sewn with the machine or by hand. I have a stack of doilies from my mother. They have a crocheted lace edging with a tulle middle. I thought that I would only be able to sew them by hand in order to keep them in good condition and in the correct shape.
Please advise!
Thanks so much.
Put starch on them and iron them. That should make it somewhat easier. Good luck!
Diane
Where can I purchase the fabric for The Doily Quilt?
I see I am not the only one interested in your fabric line. Could you please let me know where I can purchase the layer cake? Thank you for the pattern–I went to your website and purchased the PDF file. I would really like this to be my next project. I have already started to pull my doilies –can’t wait. Thanks!!!!
Hi Julia! I’m so glad you like the quilt! This fabric is my Vintage Keepsakes collection – it is from last year so it might be a little harder to find. Sorry about that!
Hi Bev, I have spent so much time looking at online quilt shops. I was fortunately able to find some at two different shops. The shops were Fabric.com and Fat Quarter Shop. Hopefully, this info will be helpful to others. I will keep looking for additional sites.
Hi,
I love your design. Thank you for sharing your pattern. I have been looking for ideas for using heirloom doilies from my husband’s great grandmother. I do have a question for you. Did you starch the doilies first?
You mention using a strong fabric glue. I’m a fairly recent quilter, how do you iron down the fabric glue without causing a problem with the iron through the “holes” of the doilies?
Do you starch your doilies to shape them? If so what kind of starch do you use?
I heard that Mary Ellen’s Best Press is really good. I bought some but haven’t tried it yet. They have it on Amazon and JoAnns. It was cheaper at JoAnns with a coupon. It is kind of pricey!
Using fusible web on my great grandma’s doilies. My question is can I just cut around edges of doilies or do I have yo cut away from larger holes on crochet work.
Thank you
Florence McLaughlin
Love this! What fabric did you use for the binding and for the backing?
What fabric did you use for the backing and binding?
Thank you so much! This is the kind of things that I love. Now a place to put some of my doilies! I love it, thanks!
I love this quilt! My grandma was a quilter. She and her neighbor always had a quilt going. She also made doilies. When she passed away she had quilts tucked away anywhere she could put one. She also embroidered on pillowcases. There were a lot of them all over when she passed away. I think she is where I got my desire to do crafts. After she passed away, with some of the pillowcases I got from birthdays and Christmas and when she passed away I made dolls out of the some of them for each of my sisters and my mom. They are really nice (the dolls) and my sisters and my mom loved them. For some reason I didn’t make one for myself! It’s on my list of things to do. Thanks for the beautiful quilt pattern, I will really enjoy making one.