
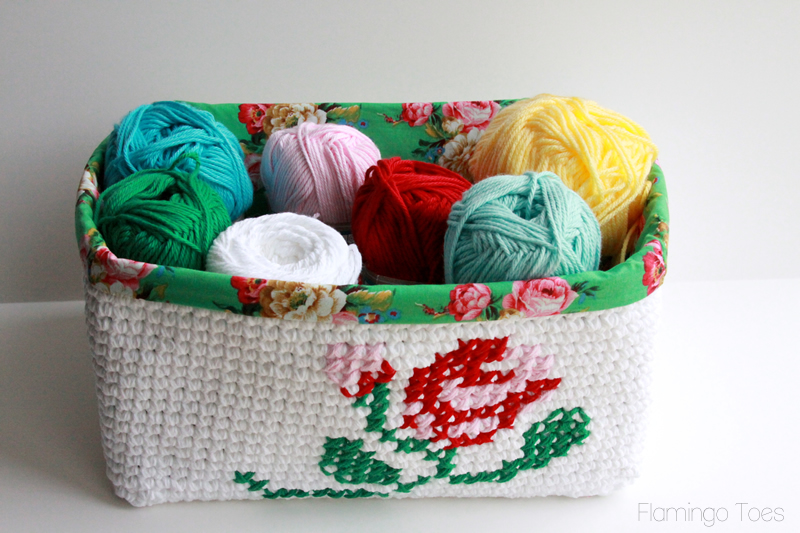
I have been working on setting up my craft room and that means cabinets and furniture and stuff, but I also wanted to make some pretty storage solutions too! I’ve had crochet baskets on my to-do list for ages and I thought a pretty little crochet basket would be so fun for holding my yarn for my current crochet project – that way it would be cute and also easy to access!
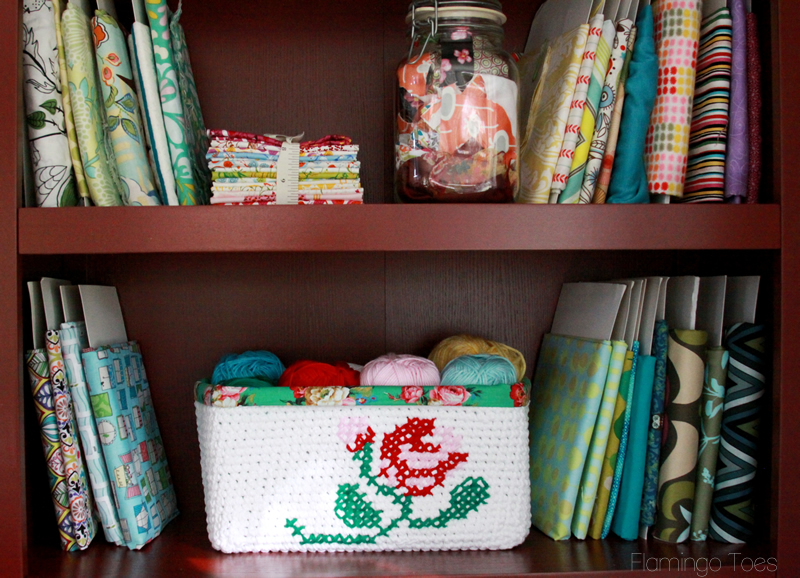
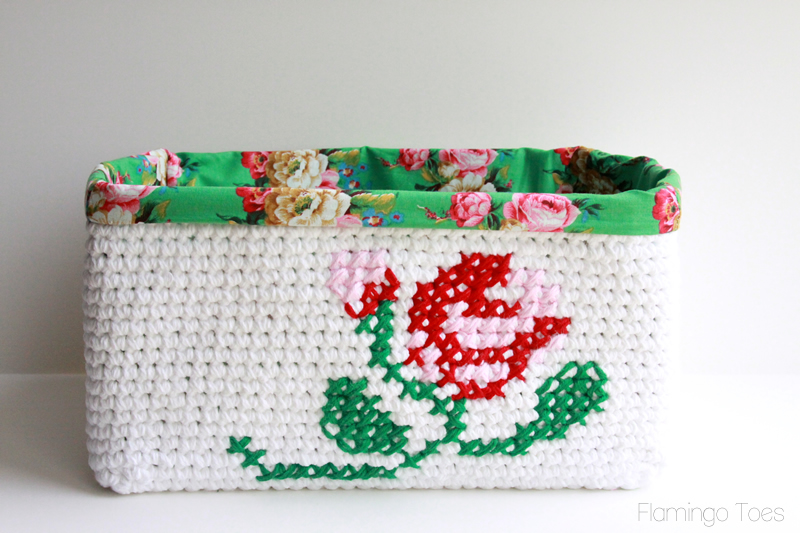
I made up this little crochet basket and decorated it up with a floral cross stitch pattern. I am so in love with Jennifer Paganelli’s line that is at Jo-Ann right now – and I have gone a little crazy with the buying. I used it in my Fall Wreath and a few other projects around here – I just love how colorful it is. (Totally not a sponsored thing – I just adore it. So much.)
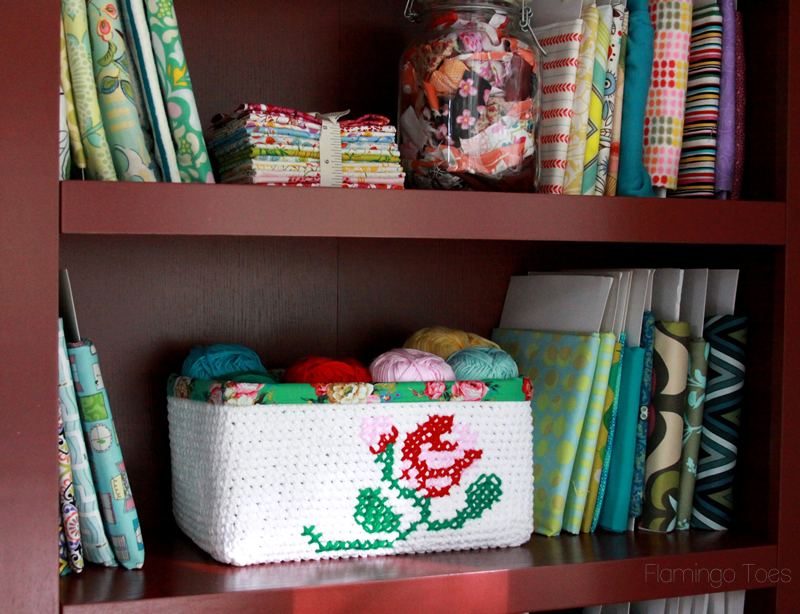
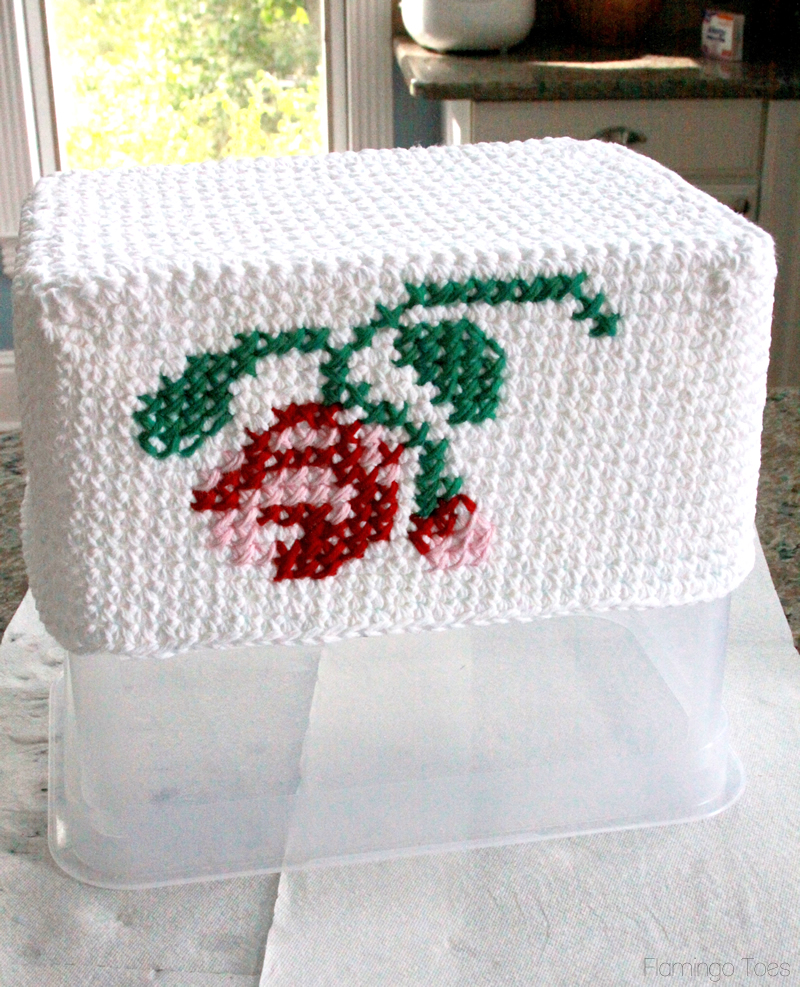
Doesn’t it just look so darling on my cabinet?
You can add the cross-stitch flower to any basket – but I also have a tutorial for the Crochet Basket too!
Basket Instructions:
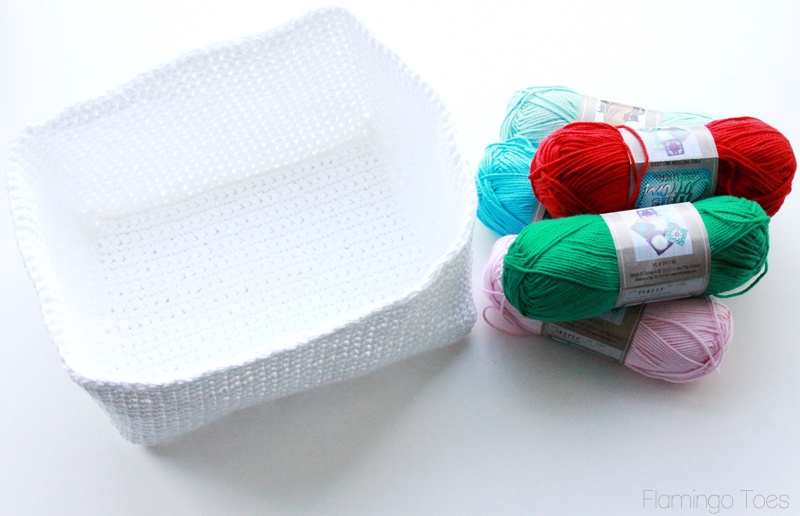
I crocheted this with two strands of cotton crochet yarn together.
1. Chain 31. Turn.
2. Skip first chain and sc (single crochet) in every chain. Chain 2 and turn.
3. Continue making single chain rows for 26 rows. Without finishing off crochet, turn piece and single crochet into each row along the side. There should be 25 single crochets on the side. Continue around the other long side and the short side.
4. Without finishing off, continue with single crochets and work up the sides of the basket. You can make your basket as tall as you’d like. Mine is 18 rows tall. Finish off and weave in the ends.
To create the cross stitch design, double up a length of cotton yarn. Cross stitch your design on the front, using the spaces between the single crochets as your “x”.
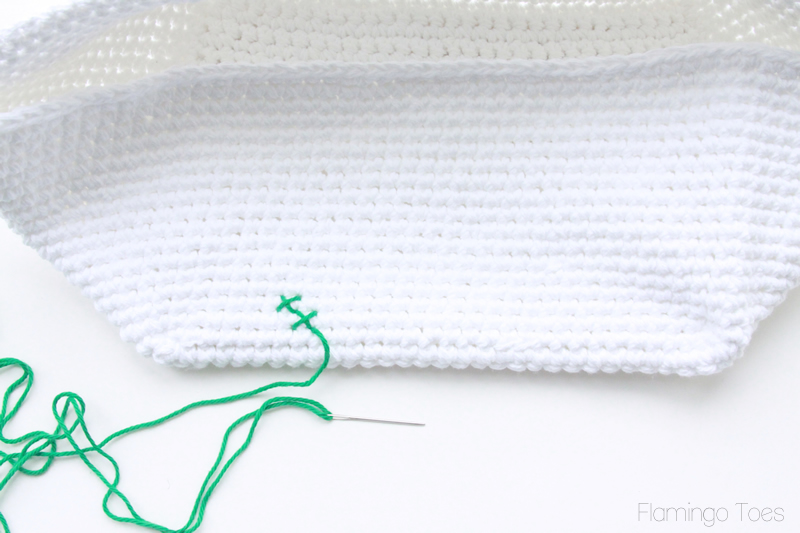
Continue working until your design is filled in on the front of the basket.
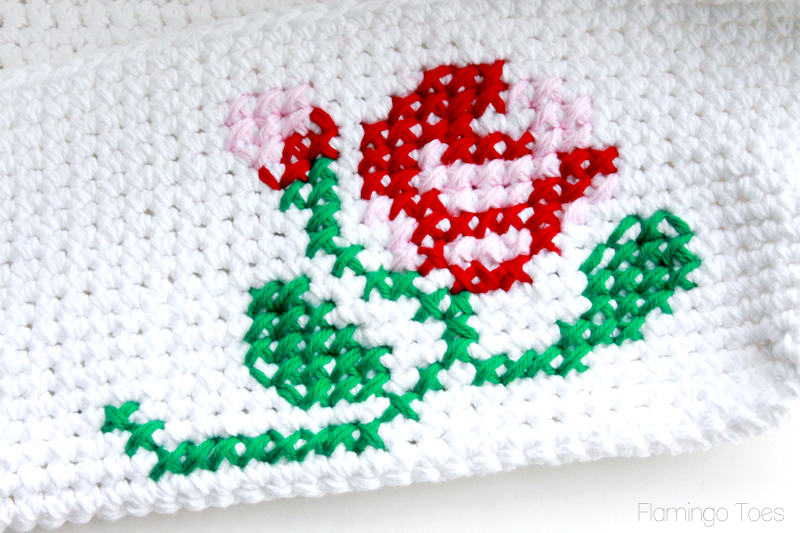
If you’d like to use my design – here’s the pattern –

Once you have your design all cross stitched, you can stiffen your basket if you like. I wanted mine to have a more structured shape, so I draped it over this bin that was the same size and applied a fabric stiffener.
Create a lining for the basket that is the same width as your finished basket, but about 3″ taller. Stabilize the fabric with a heavy duty interfacing. This will help the basket hold it’s shape also.
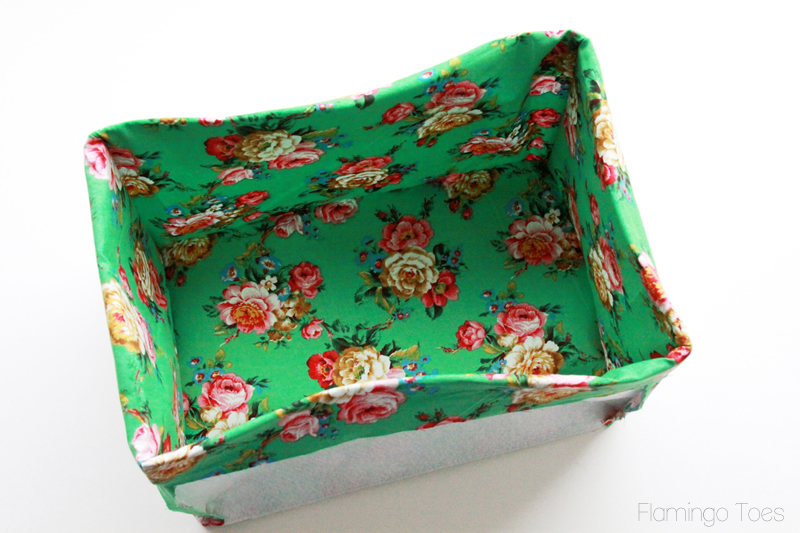
Slip the lining inside the basket. You can hand sew the interfacing to the top row of the crochet with a running stitch if you want. Turn the top edge of the fabric under once, then again over the edge of the basket. This will let that pretty lining fabric show.
And now you can fill it will all sorts of fun things!
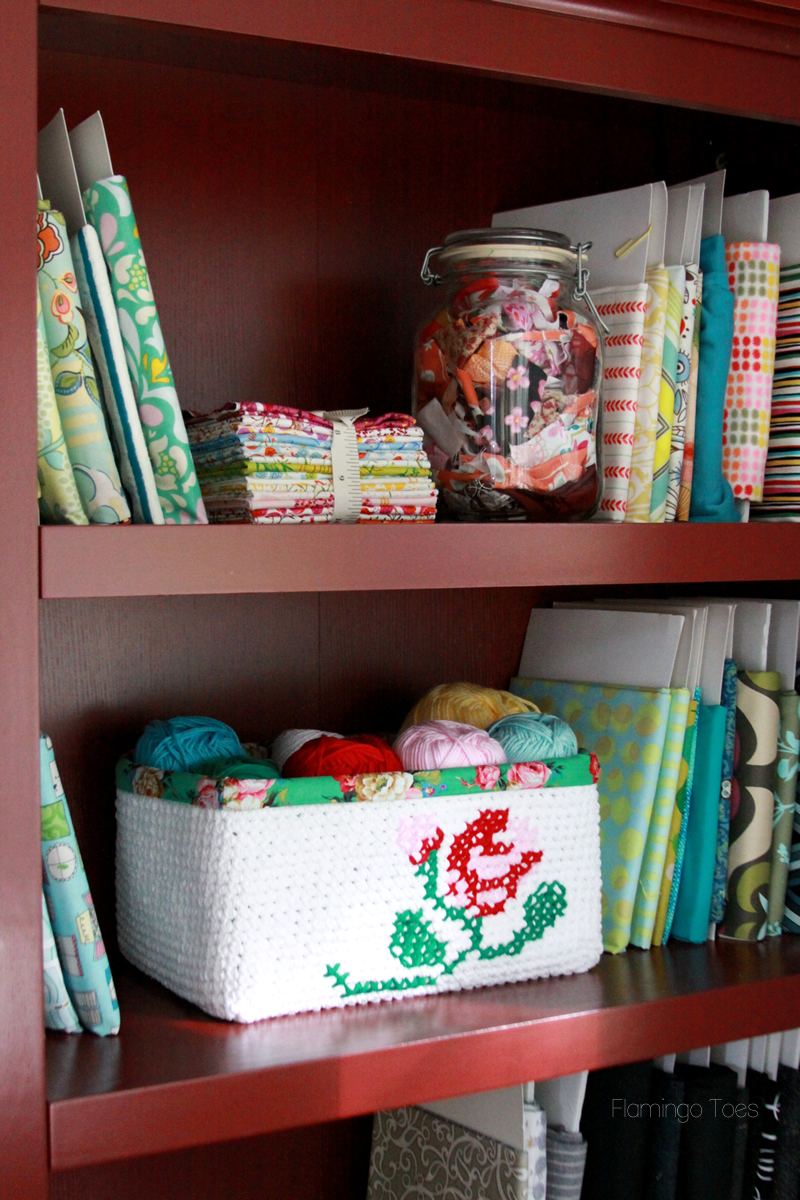
I can’t wait to finish off these shelves and get everything in it’s place in the room!
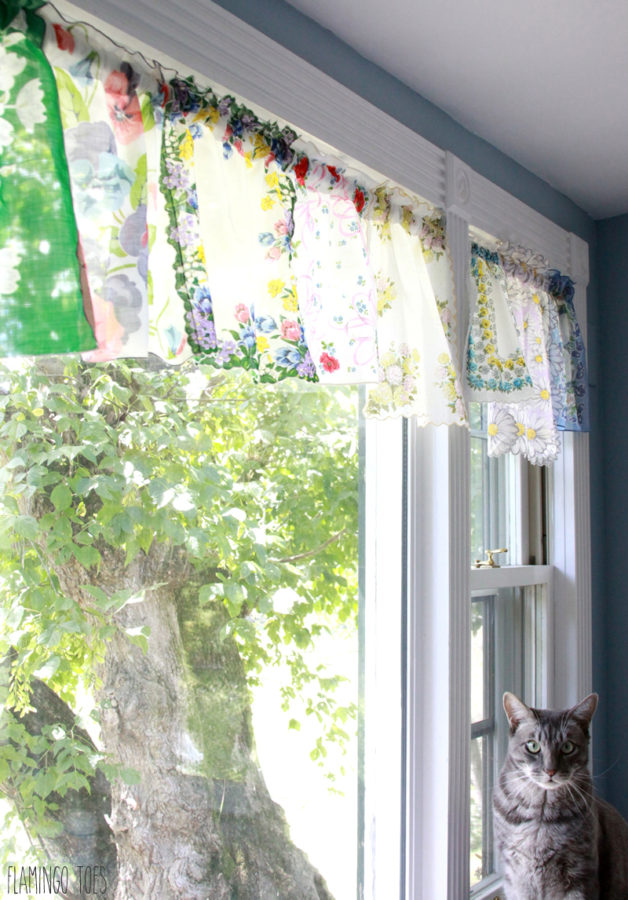
Here’s another couple of projects for the room – my vintage handkerchief curtains (along with my project inspector):
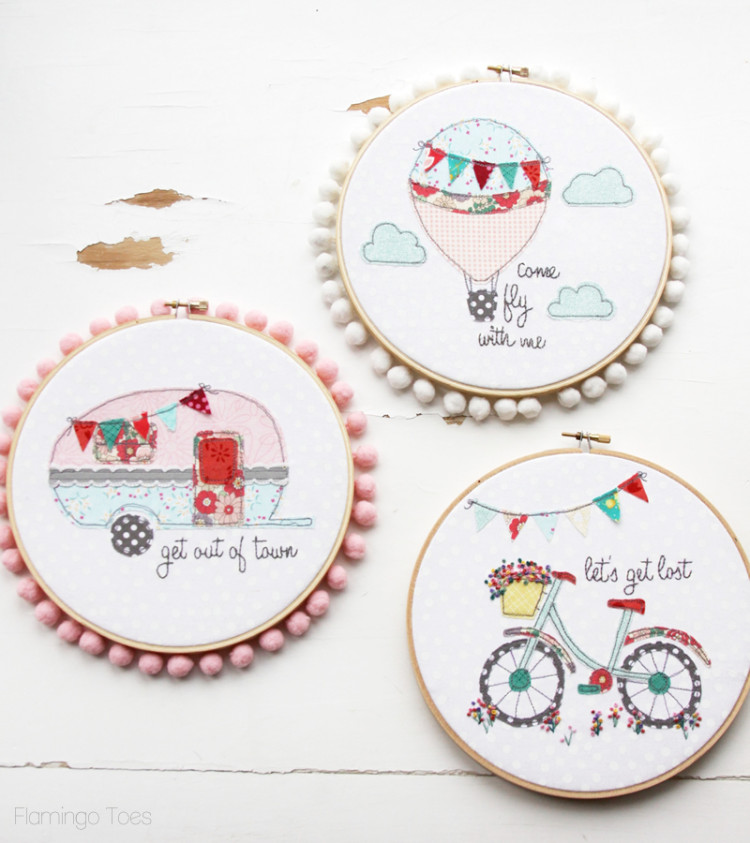
And I’m going to be hanging this set of Embroidery Hoop Art in the room too!
I’m looking forward to showing you the whole room when it’s all finished!


I’m so glad you posted directions for the basket. I’ve been dying to make a basket in any shape but round but I haven’t been able to find a pattern. This is great! And I love the cat in the curtains picture. So pretty!
What size hook did you use??
Sorry! I used a K hook – I will update the post with that!
SUPER duper cute, Bev!!! I absolutely love the cross stitch addition. What a fun idea!