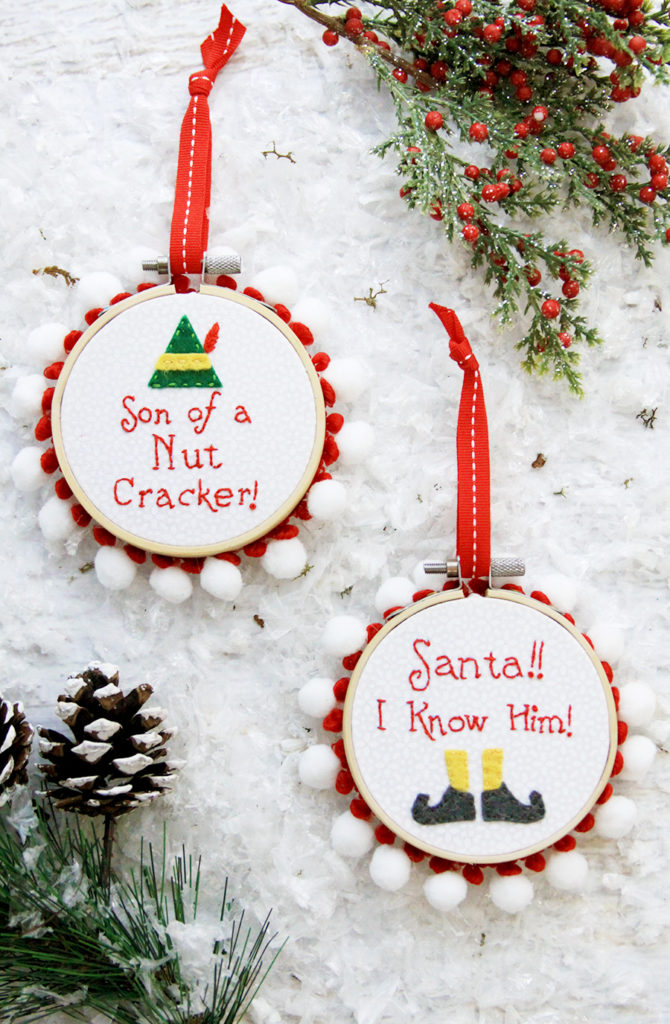
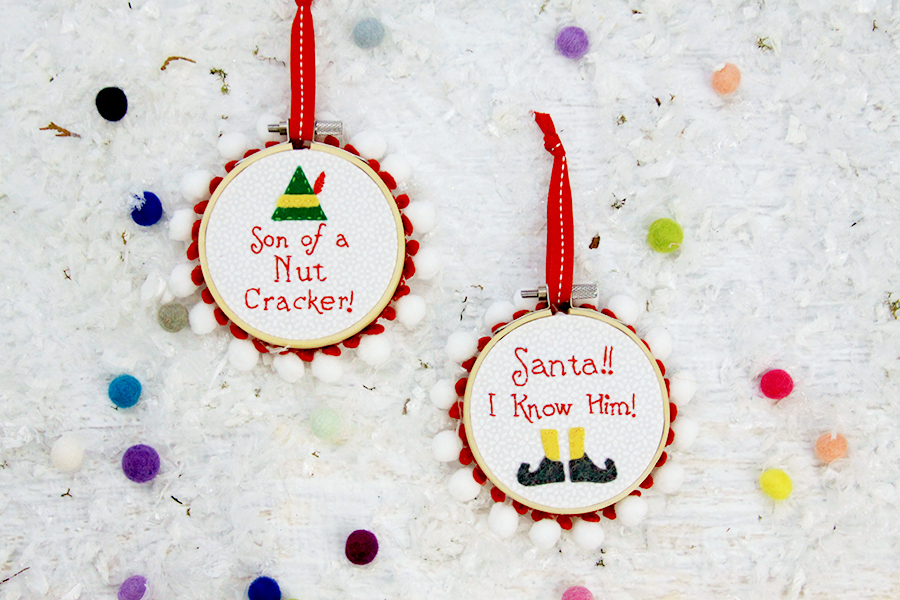
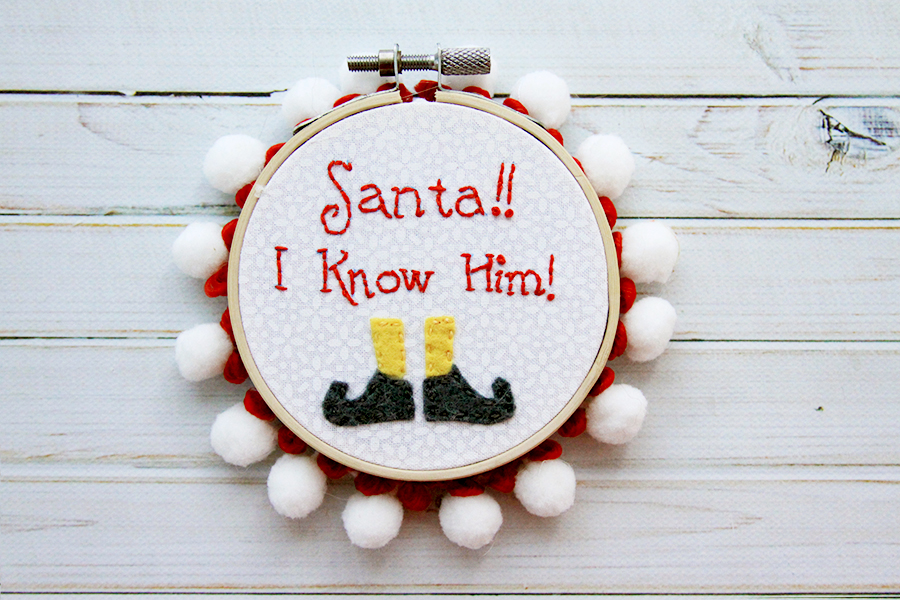
It’s the last day of Ornament Week! And of course, I had to save one of our favorite Christmas Movies for last – Elf of course! And I had to use two of our favorite lines from the movie!
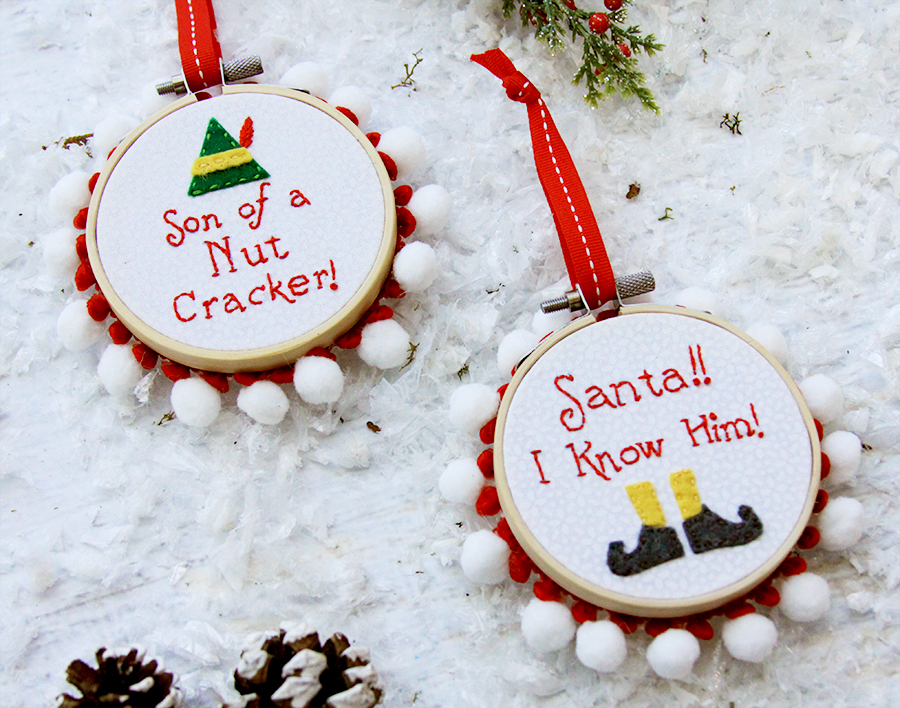
These are so simple and so fun to stitch up! I love how the double layer of pom pom trim looks too – so Santa-ish!
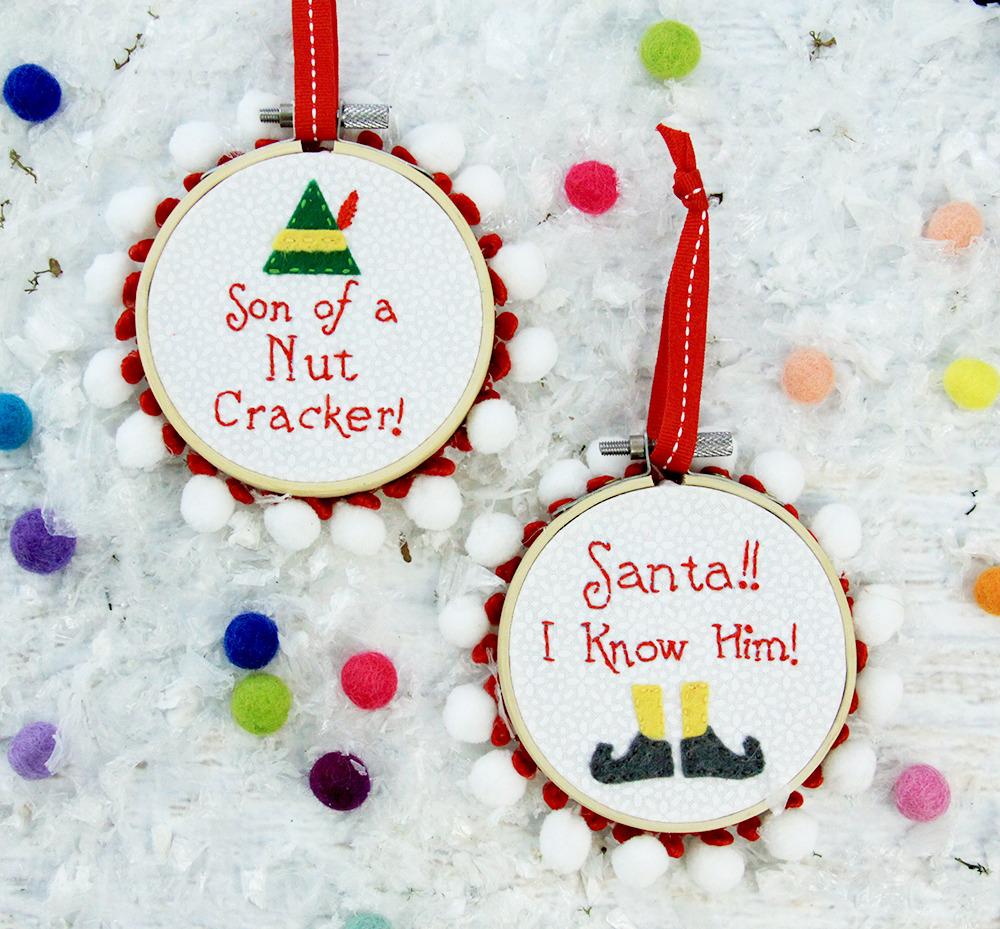
The hoops are a mix of embroidery and felt but you could use fabric too if that’s what you have on hand! Let’s get started!
Elf Mini Hoop Christmas Ornaments
Materials:
- 10″ square of fabric (if you want to stitch them in the same hoop. Otherwise two 5″ squares) for background
- Aurifil Floss – Red, Gray, Green and Yellow
- Wool Blend felt in Yellow, Green and Gray
- Small Red Pom Pom Trim
- Larger White Pom Pom Trim
- HeatnBond Fusible Webbing
- Ribbon for hanging
- Glue
- Marking Pen
- Two 3″ Embroidery Hoops
- One 8″ Embroidery Hoop
- Elf Hoop Ornament Patterns
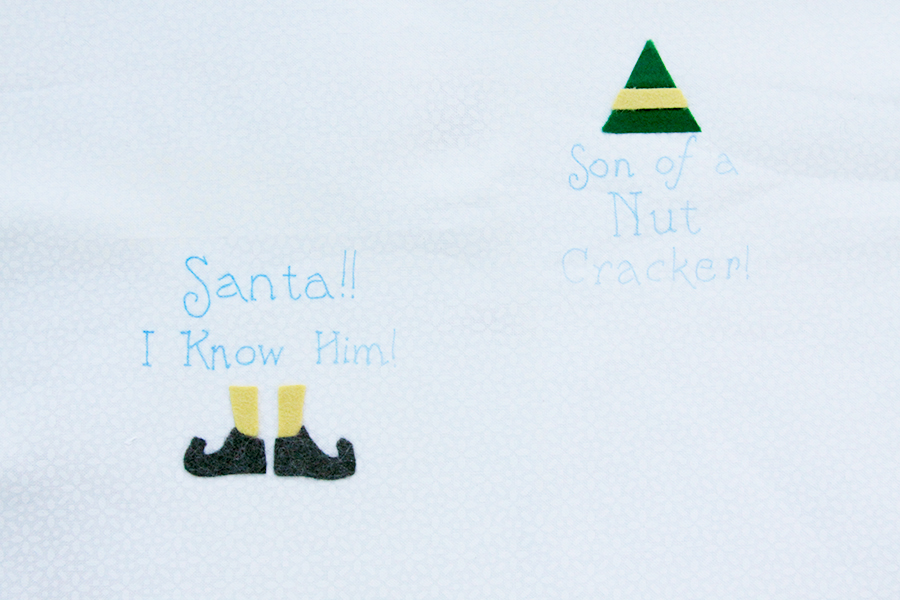
Begin by cutting out the patterns and arranging them so you can fit them both in an 8″ hoop, with plenty of space for trimming around the circles in between them. Mark the designs onto the background fabric for the lettering.
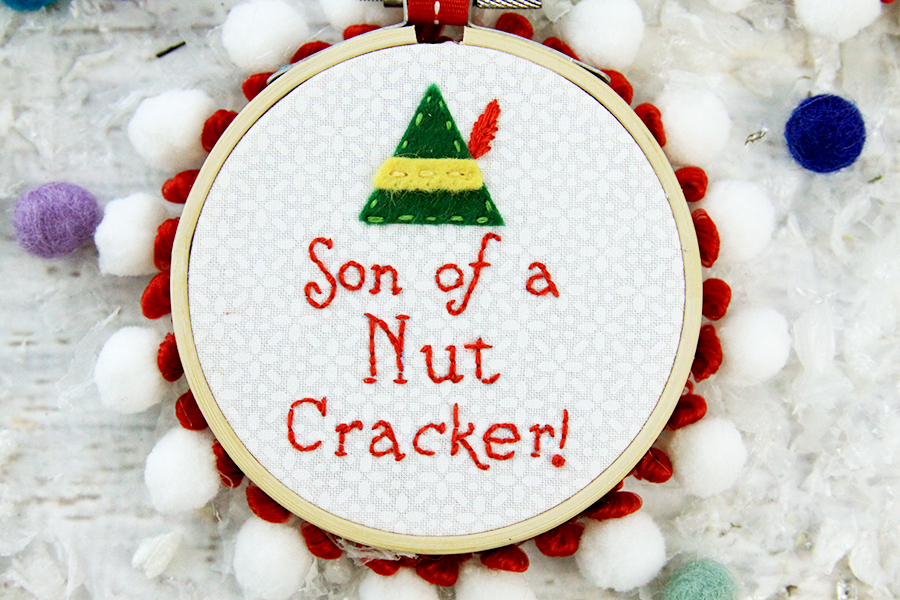
Cut out squares of wool felt slightly larger than the pattern shapes. Iron pieces of fusible webbing to one side and cut out the shapes. Iron the felt pieces in place according to the pattern. It might help to iron them on the front, then flip the fabric over and iron on the wrong side as well, since it’s sometimes a little hard to get the felt to fuse in place because of the thickness.
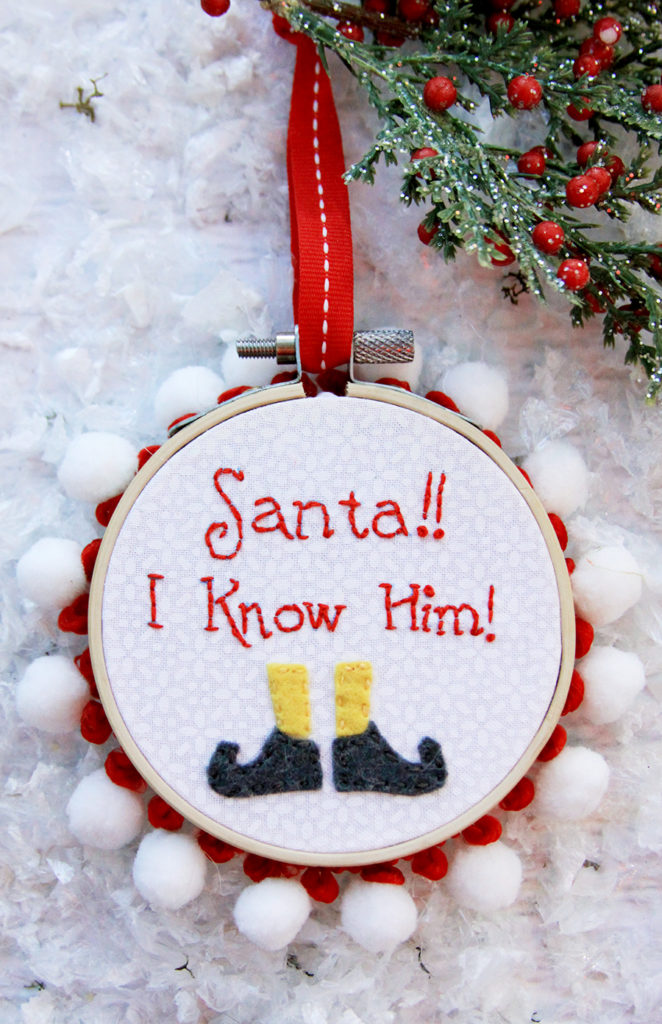
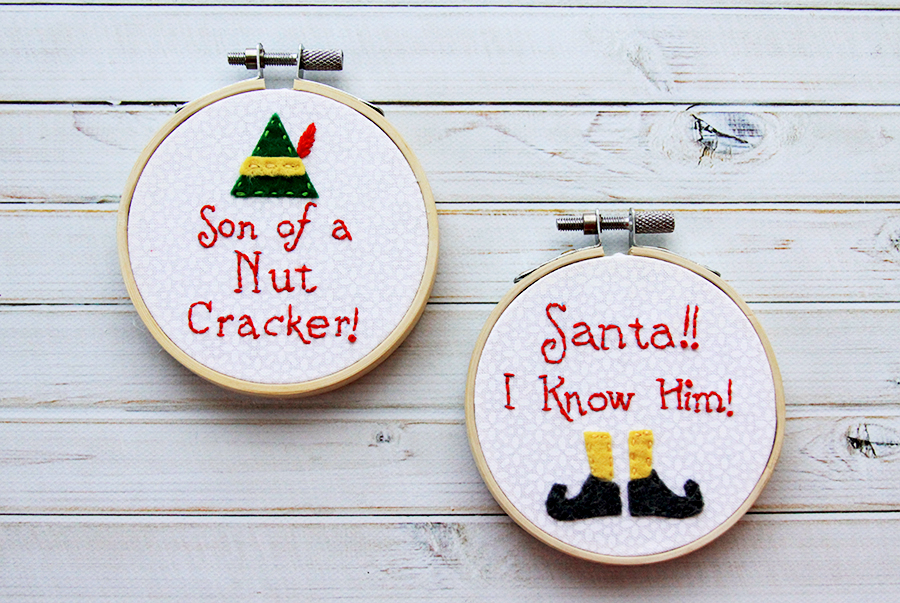
Embroider the lettering with small back stitches in red floss. Stitch down the felt shapes with small running stitches in coordinating floss colors. Embroidery the little feather on the hat with small satin stitches.

Take the fabric out of the larger hoop and place one of the designs in the 3″ hoop. Trim closely around the outer edge of the hoop, just enough so you can glue the fabric to the back side of the hoop. Repeat with the other design. Glue the fabrics to the back of the hoops.
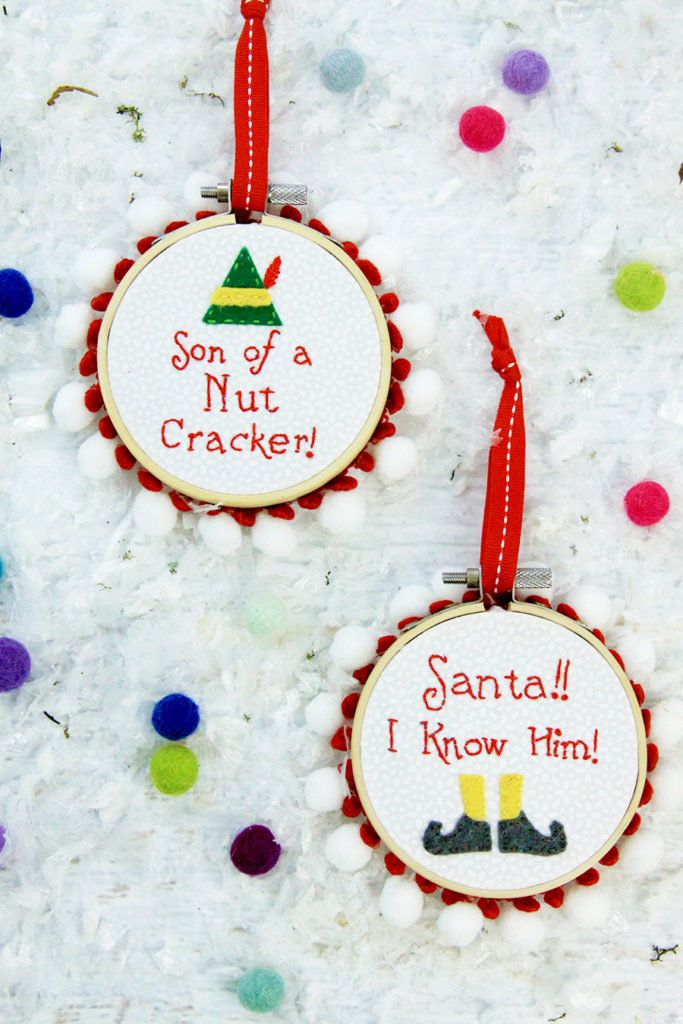
If you want to add on the two layers of pom pom trim, glue the small red trim around the outer edge of the hoop. I found this trim at Hobby Lobby but I think most fabric stores are carrying the small pom pom trim as well.
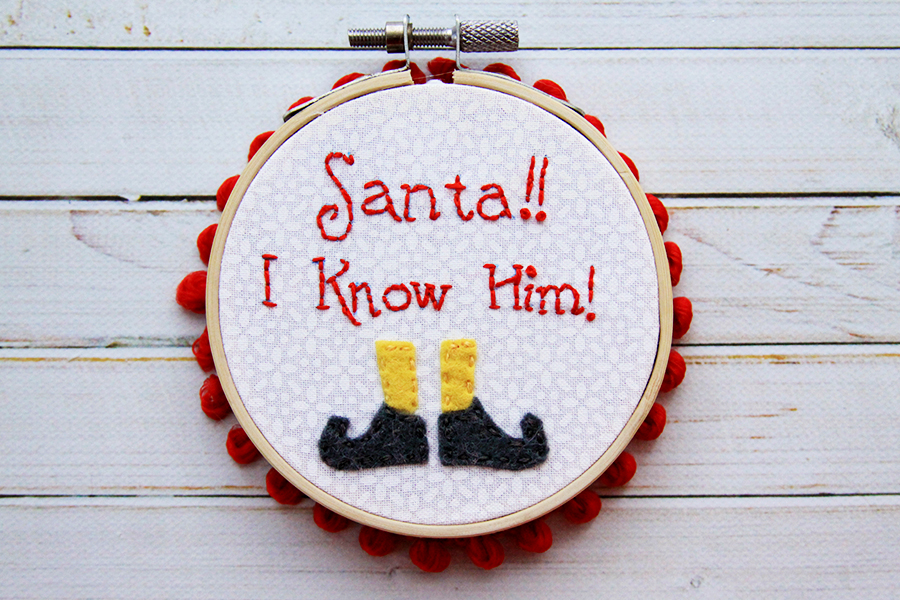
Repeat with the larger white trim, layering the edge of the white pom pom trim on top of the red.
Add your ribbons for tying and show off your cute new ornaments!


These are so so cute.
Now I have to make some for each of my daughters.
Gosh adorable
so cute! how do you mark the lettering on the fabric?
OH My GOODNESS ♥️2 YOUNGEST Grandkids LOVE ❤️ THAT Movie!! And SOOO Did Their DADDY!!! HOW Funny!! Thank You For Sharing! G-d♥️Bless
This are so cute! I’m adding this to my sisters gift bags for next year!