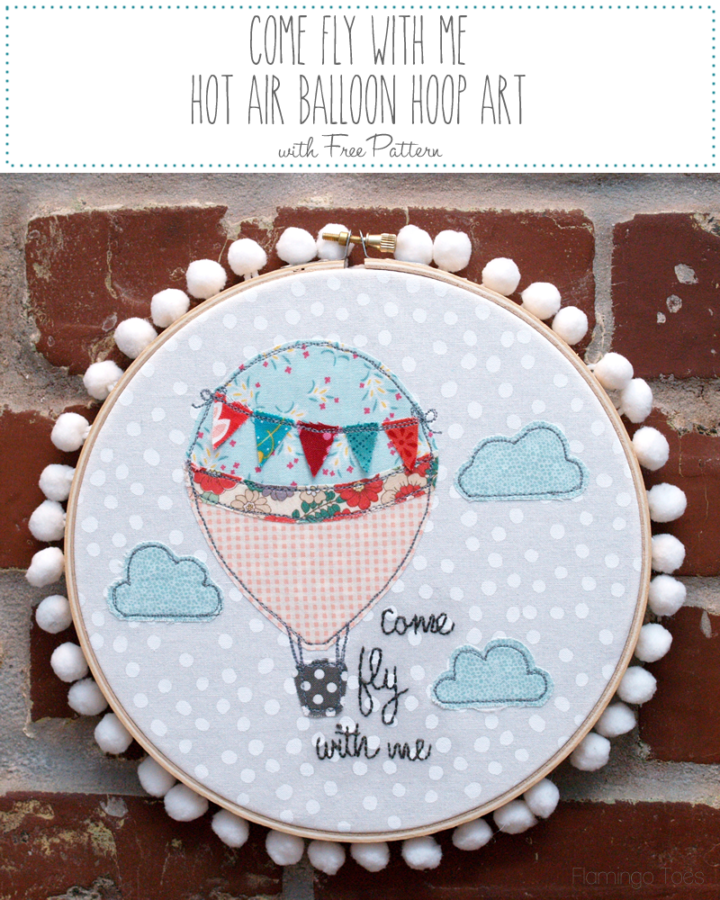
Are you ready for some more Summer Hoop Art?! I sure am!
A little while ago I posted the tutorial and pattern for a sweet little Retro Camper Hoop Art. Well I fell in love so much with the style and feel of that hoop that I decided to make it into a Three Hoop Set! So today I have for you the second hoop in the Summer Fun Hoop Series – this Come Fly With Me Hot Air Balloon Hoop Art!
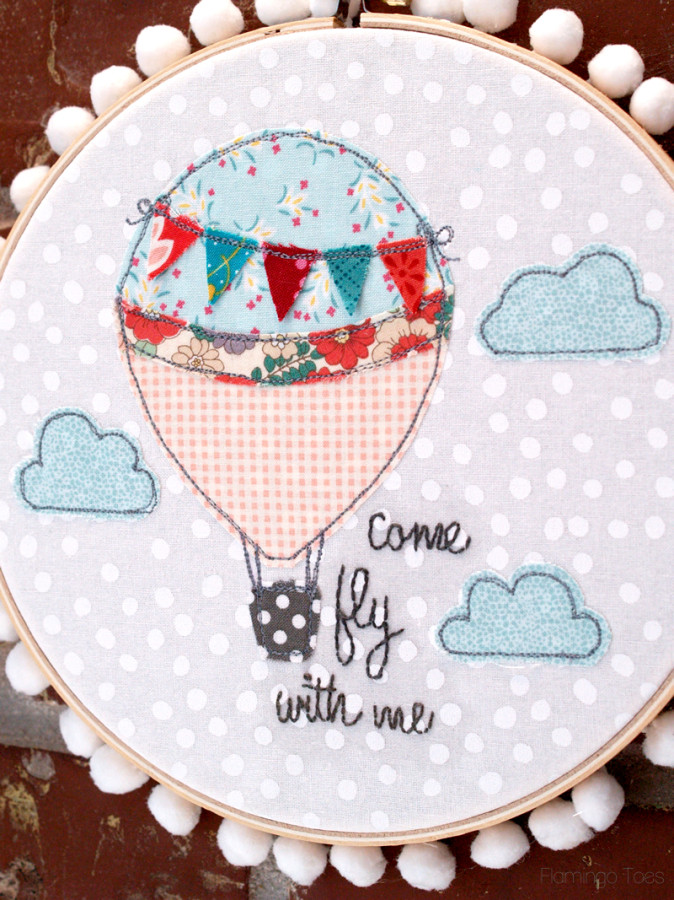
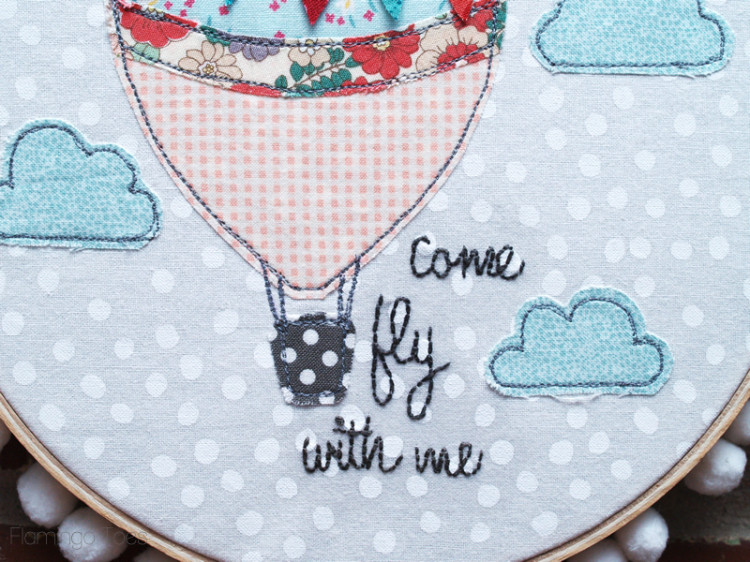
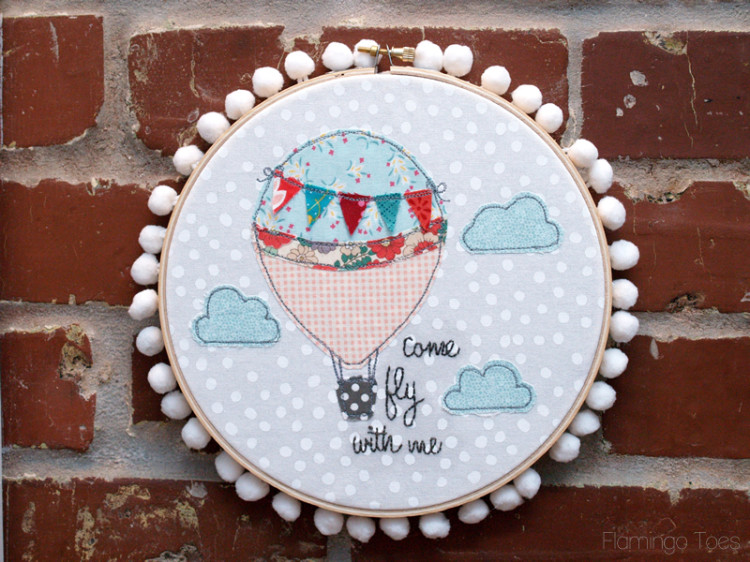
This sweet hoop is all decorated up with a little hot air balloon and fluffy clouds – and some simple embroidery too. I love Frank Sinatra’s version of “Come Fly With Me” and I thought it was the perfect phrase to add to the hoop. And of course the whole thing is finished off with some fluffy pom poms. Because pom poms make everything cuter.
So let’s dive in – this hoop is super easy to put together!
You’ll need:
- 1 – 8″ Embroidery Hoop
- Pom Pom Trim
- Variety of fabric scraps
- Fabric for background
- Fusible Webbing and medium weight interfacing
- embroidery floss
- hot glue
- disappearing marking pen
- Come Fly With Me Hoop Art Pattern
Begin by cutting out all your fabric pieces for the balloon and the clouds and ironing fusible webbing to the back of all of them. Cut a piece of your background fabric a little larger than your hoop to lay it all out on.
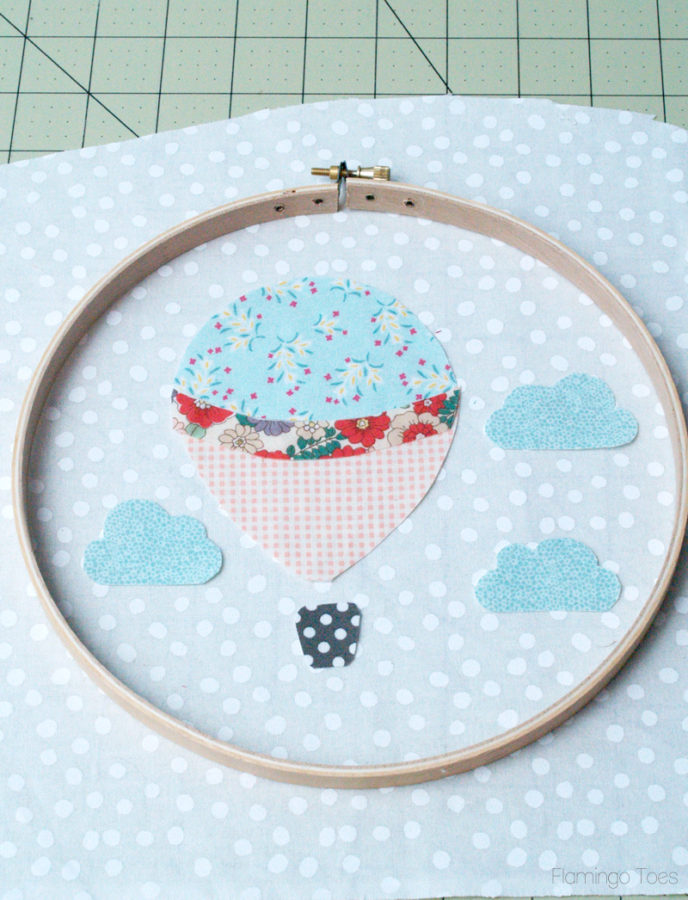
Fuse your fabric pieces in place according to where they are on the pattern. Trace the writing on the pattern onto your fabric with the disappearing ink marker. Pop everything into your embroidery hoop.
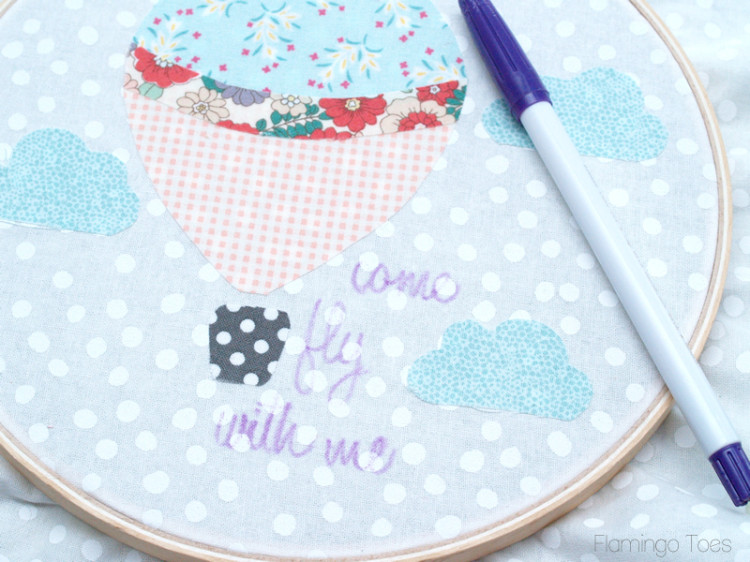
Embroider the lettering with a simple back stitch. (You can find instructions here.)
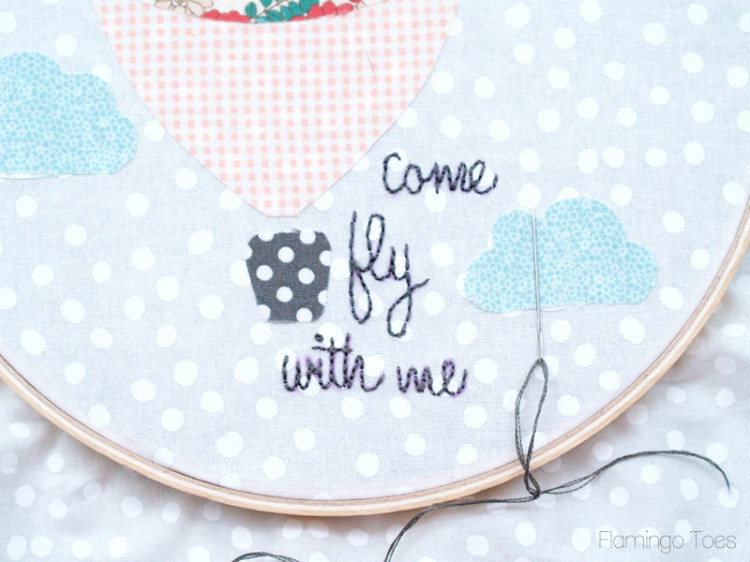
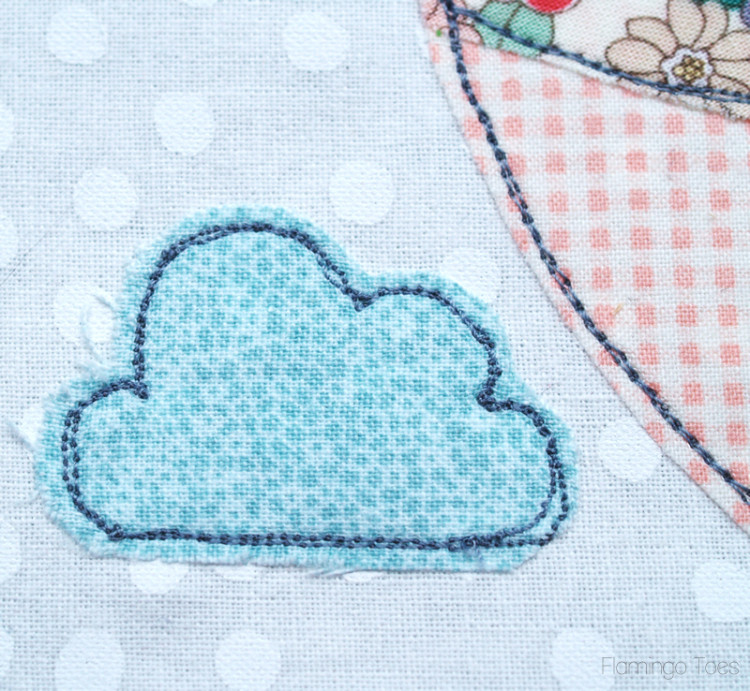
Cut a piece of medium weight interfacing the same size as your backing fabric and fuse to the back of the fabric. This will stabilize your piece as you outline everything.
Outline all your fabric pieces by sewing around them with a contrasting thread. I used a free motion foot to go over everything, usually twice. You could also just sew slowly around all the pieces, or you could hand embroider them. It’s all good. Your stitching doesn’t have to be perfect either. That’s some of the charm of it.
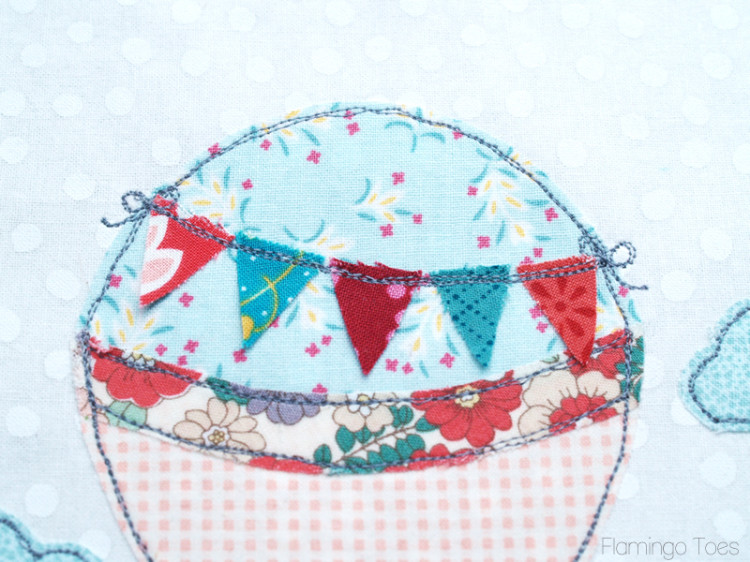
Cut out 5 or 6 little triangles for your pennants. Cut wee tiny pieces of fusible webbing and fuse the pennant pieces in place just along the tops of the triangles. You want them to be mostly loose so you have a little of a 3-d effect going on.
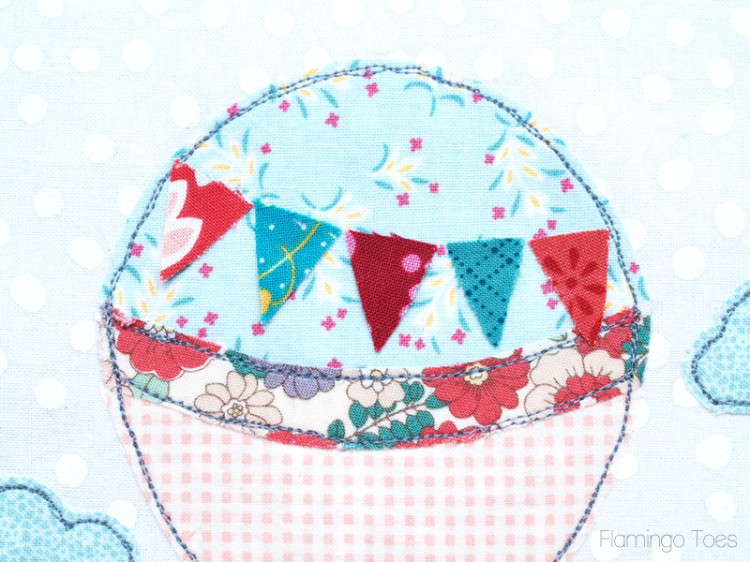
Stitch along the tops of the pennants and make little loops at each end for bows.
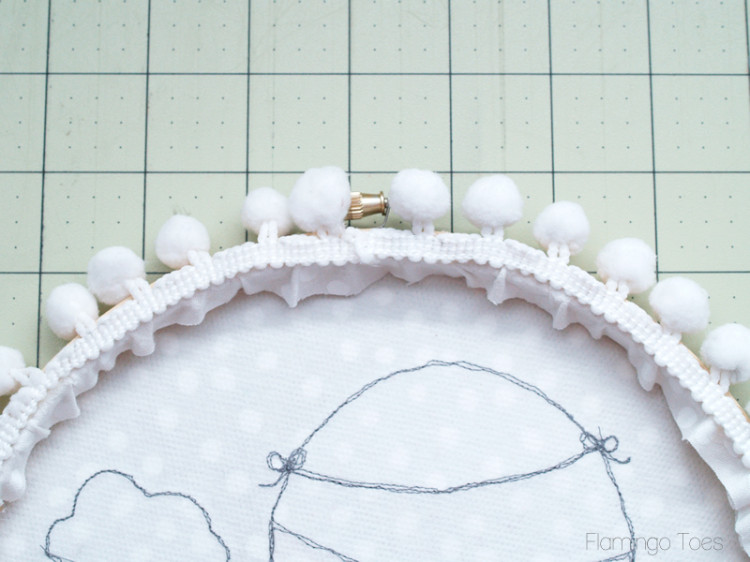
Now we’re going to finish off the hoop. Trim the fabric around the hoop to about 1/2″. Glue the fabric to the inside of the hoop on the back. Glue your pom pom trim all the way around the back of the hoop so the pom poms peek out over the edge.
And that’s it! You now have a super cute hoop to hang up for summer!
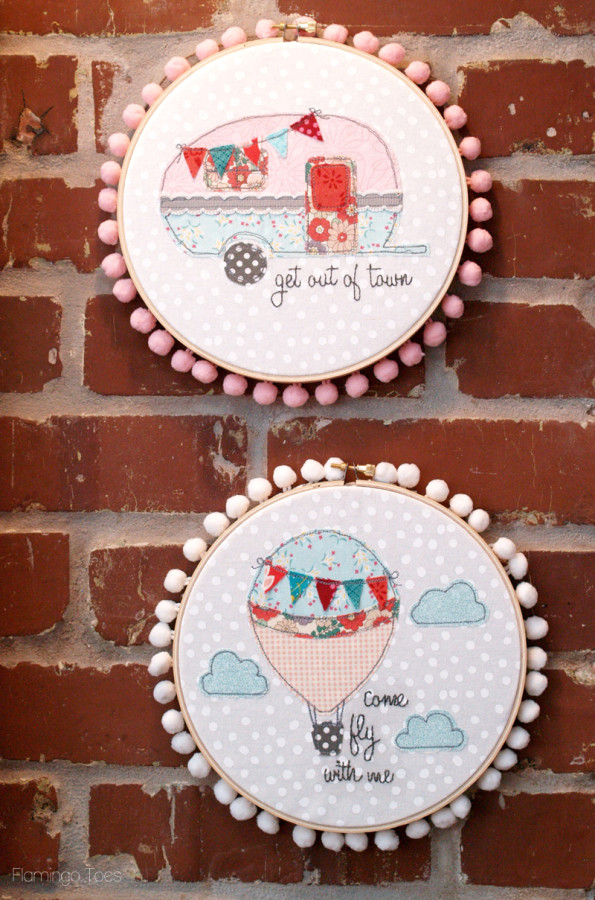
I love the way it looks with the Retro Camper Hoop. I can’t wait for you to see what I have planned for the last hoop in the series!!
(I’m super in love with this little section of brick wall in my new kitchen too. It’s such a fun texture!!)
I hope you give it a try – and I’d love to see a photo if you do!


Oh my goodness. I absolutely adore this! It is precious!
Super cute, this is definitely going on my to-do list, thank you x
Do you still need the medium weight interfacing if hand sewing?
I think you would be fine without it Angie. I use the interfacing to stabilize the fabric during the machine sewing, but you won’t need that if you are hand sewing it in a hoop.
This is a great project! So unique!
Loved it so much I made a bag with a hot air balloon on it :) It is on my blog – with links to your website ;)
adorable Bev, you are always such an inspiration! thanks for sharing on craft schooling Sunday!
What a great craft! I love hoop art :)
Blessings,
Edye | http://gracefulcoffee.wordpress.com
Great project! Can hardly wait to try it. Hopping here from 100 Happy Days.
Blessings to you and yours!
Marie @ a Satisfied Spirit
This is absolutely charming! Really cute. Thanks much for coming to Throwback Thursday and sharing!! :)
Mollie
I love the prints and colors you chose for this craft! Very cute! Thanks for joining us at the Family Joy Linkup, and hope you’ll join us again this Sunday!
That is so cute! You always have the most creative projects! Thanks so much for sharing at Throwback Thursday.
I adore your hoop art, Bev! Pinning to share :)
Lovely !
Anna
I can not get enough of these embroidery hoop art thingys… I love them! Too cute! Thanks for sharing at Dishing It & Digging It!
What a cute hoop! It would look lovely in a little girls room
Adorable project. I can’t wait to see the next one in the series. Thanks for sharing at #HomeMattersParty. I have definitely pinned this one.
Absolutely love this project. I will be featuring this tonight at my Sizzle into Summer party that opens at 8pm EST. Please stop by and pick up an I’ve Been Featured button. Thanks. http://diybydesign.blogspot.com