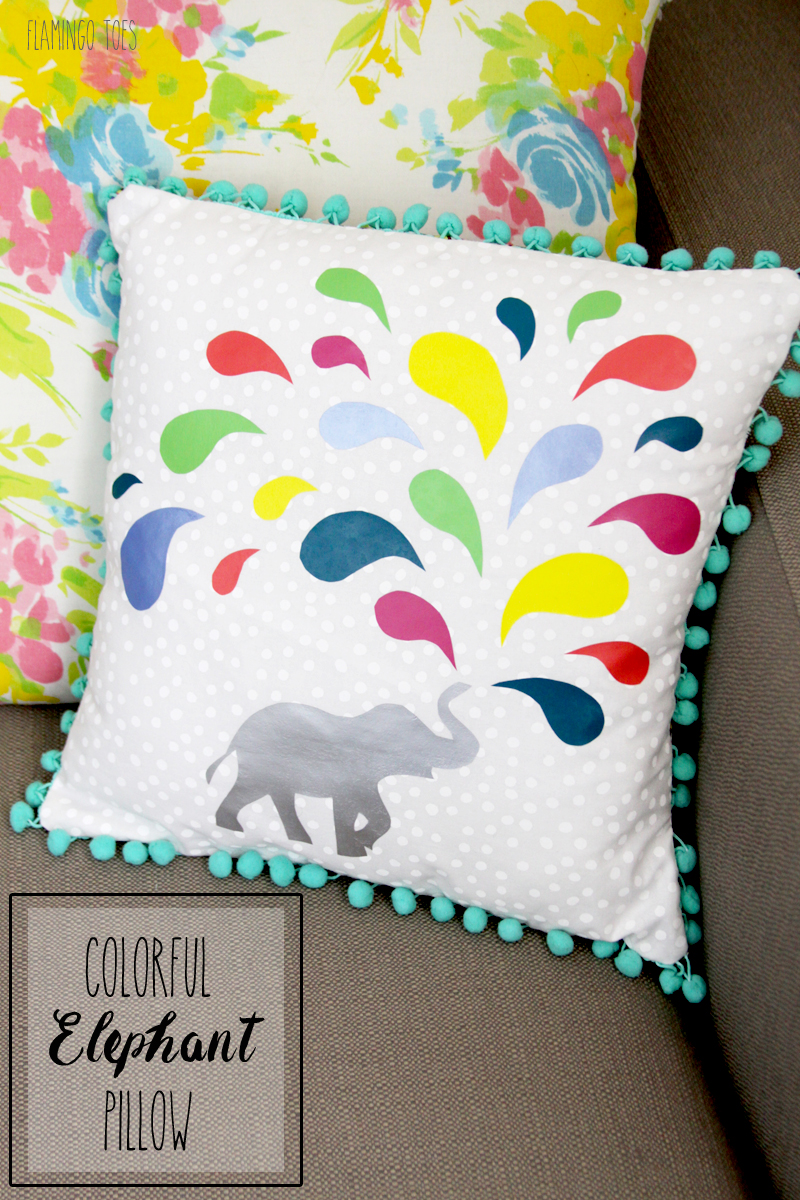
I have something fun for you today! Have you ever worked with Heat Transfer Vinyl? I confess I haven’t done a lot with it – a few shirts here and there but that’s about it!
I’m partnering up with Expressions Vinyl today though to show you a fun way to use vinyl to create something besides apparel and I’m sharing this cute and colorful vinyl elephant pillow!


My daughter is all about elephants right now and since she’s getting ready to head back to school I wanted to create something for her apartment that would be cute and colorful and elephanty. (totally a word)
I came up with this easy elephant pillow – and I added a bunch of colorful water droplets! You also don’t need a cutting machine to make this – though can use one if you want – I cut everything out by hand. It was so quick and simple.
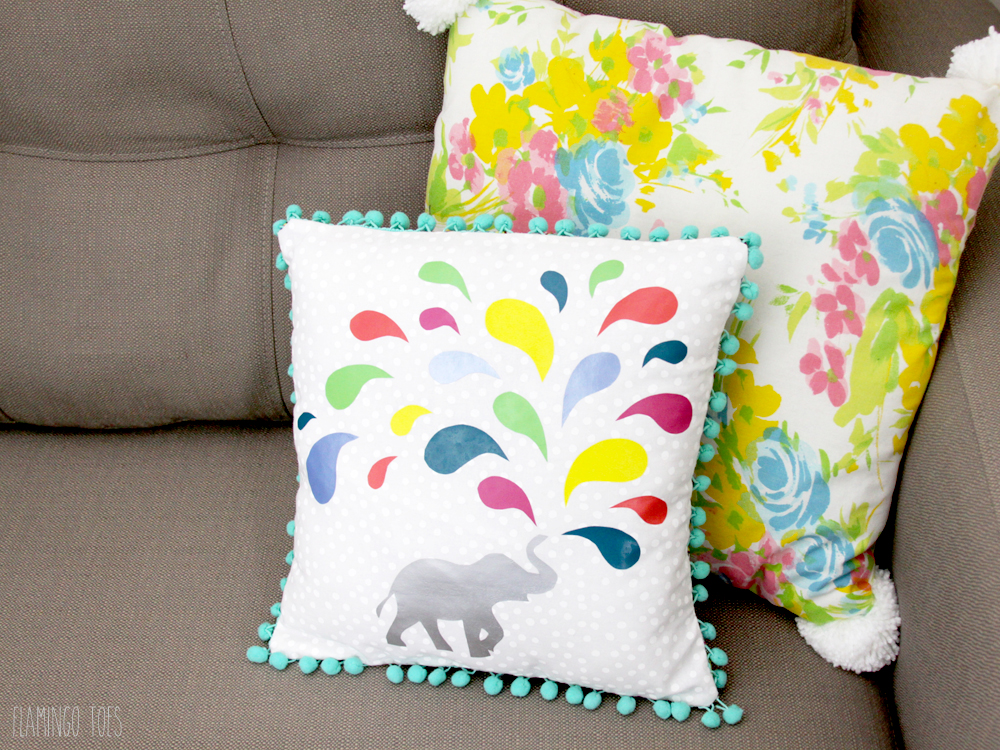
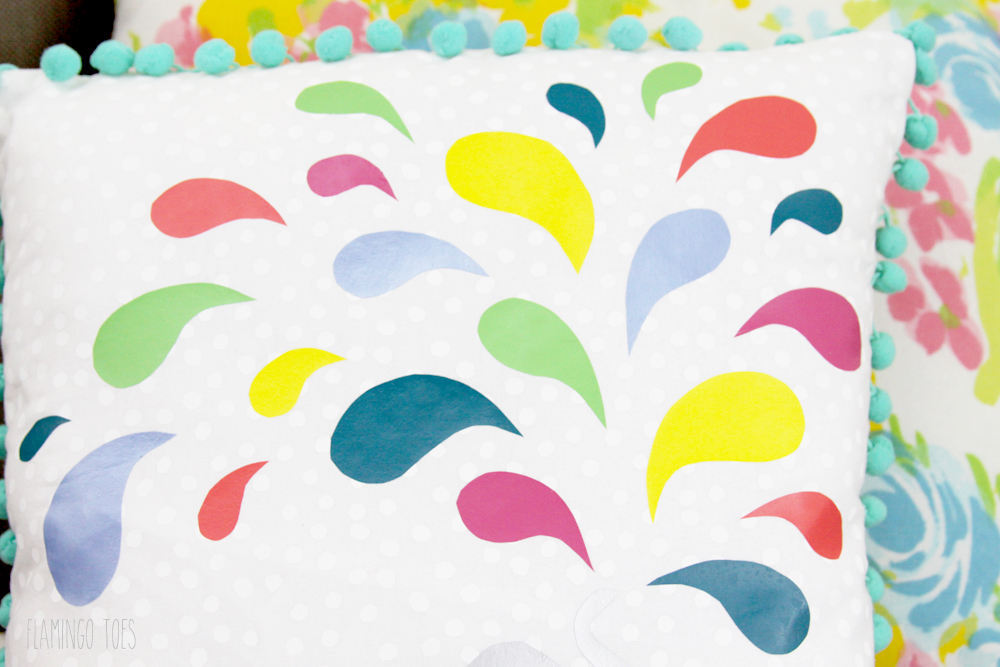
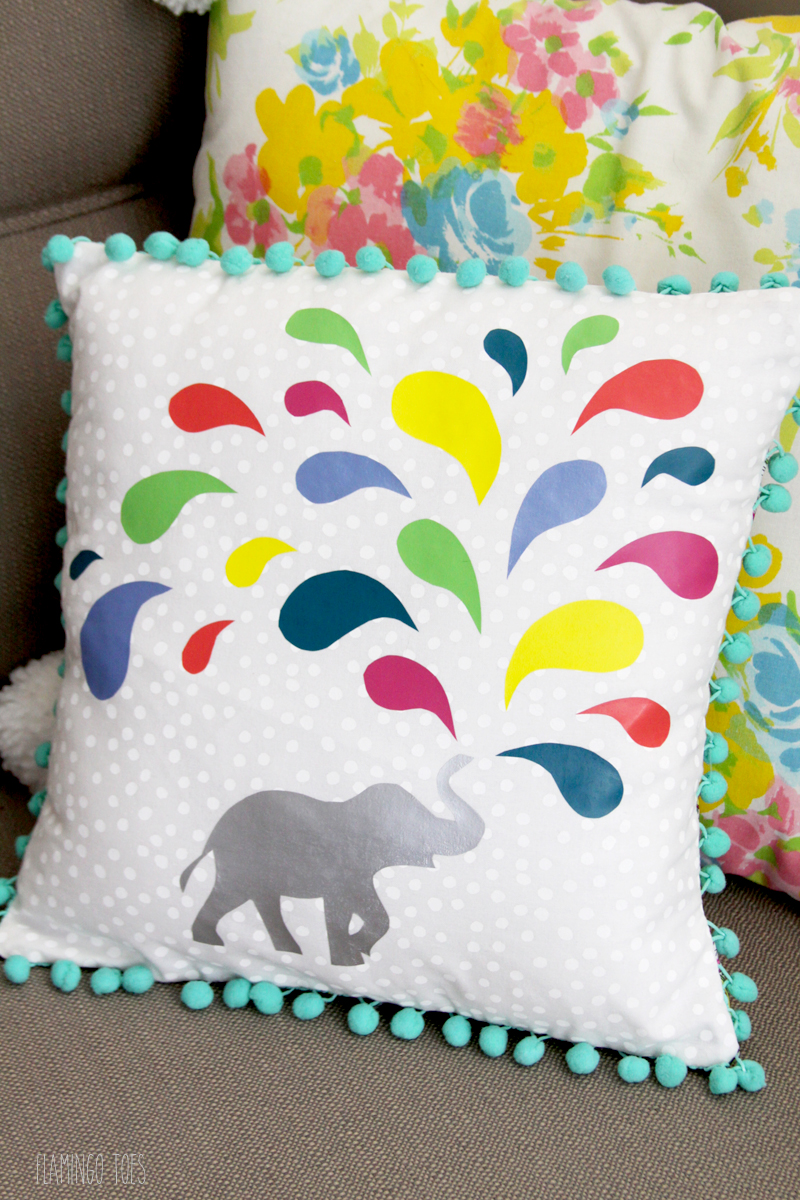
Here’s what you need to get started!
- 14″ x 14″ piece of light fabric for front of pillow
- 2 pieces for back – 14″ x 10″
- 14″ pillow form
- pom pom trim for edge of pillow – 56″
- Heat Transfer Vinyl:
- Silver, Green Apple, Lemon Yellow, Hibiscus, Turquoise, Pink, Columbia Blue
- Elephant and Water Drops Pattern
Start by cutting out your elephant and water drops. Change up the direction of your drops and make sure you cut out a few from each color. You will want to cut everything out with the shiny plastic side up.

Cut out the white fabric for the front. Lay out all your pieces where you want them.
Press directly onto the plastic (it’s designed for that) to press the vinyl in place. Peel the plastic film off and your vinyl is all set!

If any of your vinyl edges are a little loose, flip the fabric over and press on the back side of the fabric. Sew your pom pom trim around the edge of the fabric 1/3″ inch from the edge all the way around.

For the back of the fabric hem the bottom of one piece and the top of the other.

Overlap the pieces so the top piece with the hem at the bottom is over the other piece. Move the layers so they measure 14″. Baste the sides in place. Place the front and back of the pillow with the right sides together and sew around all four sides with a 1/2″ seam allowance.
Clip the four corners and turn the pillow right side out. Press.

Place the pillow form in the cover using the overlapped edges in the back. Now you’ve got a super cute pillow to display anywhere!
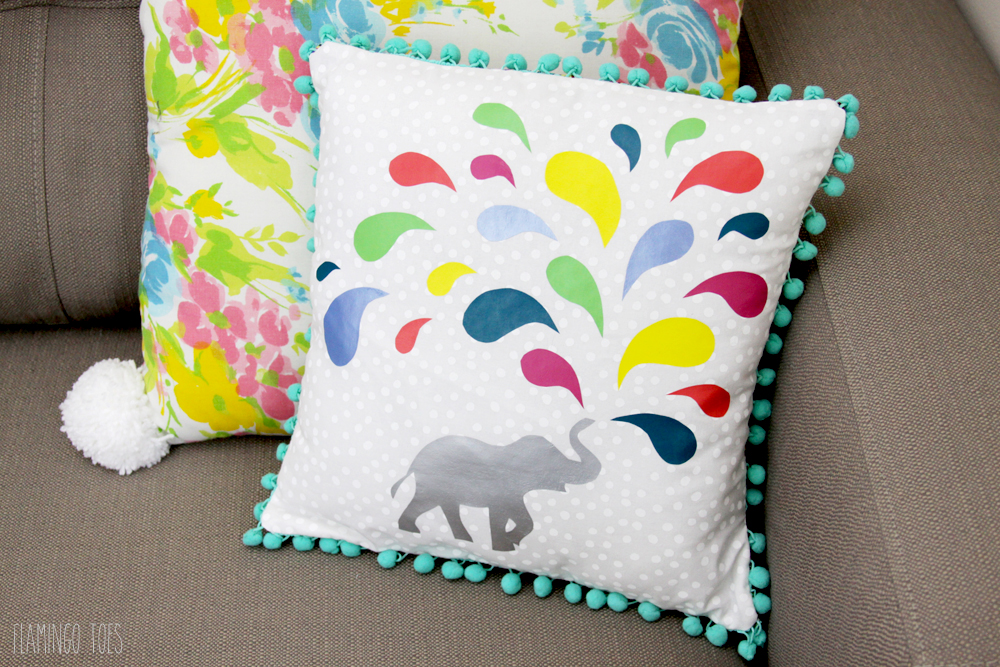
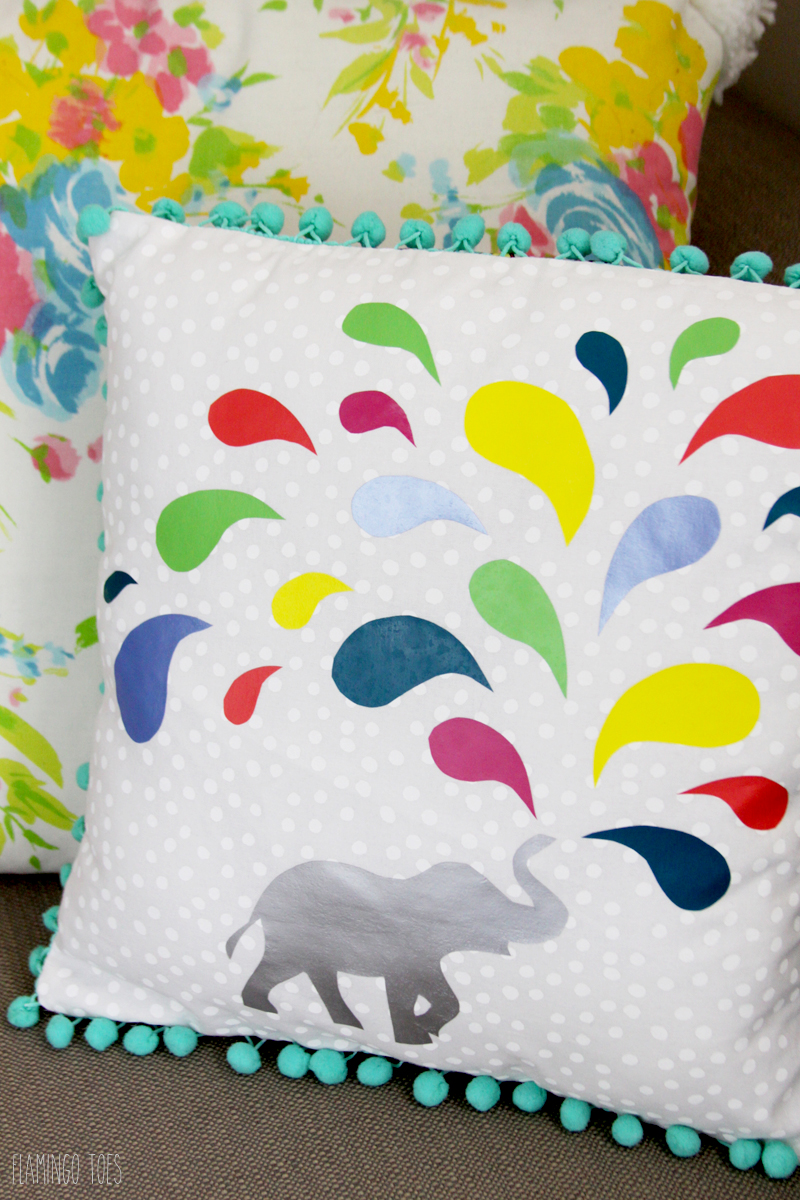
I hope you like it!
I also have a fun Vinyl Giveaway for you today!


Bev, this is a brilliant idea! It amazes me how so often I overlook the possibilities that should be right on the surface. I myself have never used the iron on vinyl for decorating t-shirts and so forth, but my husband has many times. Designing a pillow or even some quilt blocks is a great idea and one, thanks to your idea and tutorial, I will be attempting. Thank you for sharing your awesome elephant pillow. Have a wonderful creative day!
VERY cute, we love elephants around here too!
Oh my word, the amount of cute in this project is KILLING me. I love this idea! My sister has an elephant obsession too and her birthday is coming up. Thanks for the inspiration!
So stinking adorable!!!! I love color…and elephants….and you!
Your vinly elephant pillow is adorable. Unfortunately, I’m not comfortable making it even with your easy instructions. Can I buy one already made? I’d love one “exactly” as shown. Thank you.
I love this pillow and would make it in a minute only here where I live we do not have heated vinyl.
When you wash this pillow what special instructions is there to keep it well preserved?
Love your pillow would make it in a minute only thing is here we do not have heated vinyl.
Also what special instructions would there be to prolong the pillows wear?