I just love creating DIY ornaments and these Chilly Snowman Embroidered Hoop Ornaments are so fun and quick to make!
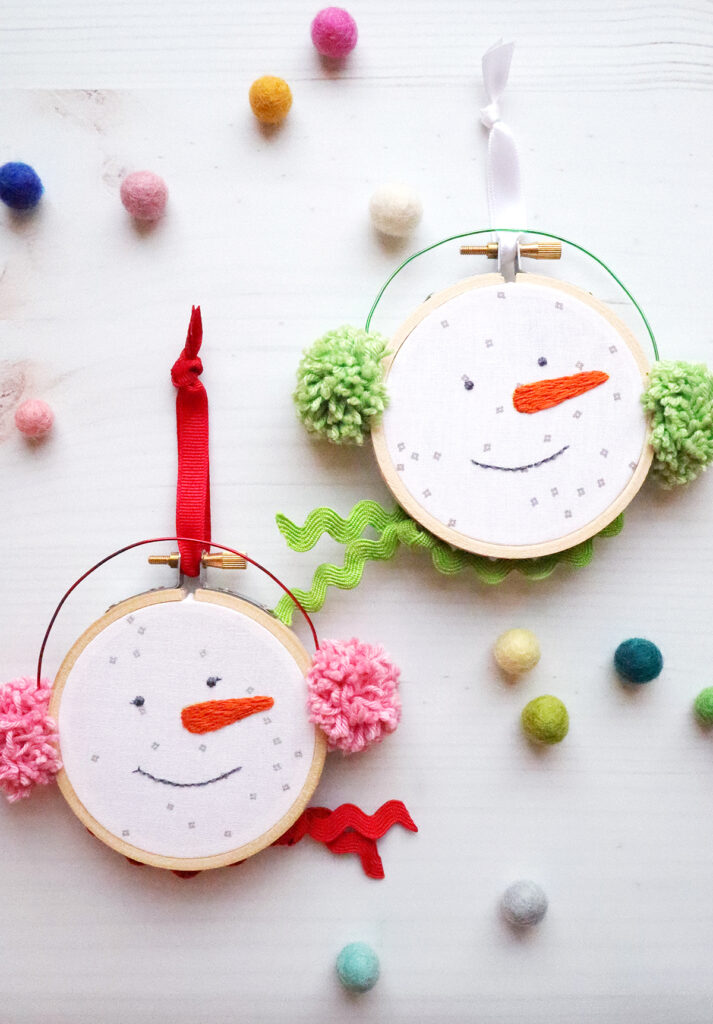
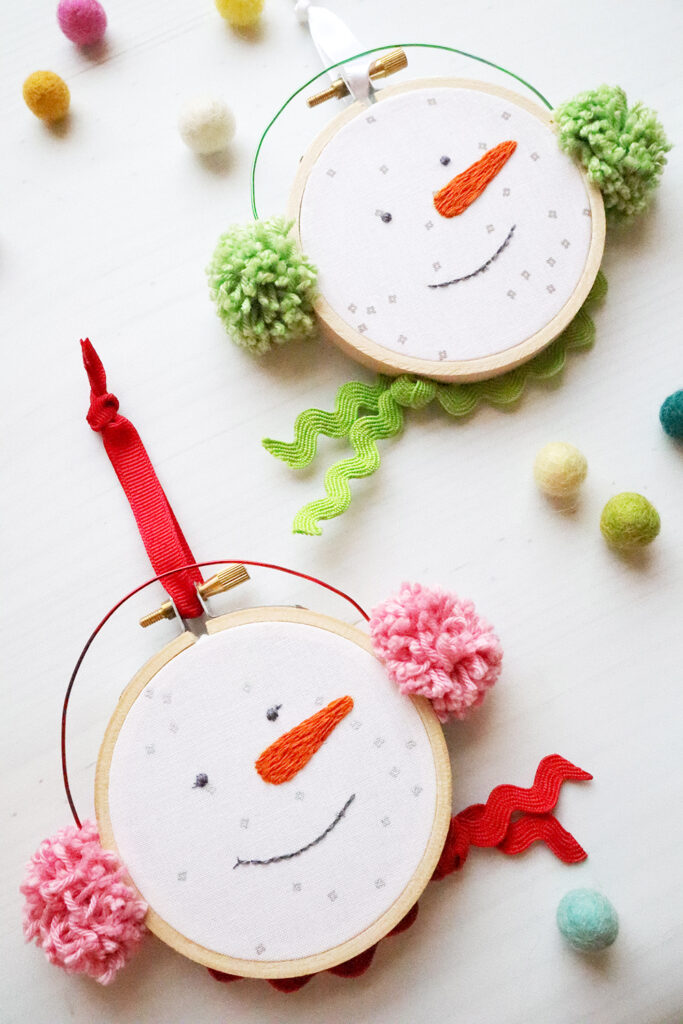
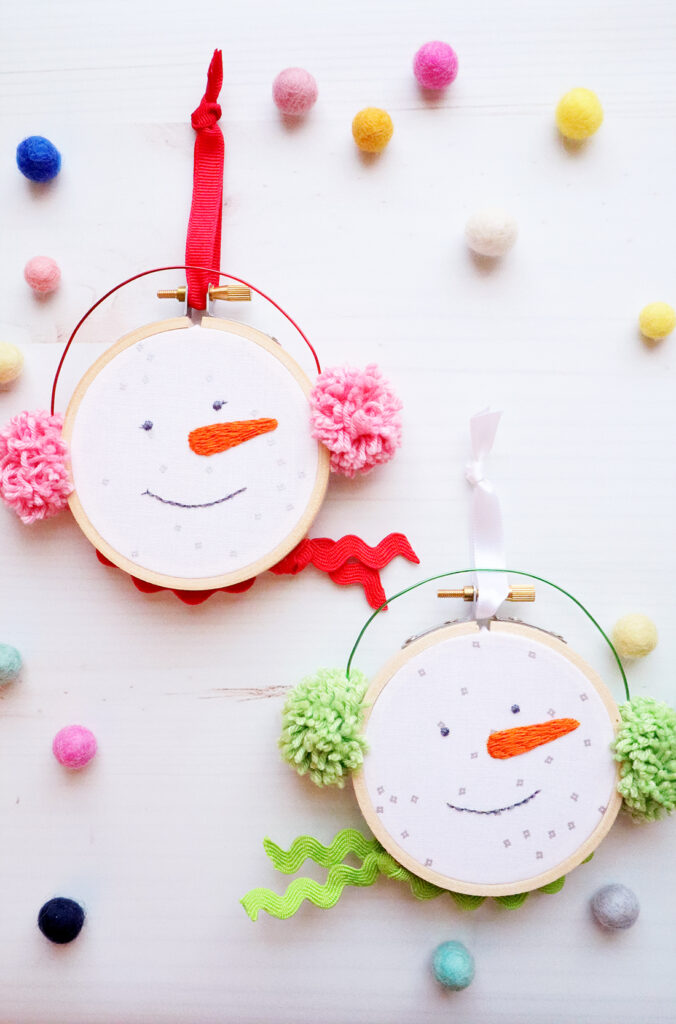
These sweet little mini hoop ornaments are so fun to make! They have fun little pom pom ear muffs and rick rack scarves – and they are perfect for beginners or expert stitchers!

These are made in 3″ little embroidery hoops, so they are great for ornaments, gifts, and decorations on presents! They don’t take very long to stitch either – you can put one together in just a little while! They are easy to customize as well. You can change up the colors, add felt for the nose, all sorts of things!
Chilly Snowman Embroidered Hoop Ornaments
Materials:
- 5″ square of fabric – I used Blossom in Silver
- Embroidery Floss – I used a dark gray and orange Aurifil
- Yarn for pom poms or store-bought pom poms. I used Lori Holt’s chunky yarn for mine
- 3″ wood embroidery hoop
- 6″ colored wire – I found mine at Wal-mart
- 10″ coordinating rick rack
- Glue
- Ribbon for hanging
- Marking Pen for transferring the pattern
- Chilly Snowman Embroidery Pattern
Instructions:
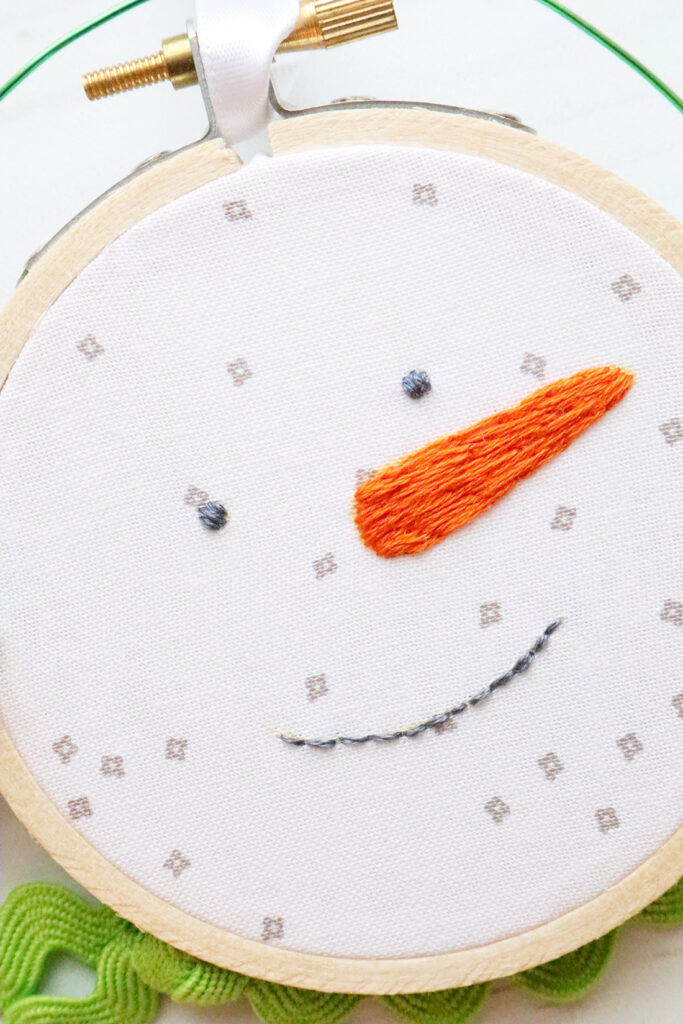
- Transfer pattern onto the fabric and place in the embroidery hoop.
- Embroider the design. Use a satin stitch for the eyes, a long and short stitch for the nose, and a back stitch for the smile. As an alternative idea, you can use a felt piece for the nose and stitch it on with a running stitch.
- Trim the excess fabric around the hoop, about 1/2″ past the edge of the hoop. Glue the fabric inside the back of the hoop. I find hot glue works great for this!
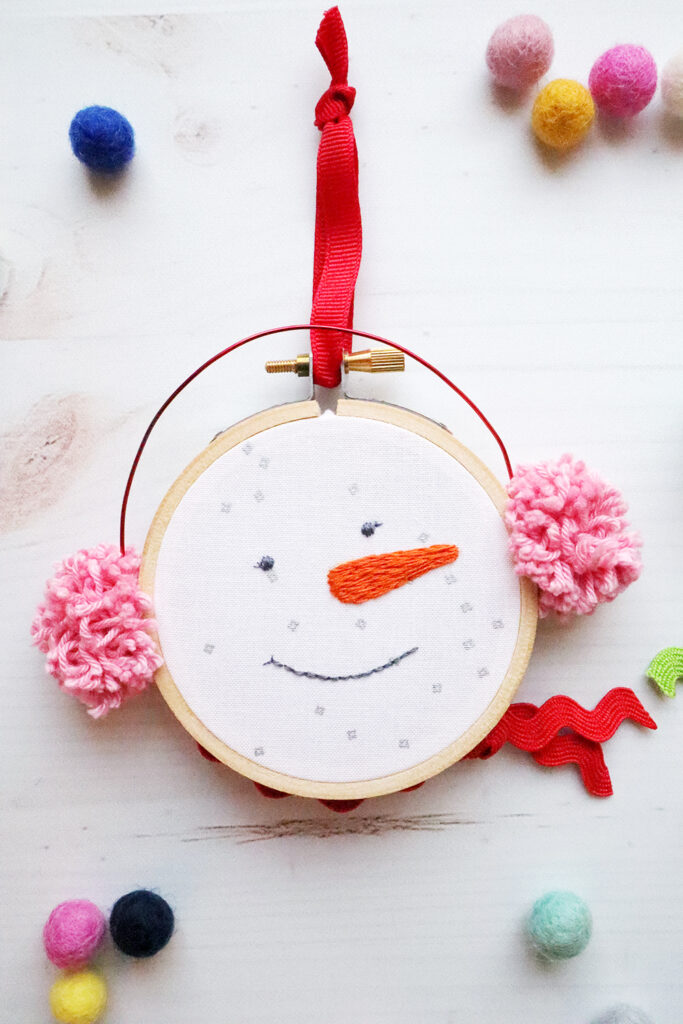
- Cut a section of wire for the top part of the earmuffs. Next, glue the ends to the sides of the embroidery hoop, so the wire is about a 1/2″ above the top edge of the hoop. I like mine a little off center, but feel free to glue yours however you’d like!
- If you are making pom poms, go ahead and make those now. Glue the pom poms on each side of the hoop, over the wire.
- Form the rick rack scarf.
- Cut a piece of rick rack 2” long and tie a knot in one end, right at the end.
- Glue a piece of rick rack (about 7 – 8 inches) along the bottom edge (about 3-4 inches) so the rick rack sticks out from the back of the embroidery hoop and leave a tail on the right side. Trim to about 2″.
- Glue the piece with the knot to the bottom of the hoop, right where the loose tail starts.
- Add a length of ribbon to the opening at the top of the hoop and knot the ends together for hanging the ornament.

There will also be a few more ornament tutorials on the blog this week to get you all set for Christmas!


These are so super cute, Bev! Love the sweet faces. Your embroidery is just beautiful.
These are adorable! You are so creative… Thanks for sharing your gifts with us!
These are darling! Thank you & Merry Christmas!
Love this! I am thinking about making them for my mum for Christmas, but I had a question! I couldn’t tell what the snowflakes were made out of!