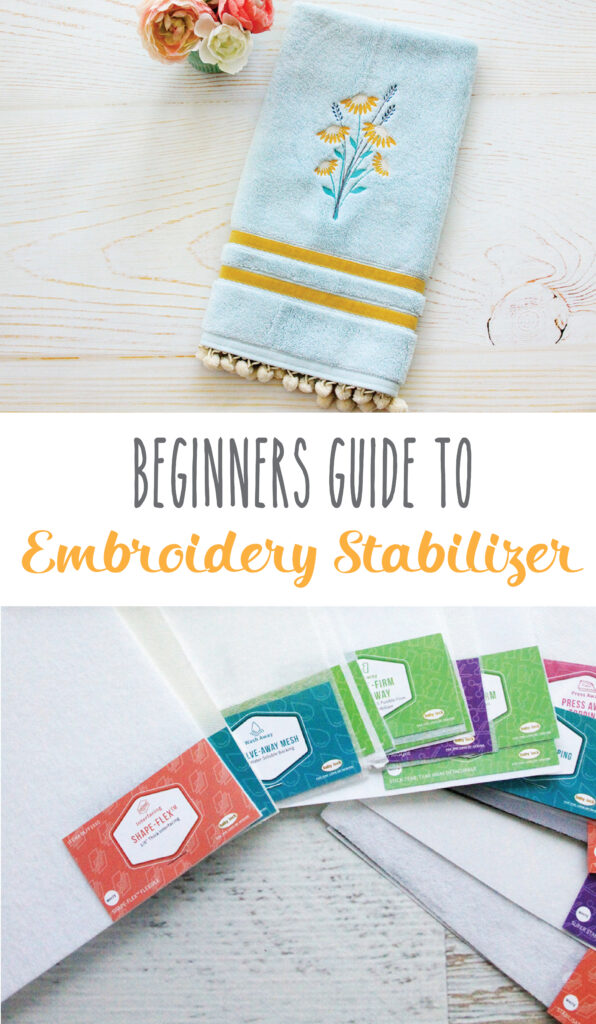
I’ve been having a blast with my Baby Lock Embroidery machine and one of the things I’ve been working on is how to stabilize the different fabrics for different projects! Baby Lock was super helpful with this and I’ve learned so much. I’ve put together this Beginner’s Guide to Embroidery Stabilizers to help you out too!
I’m not an expert in stabilizers (yet lol!) but I want to give you enough to get you started if you are just beginning with your embroidery machine! I’m giving you a general overview and then you can dive in and do some practicing!
Types of Embroidery Stabilizers
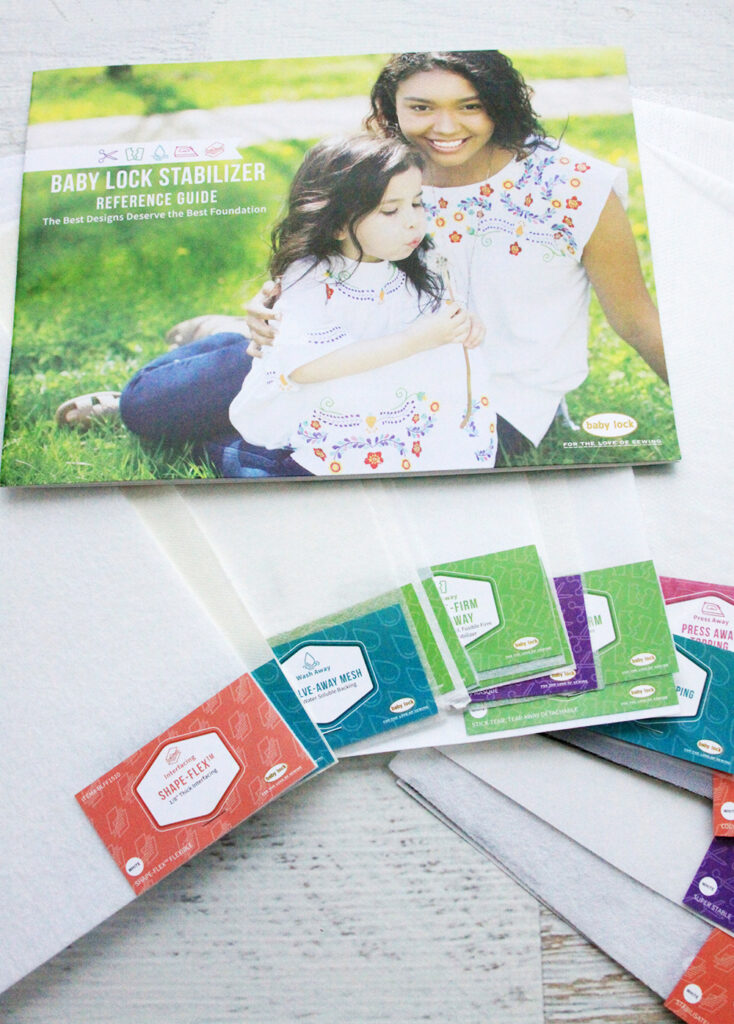
Baby Lock sent me a few things to study that were super helpful! They have a sample pack of different stabilizers that I’ve loved being able to reference, along with a guide that explains what each stabilizer is for and when to use it. I use this guide for every new project!
The main types of stabilizers are:
- Interfacing
- Tear Away
- Cut Away
- Wash Away
- Press Away
Within those types are different styles of stabilizer – sticky, fusible, rinse away, etc. Don’t let that overwhelm you though! That’s where a sampler pack and embroidery guide can help you – you can look for your fabric and texture and see what stabilizer would work best!
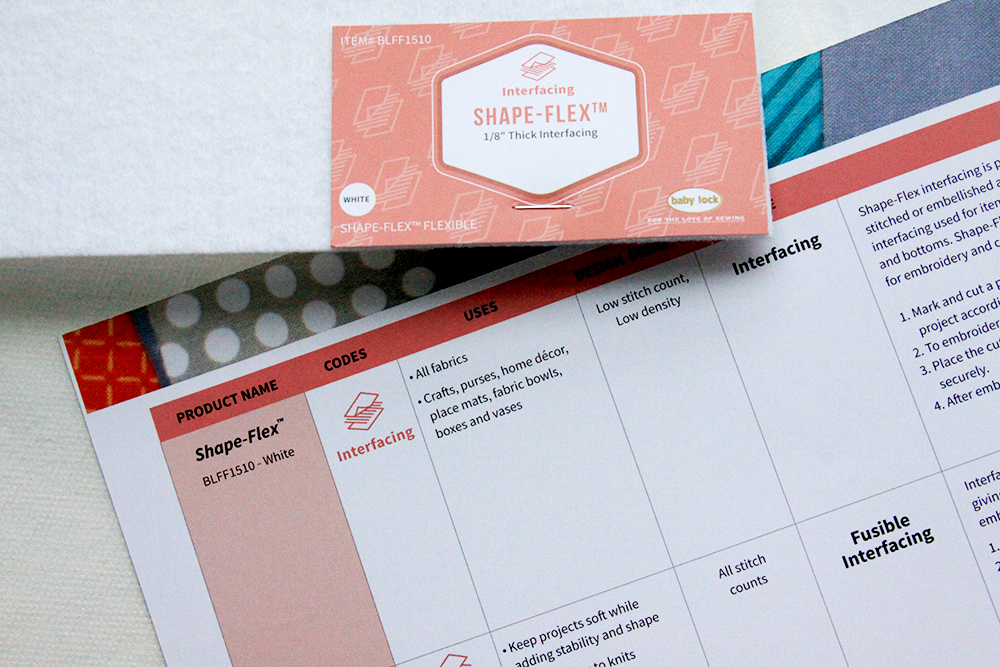
Interfacing:
Soft fusible interfacings can be used for backing for embroidery or as regular light interfacing. You can use heavy weight interfacing for home decor, crafts and collars. It’s also permanent so keep that in mind with your project.
Tear Away Embroidery Stabilizers:
Tear Away stabilizers are just like they sound – once you’ve done the embroidery you tear it off the project. Which is pretty fun and satisfying. :) Tear Away comes in different weights as well as sticky, fusible, water activated and rinse away. The tear away stabilizers I like to use the most are tear away firm and the sticky tear away. Most of the time if I am doing embroidery on quilting cottons I’ll grab one of these. The sticky tear away is especially versatile – it can be used with all fabric weights and types. It’s easy to use (especially for beginners) and you can even use it for projects without a hoop!
Cut Away Embroidery Stabilizers:
Cut Away Stabilizers are designed to be cut out of the project after embroidery. These also come in different weights and you can find them in regular and fusible varieties. Cut Away Soft works great for most wovens (like quilting cottons) and knits. I also really like the no-show mesh fusible. I’m working on a cute embroidered t-shirt and I love the stability this mesh gives the fabric without adding a lot of bulk.
You can see in the photo below how lightweight and drapey the No-Show mesh is!

Wash Away Stabilizers:
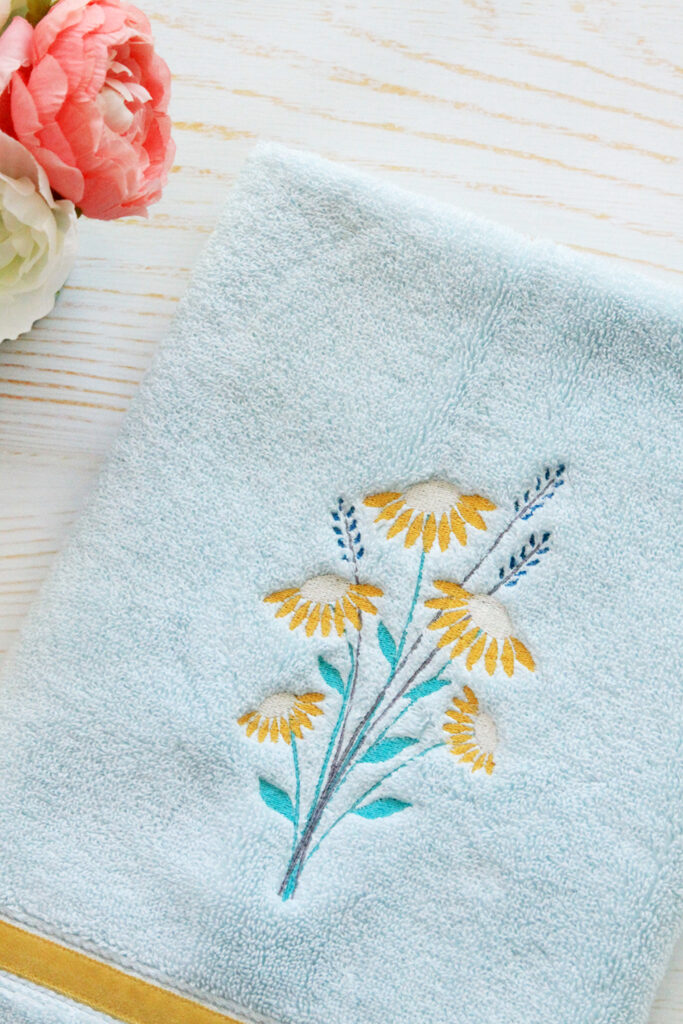
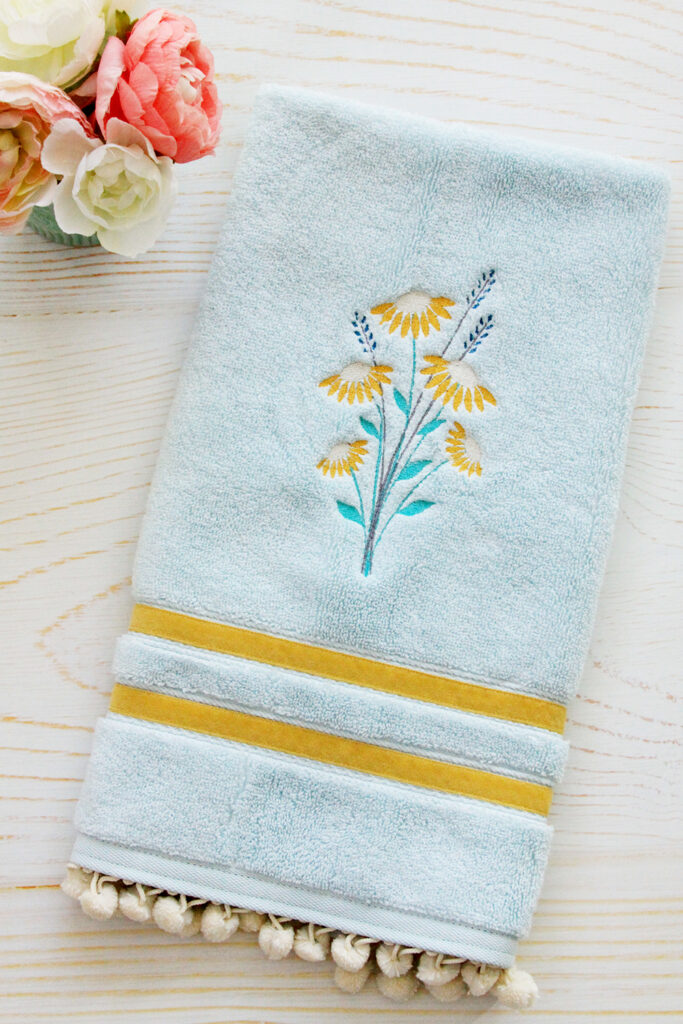
These are so fun! Wash Away Stabilizers are completely dissolvable after embroidery, so there is no stabilizer left in the project. You’ll want to use these on projects that can get wet. I just used the Hydro-Melt Topping stabilizer for the first time on this sweet hand towel project I’ll be sharing next week! It was so easy and fun to use and I love how it really let the embroidery pop on the fluffy texture of the towel.
Press Away Stabilizers:
Press Away Topping works similar to Wash Away but it dissolves when pressed with a hot iron. This stabilizer sounds great for projects that can’t get wet but can be ironed.
I hope this beginner’s guide to embroidery stabilizer has given you a good starting point! I am still learning so as I find more stabilizers I love, I’ll be sure to share more tips and projects. I’d also love to know what stabilizers you love to use!
Make sure to check back next week for the tutorial for this fun Vintage Daisies Hand Towel project, along with the free embroidery pattern! This is a similar design to my I Love Us embroidery hoop – I love how it turned out in a different project!


I am searching for an ULTRA SOFT backing for my monogrammed baby items. I currently use one but it is far from soft, even though it is designed to give a soft affect. Any suggestions??