Have you started any of your present wrapping yet? I will confess I have not.
Mainly because I’ve only begun my shopping. Ahem.
When it comes to wrapping, I love making Christmas presents pretty – it makes them even more fun to give I think.
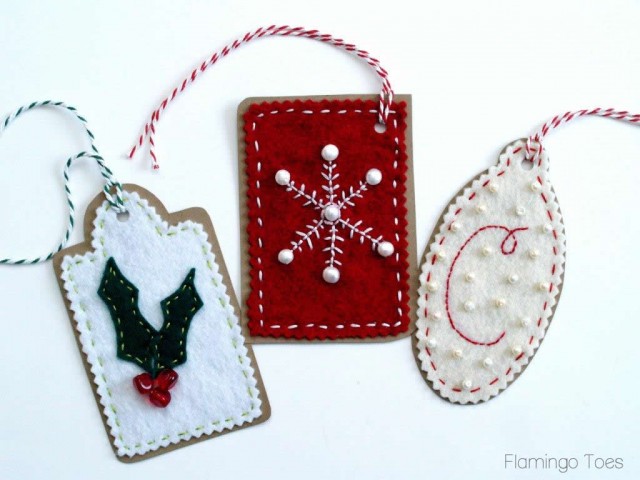
Today I have some sweet little Bead & Embroidery Felt Gift tags that would be so cute to decorate your packages with!
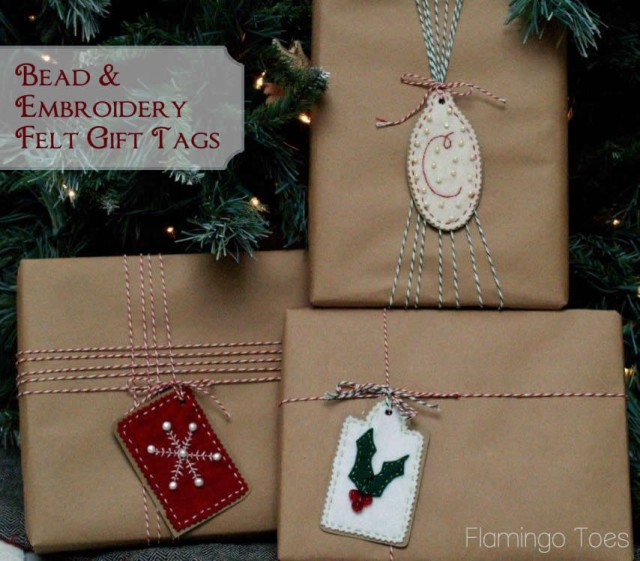
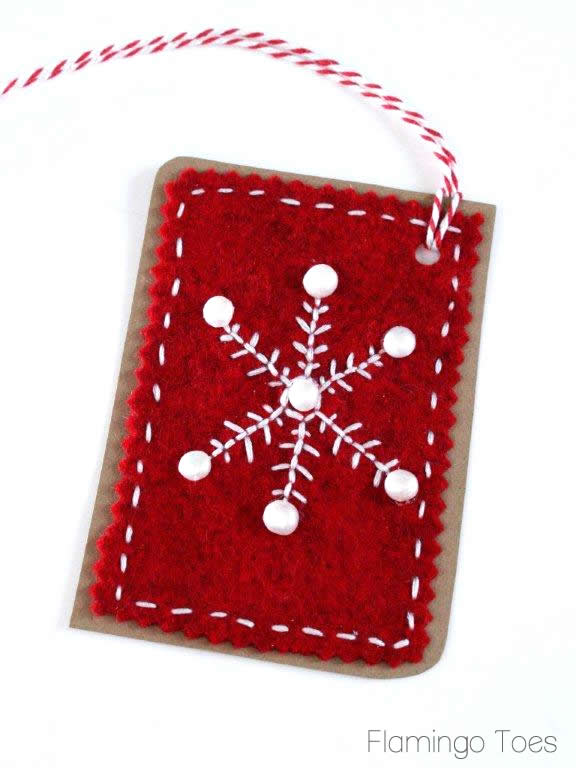
Aren’t they fun? They’re little felt tags all decorated up with embroidery, then sewn to a Kraft paper tag!
So you can still write To and From on the back.
(Though my daughter suggested writing with pencil – so you can reuse them next year haha!)
So to whip up your tags, you’ll need:
Gift Tags Printable: Includes these three tags, plus the pattern for the holly and the snowflake
Embroidery floss
Beads
Twine or some other ribbon or trim for tying
Hole punch
Optional: Pinking Shears
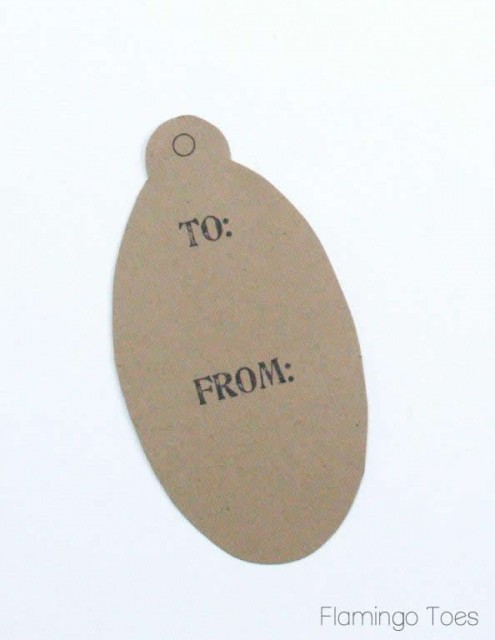
Start by printing out your tags. You’ll want to print them on card stock – they’ll need something sturdy.
Cut out the tag shapes just inside the lines.
(Ignore that little circle at the top, those aren’t on the tag pattern)
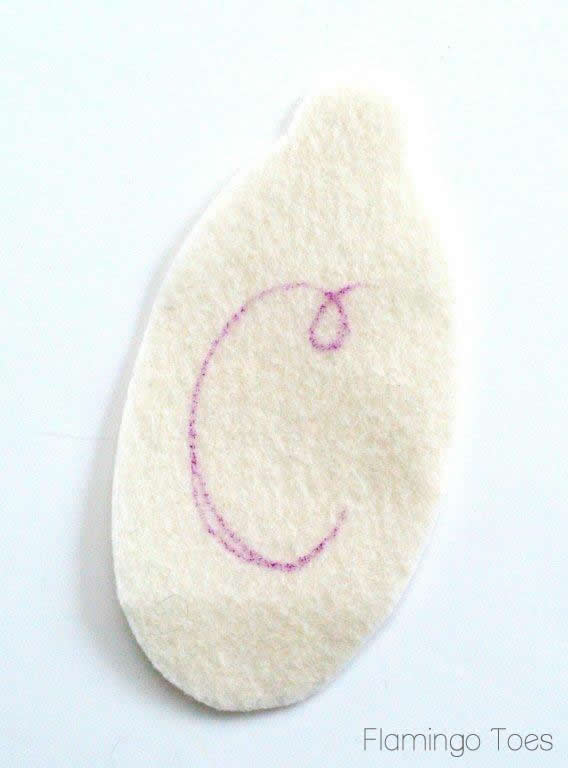
Cut out a piece of felt the size of your tag.
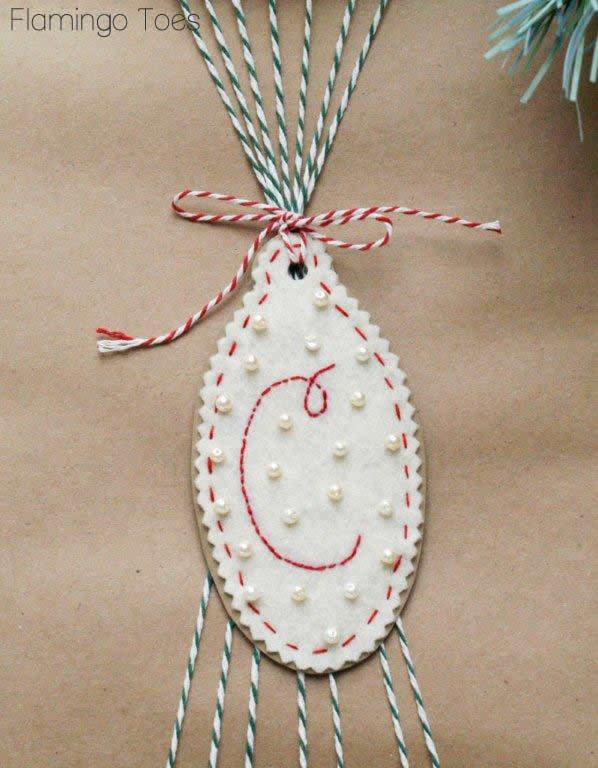
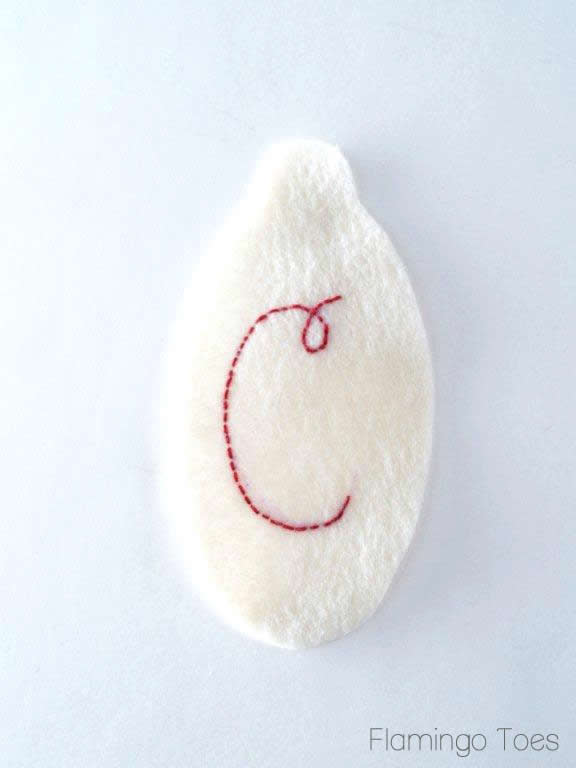
For the oval tag, draw out your letter for the monogram with disappearing ink.
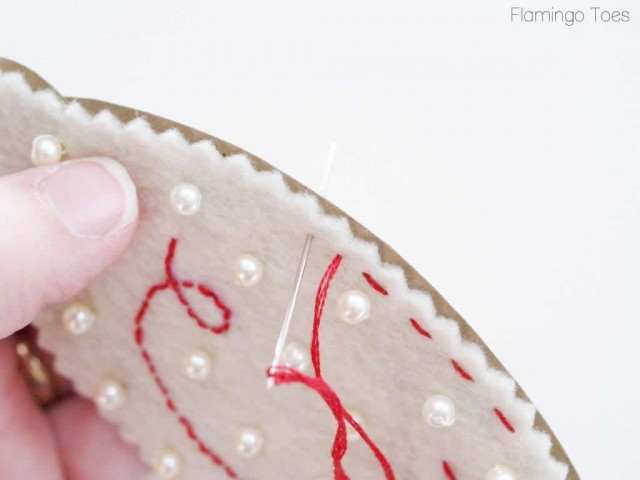
Embroider your monogram with a back stitch.
I have directions to several simple Embroidery stitches on my blog – you can find them here.
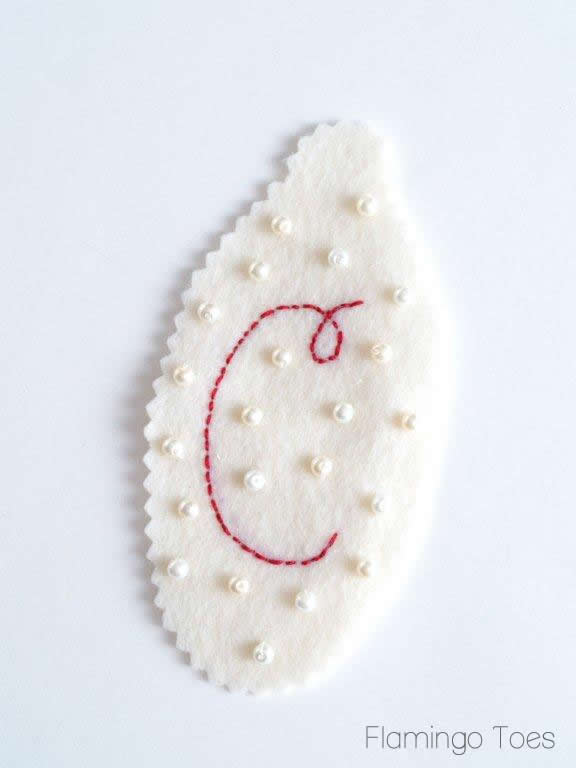
Decorate the tag by sewing small pearls all over it.
Trim around the oval with pinking shears if desired to give the felt a fun edge.
Lay the felt over the tag so the printed side of the tag is to the back. Sew the felt and tag together with a running stitch all the way around.
Hide the knots in the thread between the felt and cardstock.
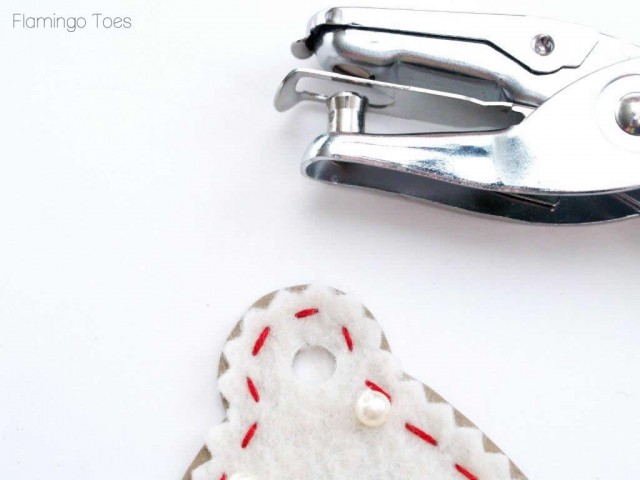
Use a hole punch at the top of the tag to make the hole for your twine. The hole punch should go through both the felt and cardstock.
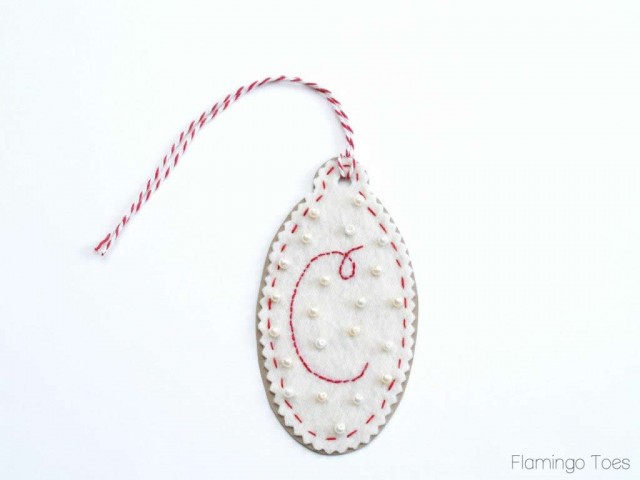
Knot some twine through the hole to finish it off.
Now we have a cute little monogram gift tag!
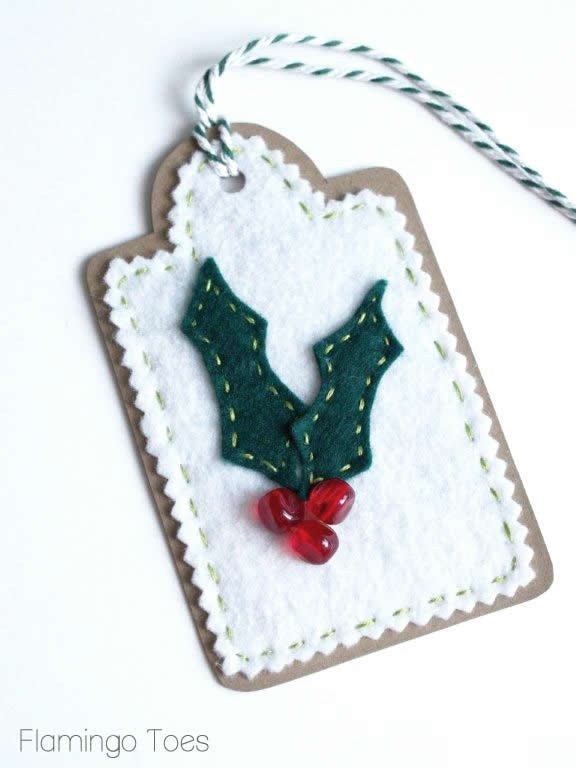
For the holly tag, cut out the leaf pieces on the pattern from green felt.
Sew them to the felt piece with a running stitch. Finish off the holly with red beads and sew the pieces together as you did for the monogram tag.
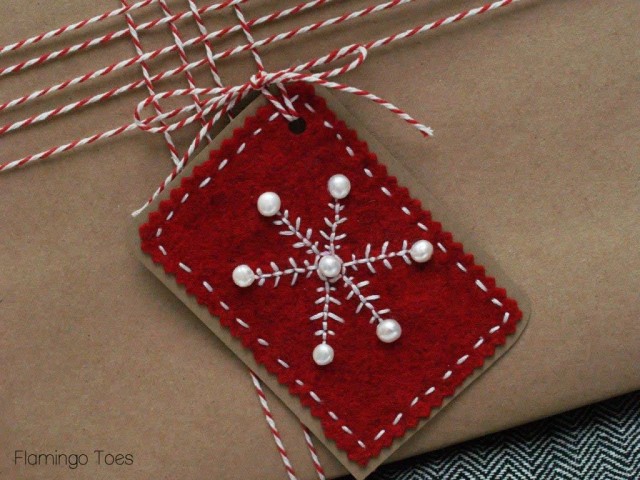
The snowflake tag is made the same way. I added beads to the center and each end of the snowflake.
(I glued these on, I couldn’t find a needle small enough to sew them on)
So now you can create even more tags with the same three shapes – you can embroidery anything you want on them!
Christmas Trees, little birdies, snowmen – there are so many cute options!
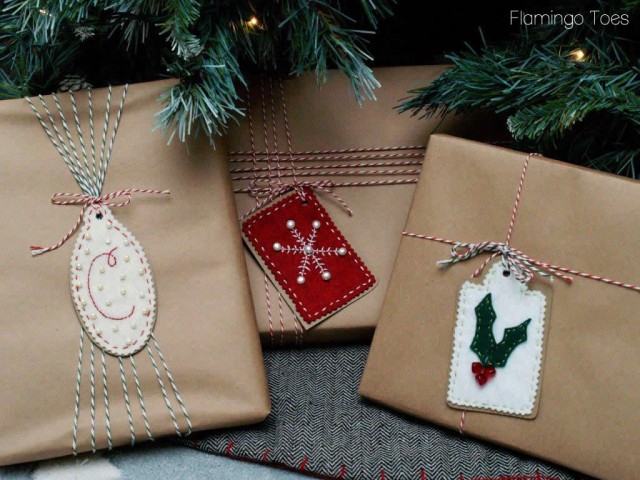
They look so cute on Kraft paper wrapped packages – all tied up with twine.
I hope you like them!
Have you made your own gift tags before? I’d love to hear about what you made!
Linking up at Met Monday, Tutorials & Tips Tuesday, Shabby Creek Cottage, 504 Main, The 36th Avenue Party, Block Party, and the other fabulous parties on the party page. Make sure you check them out!



These are adorable Bev! I love them, now if only I had time to make them. lol
These are fabulous! I can’t wait to give it a try :)
These are lovely! (I haven’t wrapped any presents yet either…)
Eep! These are so cute!! I think embroidering anything makes it cute though :)
Oh, Bev, these are just darling! I think your daughter is on the right track about making them reusable. I could never throw one away! They look so cute paired with the Kraft paper!
Toooooo pretty. I’m a sucker for pearls! I’ve never made my own tags before but this year I will :D.
These are like little works of art, amazing. Love them (on my One day list so pining so I don’t forget them!)
Thank you so much Julie! Thanks for the pin too! :)
I love these! Maybe if I get them started now, I can have them finished by Christmas next year. ;)