Today I’m sharing this 15 Minute Plaid and Lace Infinity Scarf and it is sooo quick and easy to sew up. You could make up a bunch in an afternoon and have something super cute to wear – and have some left over for gifts if you want! Or you could make up a bunch in different colors and just keep them all. Bwahahahaha (wicked flannel scarf hoarder laugh)
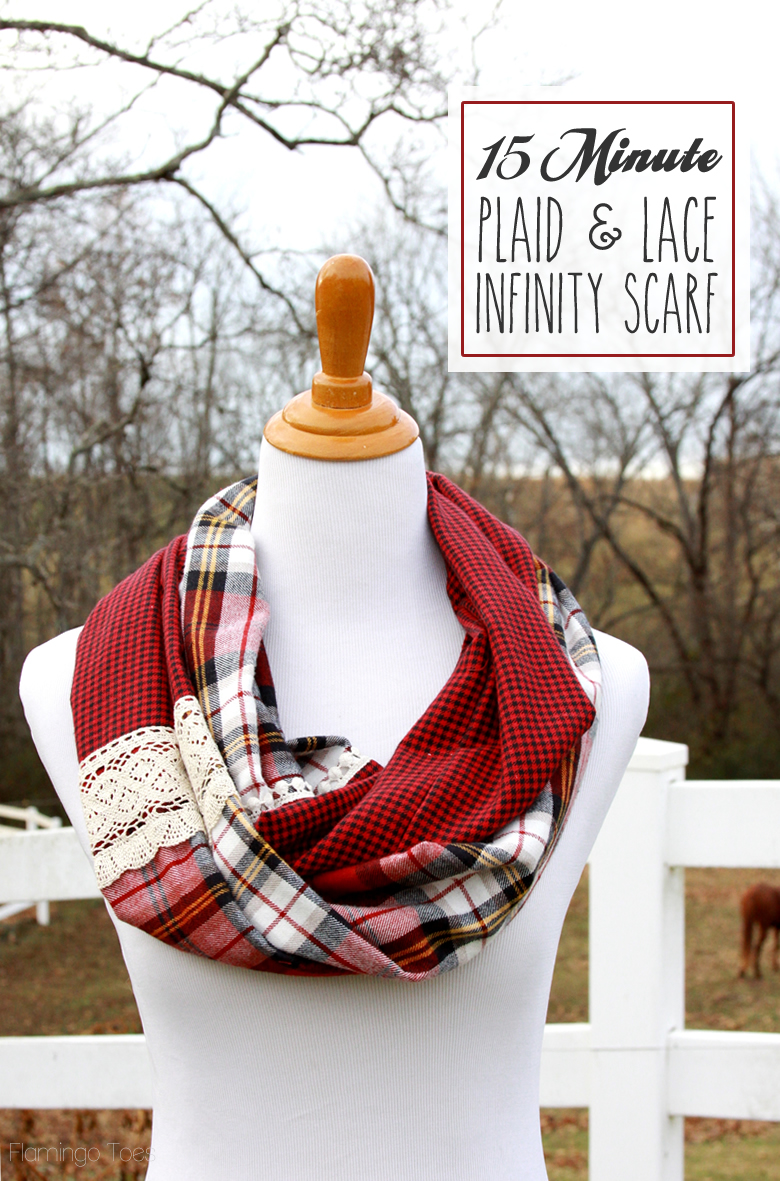
This scarf is a fun combination of two plaid flannel fabrics paired with some pretty crochet lace. The lace makes such a great contrast with the flannel! My favorite part about it though is how soft and cozy it is.
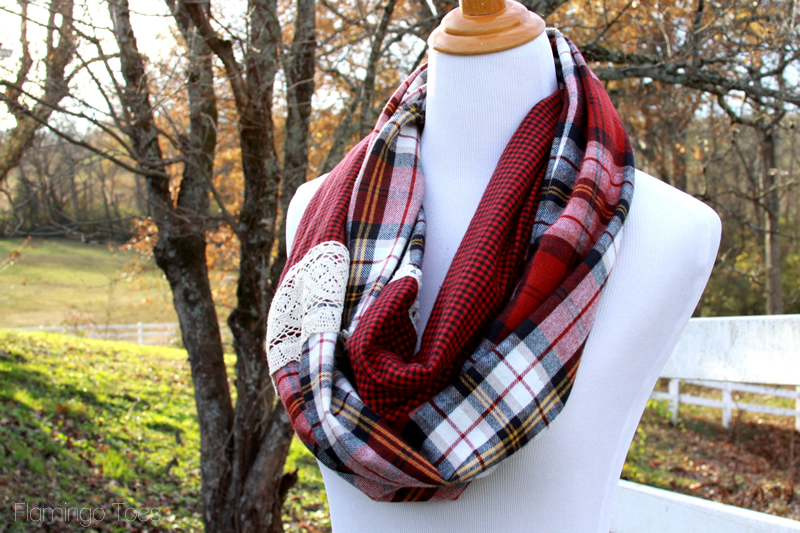
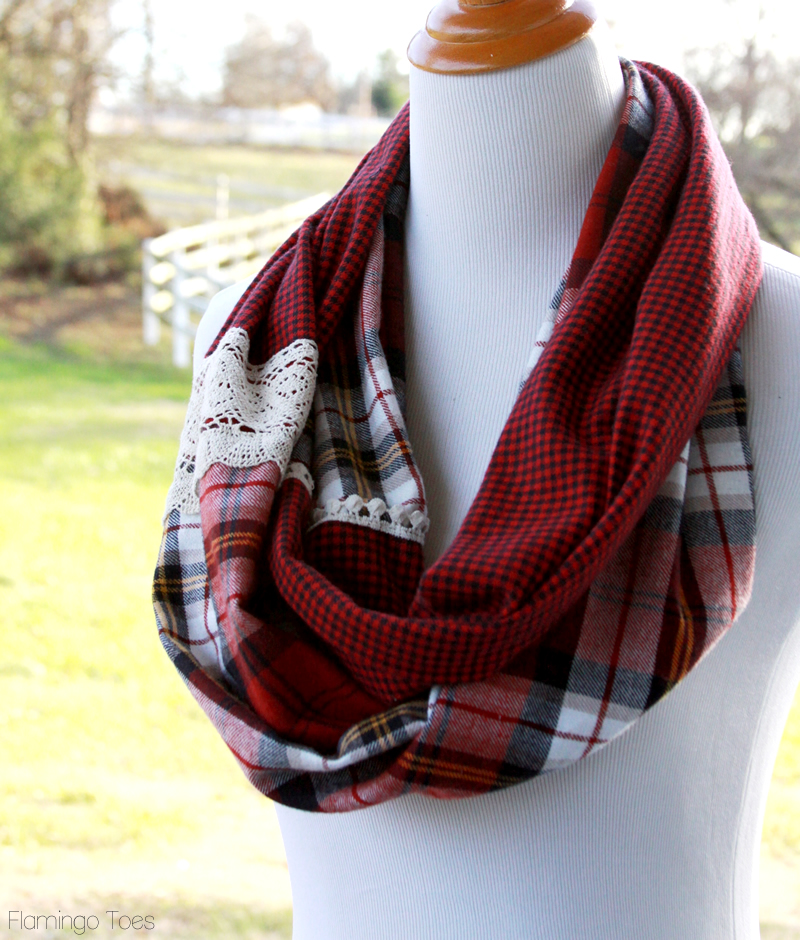
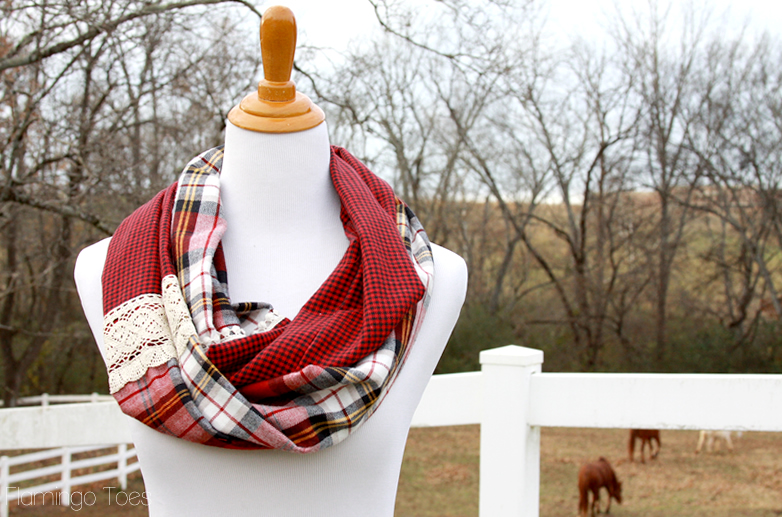
This tutorial is super easy! Here’s what you’ll need:
(You will want to pick these up when the fabrics/trims are on sale or you have a coupon) :)
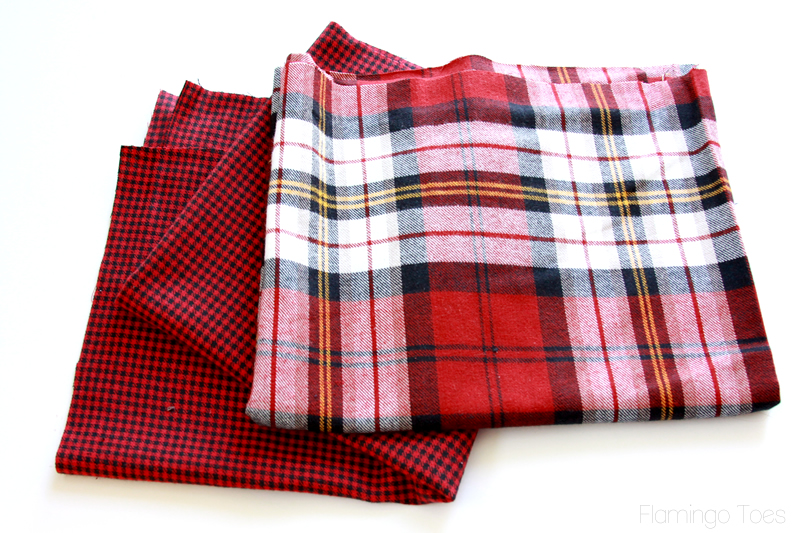
- 1/2 yard two different plaid flannels
- 1/2 yard wide crochet lace
- 1/2 yard thin crochet lace
My flannel was 42″ wide. So I started with two 18″ x 42″ pieces. I wanted one piece to be shorter than the other so on the black and red check piece I cut a 12″ piece off the end, measuring 12″ up from one of the selvedge ends. This will leave the piece 18″ x 30″, assuming that your fabric is 42″ wide. It’s not a problem if your fabric is 44 ” wide, you just want that piece a little shorter than the other.
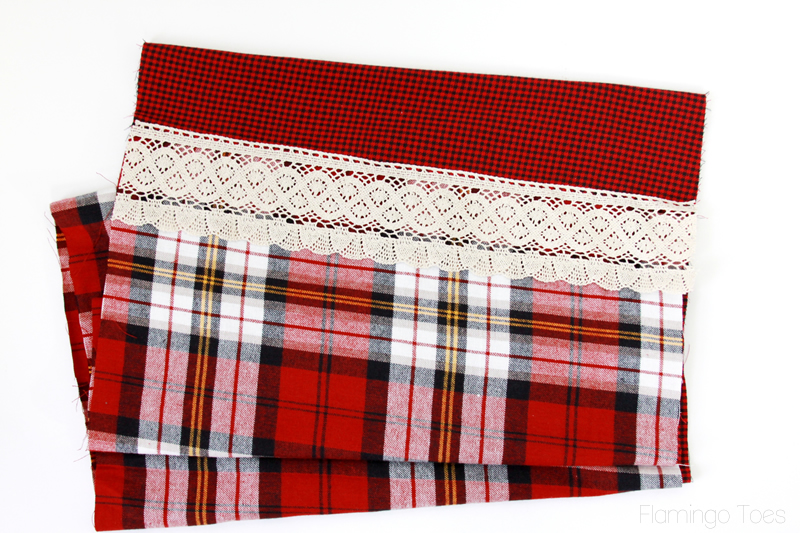
Lay the short ends together of the two pieces so the right sides are together. Sew across the seam. Lay your wider lace piece over the seam so it overlaps it just a bit. Sew down the lace along the top and towards the bottom to hold it in place.
Fold the piece in half so the right side is inside. Line up the long side edges and sew together.
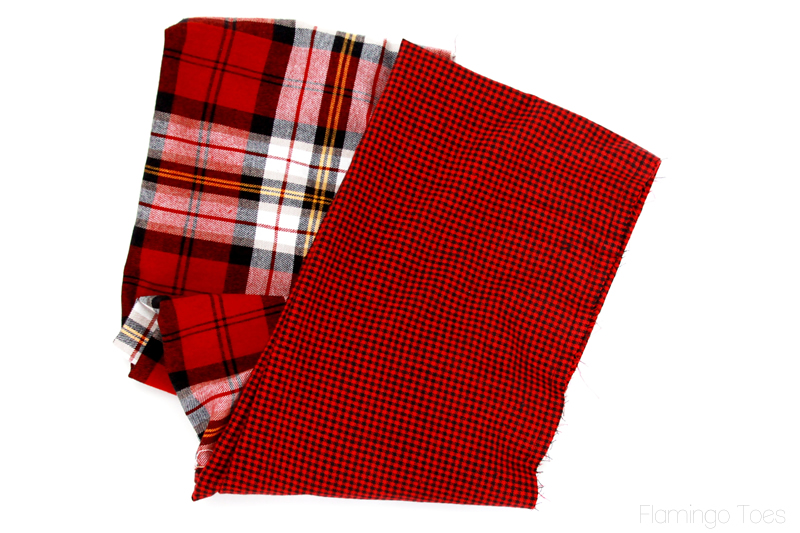
Turn the scarf right side out. Press under one side of the opening 1/2″.
Lay your unpressed side down on the machine (just one layer) with the raw edge on the right side of the presser foot, towards the machine. Then lay the folded edge of the other end of the tube over that, facing the opposite direction, so they overlap just a 1/2″ or so.
Lay the lace over the edge, so it points towards the bottom piece, away from the machine. Begin sewing the pieces together, overlapping them as above, while you sew. There’s a lot of stopping and starting at this point as you keep overlapping. At some point you’ll get to where you aren’t able to continue because you’ve almost sewed around the entire opening. The scarf should still be a tube, with a 3 or 4″ opening in the seam. You can take it off the machine and finish sewing the opening closed by hand. Place the other open edge inside the open end with the pressed edge so the pressed edge overlaps it. Lay the smaller lace over the fold. Sew the pieces of the loop together, continuing to overlap the edges as you go, until you can’t feed any more fabric together. (The scarf should still be “hollow” in the middle – in other words the seam should not go through all the layers at once).
Update: (and sorry for the low quality photos!)
This is kind of a tricky step and it’s hard to explain without a visual like a video. I’ll see if I can make it more clear. I took some photos with my cell and some flannel scraps, so hopefully that helps as well. Keep in mind the scraps are just flat, not tubes, but it will show you how to set up the fabric ends on the machine.
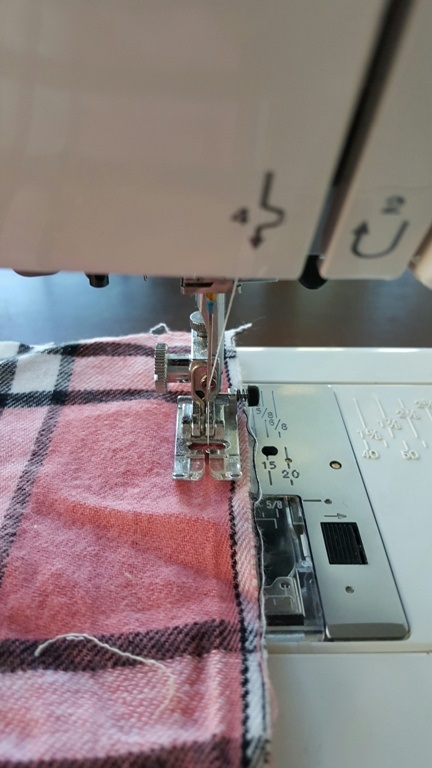
You should have two open ends of the tube of flannel. On one side of the tube (say, the left side), fold the fabric to the inside 1/2″ and press. This will form a little folded edge on one side of the tube.
On your machine lay the edge of the unpressed end of the tube under the presser foot, so the body of the scarf is to the left and the raw edge is to the right.

Lay the pressed edge of the tube on top of this, but facing the opposite direction, so they overlap. The folded edge will be on the left side of the machine.
Sew the two pieces together, continuing to overlap them as you go. It will be odd, because you’re basically sewing a circle together. When you have about 4″ to go, you won’t be able to match them up anymore. Stop sewing and finish the rest by hand.
As an alternative, after pressing one edge, you can tuck the end with the raw edge into the end with the folded edge and lay them on the machine and sew through all the layers at once. This will make it so the tube isn’t open in the middle, but it shouldn’t be noticeable when you’re wearing it.
I hope that helps and if you have any more questions, please let me know!
Finish sewing the opening closed by hand.
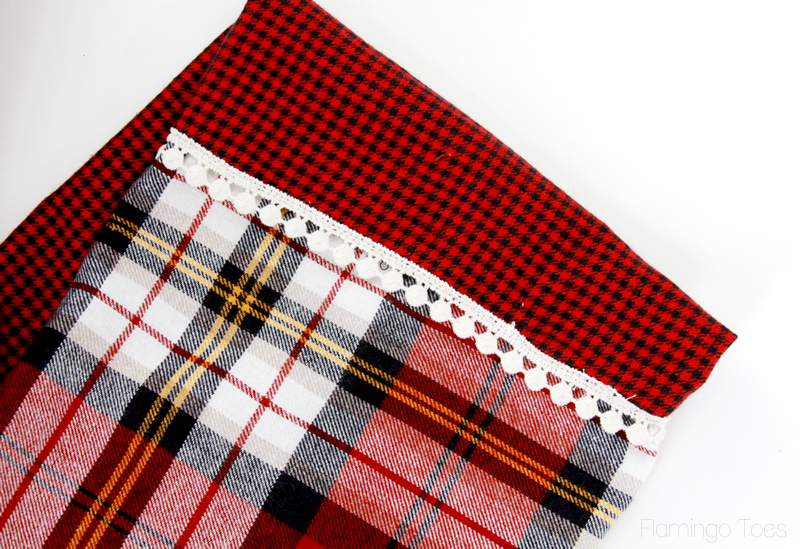
And that’s it! Now you have a super cute and stylish scarf for a gift – or to keep and wear while you go Christmas shopping!
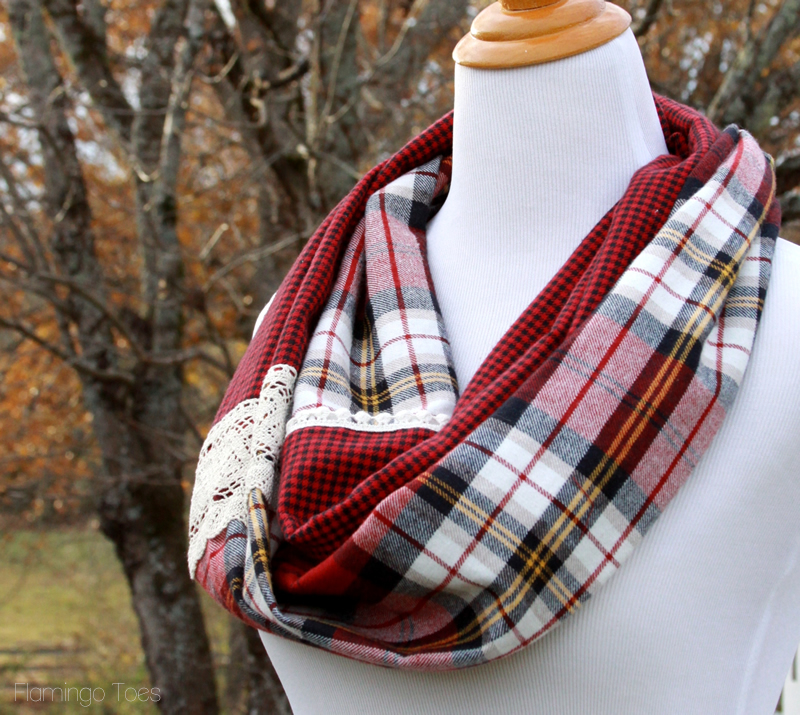
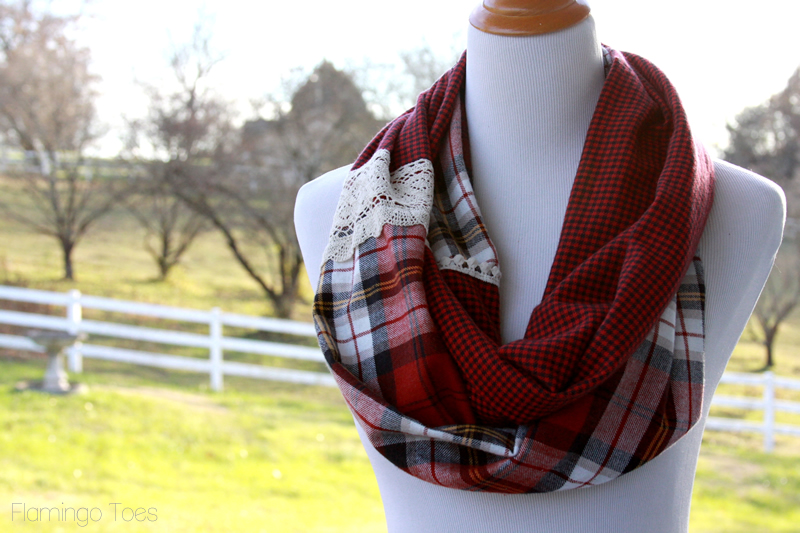
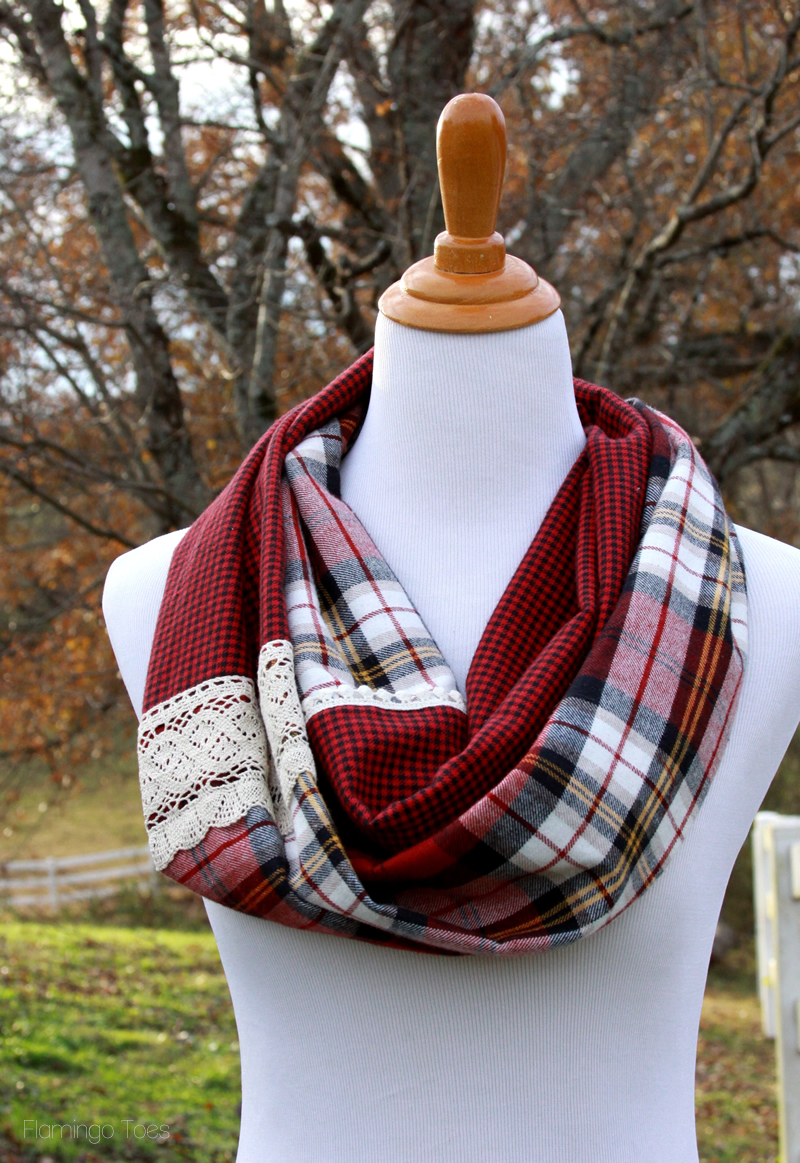
I hope you like it! I’d love to see a photo if you make it!
(This was originally a guest post over at UCreate but I’m reposting it here so we will have it on the blog.) :)


Really cute scarf. A good way to use up the vintage lace bits I’ve been collecting. It would definitely take me more than 15 minutes to sew but probably not more than half an afternoon.
Love and pinned!
love this scarf!
Love this idea way to cute. Thanks for sharing.
I made 5. Love this this. Thanks for sharing.
Is this scarf one big circle when finished? Couldn’t understand the final step.
Yes Wanda, the finished scarf is a large circle. The last step is walking you through tucking one end into the other end of the tube, and then sewing the ends together to make a circle. Feel free to email me if you need more info! [email protected] :)
I have TONS of flannel scraps that would be perfect for this project! Thanks for the great idea!
I love this scarf and your scrap-busting series idea! What a fantastic way to use up fabric!
Love the plaid infinity scarf. Bought my fabric and lace. Would you send me the directions in print only, no pictures so that I could print it out for my use. Thank you
I would buy this! If you know someone that’s selling this, please let me know! This scarf looks awesome!
I have beautiful cuddle fabric to use. I can practice doing needle tatting and use that for the lace.
Thank you
Love this! So perfect for upcoming St. Patrick’s Day OR anytime really :) Going out Friday to get me some plaid flannel. :) Thank you for posting. ~ Darlene
Could you send me a picture of the next to last step. Sewing the two ends of the tube together while adding the lace. Thanks!
Could you please send me a picture of the next to last step where you sew the two pieces together and add the lace. Thanks!
i also need a photo of that last step!
I can’t wait to try this Bev. Thanks for the diy. Pinned & shared.
I would also like to have pic of the last step, thanks so much!!
i made this and it came out great! it took me 1 hour, but i’m a little rusty. thanks!
Would you please send me a picture of the last step in making
this great flannel scarf. I’m having a hard time figuring it out.Thank you in advance..
could you please send a pic of the last step connecting the ends…thanks
Rene
Could you please send a pic of the last step, connecting the two ends…thanx!
Hi Jackye, Sorry for the confusion – I’ve updated the post with a little more explanation and a couple more photos. I hope that helps!
Great tutorial! I can’t wait to get started! I am a beginner sewer, I too, would appreciate a picture of the last step with connecting the ends! Thank you so much!
Sandy
Hi Sandy,
I’ve updated the post with a couple more photos on the last step – I hope it helps!
All makes sense except the last part about joining ends. Ugh!! Please help.
Beverly this scarf is gorgeous! I love the 2 plaids you chose :) Beautiful!
I was wondering where you got your fabric from? It’s beautiful!
Hi Julie, these plaids came from Jo-Ann – they have some gorgeous styles!
Thanks! :)
I did the alternative last step and made 4 of them in about 2 hours, they still came our awesome. I couldn’t figure out how to keep everything together and have the lace in the right place, so I just sewed through it, looks great though anyway.
This looks sooooo cute & wow dies it evoke creating other ideas! Thank you!
I love this! Thinking of making it from a loved one’s plaid shirts instead of buying fabric. great way to remember him and so cozy. Thank you.
I love this scarf. Thank you for the tutorial. Do you have links where this fabric might be purchased. Thanks!
Oh how beautiful. Thank you. I’m pinning this.
Beautiful. I can’t wait to try it. Did you prewash the fabric? Thanks.
I do not understand the last step of sewing the circle together. I think I need a video, my brain can’t seem to get it, but I love the scarf.
Do you sew 2 tubes of fabric and then sew these tubes together to make it around 60″ long?
And would you turn one tube 1/2 way around to get the “Infinity” part?
thanks,
Kathy