I just love making fun Christmas things for the house -but sometimes storage is an issue.
(More for Mr. FT that for me since I just pack it up into boxes and he gets the fun job of putting them in the garage.)
But that’s not a problem with this next project! It’s a sweet little ruffled pillow cover! So it can decorate your favorite chair with it’s ruffley Christmasy goodness – and then after Christmas you can slip it off and put a different cover on! Easy Peasy!
When I came across this darling little Ruffle Pillow at West Elm, I knew that I’d have to recreate it for a Christmas pillow. Here’s my version:
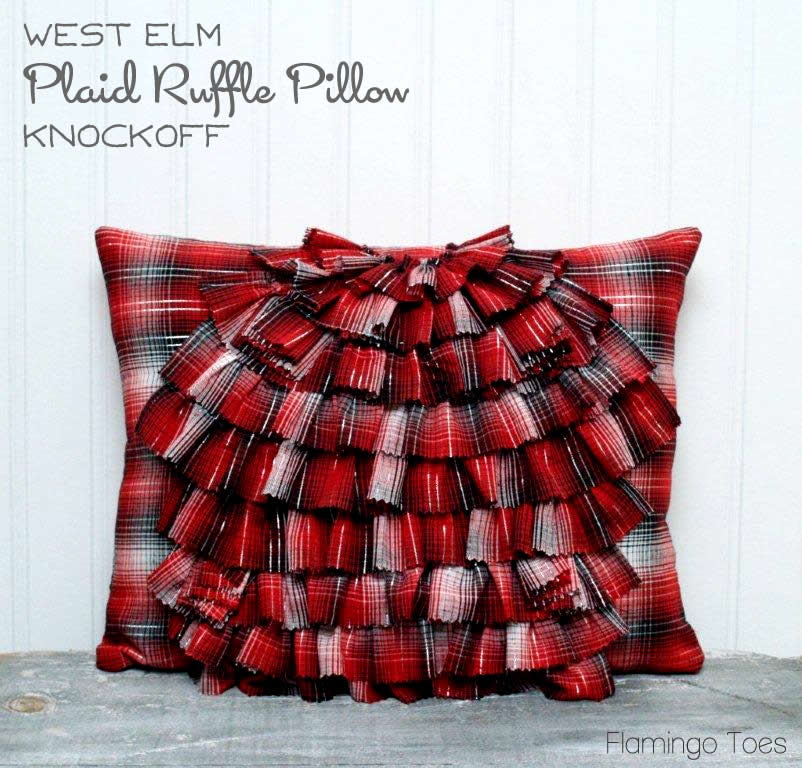
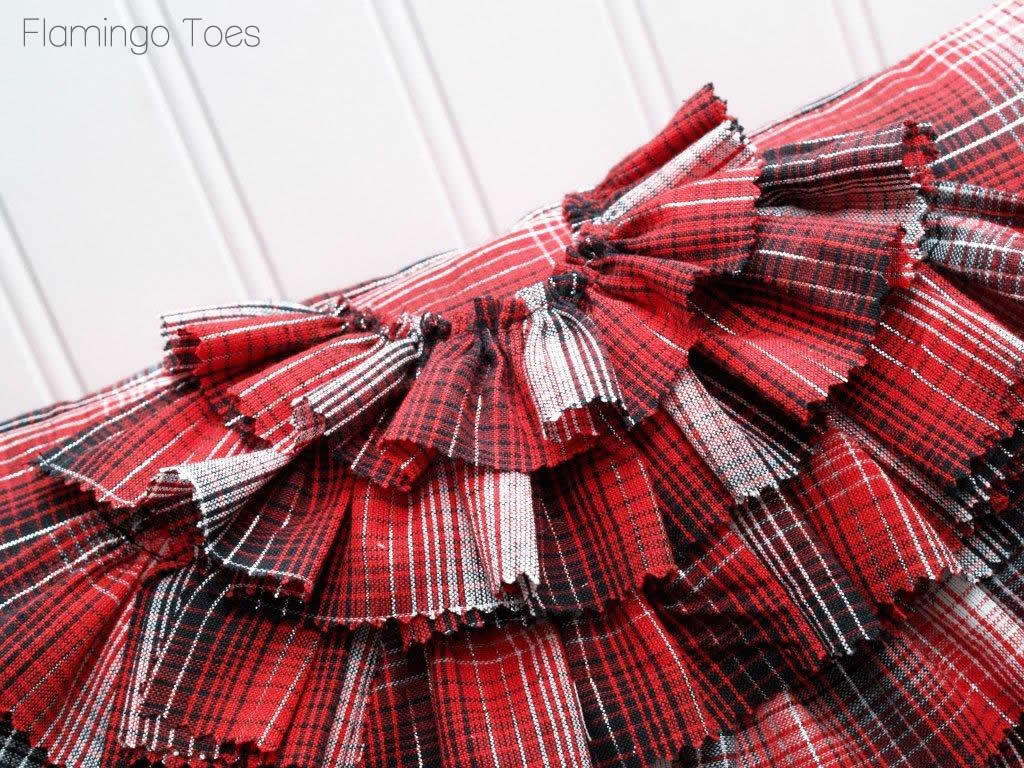
I love this red and gray plaid I found. It has little threads of silver that are running through it! Perfect for Christmas!
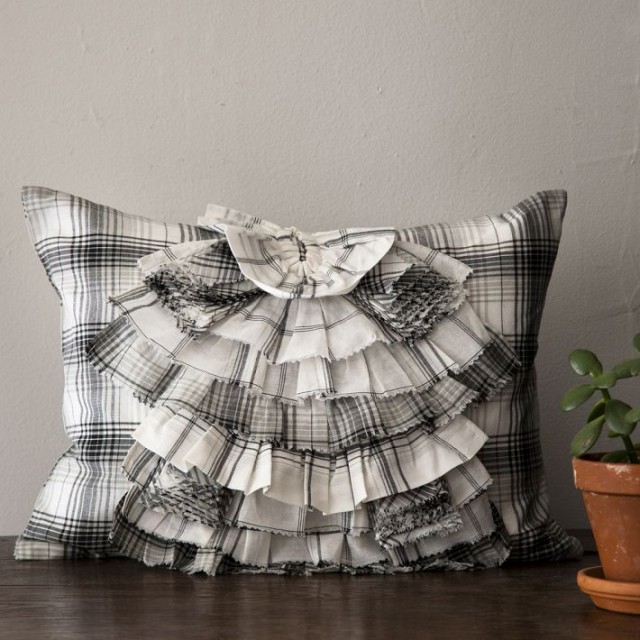
Here’s the West Elm version. Super cute but not so Christmas-sy ;)
So here’s what you’ll need to make your own:
- One 12″ x 16″ pillow form
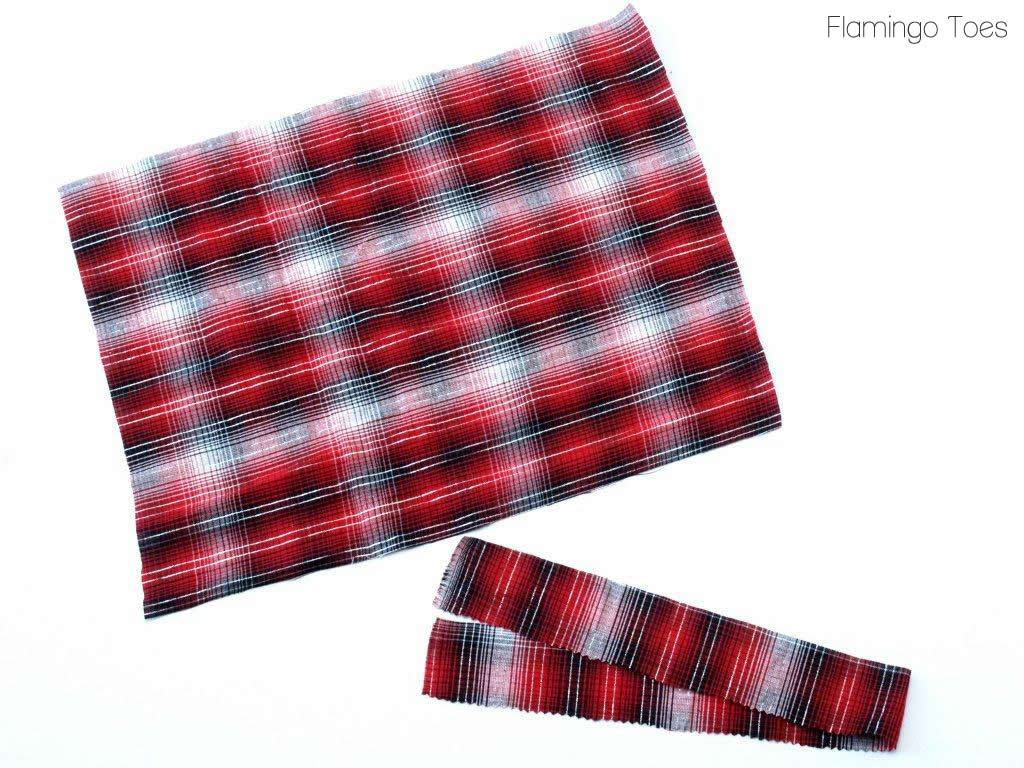
- Plaid fabric – 3/4 yard
Cut out of your fabric the following:
- 1 piece 12″ x 16″
- 2 pieces 10″ x 16″
- 5 strips 2″ x 44″
Cut all of your strips in half (22″ x 2″) and cut one long side of each strip with pinking shears.
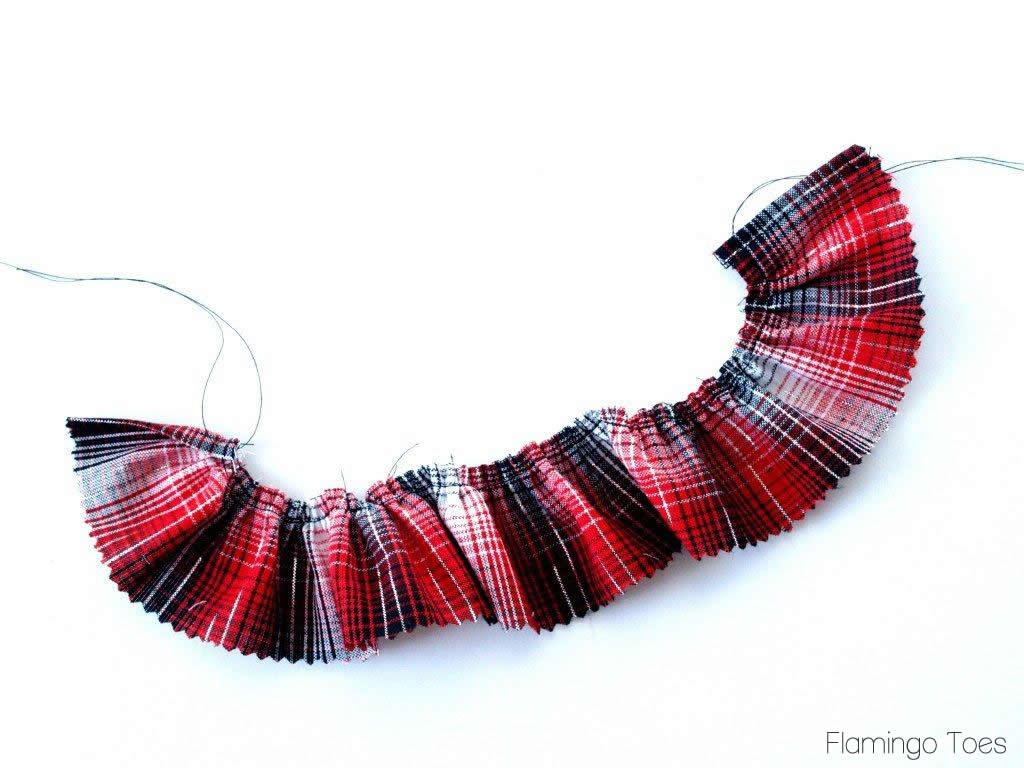
Once your strips are all cut, hem the two short sides of nine of the strips. Sew a gathering stitch 1/4″ from non-pinked long side of EIGHT of the strips.
On the last strip (the one that isn’t gathered yet, press the top edge down 1/4″ to the back side. Run your gathering stitch on this one 1/8″ down from the top folded edge.
Lay out and pin all your ruffles onto the front. You’ll want them to overlap about 3/4″ so the gathered edges don’t show. You can use the photo as a guide. The top ruffle that looks like a “u” is the ruffle that has the top folded gathered edge.
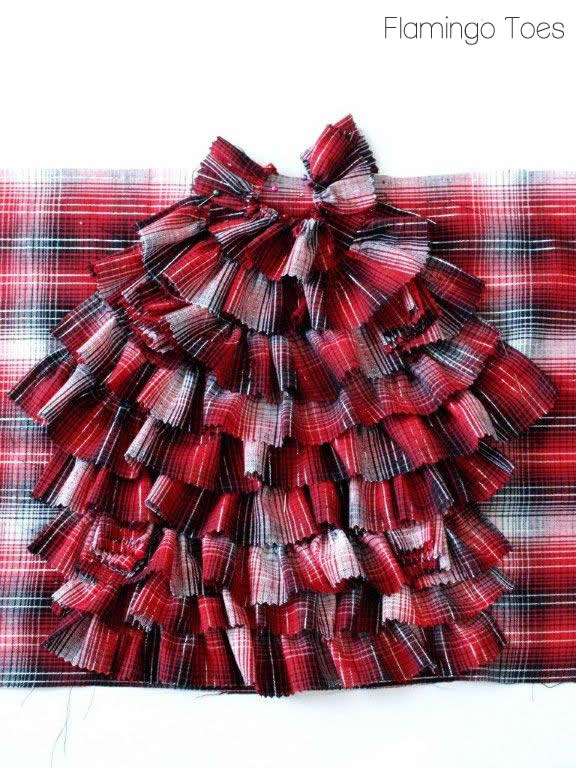
Cut two more of your strips in half again. So now you have four 2″ x 11″ pieces. Fold each piece into a stacked rectangle, accordian-style. The back piece should be about 1 1/2″ wide. Try and move the folds up a little so you can see all the pinked ends. Trim off any extra on the top. Pin these folded pieces into the ruffles. Two should go on either side of the third ruffle from the bottom and two will go on either side of the third ruffle from the top.
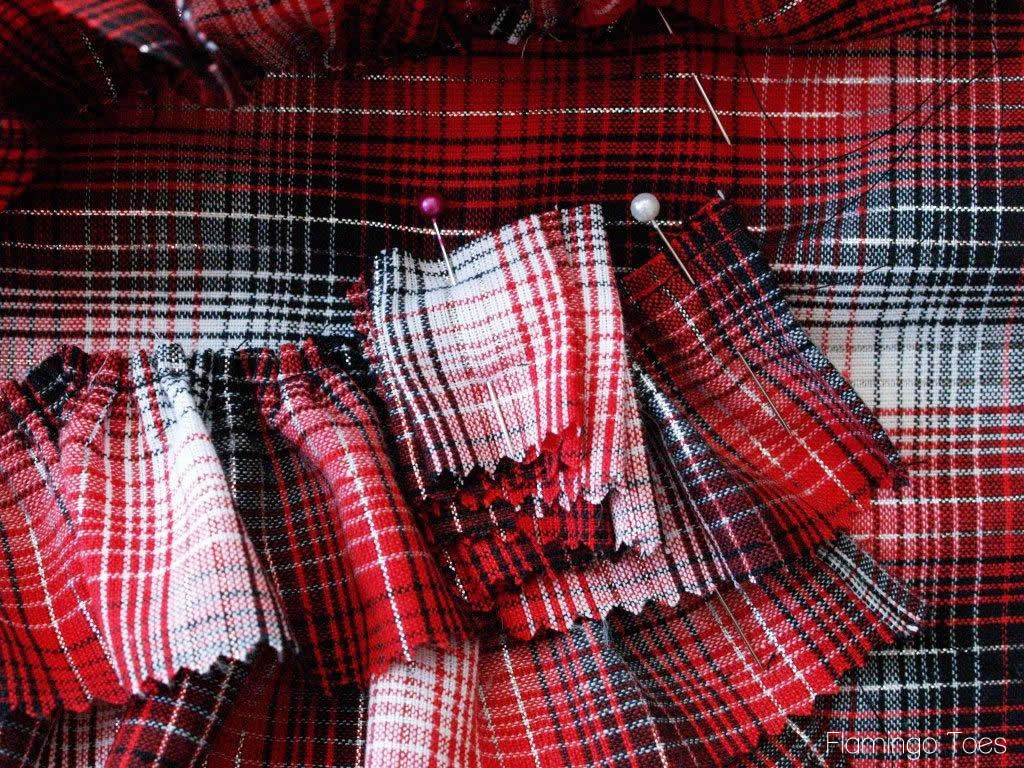
Measure your ruffles to make sure they are centered and start and end at the same height. You can use your plaid as a guide if the lines are straight.
Sew on your ruffles, along the gathered stitching for each ruffle. Start at the bottom ruffle and move the ruffles above out of the way, without disturbing the pins.
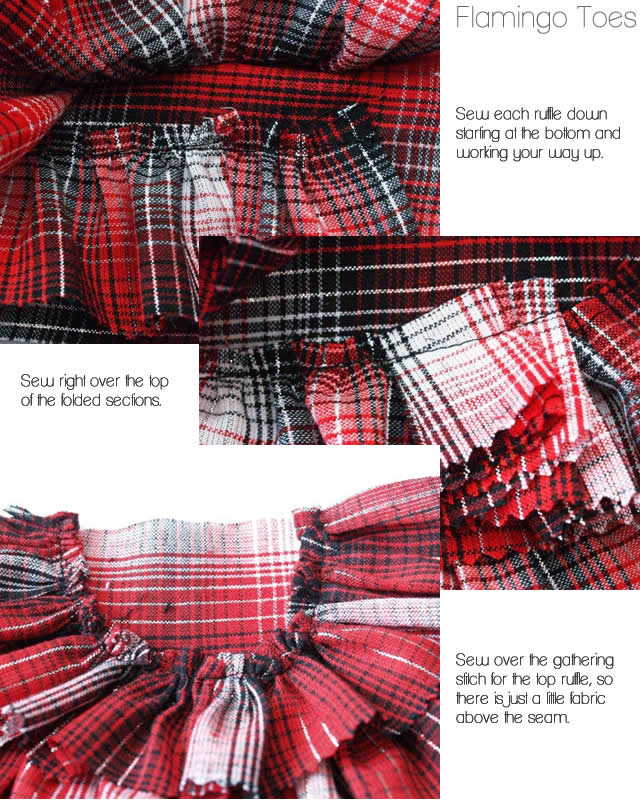
Once your ruffles are all on, set the front aside.
With your two 10″ x 16″ pieces, hem the bottom of one of the pieces and the top of the other.
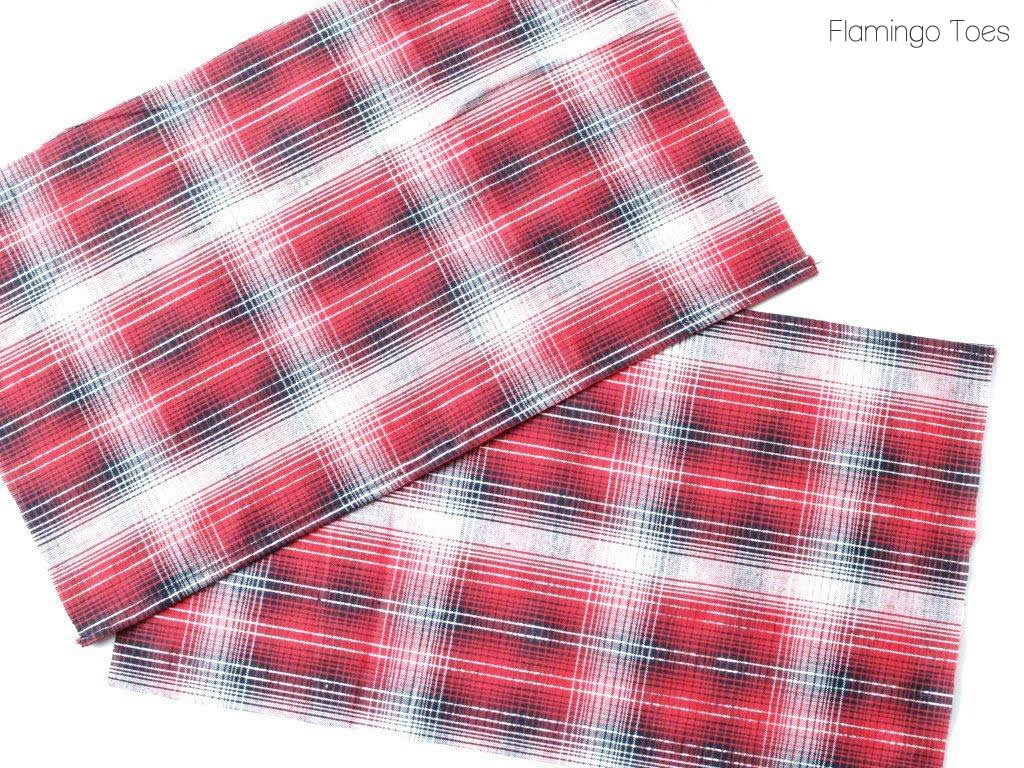
Overlap the two pieces so the piece with the hem on the bottom is over the piece with the hem on the top. Pull the top piece up just a bit until the two pieces make a rectangle that is 12″ x 16″.
Lay the front of your pillow right side down on the back pieces. Pin and sew all four sides with a 1/2″ seam allowance. Make sure you move the bottom ruffle out of the way. The two ends of the top ruffle will be sewn into the top seam. Clip the corners.
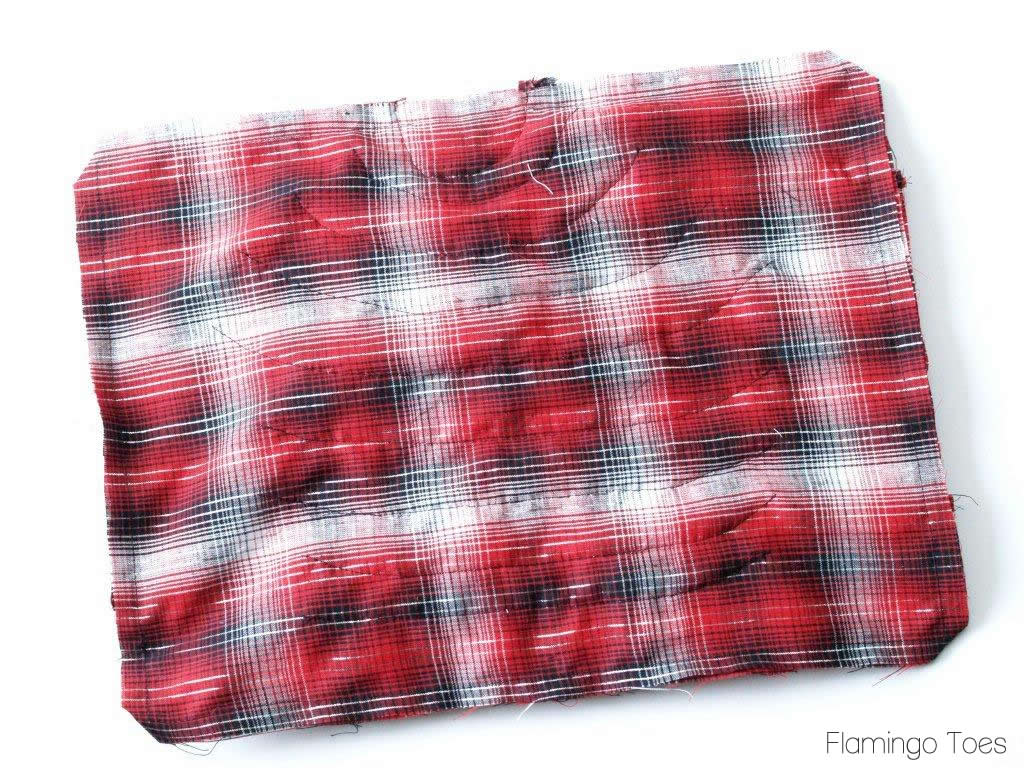
Turn right side out and slip in your pillow form – and you’re all finished!
Now you can admire all your Christmas-sy ruffly awesomeness.
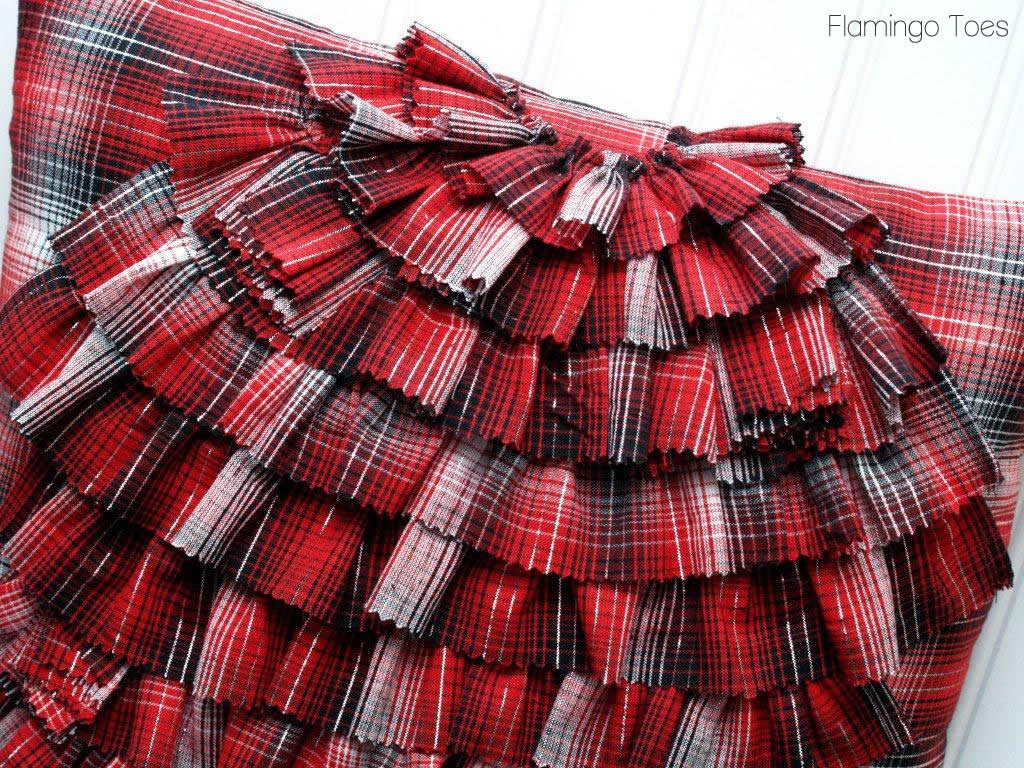
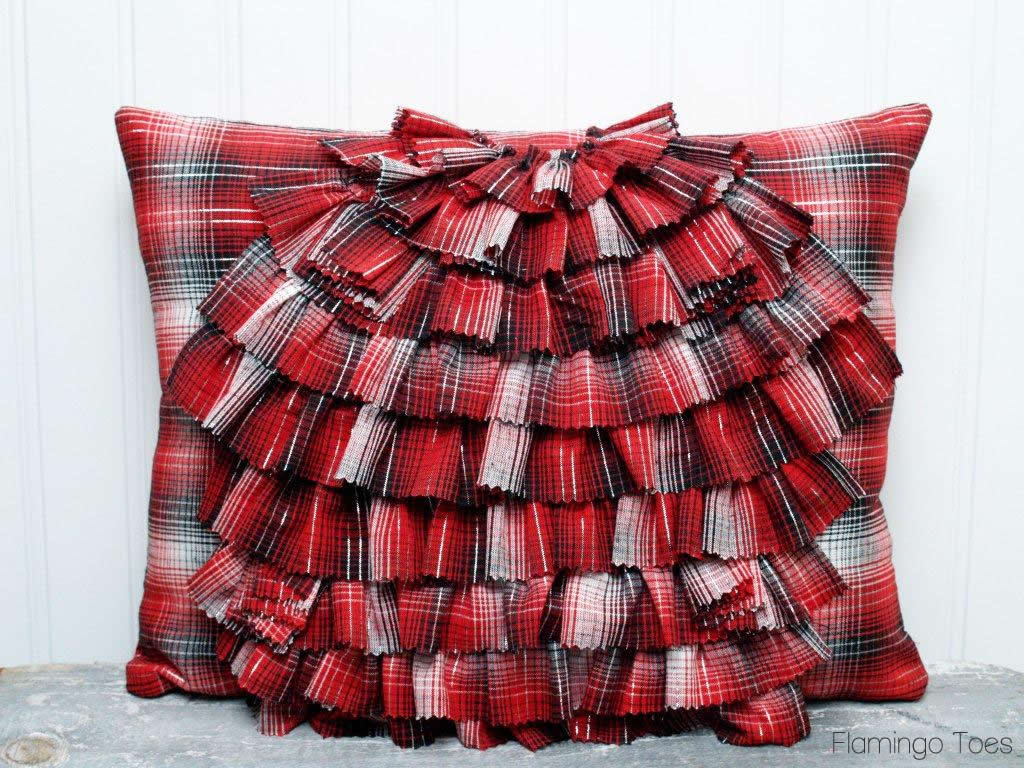
I hope you like it!
(This was originally a guest post over at Positively Splendid)
Linking up at Sunday Scoop, Today’s Creative Blog, Met Monday, Tutorials & Tips Tuesday, Quilt Story, Shabby Creek Cottage, My Repurposed Life, 504 Main, Positively Splendid, and the other fabulous parties on the party page – make sure you check them out!


too too cute. Abigail would just LOVE a pillow that ruffly!!
Plaid and ruffles – in my world you cannot go wrong with that combination! SO CUTE!
This is so festive! I love it. I could see a variation for different seasons as well. Thanks for sharing this great tutorial.
Donna @onceuponasewingmachine.com
This is SO super cute, Bev! I love the plaid and all those ruffles. Depending on your decor, you could definitely leave it up all year long!!
Muito linda eu vou fazer,tenho um monte de tecidos xadrez e listrados.Aqui no Brasil está na moda roupas assim,então é fácil de ganhar retalhos das confecções de vestuário.Minha casa e meus amigos vão ganhar estes modelos .Obrigada.Feliz Natal e um Ano Novo cheio de inspirações e sucesso.
Sim, muito bonito pelo tutorial. Pra Maria do Carmo. Aqui tecidos xadrez e mais usado pra fazer roupas pra groupos de immigrantes europeus. Muito embora, nos anos 90 aqui era moda. Como sempre moda vem e volta. Muito obrigado pelo seu comentario. Faz tanto tempo que nao vou ao Brasil…
I think yours looks so much better. Great job.
This is totally adorable!
Absolutely love this! Gonna try it in several different fabrics, maybe do the ruffles in ribbon or lace. hanks for the tut!
Will do, Bev. Just got to get up off my lazy butt and get material and stuff! LOL!
I wish i could print Just the instructions without the comments of those who have done the project.
Yours look so much better! Very nice!