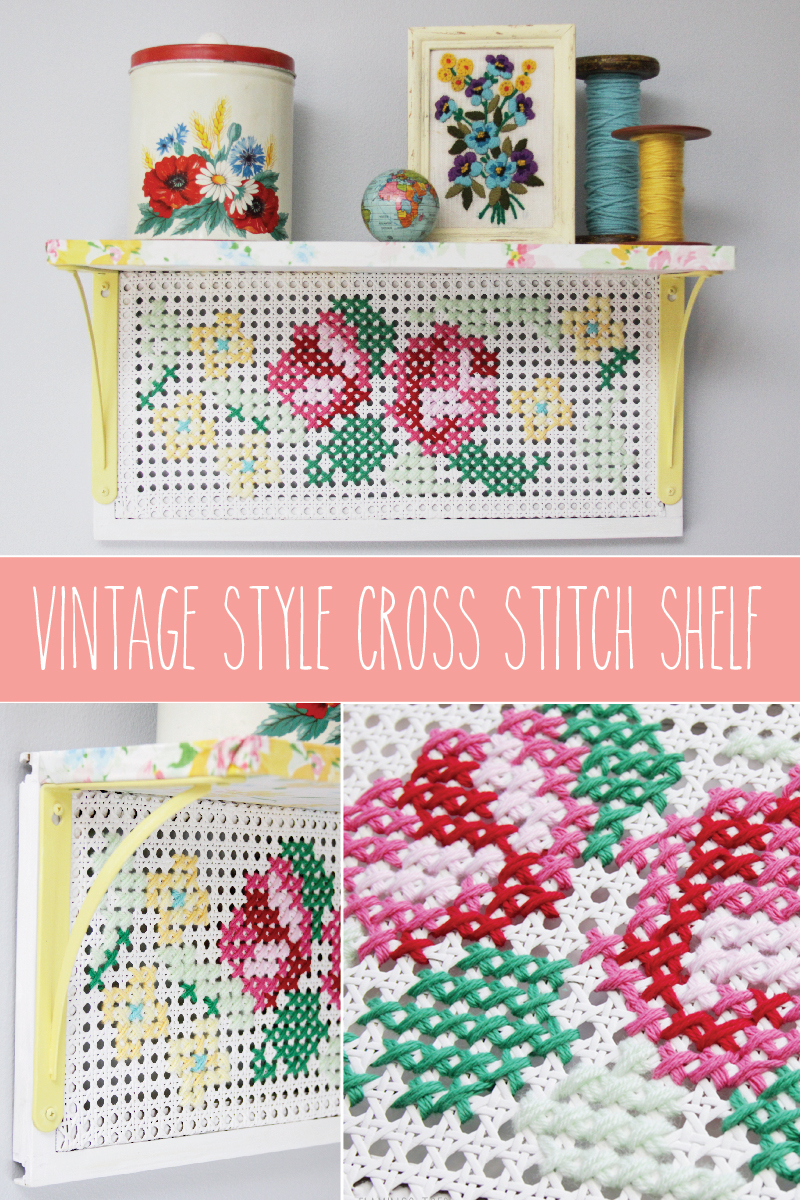
I am so excited about today’s project – for several reasons!
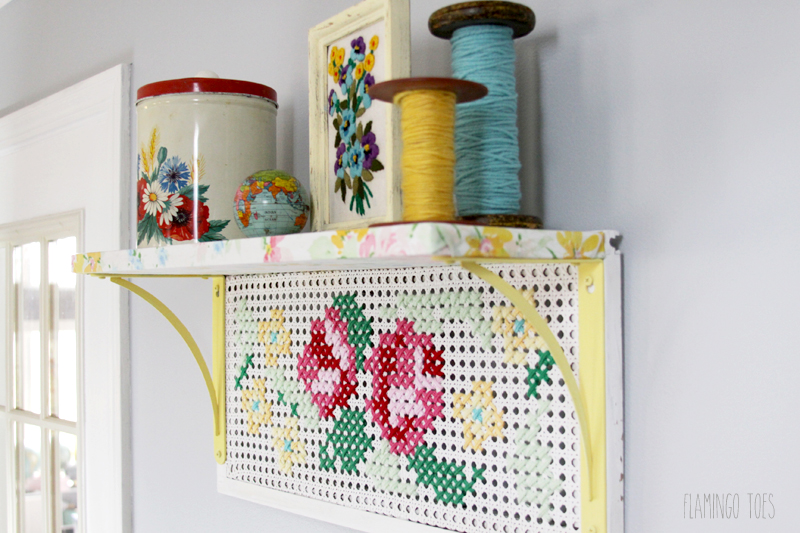
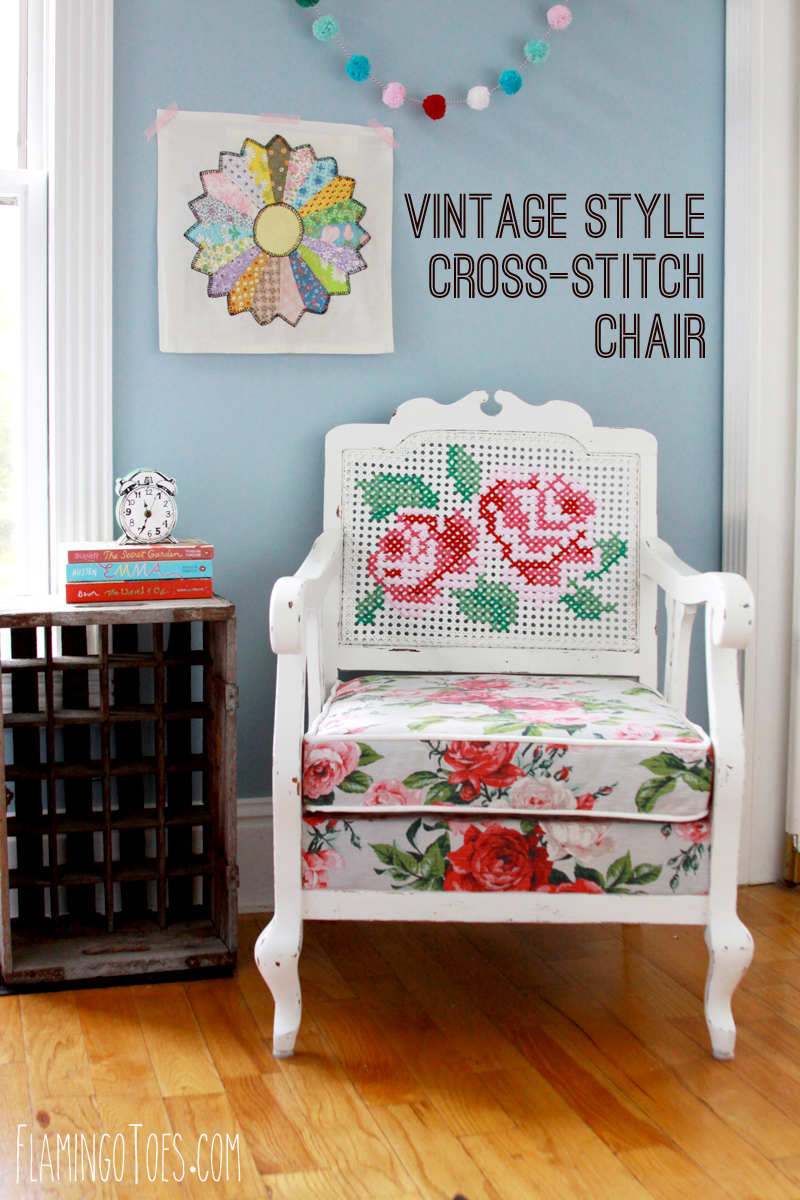
You know I have a weakness for oversized cross stitch right? (If not, check out my Cross Stitch chair). Well I picked up this old shutter (I think that’s what it is??) at a Barn sale a few months ago – I just knew it needed to be another cross stitch project. I just wasn’t sure how, until a couple of weeks ago when I had the idea to turn it into a shelf!
One of the other reasons I’m excited is that I am a part of the Plaid Creators team this year!
The Plaid Creators is a new program to celebrate their 40th Anniversary! The creators are a small team of bloggers that will work with Plaid and share projects every month! It’s going to be so fun and I can’t wait to show you some of the cool things that are coming! Plaid also debuted a whole bunch of new products that will be coming out this year – you can see them here. There are so many fun new things coming! Today is my first Plaid Creators post and we’re focusing on DIY trends for 2016!
At the Craft and Hobby Association this year, Plaid presented the 2016 Hot Trends in DIY Inspiration and these are so much fun! I loved reading this post, it’s so fun to look at different styles and colors and see where my style fits, and also how to shake things up! I think I’m a mix of Romantic and Authentic Styles with this post – especially using this soft colors and doing re-purposing. It’s so fun to give life to old worn out pieces like my shutter!
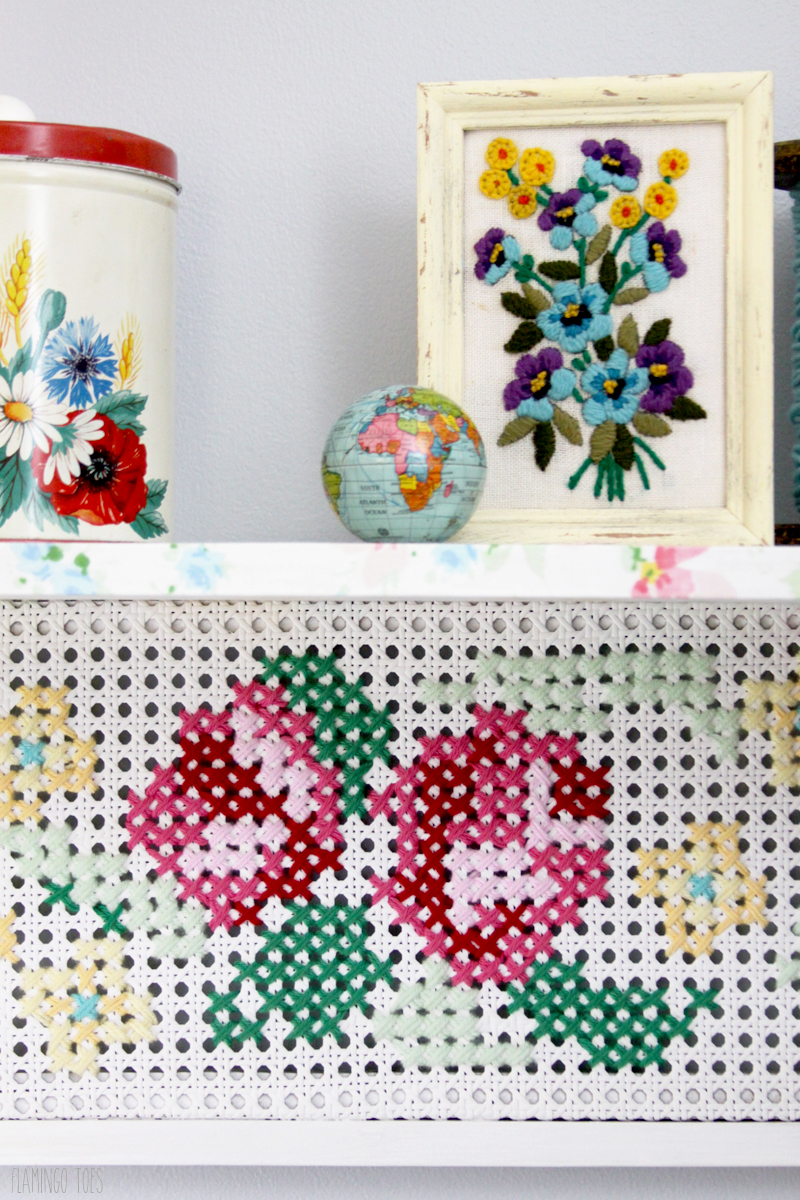
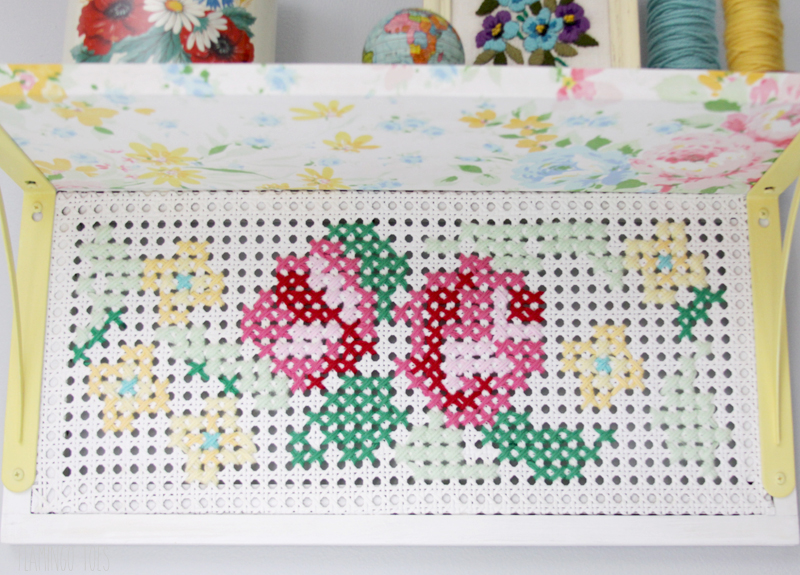
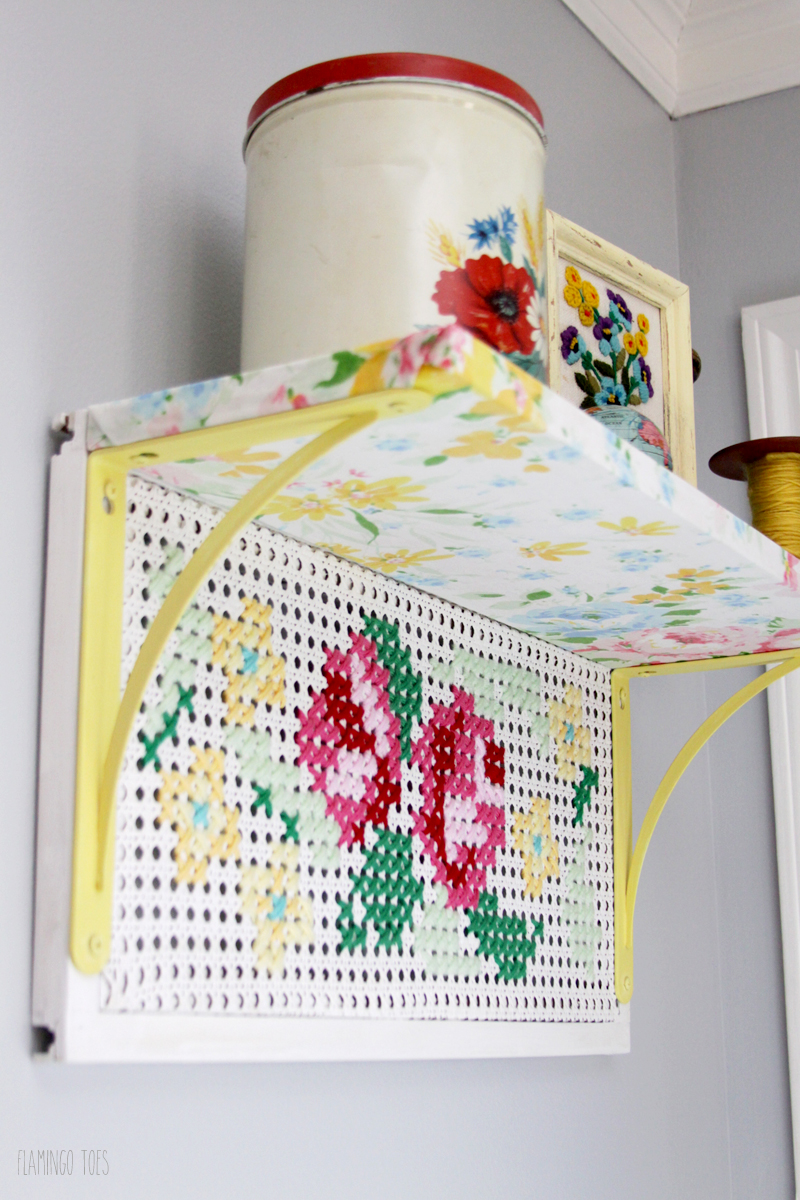
I wanted a little more color on the top part of the shelf so I covered it in a vintage sheet – then used coordinating colors in the cross stitch – so the whole things ties together in a floral vintage-y kind of way.
I’m planning on putting this in my studio but until it’s completely painted it has to hang here. But I am so in love with how colorful and fun it turned out!
I’m a sucker for vintage canisters – so this little red floral canister works perfectly here. When I move it into the studio I’ll be able to store all sorts of cool things in there. This shelf is so sturdy that I can really load it up!
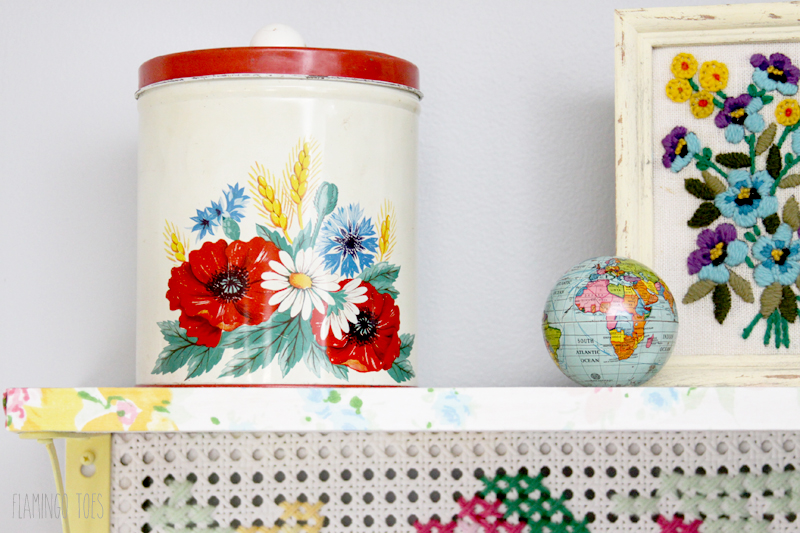
Here’s how to make this vintage cross stitch shelf! (I know you might not find a shutter like this, but you can use these steps to create something similar with other vintage finds!)
I started with this old cane shutter. It was white and kind of chippy, but kind of dingy too. I wanted something a little less “worn” looking.
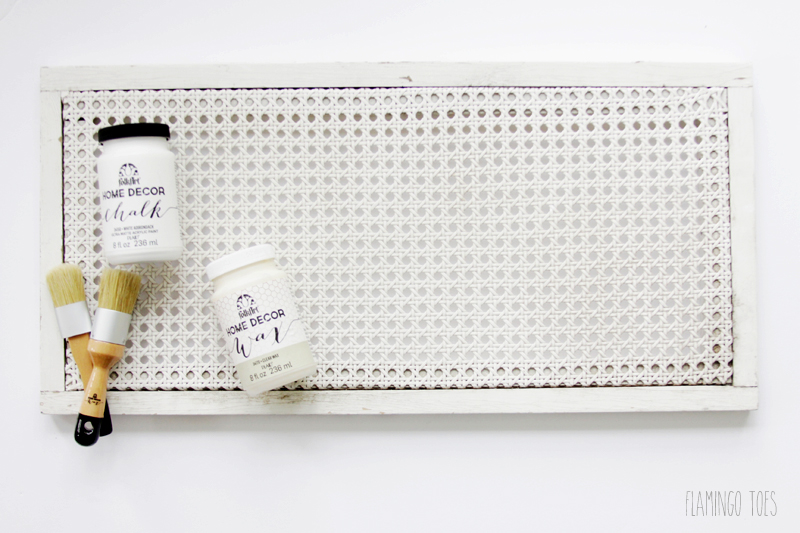
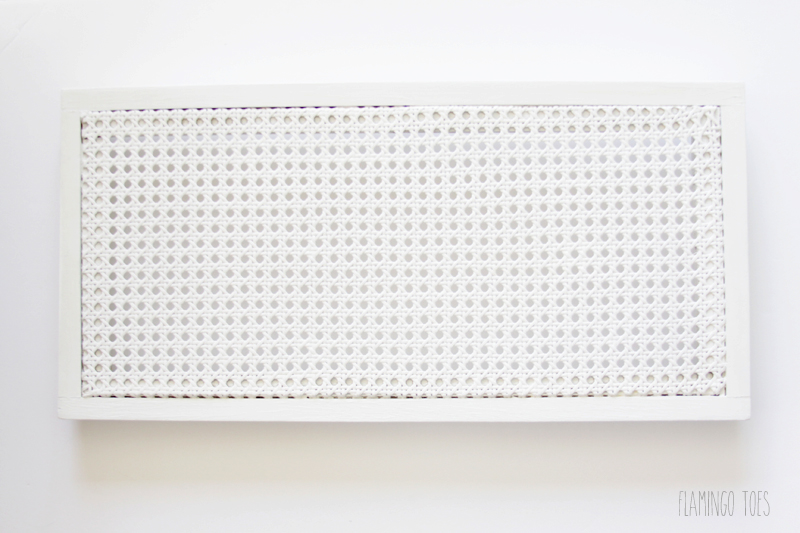
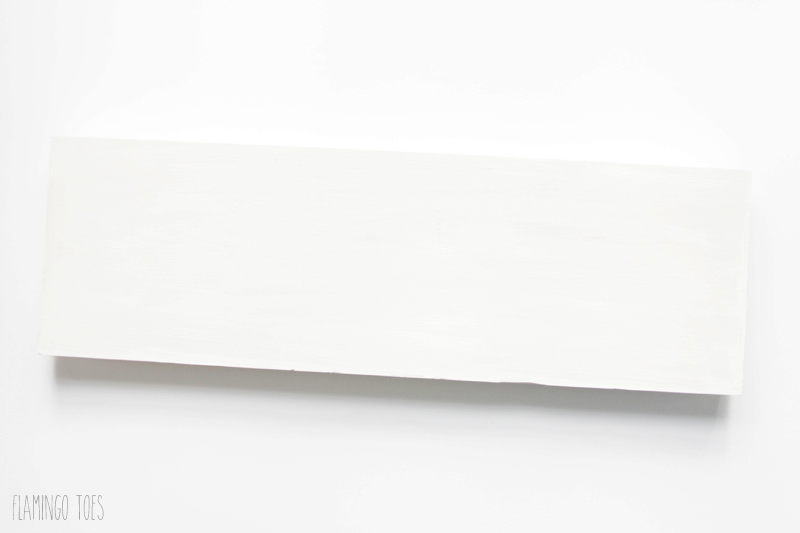
I gave the whole thing a coat of Folk Art® Home Decor Chalk in White Adirondack. It only took one coat, I just wanted to freshen things up. After drying I brushed on the wax and now it has a pretty sheen too. Yay!
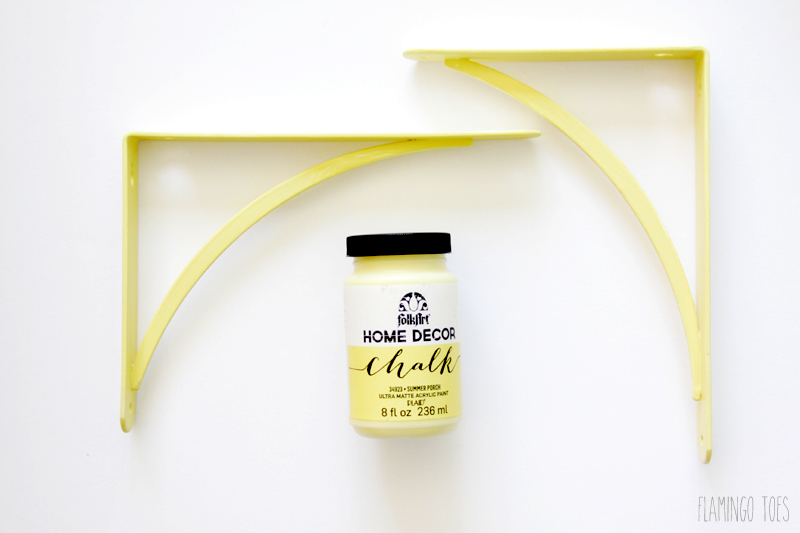
I couldn’t find brackets in a color I liked so I picked up white glossy metal brackets and painted them with the Folk Art Home Decor Chalk in Summer Porch. It’s the most delicious color of yellow. They got a coat of wax too.
I knew that I wanted to use a light floral sheet to cover my top shelf. I cut a length of 8″ wide pine to the same length as my shelf. I covered that in one coat of the White Adirondack as well. I didn’t wax it though, since it was going to be covered with fabric.
Now it was time to start stitching! I have a free cross stitch pattern for you here – you can use it on something similar or even on a regular cross stitch project.
I used two strands of yarn on each stitch, since the cane was so big one strand of yarn didn’t fill the space enough. Cross stitch just as you would on fabric, but try to keep your yarn on the back from showing through the cane.
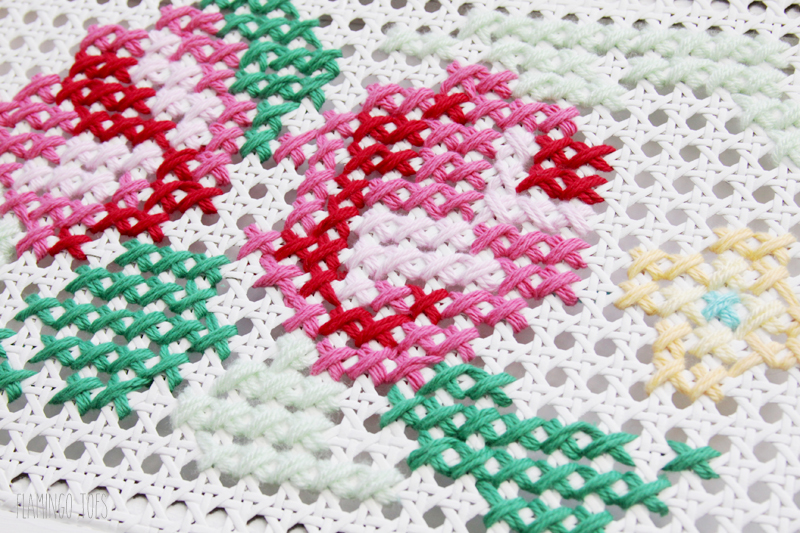
I stitched a floral pattern in colors similar to the fabric I was using on the top of the shelf.
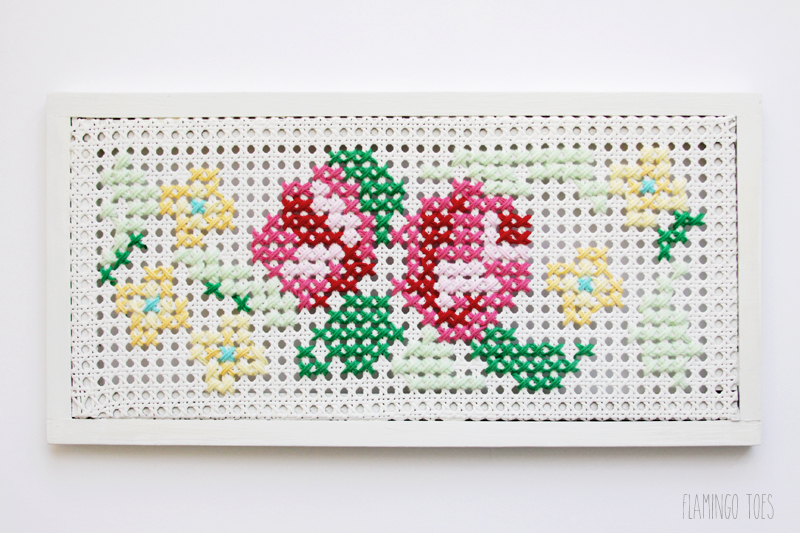
So fun right?
Onto the top shelf! To cover the shelf I cut a section from one of my favorite vintage sheet patterns. I cut it so that it would overlap on the back and sides just a bit. To cover the shelf, apply a layer of Mod Podge® on the top portion of the shelf and lay the fabric in place. Smooth it down so there are no wrinkles.
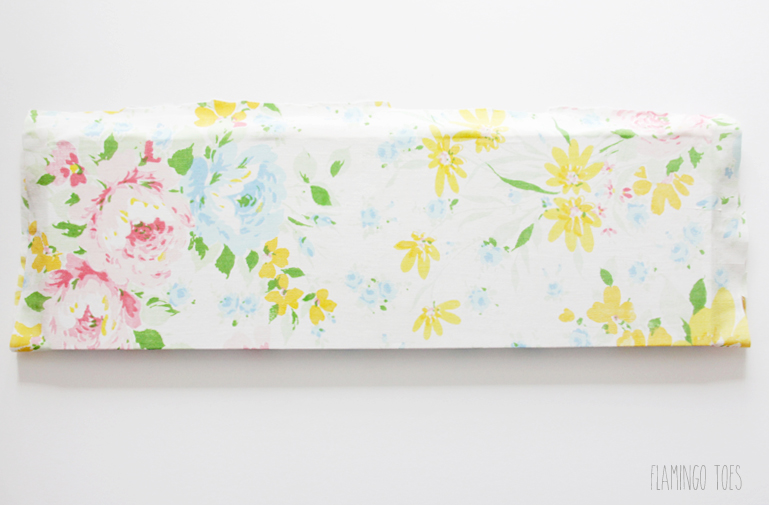
Repeat for the front edge and bottom of the sheet, once the top is dry. Trim the back edge so that the fabric will overlap on the back side, without wrapping around to the bottom or top. Mod Podge the back edge down as well.
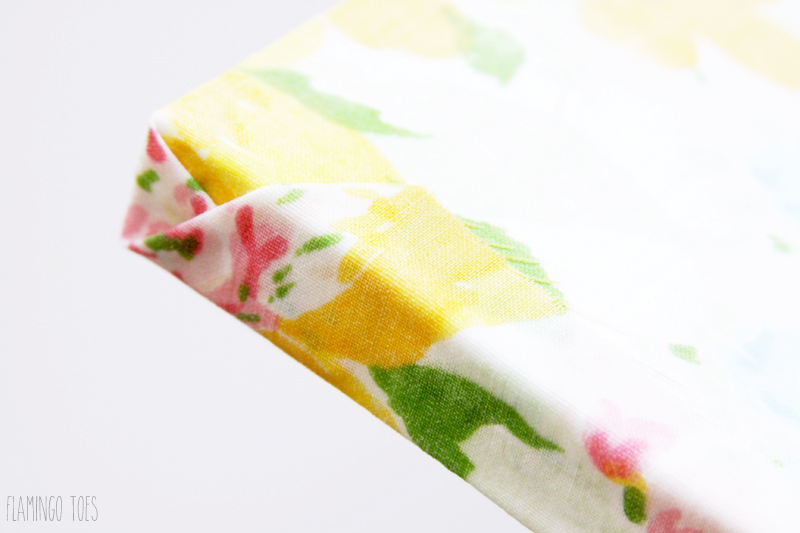
For the sides, I trimmed the fabric so the bottom didn’t cover the whole short side and mod podged it down. Then for the top and sides, I folded them envelope style and wrapped them around to the bottom. I trimmed the fabric so the edge would be covered by the bracket. That way everything looks nice and tidy and you don’t have any raw edges showing.
Once everything was dry it was time for assembly!
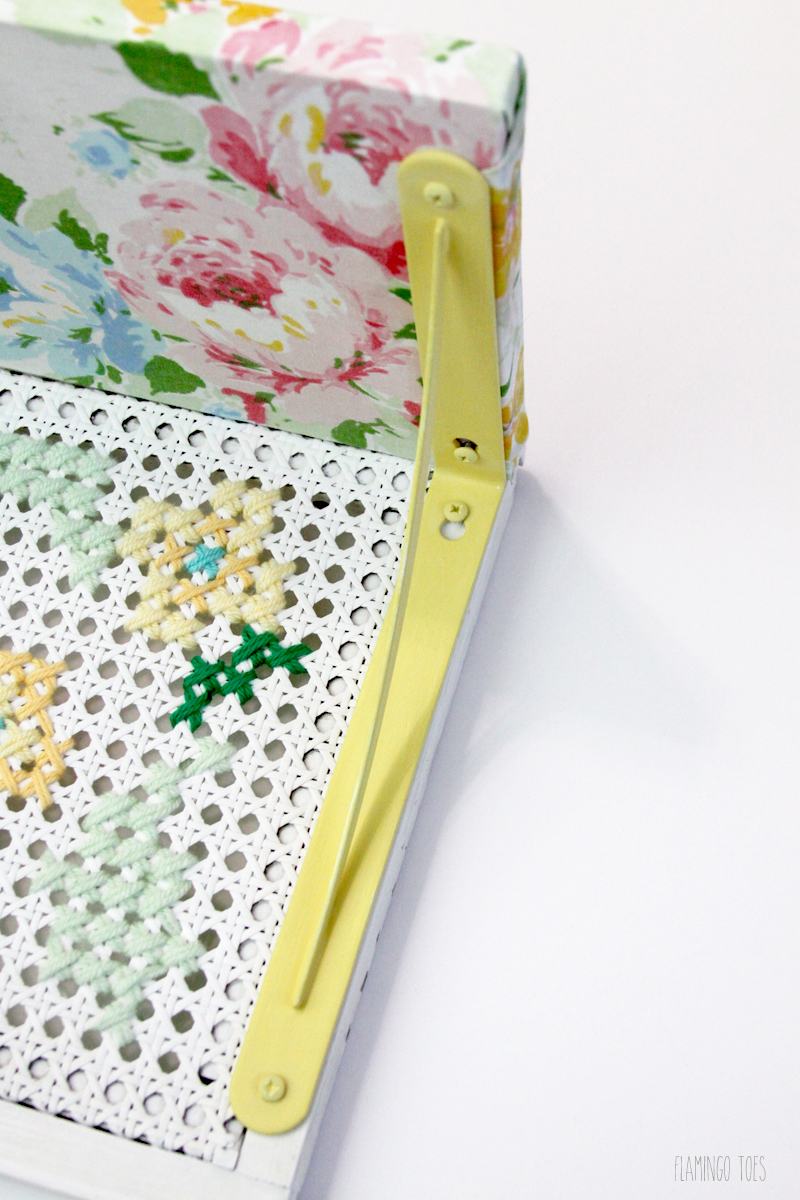
I placed the shelf on the shutter and marked the bracket holes with a pencil. For the underside of the shelf, I trimmed off the fabric in a circle around the mark with an Exacto knife and removed the fabric so it wouldn’t get all twisted up with the drill. I screwed the bracket in place and covered the screws with Summer Porch paint to make it all blend together.
I think it is such a fun piece and I’m going to love having it my studio. It’s so bright and colorful!

You can check out Plaid on Social Media for lots more inspiration, and check out their Newsletter too!
Plaid on Facebook
Plaid on Pinterest
Plaid on Instagram
You may also like
Cross Stitch Antique Chair Refinish
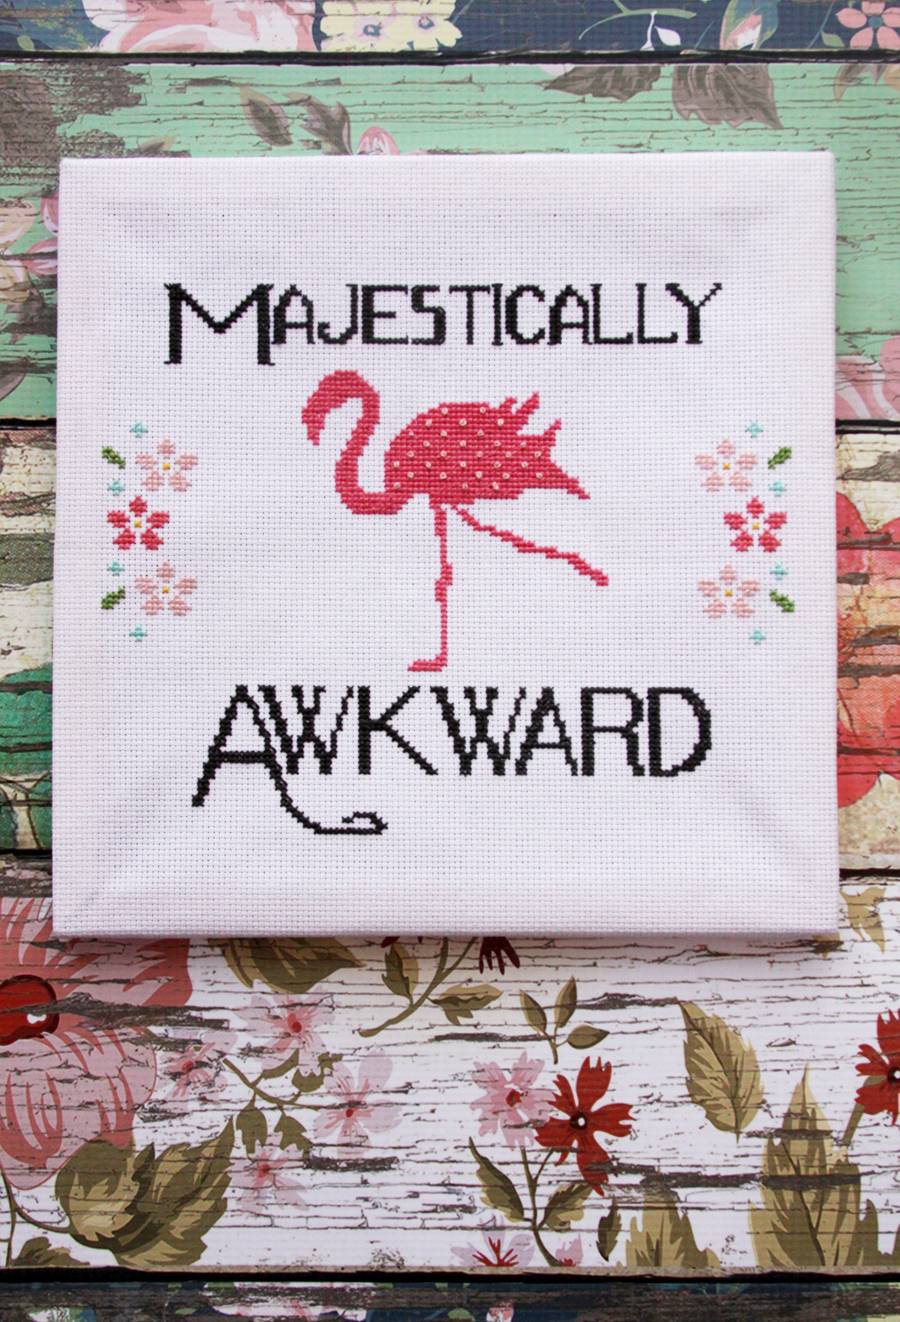
Majestically Awkward Fun Flamingo Cross Stitch



Absolutely fabulous!
Such a sweet project. Love the colors!
Super cute! I love how unique it is, and it’s so pretty and colorful!
This is so beautiful! Love that pop of yellow!
Love love love! A rose cross stitch project needs to happen at my place too…..still want to do a painted mural too. Thanks for sharing on craft schooling Sunday!
That is borderline genius Bev, so pretty and so not like the original shutter!
What a smart idea
Brilliant!
This is so impossibly, adorable, perfectly cute! I love it!!
http://popshopamerica.com/
beautiful… just what I love . Truly genius
What a fun way to dress up a shelf! Spectacular! Thanks so much for sharing this with us at Throwback Thursday!
Mollie
I love seeing your beautiful projects every week! This is simply stunning, such a fantastic little shelf! This was my absolutel favourite and I have chosen it as my feature on this week’s #OMHGWW Link Party! http://fromevijawithlove.com/2016/02/23/wonderful-wednesday-link-party-4-february/
OMG, SO cute! I’ve been wanting to try an oversize cross stitch project too, your’s turned out so adorable!
Tania
So fabulous Bev! I have been wanting to do some sort of Cross stitch project and haven’t figured out what yet.
That is so creative! A really unique and vibrant piece. Great job. Thanks for linking up at #SaucySaturdays.
This is so darn cute, Bev!