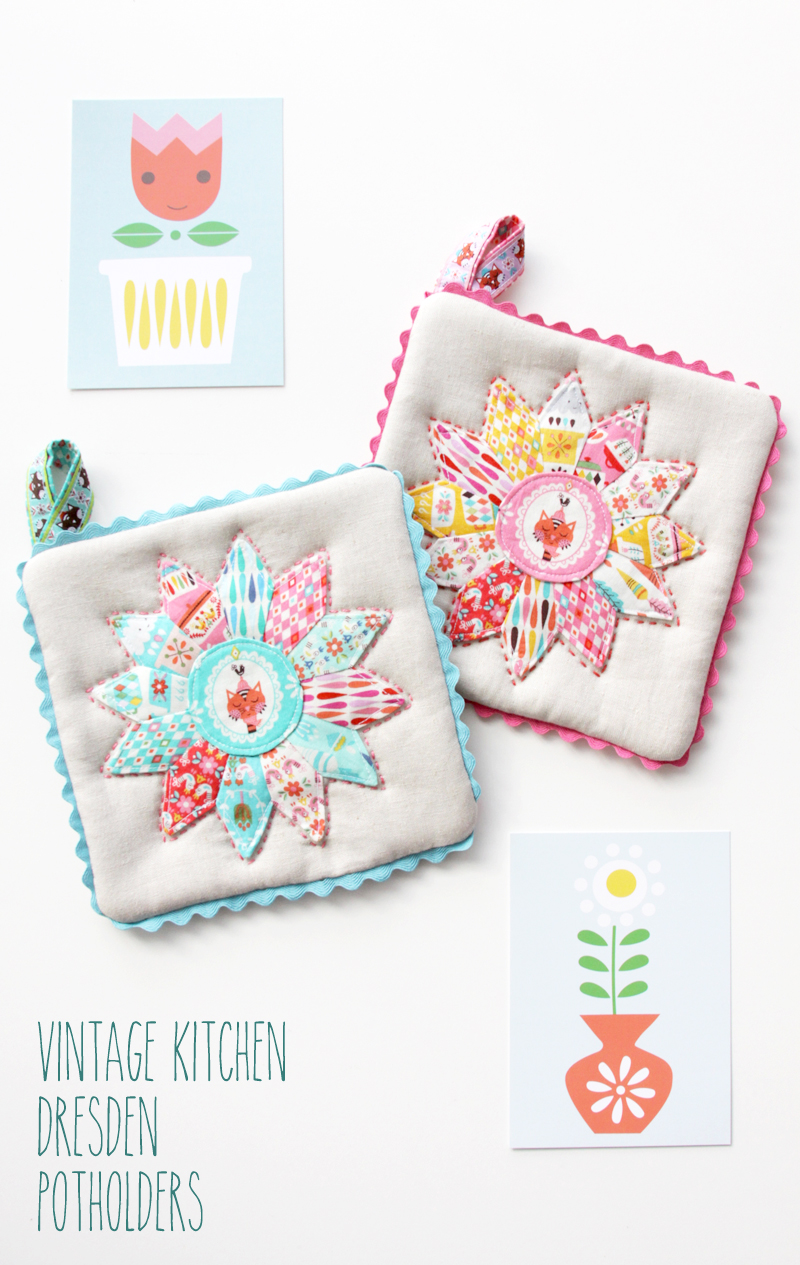
I have another fun new fabric line to show off you to you! Because as a seamstress – there’s always room in the stash for cute new fabrics right?
Today’s new fabric line is Vintage Kitchen by Andrea Mueller of Julijou for Riley Blake. Andrea is an amazing pattern and graphic designer and I am super in love with her fabric line! It’s all retro colors, vintage kitchen dishes and tools and cute folk art styling!
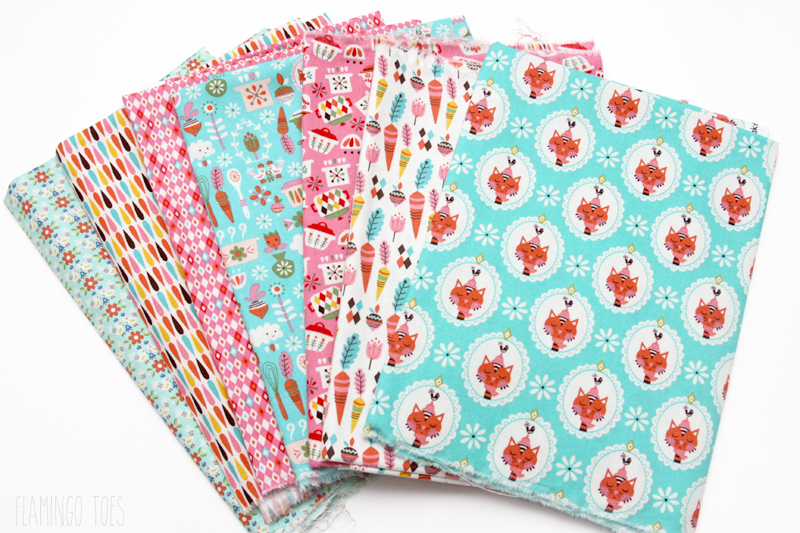
The prints are so sweet and small, they are perfect for any project but they look especially great with pieced things so you see all the cute designs. I created these Vintage Kitchen Dresden Potholders and I love how the dresden shows off the prints.
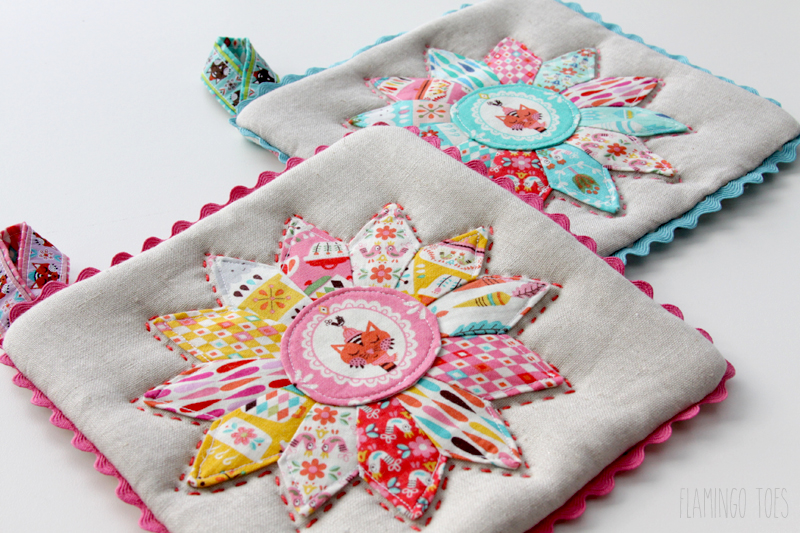
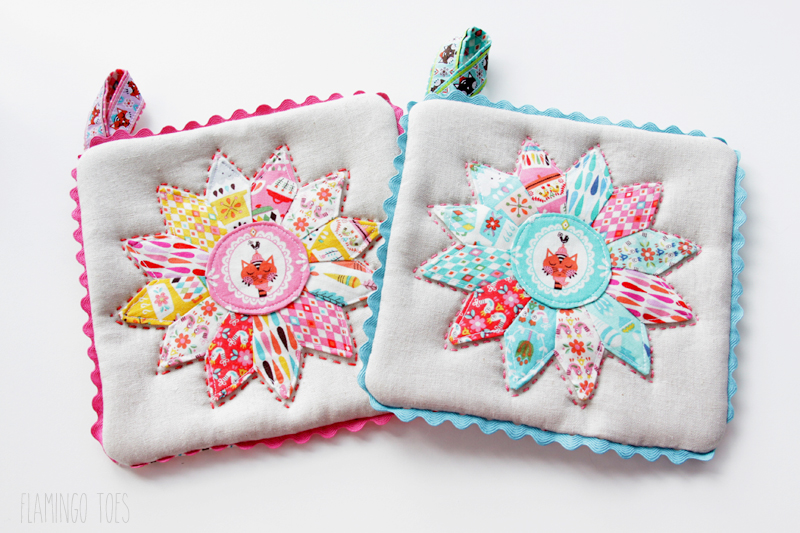
If you haven’t sewn a dresden before – they are so much easier than they look! You can definitely use them on quilts and big projects, but they look so cute on little projects like these potholders too!
So let’s get started!
For one potholder you’ll need:
- 1 -10″ square of linen
- 1 -10″ square for back of potholder
- 10″ x 20″ of cotton batting
- 10″ x 10″ insulfleece
- 13 small fabrics for dresden
- 5″ square of fusible interfacing
- Coordinating DMC Pearl Cotton Embroidery Thread
- 5″ of ribbon
- 3″ x 5″ piece of fabric for ribbon loop
- Dresden Pattern Pieces
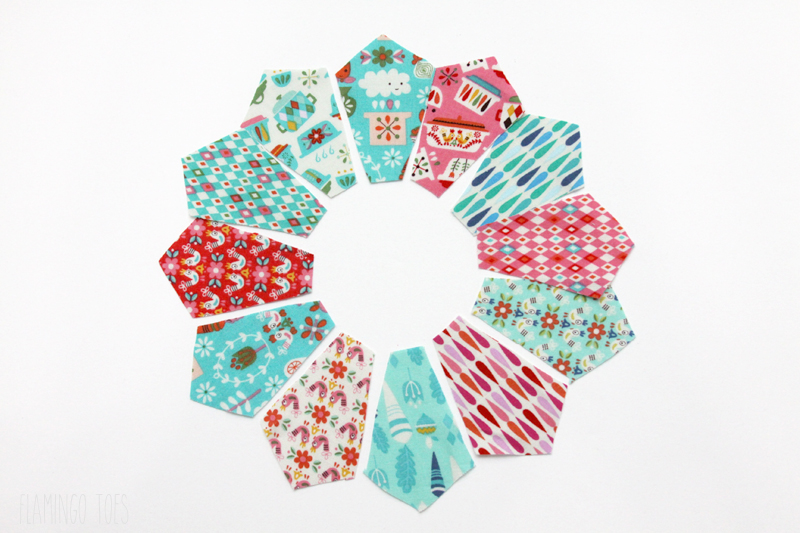
For dresden points, cut out 12 pieces from different fabrics.
For each point, fold the piece in half. Sew across the top edge with a 1/4″ seam allowance.
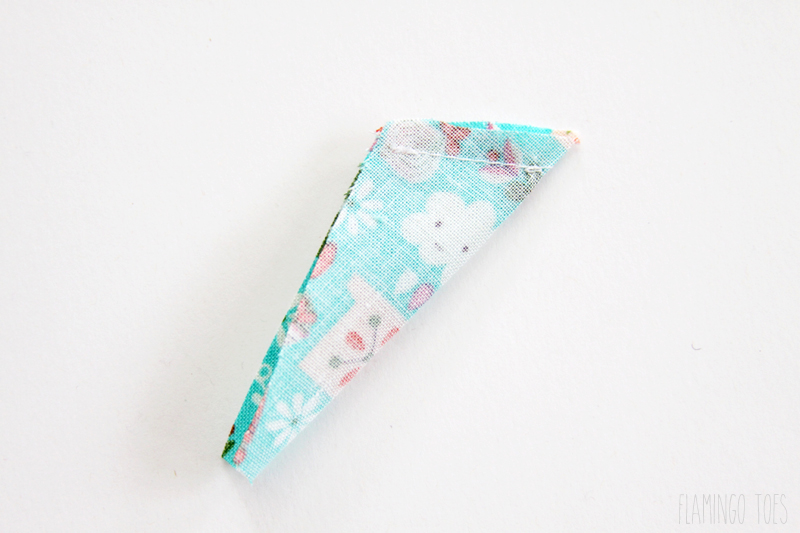
Trim off the top corner. Turn the point right side out and press so the seam runs down the center of the back side.
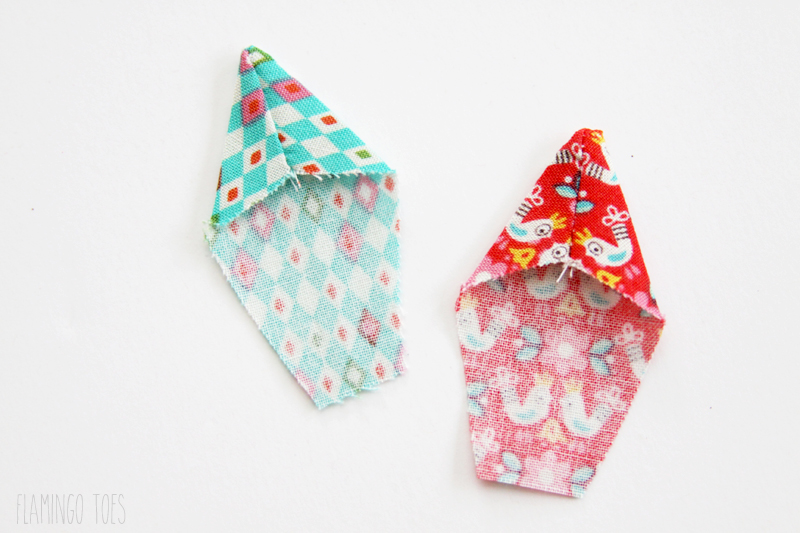
Once all your points are sewn, we’ll start sewing the pieces together. Place two pieces right sides together, lining up the bottom edges. Sew together with a 1/4″ seam allowance.
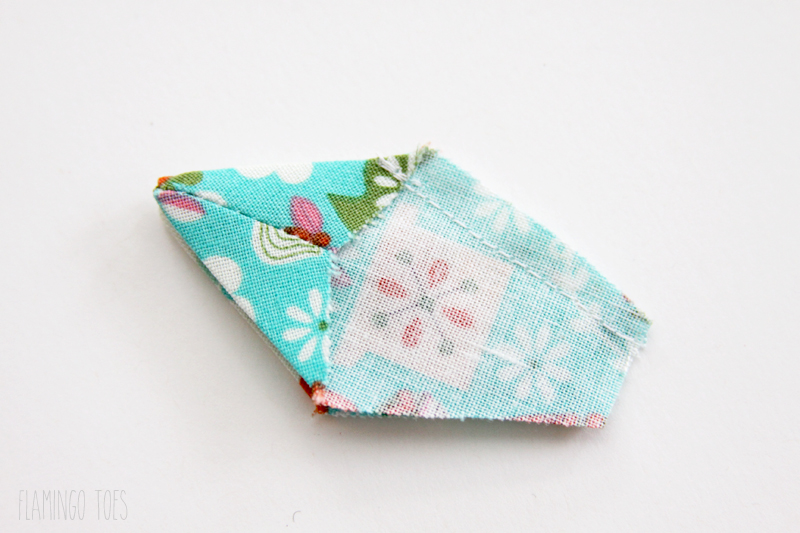
Keep sewing pieces together.
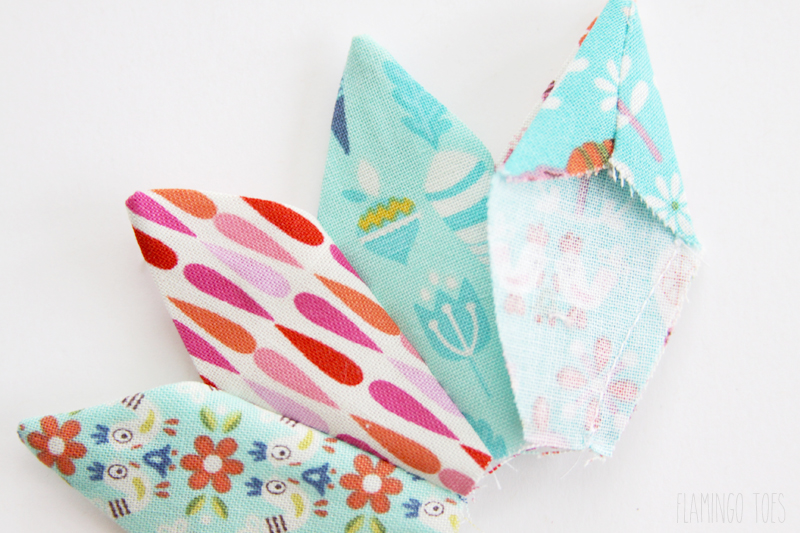
Once you’ve sewn all the pieces in a circle, press all the seams to one side.
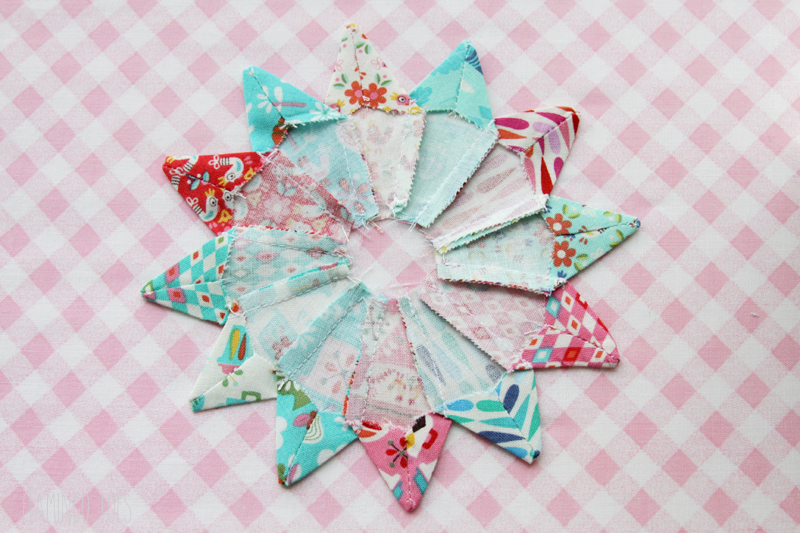
Now you have a pretty little dresden – well almost!
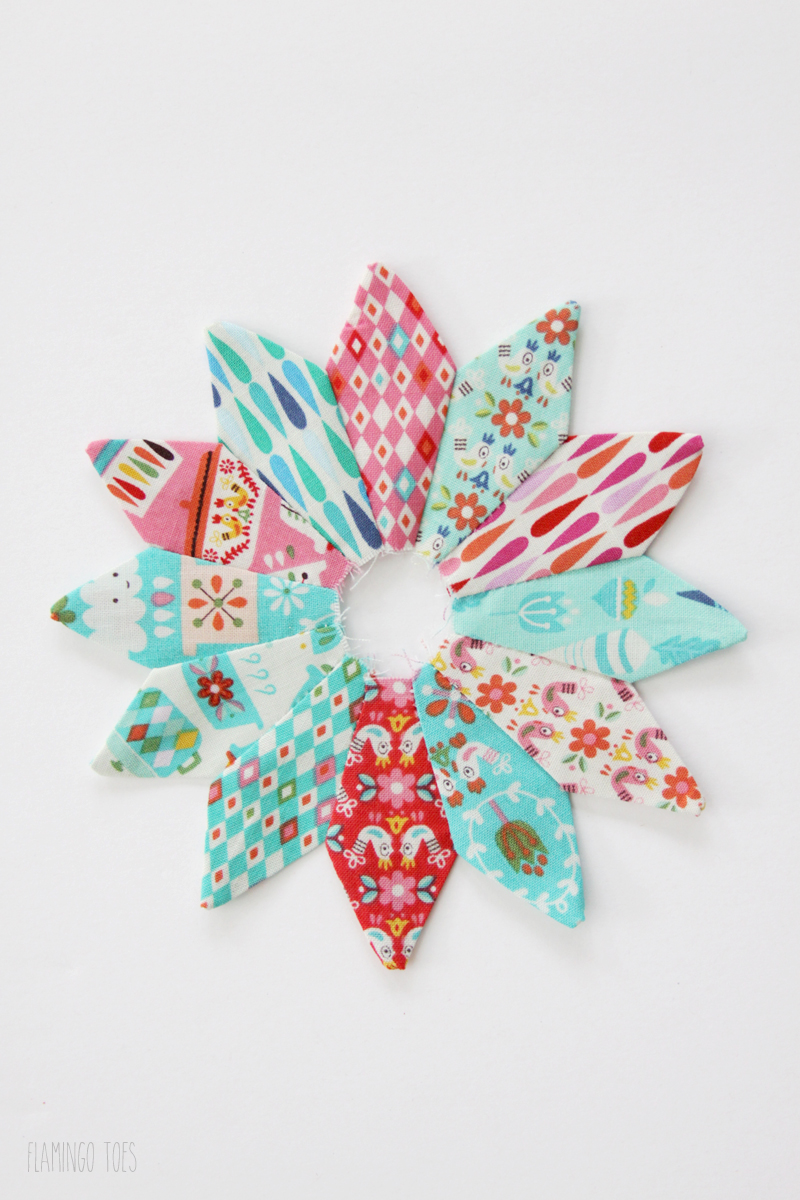
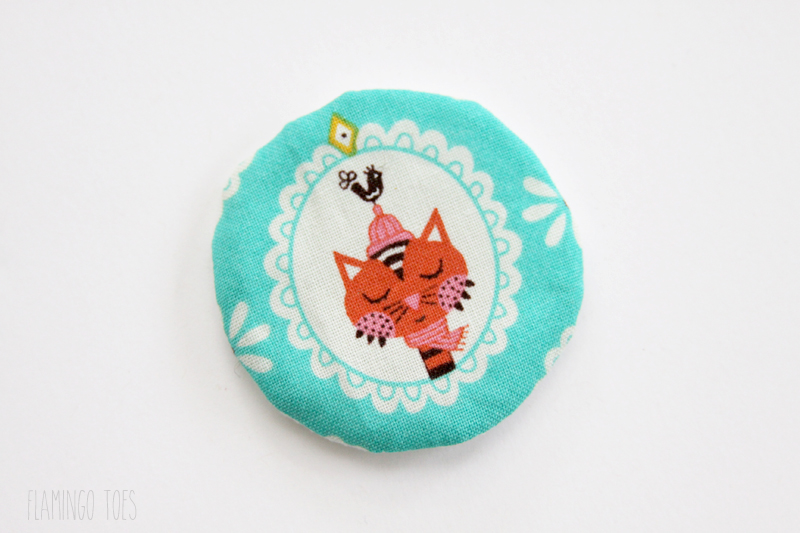
For the center piece, I wanted to show off the adorable kittens. Dresdens look super cute if you use a center color the same as your background, or you can use a print to show off. There are so many options! To make the center, you’ll need the fabric and a scrap of interfacing.
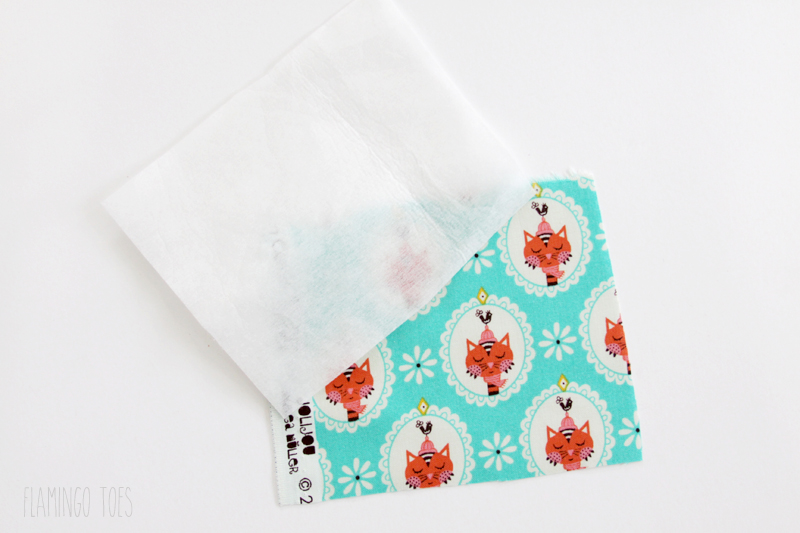
Place the interfacing (fusible side down) on top of the fabric and trace the center pattern over the interfacing – so the circle is centered over the kitten.
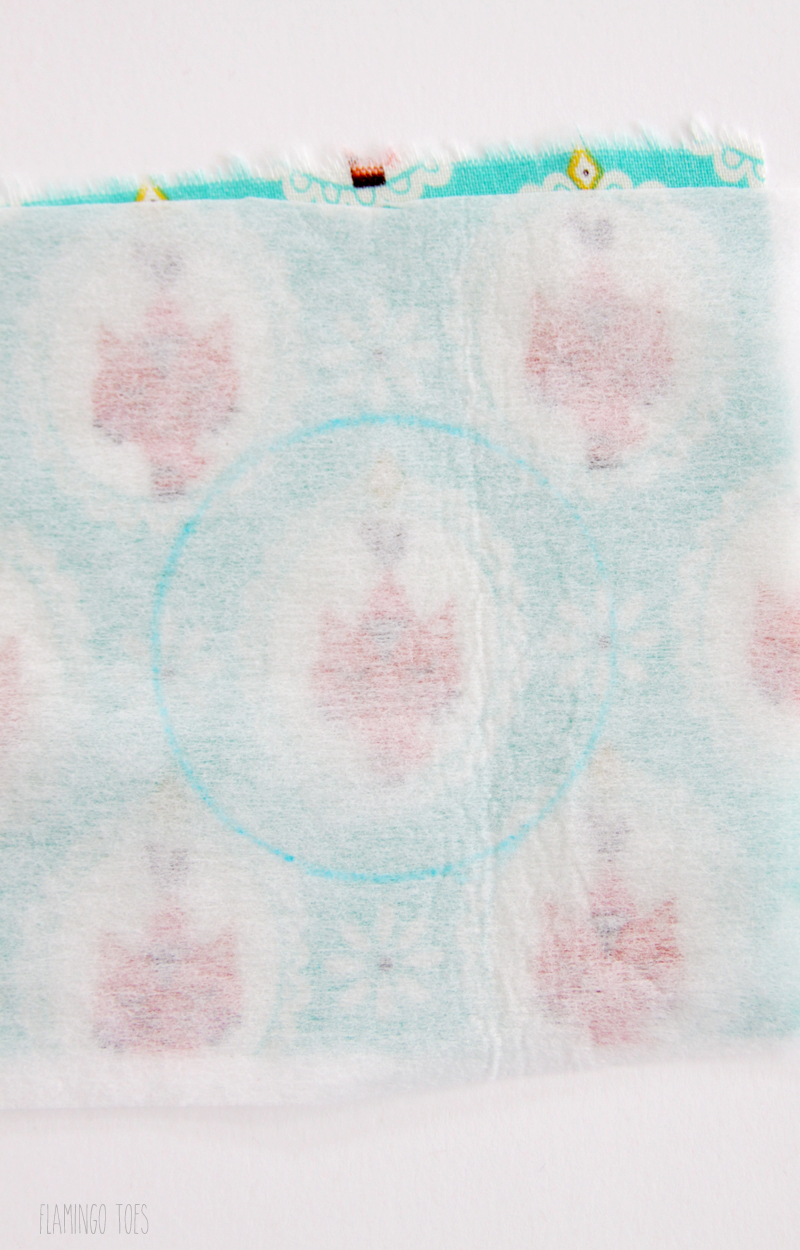
Sew all the way around on the marked line. Trim the fabric 1/4″ outside of the seam. Cut a slit in JUST the interfacing.
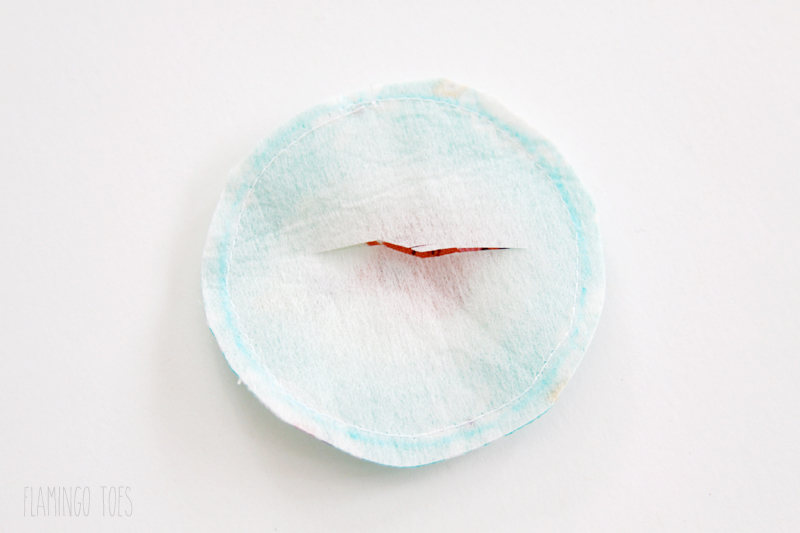
Carefully turn the fabric right side out. Don’t press the circle yet, you’ll fuse it to your ironing board. Just fingerpress it flat.
Place the dresden on the top fabric of the potholder and place the center circle on top. Press everything down. The fusible interfacing will help hold your dresden in place as you sew it on. Cool huh?
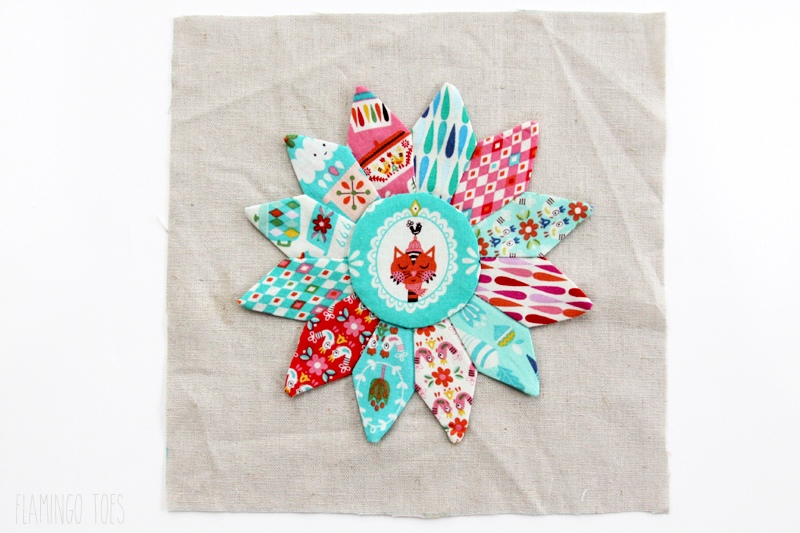
Pin everything in place. Sew all the way around the Dresden, just inside the edges. Sew down the circle too.
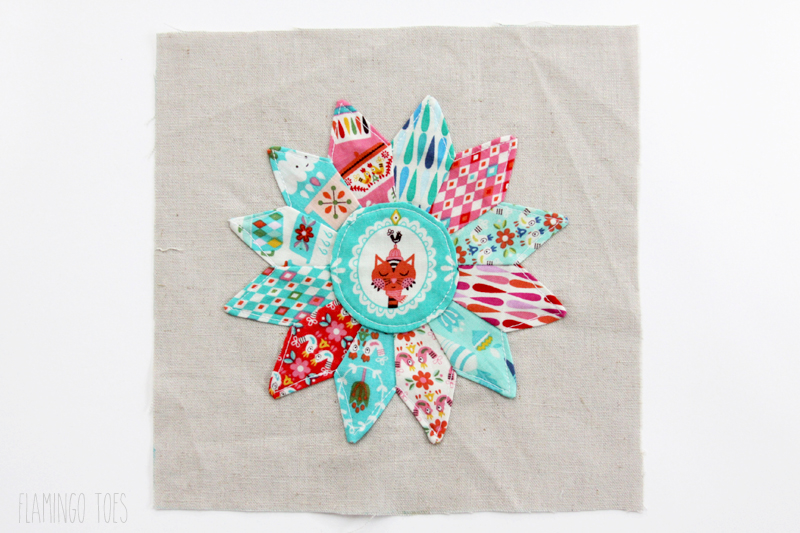
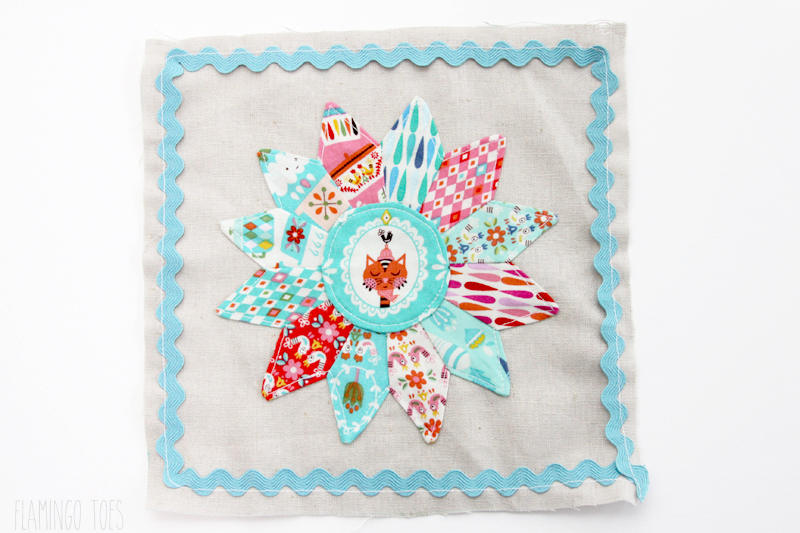
To add the rick rack, sew it around the edges of the square with a 1/3″ seam allowance.
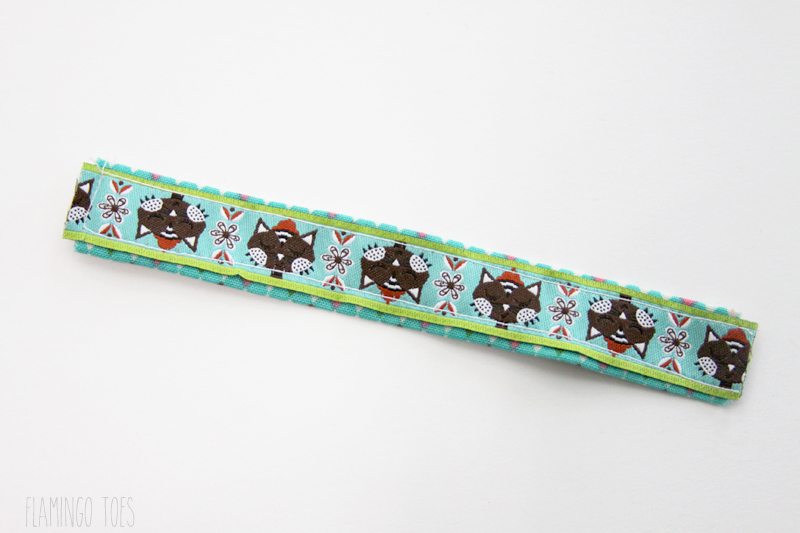
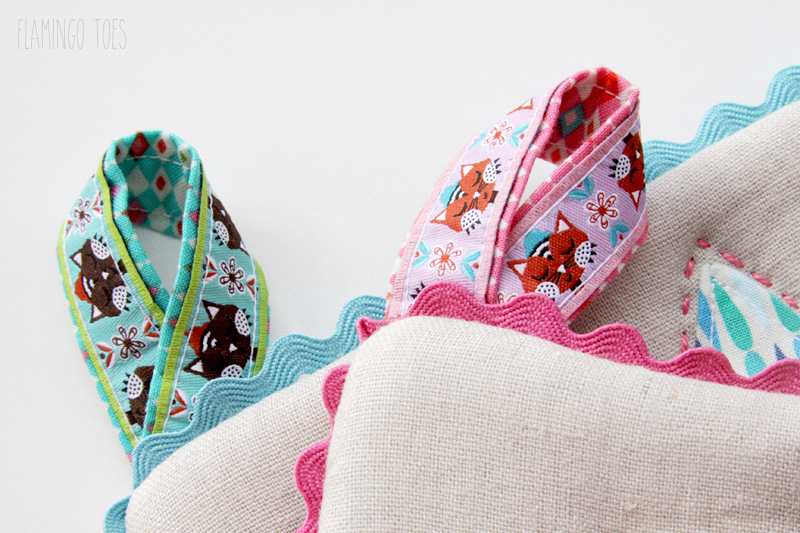
To make the ribbon loop, fold the long edges of the 3″ x 5″ fabric piece in towards the center on the wrong side. Press in place. Place the ribbon on top of the fabric so the fabric peeks out on either side. Sew along each side of the ribbon.
Fold the ribbon to create a loop. Place the raw edges just to the right of the top left corner of the front piece of the potholder. Baste in place.
Make a sandwich of all your pieces. Place the back of the potholder piece right side up, then the front side of the potholder right side down. Then place a piece of cotton batting, the insul-fleece, and the last piece of cotton batting. Sew together all the pieces around all four sides, but leave an opening for turning in the bottom of about 3″. Clip the corners.
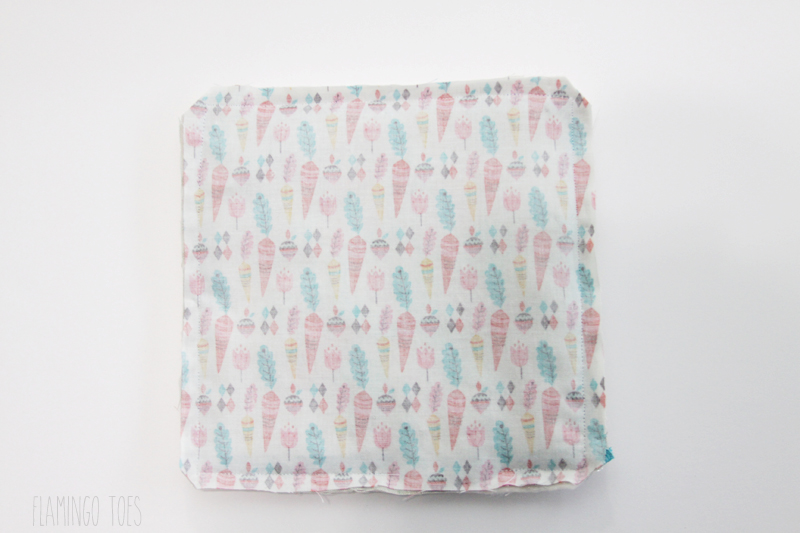
Turn the potholder right side out and press. Hand sew the opening closed.
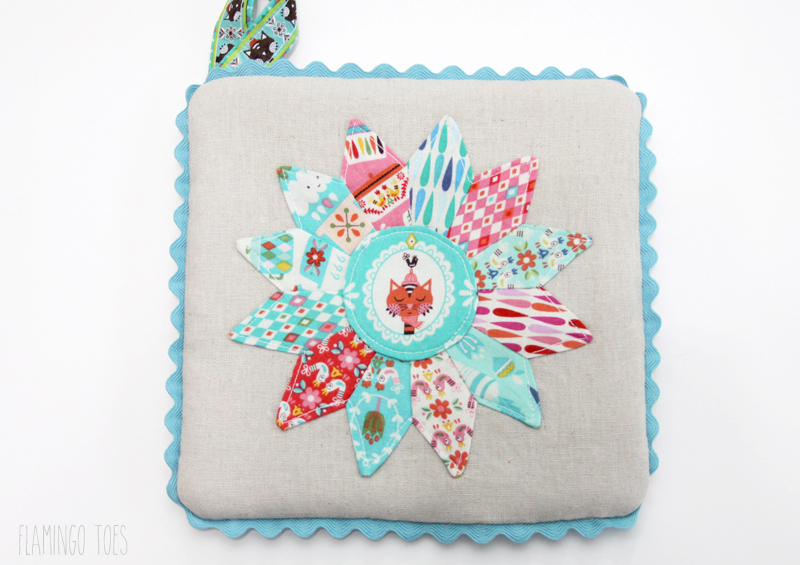
You can leave the potholder like this, or you can quilt it all together! I did a simple running stitch with pearl cotton embroidery thread just outside the dresden. I love the way it sets off it off and makes it stand out.
That’s it! You might get carried away and make more – they are so much fun!
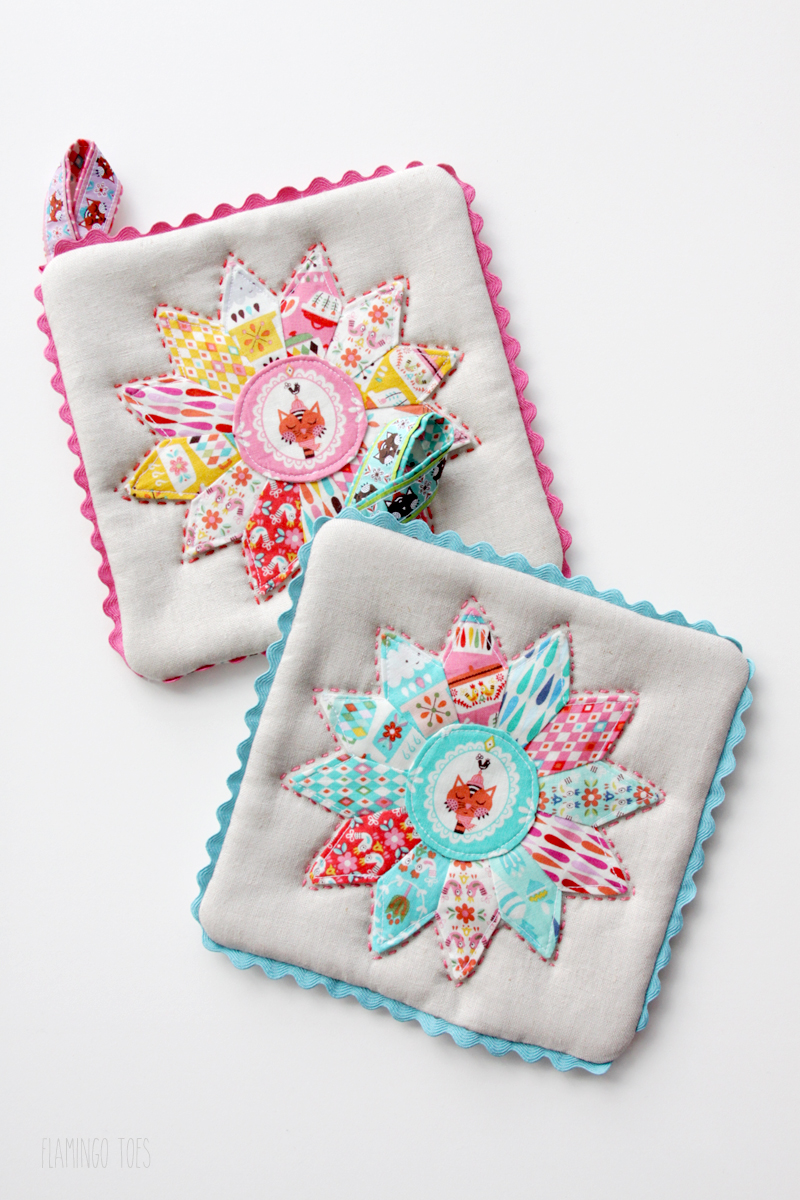
These are so colorful and fun!
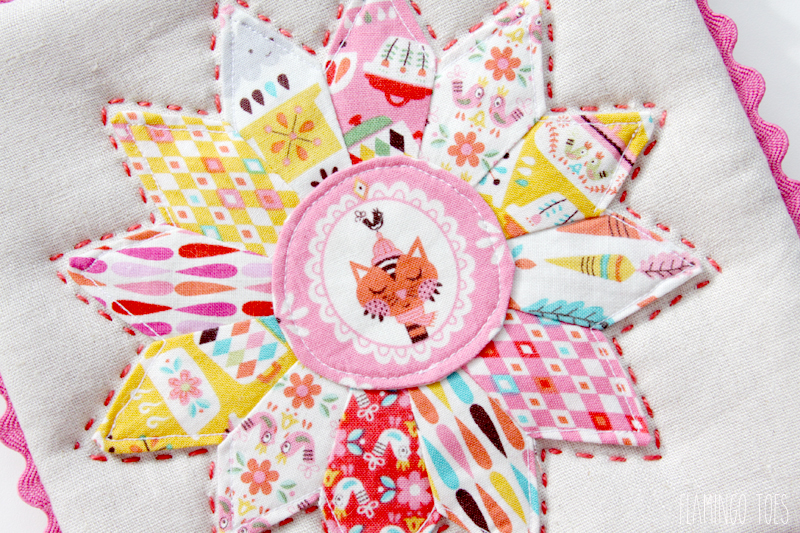

I’d love to see a photo if you make them up!
If you want to find out more about Vintage Kitchen fabric you can check the Riley Blake website and your local quilt store.
You can also see more projects on the Vintage Kitchen Blog Tour – they are all so cute!
|
3/7/2016 |
Julia – Riley Blake Designs |
|
|
3/7/2016 |
Andrea – Jolijou |
|
|
3/8/2016 |
Nina – Hedi |
|
|
3/8/2016 |
Anja – Nähkitz |
|
|
3/9/2016 |
Swafing Fabrics |
|
|
3/9/2016 |
Carrie Beri Bee Designs |
|
|
3/10/2016 |
Herzenssachen |
|
|
3/10/2016 |
Andrea – anlukaa |
|
|
3/11/2016 |
Emma – Frühstück bei Emma |
|
|
3/11/2016 |
einchen – doppelnaht |
|
|
3/14/2016 |
Anorina – Samelias Mum |
|
|
3/14/2016 |
Bev – Flamingo Toes |
|
|
3/15/2016 |
Amy – Diary of a Quilter |
|
|
3/15/2016 |
Julia – lillesol & pelle |
|
|
3/16/2016 |
Andy – A Bright Corner |
|
|
3/16/2016 |
Sabine – farbenmix |
|
|
3/17/2016 |
Simone – KaeptnStupsnase |
|
|
3/17/2016 |
Sarah – Mädchenkram |
|
|
3/18/2016 |
Melissa Corry |
|
|
3/21/2016 |
Jessica Stewart |
|
|
3/21/2016 |
Bine Guellich |
|
|
3/22/2016 |
Lindsay Wilkes |
|
|
3/22/2016 |
Sandra – Flaupa |
|
|
3/23/2016 |
Amanda Niederhauser |
|
|
3/23/2016 |
Ina – pattydoo |
|
|
3/24/2016 |
Ruth Sodl-Warter |
|
|
3/24/2016 |
Marissa – Rae Gun Ramblings |


Any particular reason you used linen for the background?
Hi Bonnie,
I thought the fabrics would look great against the linen, and I also thought it wouldn’t look dirty as quickly. I have other linen potholders and they are holding up great.
OK – I have never tried linen in any of my quilting projects but for this I might. Your tutorial is so clear and well-written and easy to follow – and I love the potholders, they are really cute. Plus they are different from any I’ve seen before – which I like.
so nice!!!
greetings
einchen
These are beautiful Bev. I love your blog, your so creative. I always wanted to make a Dresden plate but thought I couldn’t do it. But thanks to your tutorial, now I can make one. I am so excited to make one. I am so excited that I am going to my sewing room to make one now…
That is so exciting Carolyn! I hope you have a lot of fun with them. They’re kind of addicting! :)
Aaah Bev!! I am seriously in love! These are absolutely gorgeous!!!!
Thank you so much!
Andrea
Those are fantastic! I was trying to come up with a great house warming gift, and then I saw this post. These will be perfect! Thanks
I can’t find the ribbon you used in this project. Do you have any sources where I can purchase the ribbon?
Thanks.
So cute! and I love the colors you are using :)
HI, I love these! But I can not get the pattern to print, can you tell me what I am doing wrong please? Thank you for sharing such beauty.
Vicki
Fantastic potholders! The fabric is so cute! Nice work!
Have a nice day,
Sigrid
Good Afternoon Bev, I have just bought myself a copper whistling kettle and I need to make a pot holder. This dresden potholder is so lovely that I have pinned it so that I can make it over Easter time. Thank you for the idea.
Best Wishes
Daphne
Found you at the Monday Madness Linky Party! OMG these are so cute! I really like projects like this that are made from scrap fabrics. Lots of love from Pink Heart String!
Beautiful! I love all your sewing projects
Love the color explosion on these potholders! Wonderfully detailed tutorial.
These are so cute and I’m loving that clever, folded way of making the design. It’s almost too lovely for something to hold pots with – I’m pinning till I find the perfect thing to try it out on, (Maybe a tote bag??)
Sorry, that sounds like your pot holders are not perfect ….that’s not what I meant AT ALL!
This is just adorable! Thanks so much for sharing on craft schooling Sunday (last week) just now having time to look for features after a packed week. All the best!
Thanks for sharing these pot holders at Craft Frenzy Friday on Mom Home Guide! I love them! Beautiful!
Lovely tutorial. Thanks for sharing at the Inspiration Spotlight party. Pinned & shared.
Your project reminds of when my grandma used to make her quilt square a talented women. Your potholders were featured on our #OMHGFF this week!!
Pinned and share out to Twitter and FB!
Have a great weekend!
Karren
These are so cute! I can’t wait to make some for friends, family and ME! Thanks for the tutorial :)
These are sooooo adorable! I already have the Vintage Kitchen fabric & am going to make a table runner for my daughter for Christmas. I think I need to make these pot holders now to match!
Hello! This may seem like a dumb question, but does the insul-fleece get placed in the “sandwich” with the shiny/silver side down? Also, what do you think about using two pieces of insul-fleece? So that both sides are protected (depending on how you pick-up the potholder). If I did that, I assume I would sandwich one piece shiny/silver side down and the other piece shiny/silver side up.
Thanks! Love these pot holders and am getting ready to sew all the pieces together!
Hi Karen! It’s not a dumb question at all! It doesn’t matter what side of the insul-fleece is down. And you can definitely use two layers – putting the sandwich together like you said is perfect. You’ll still want a piece of batting on either side of the insul-fleece as well. I hope that helps!
Bev