I’ve seen so many cute banner projects around lately, I just had to jump on board. I have several ideas, but I thought for my first banner I’d go a little Valentiney – but with something that I could leave up longer than just February. And of course I had to add in some vintage fabrics and embroidery to the mix, cause that’s how I roll.
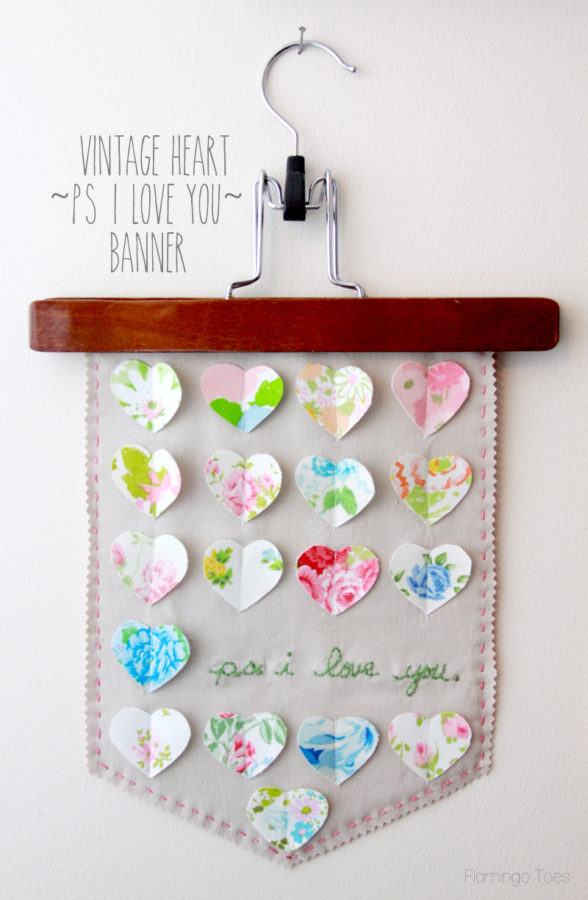
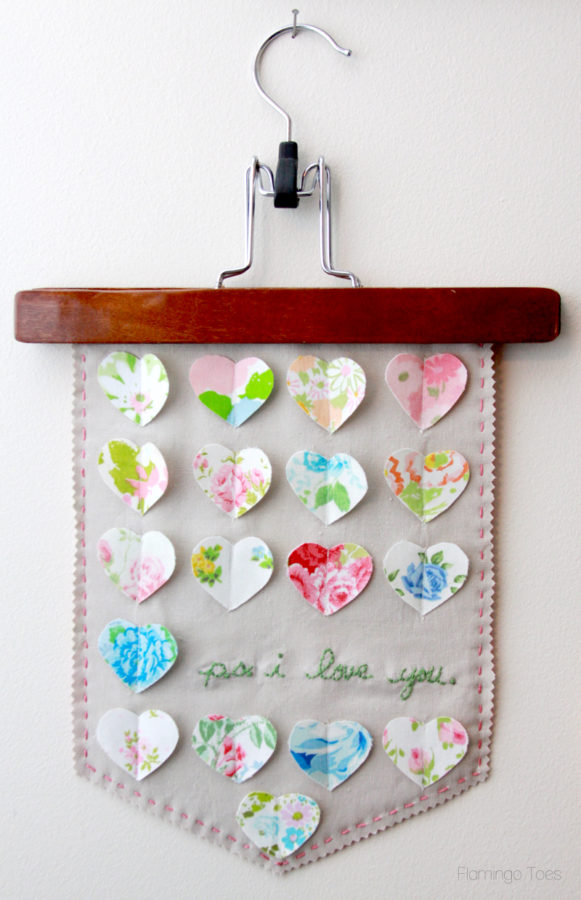
I made up this cute Vintage Hearts PS I Love You Banner! It’s kind of a take on a little shamrock specimen art I made way back in the dark ages of the blog, back when I apparently thought it was cool to have all sorts of angled “arty” shots of my projects. Nice. I still love the combination of repeated patterns and cute embroidery though – and it worked out great for this project!
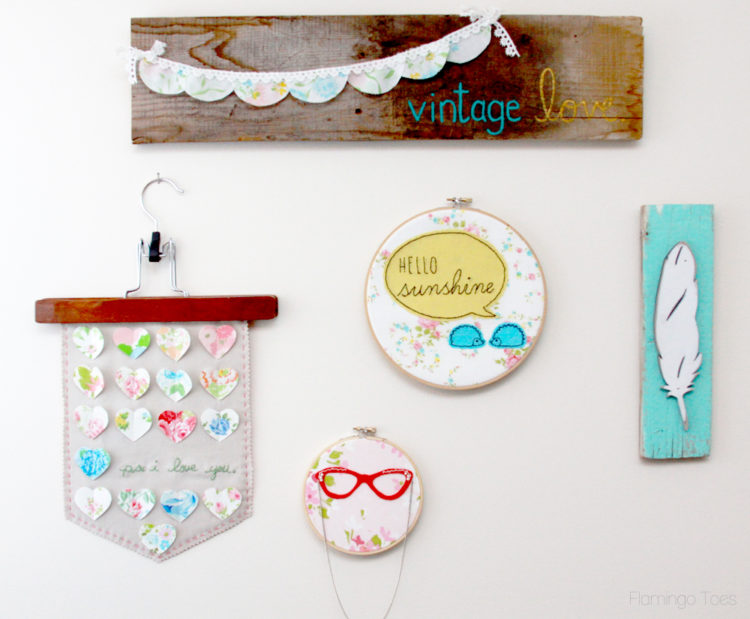
I love the banner idea, they are so easy to change out and they make such a fun, new way to display cute things – and it’s a different shape to add in when your wall is full of embroidery hoops. Ahem.
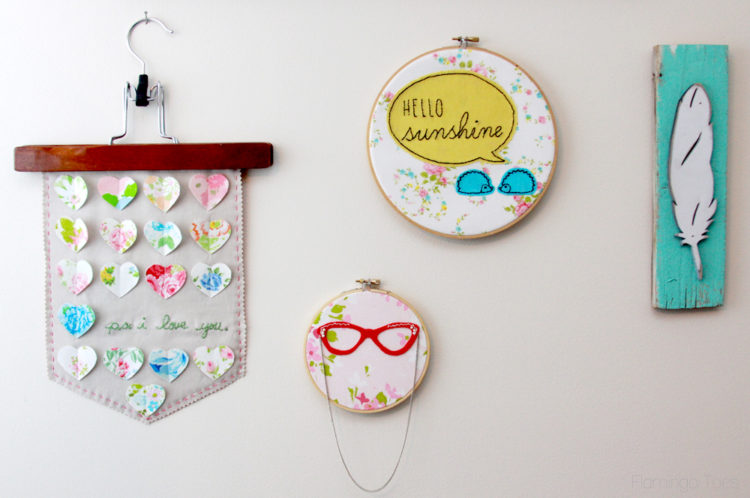
I hung mine from this sweet vintage hanger, but I’ve also seem them hung from little dowels with twine or even pinned in place. Whatever works!
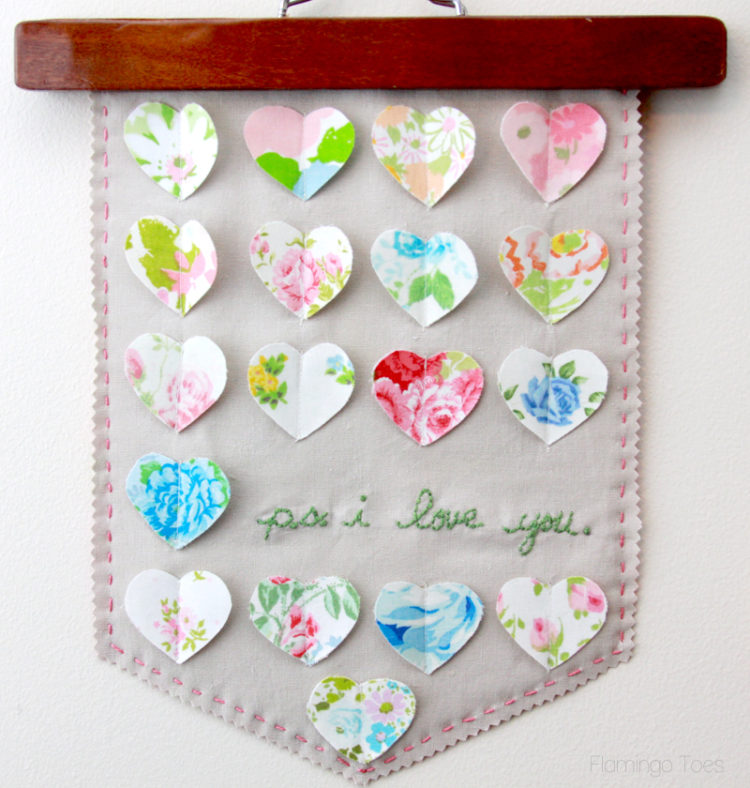
And of course, all this little vintage sheet fabric hearts make my heart go pitter patter. Why don’t they make sheets this cute anymore? I would be all over that.
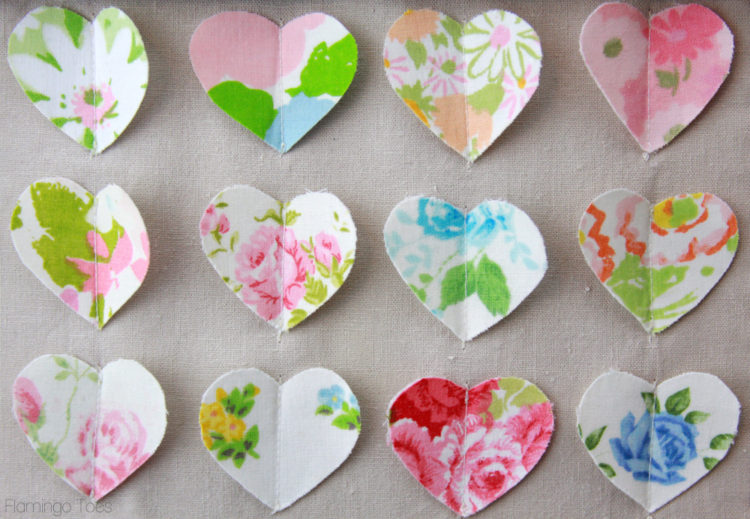
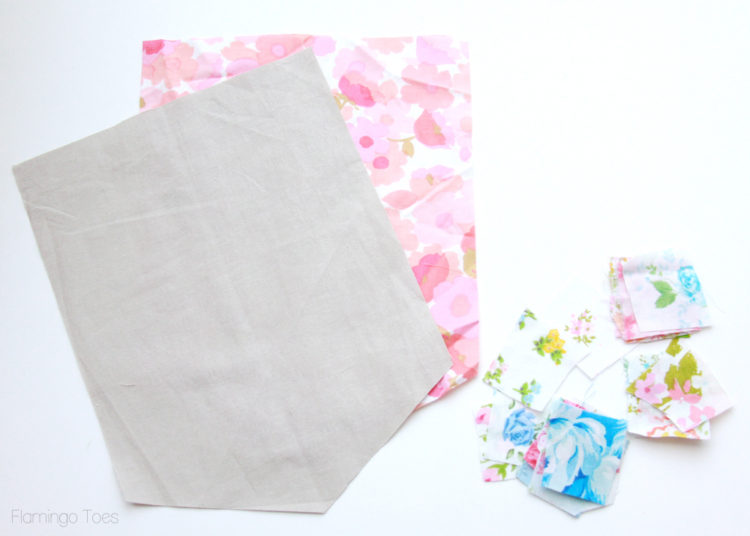
This is a great stash busting project too – perfect for all those little bits of cute fabrics you can’t bear to throw out. So let’s get started! Here’s what you’ll need:
- 9 x 11 piece of linen for front
- 9 x 11 piece of fabric for back
- 8 x 10 piece of fusible fleece
- 8 x 10 piece of lightweight interfacing
- fabric scraps for hearts – these hearts are about 2 x 2
- white fabric for back of hearts
- fusible webbing, enough for all hearts
- embroidery floss – 2 colors
- disappearing ink marker
- pinking shears
Begin by cutting out the front and back of the banner (use measurements above and then cut angled corners off the bottom), then cut out squares of fabrics for your hearts, a little larger than your heart pattern.
Cut a white piece of thin fabric (muslin works great) a little larger than your fabric squares, all laid out. Iron a piece of fusible webbing over the white fabric. Remove the paper backing, then lay all the little heart fabrics over the white fabric, covering all the webbing. Trim off any extra white fabric, then iron your pieces to the backing.
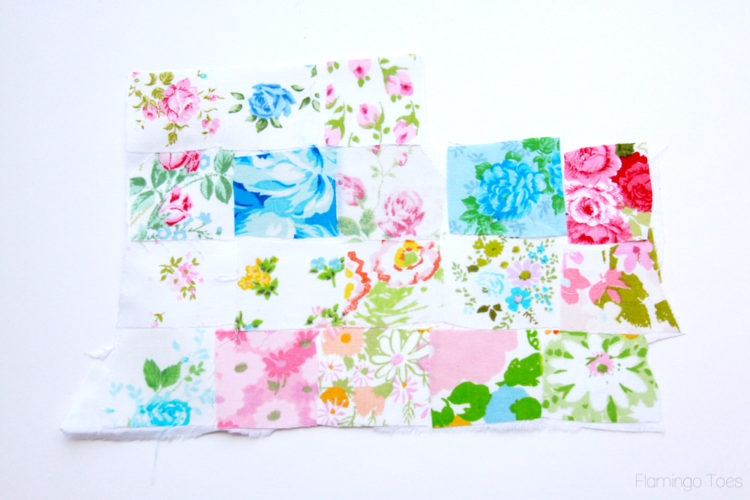
It looks like a messy little quilt right? Let’s cut it up.
Cut out all your hearts. Lay out your pattern of hearts on the banner and pin them in place.
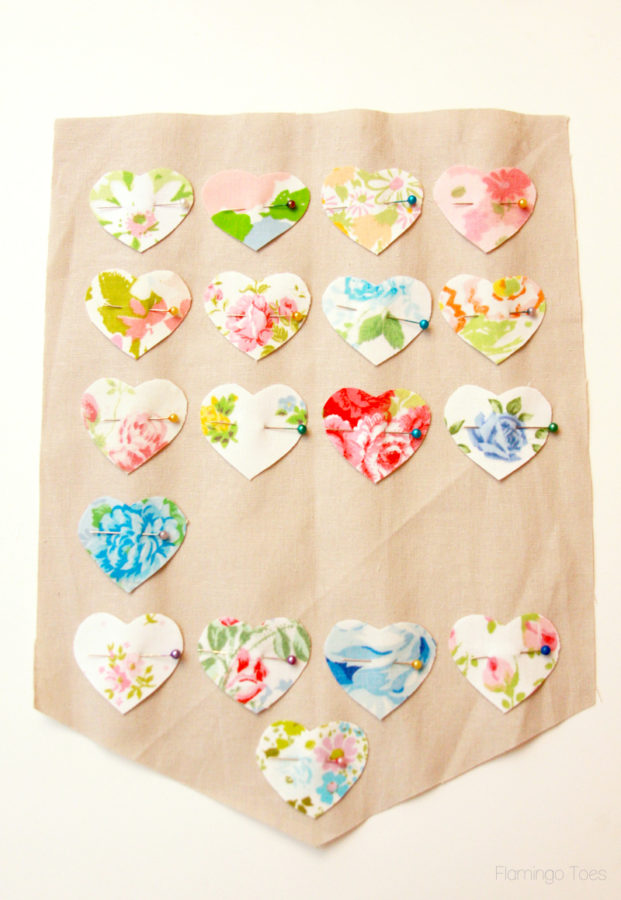
Start at the top of the banner and sew straight down through the first heart. Lift your needle and move on to the next heart down. Sew down the center. Repeat for all the hearts in the row. Once you are done with this row, you can cut the threads between the hearts and repeat for the next rows.
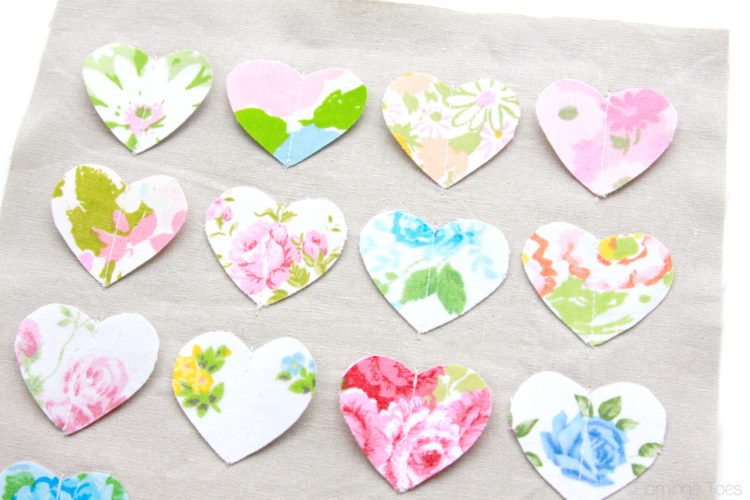
On the space in the middle, write out your phrase with a disappearing ink marker. I just hand wrote it, but you could also print it out and then trace it.
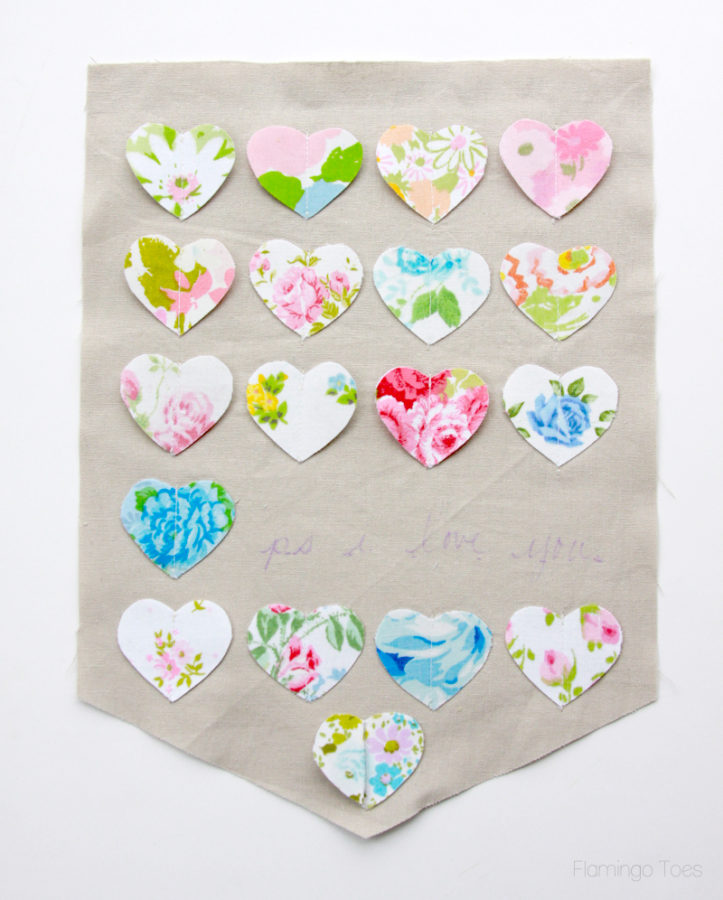
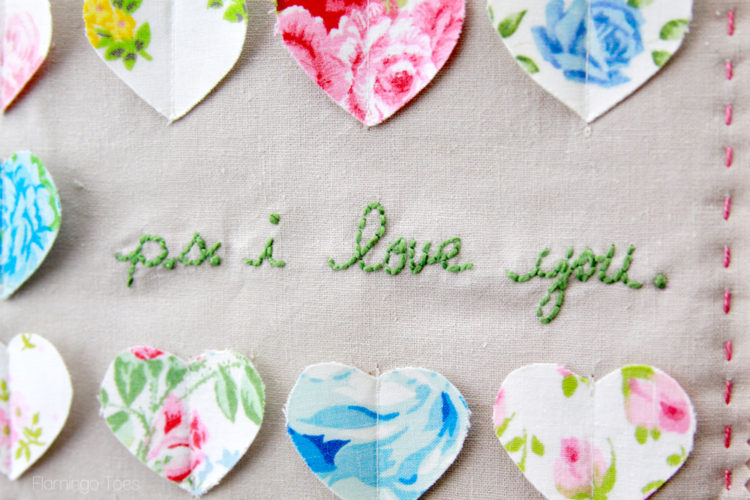
Fuse the lightweight interfacing onto the back of the banner. Embroider your phrase with a simple back stitch. (You can find Embroidery Stitch tutorials here.)
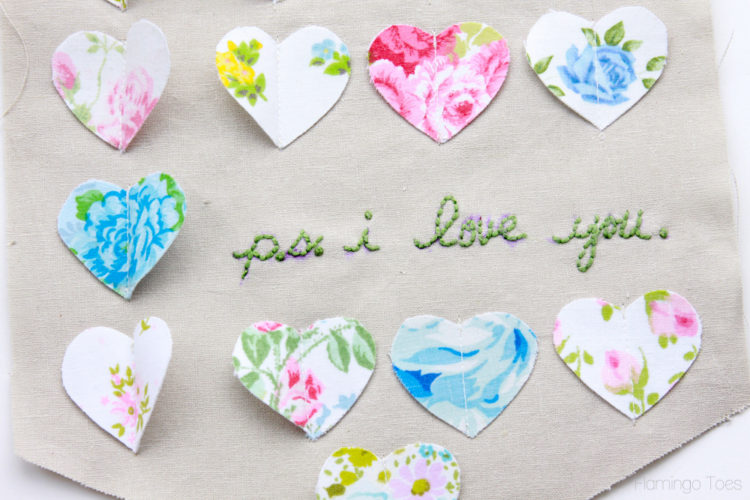
Flip your banner over and iron the fusible fleece to the back.
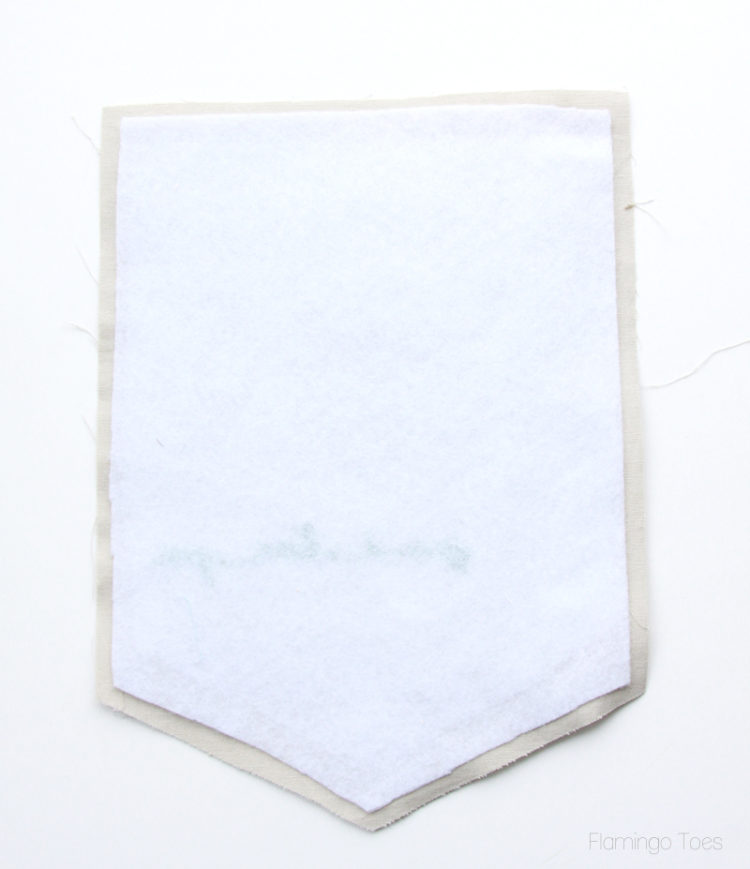
Iron a small strip of fusible webbing around all the edges of the back side of the banner. Remove the paper backing. Place the back of the banner onto the front, right sides out. Iron the pieces all together. Embroider all the edges of the banner with a running stitch, about 3/8″ in from the edge.
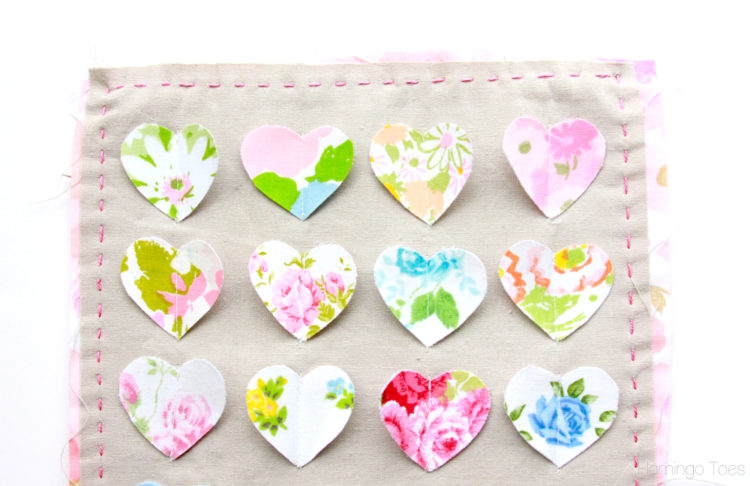
Trim around all the edges with pinking shears to give the banner a nice cute edge.
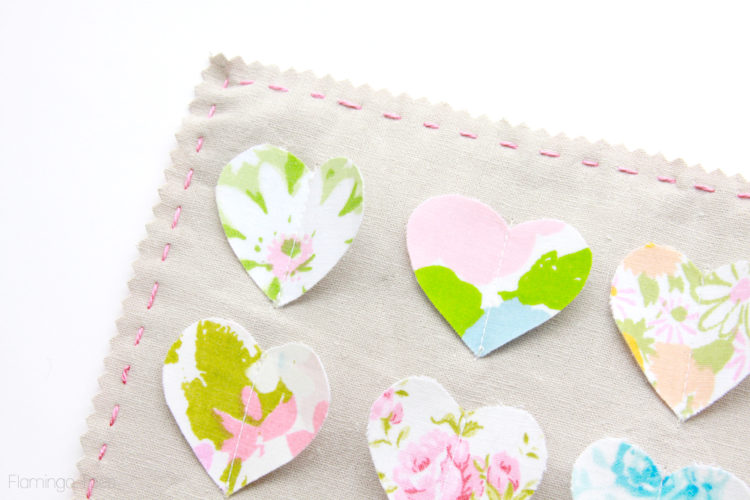
And that’s it!
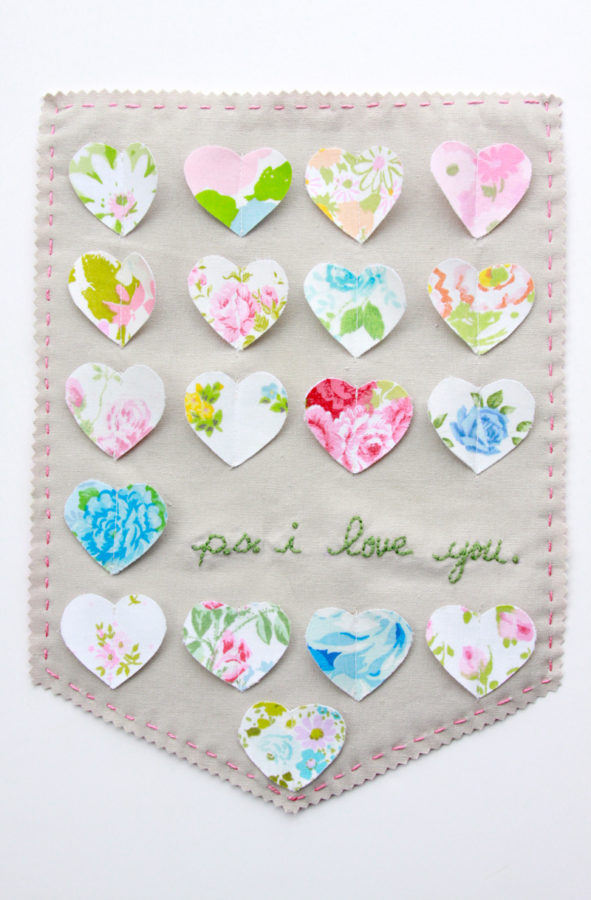
I love how the hearts kind of float there – but they don’t look all floppy since we backed them with the fusible webbing and fabric.
And of course, little love notes out of embroidery are always called for.
Have you made a banner before? I hope you give it a try!


Oh, Bev — you have done it again! This banner is so adorable and I love how you have used a vintage hanger to hang it by. I have some of those in my stash! Must try this …
So in LOVE with this sweet project, Bev!! Vintage sheets have me every time!
xox
Added to my Valentine’s must make list…super easy and super cute!!
Adorable! I love that hanger. And the hearts are so cute made from vintage fabric!
This is such a cute decoration for Valentine’s Day. I love the different patterns of the hearts.
This is adorable!! I’ve got a Craft Gossip post scheduled for later today that links to your tutorial:
http://sewing.craftgossip.com/tutorial-vintage-heart-valentines-banner/2015/01/31/
–Anne
Great Valentine’s gift idea, thank you for the detailed tutorial.