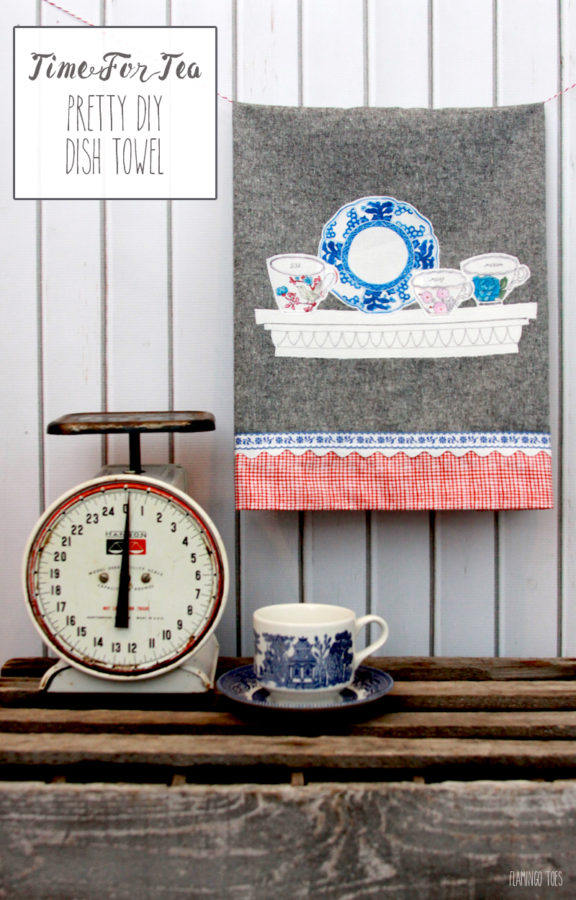
I am an AVID tea drinker. It’s pretty much a daily thing – and while I like iced tea, I’m really a hot tea kind of girl. As in, I have at least one cup of tea a night, and then often others throughout the day. I actually have a hard time going to bed if I don’t have that cup of tea first!
So when I spotted this amazing Tea Garden line of fabric in the Quilt Market photos last year, I might have squealed. I have so many plans for this fun fabric! I mean – you can’t go wrong with teacups and dishes, rows of spoons, and all kinds of pretty coordinating prints. It’s like we were meant to be together.
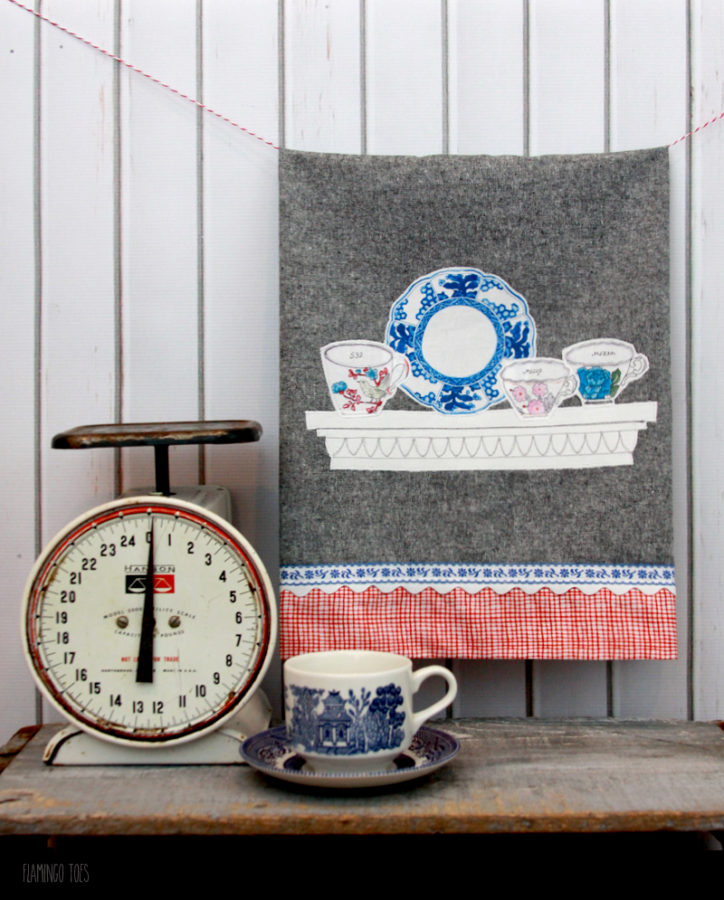
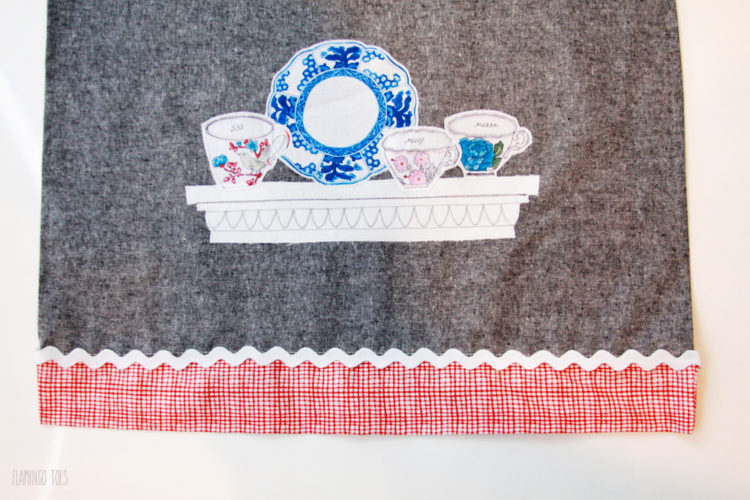
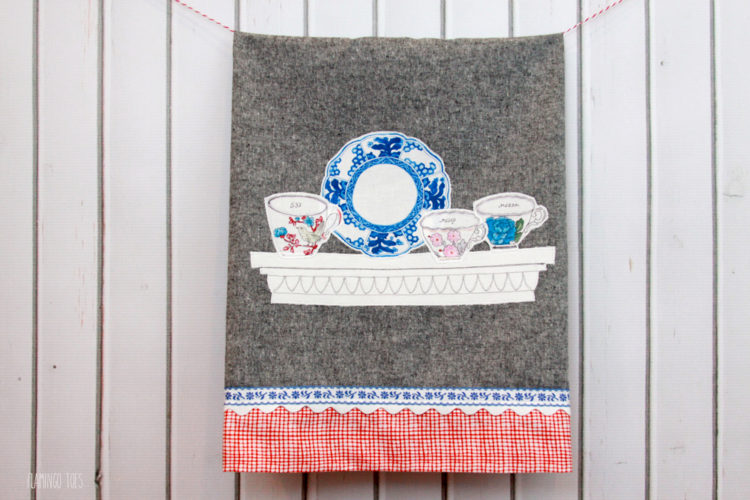
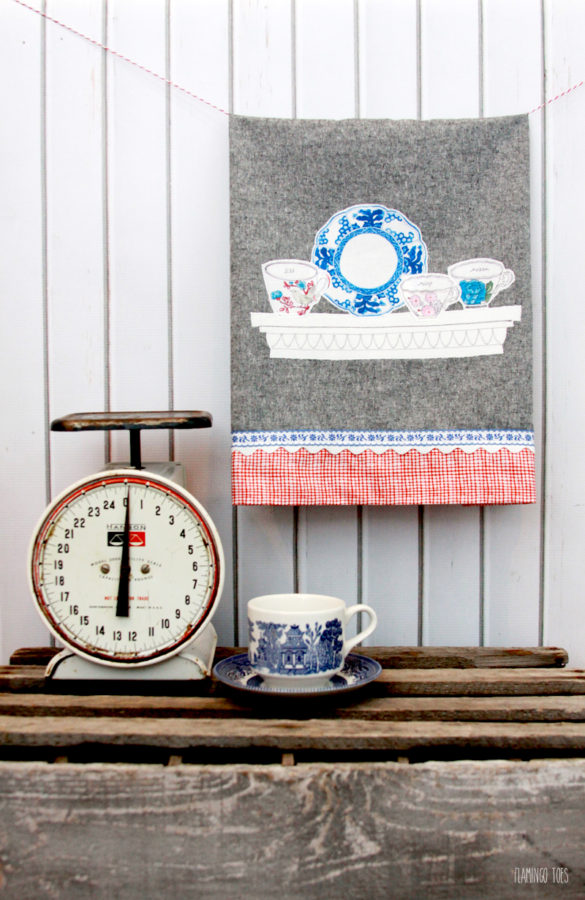
I had to start off with a dish towel though! It just fit too perfectly. I really wanted to showcase those pretty dishes too, so I stitched up a little decorative shelf for them to sit on. Isn’t it fun?
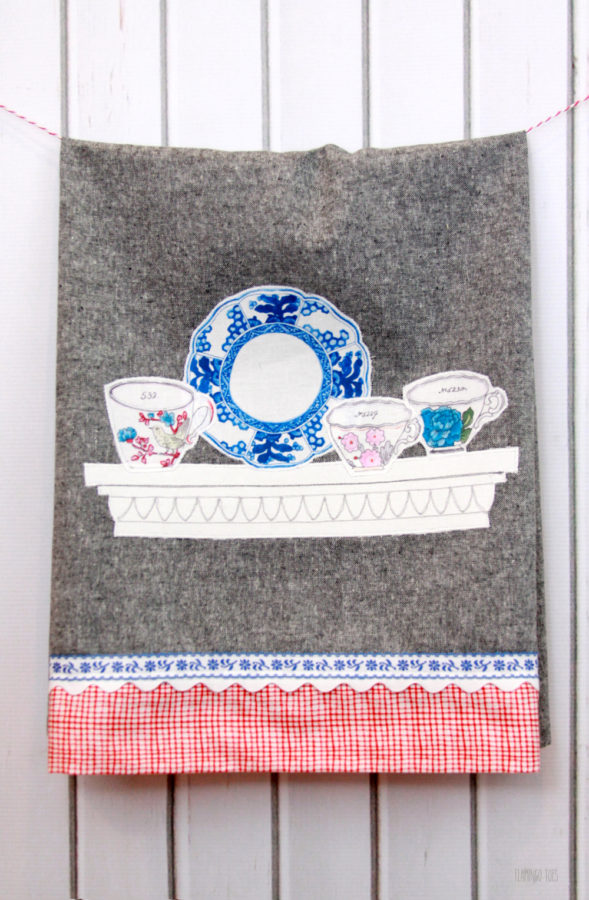
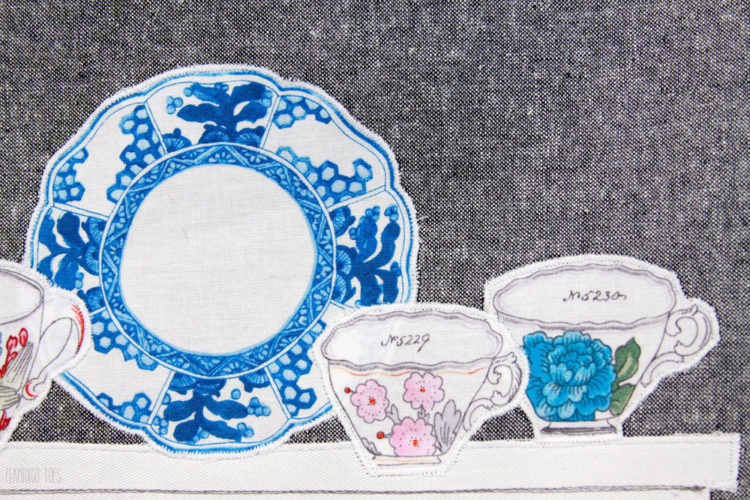
I really love the prints on the teacups and dishes. They are so similar to some of my favorite dish patterns.
So let’s get sewing!
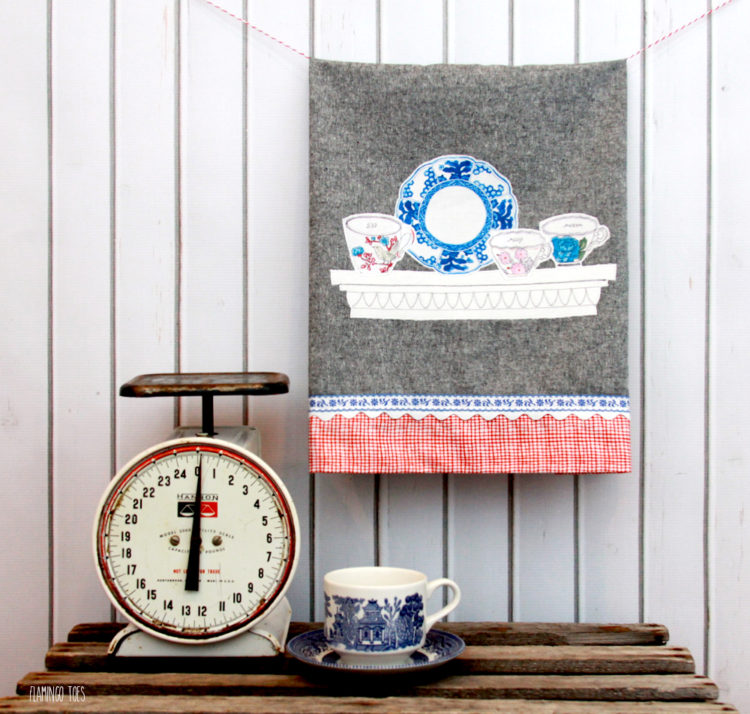
How to Make a Time for Tea Dish Towel:
Materials:
- Heavyweight fabric for dishtowel or purchased dishtowel: 20″ x 28″
- Tea Garden Fabrics – Devonshire Tea White, Milk and Sugar Ivory, and Red Check
- White fabric for shelf
- White RicRac – 20″
- Embroidered Ribbon – 20″
- Fusible Webbing
- Disappearing Ink Pen
- Matching Thread
Decide on the layout you’d like for your dishes. The fabric has all sorts of pretty cups and plates so you can really have fun with it. Lay them on your fabric, then measure the width of the area. I wanted my shelf to be a couple inches longer than the cups, so I cut out my fabric 10 1/2″ x 3″. Iron fusible webbing to the back of your shelf fabric, then iron the fabric to the dish towel.
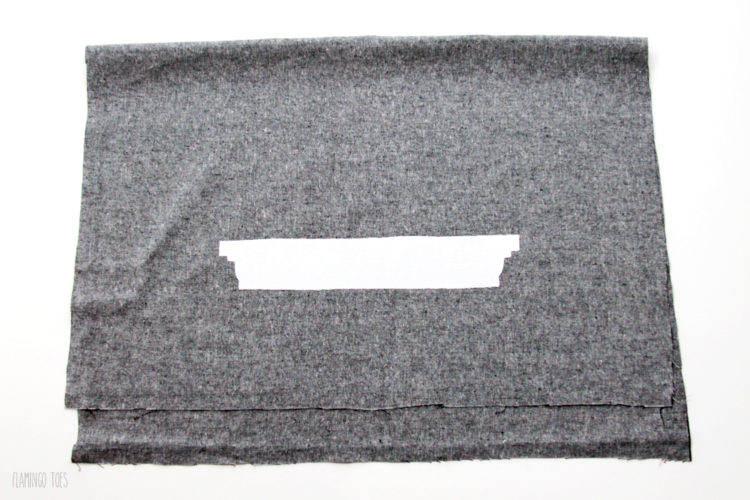
With a disappearing ink pen, draw on your decorative lines. I did some molding lines, and some decorative little arches. Zig zag around the shelf to sew it in place.
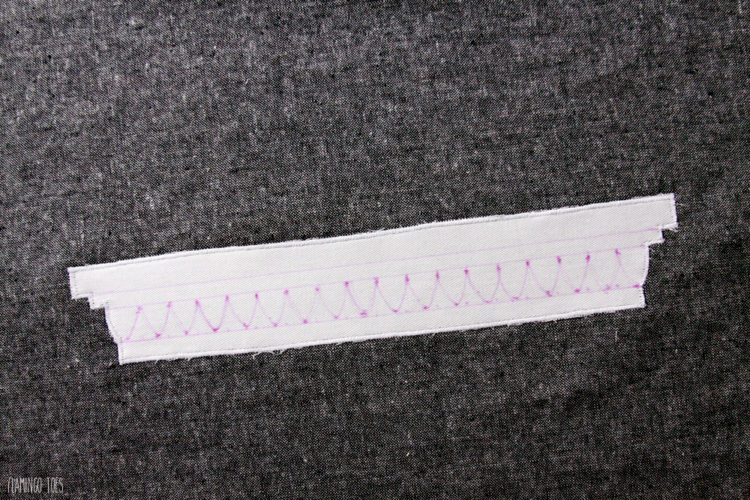
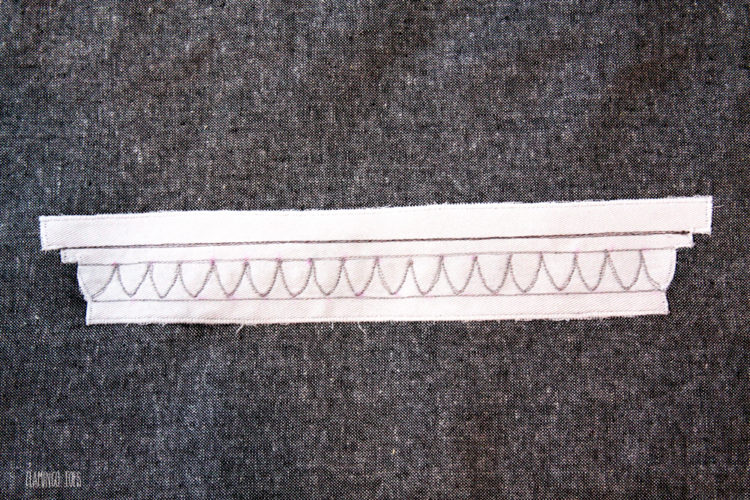
Stitch over the lines you drew with a sketchy free motion stitch. You can use a free motion foot and drop the feed dogs to do the scallops. Go over all the lines two or three times so the stitching is dark enough.
Cut out your dishes and cups – but leave about a 1/8″ border around them so you have room to stitch them down without covering up the design. Cut out fusible webbing and iron it to the back of the fabric.
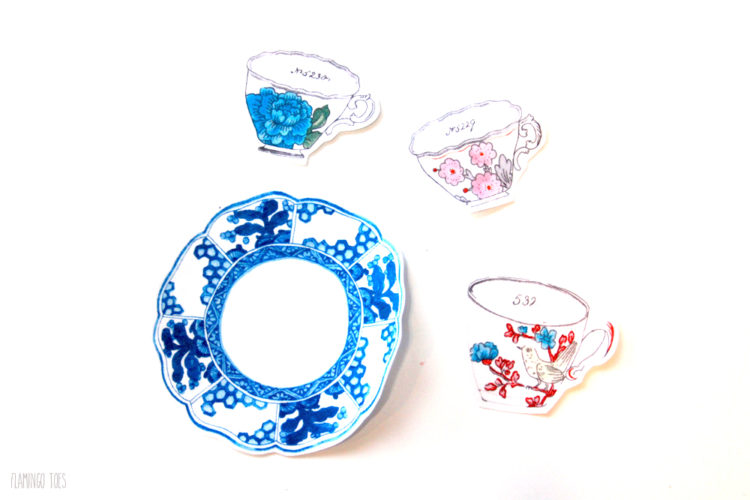
Remove the paper backing and place the dishes on the “shelf”. Overlap them just a bit and then iron them in place.
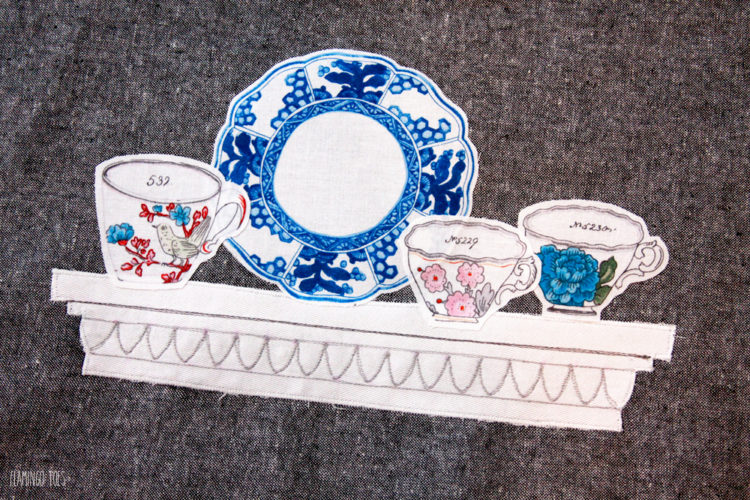
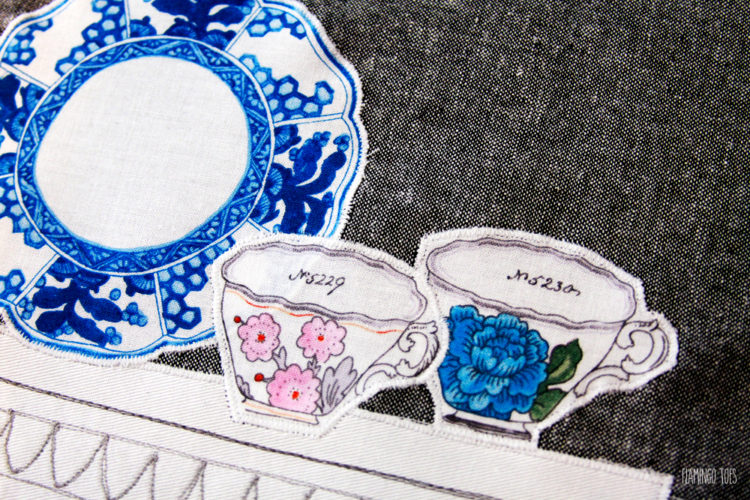
Zig zag around all the cups and dishes, just on the outside areas. You don’t need to worry about anything under other fabric pieces.

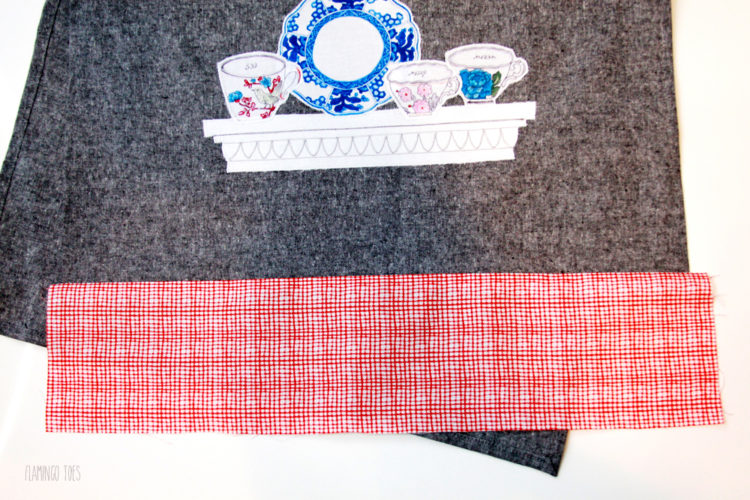
Hem the two long sides and the top of the dish towel. Place your piece of border fabric right sides together with the dishtowel and line up the bottom edge of the border with the bottom of the dish towel. Sew across the edge with a 1/2″ seam allowance. Press the border away from the dishtowel.
Fold the seam allowance on the back side away from the border. Fold the border print in half and line up the short edges so the ends meet around the dishtowel. Sew along the sides with a 1/2″ seam allowance, but don’t sew over the dish towel fabric. Trim the seams.
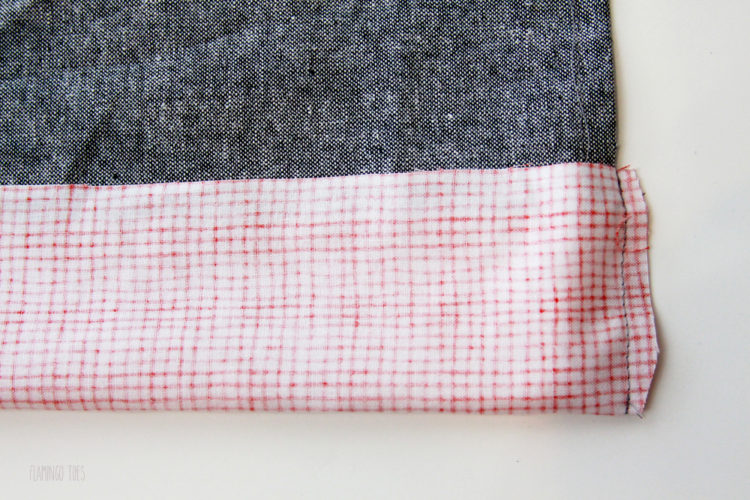
Turn the border right side out and tuck the seam allowance in on the sides and the back. On the back side, press the opening under 1/2, so it just covers the seam. Sew the border opening closed, just inside the folded edge.
On the front of the dish towel, lay the rick rack over the seam. Fold the edges around to the back and sew in place, just above the halfway point on the ric rac.
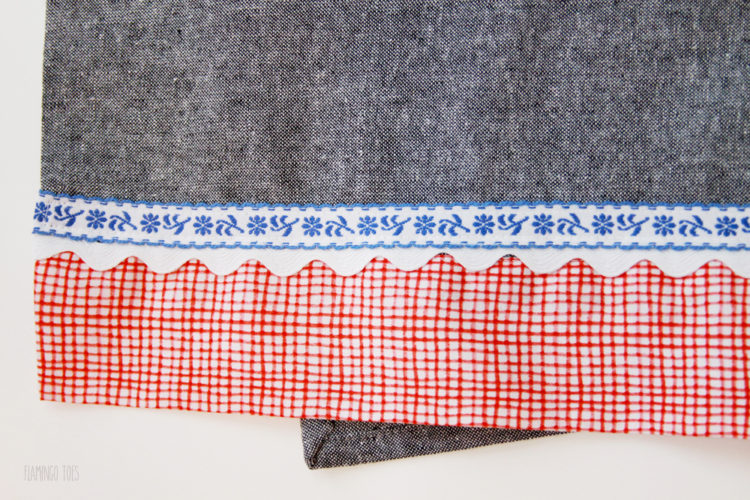
Lay the piece of embroidered ribbon over the ric rac so the bottom half of the ric rac is still visible. Fold the sides to the back of the towel and sew in place.
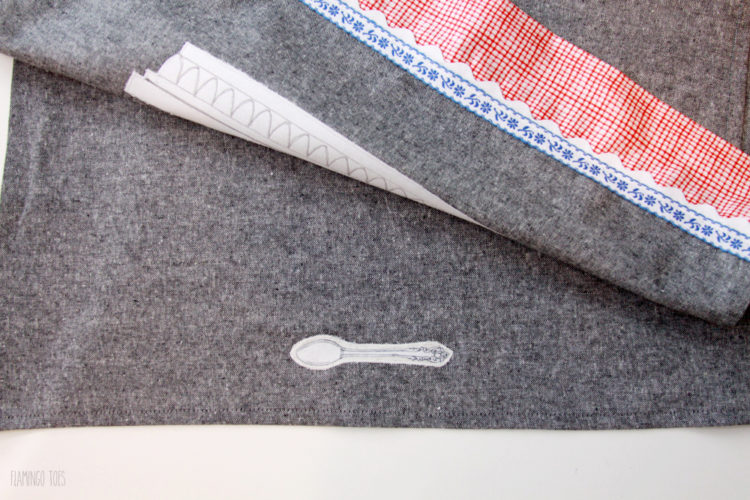
Cut out a little spoon from the Milk and Sugar fabric. Iron fusible webbing to the back, then iron the spoon on the top of the dish towel. Sew in place with a zig zag stitch.
And that’s it! You now have a cute dishtowel to decorate up your kitchen with!
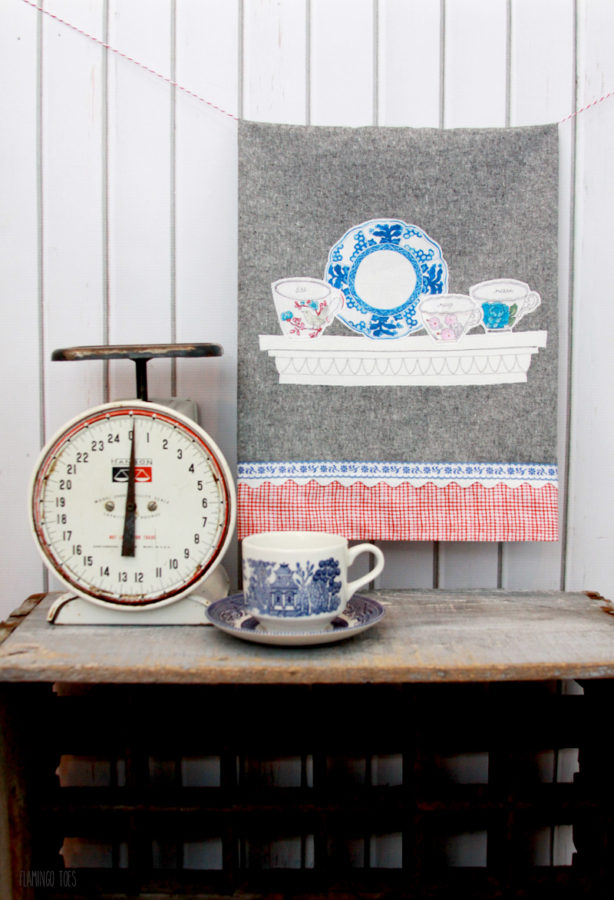
This would make a great gift too – it would be perfect for a housewarming, bridal shower, or Mother’s Day!
I’d love to see a photo if you make one!


Oh my goodness, that fabric! I love the illustrations! Thanks for this tutorial–I’m pinning it to my Mother’s Day inspiration board. :) Have a great day, Bev!
A-dor-a-ble! Custom towels are such a useful and unique gift. I am partial to a cup of Earl Grey or Chai myself!
Beautiful, clever, delightful. I must make these for all my tea loving girl friends. Thank you for your brilliance!
Oh good grief, Bev, this is just the cutest towel EVER! Those little dishes? And that shelf? You amaze me, my friend!
I would love to do a feature on you… please email me if you would be willing to give your amazing crafts to the UK…. my blog is http://prettyshabbyuk.blogspot.co.uk/ Dawn xx
What a great idea, thank you! Love giving tea towels as housewarming and hostess gifts.
What was the type of fabric you used for the towel itself? I haven’t seen the dark gray towels like this one. This is a really great idea!
Yes I would like the type of fabric also.
Thank you!
Yes, towel fabric, please?