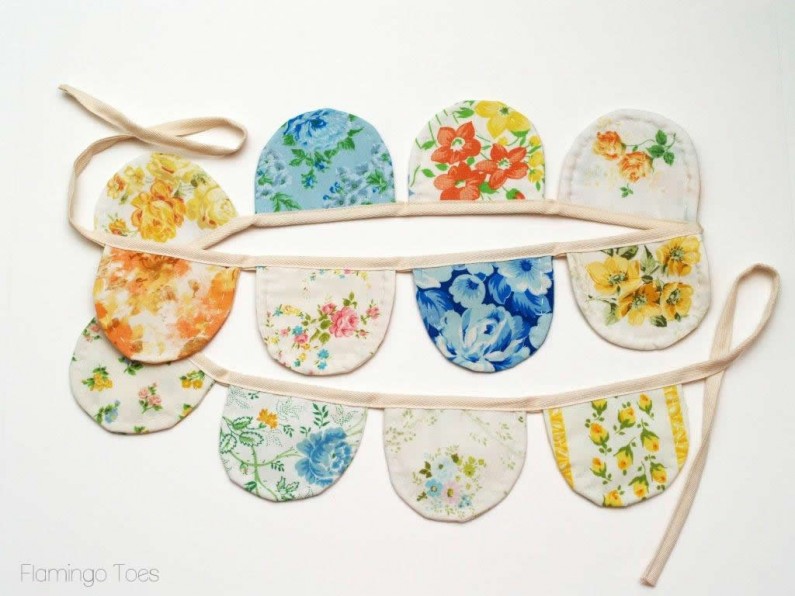
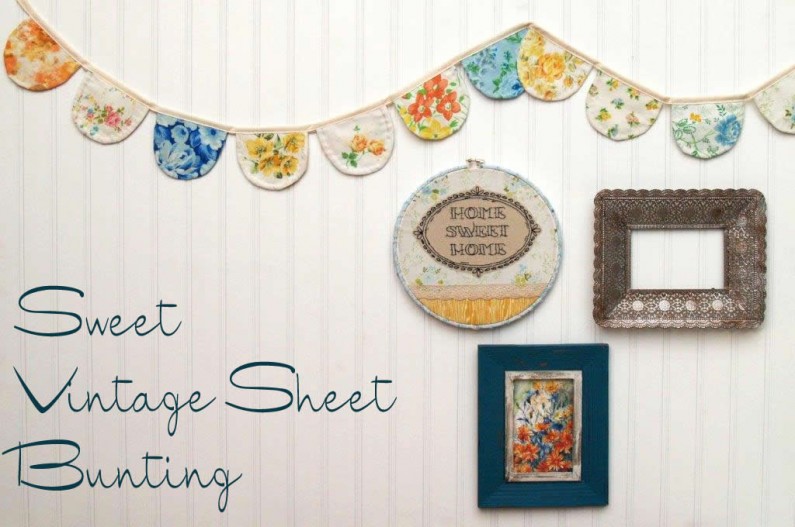
I’ve been working on some things for my gallery wall – and I am so excited to show off my latest addition – this Sweet Vintage Sheet Bunting!
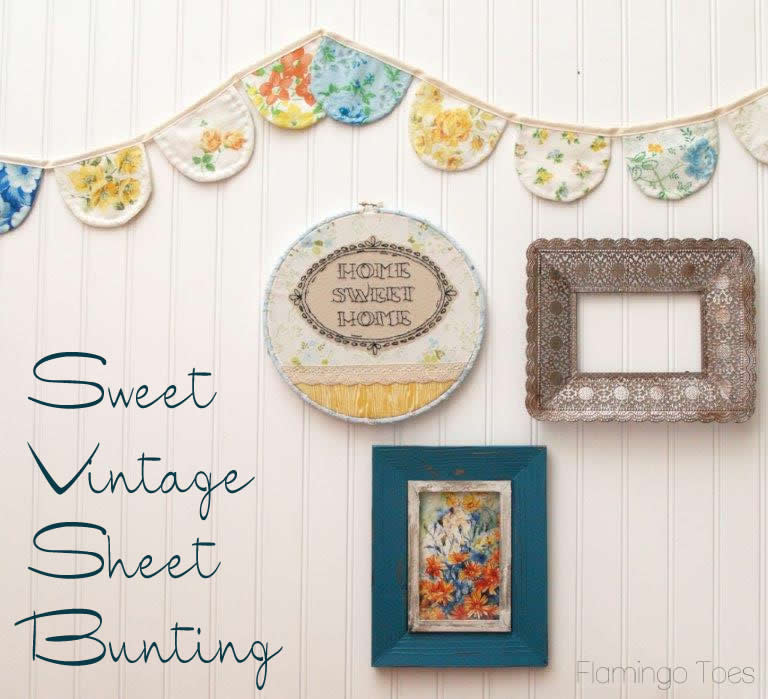
Isn’t it so fun? I love all the soft colors and the little scallops!
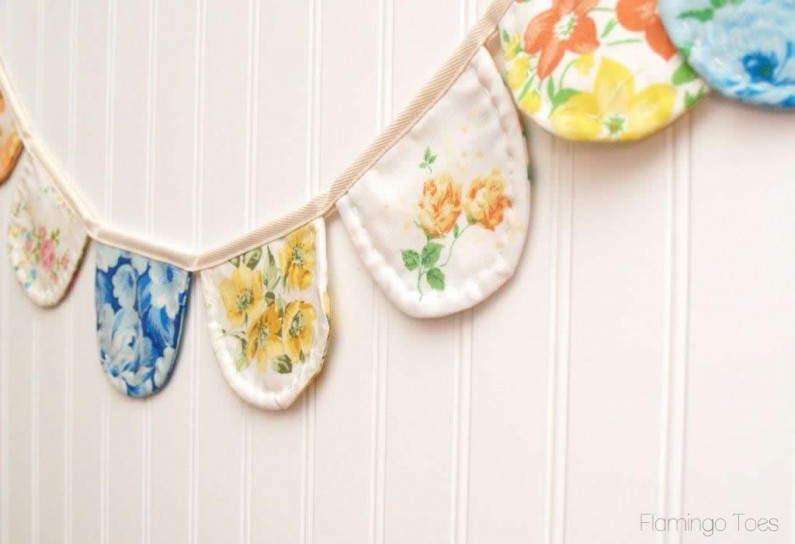
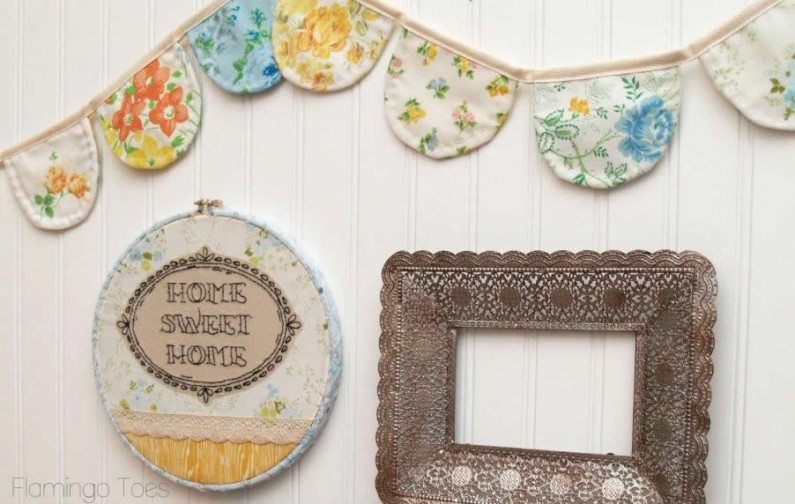
It is super easy to put together too – and I think it goes so well with my little Home Sweet Home Hoop Art!
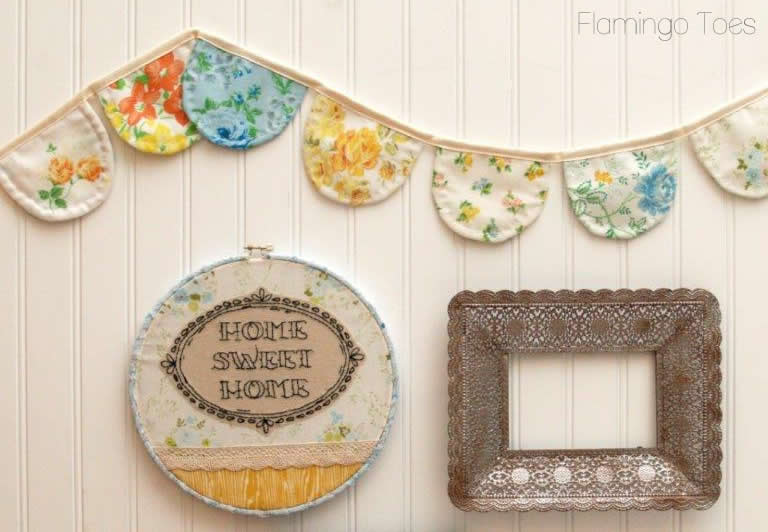
So let’s get started on the tutorial k?
You’ll need:
- Assorted Vintage Sheets or fabrics
- Fusible Fleece
- Twill tape or bias tape for top edging
- Embroidery floss
- Bunting Pattern
*Please keep in mind that all Flamingo Toes patterns are for personal use only. Do not transfer or sell the pattern, or items made from the pattern.
Also, patterns are for Flamingo Toes followers, so please choose to follow along before downloading any pattern. Thanks!
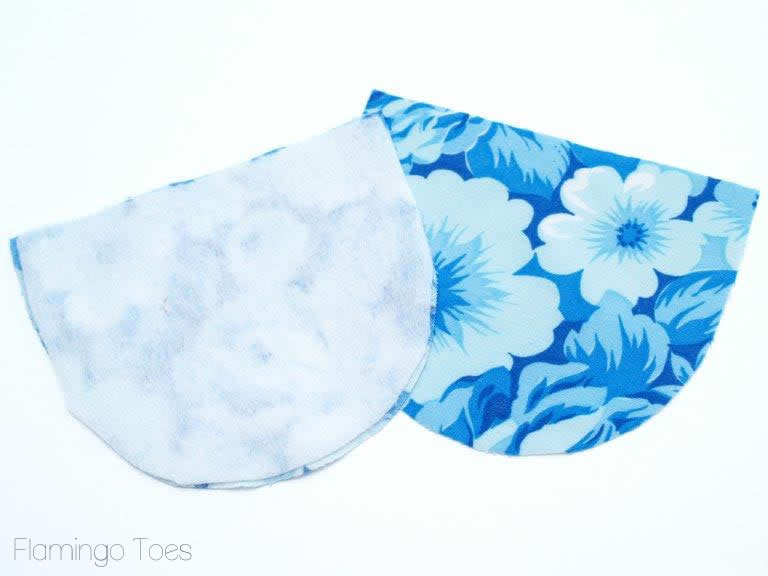
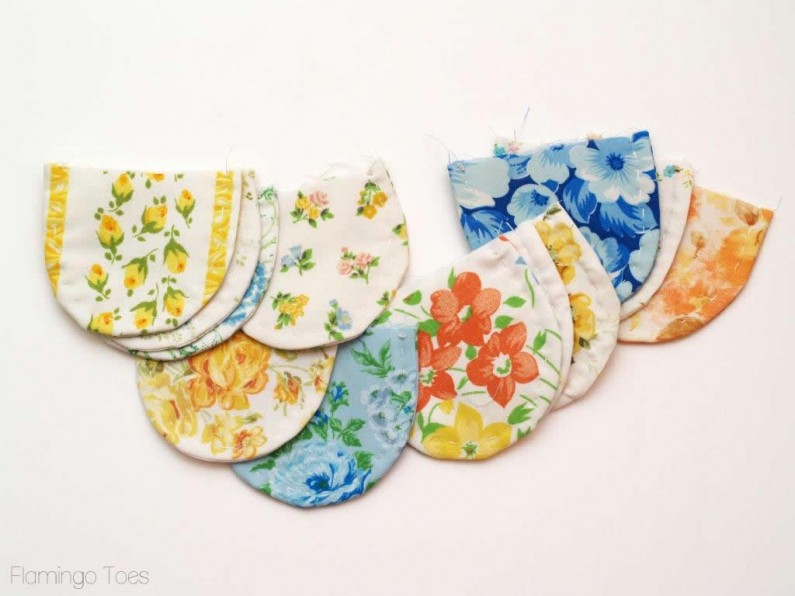
Start by cutting out all your bunting and fusible fleece pieces. I used 12 scallops, but you can use as many or as few as you’d like. You will want to cut 2 fabric pieces and 1 fusible fleece piece per scallop.
Iron your fusible fleece onto the wrong side of one of the scallop pieces for each set.
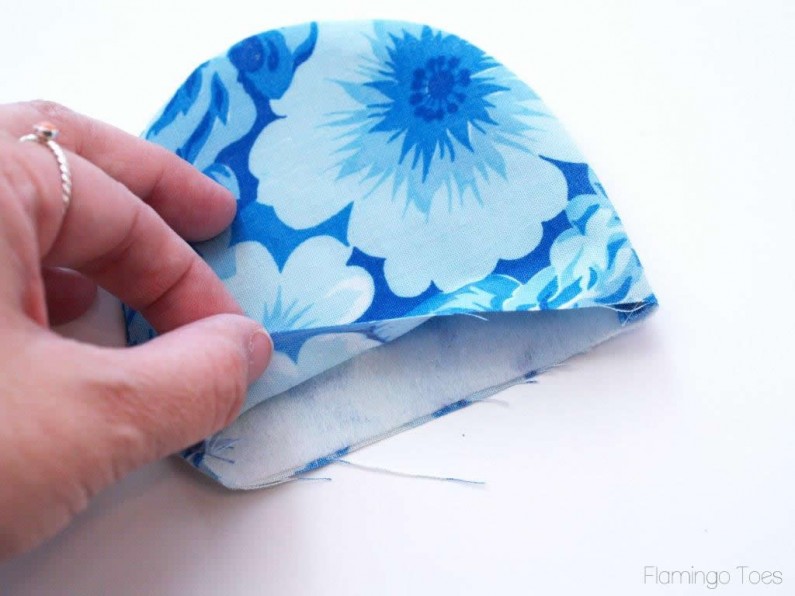
Place the pieces right side together and sew around the sides and bottom. Leave the top open for turning. Clip the curve really well and turn right side out and press.
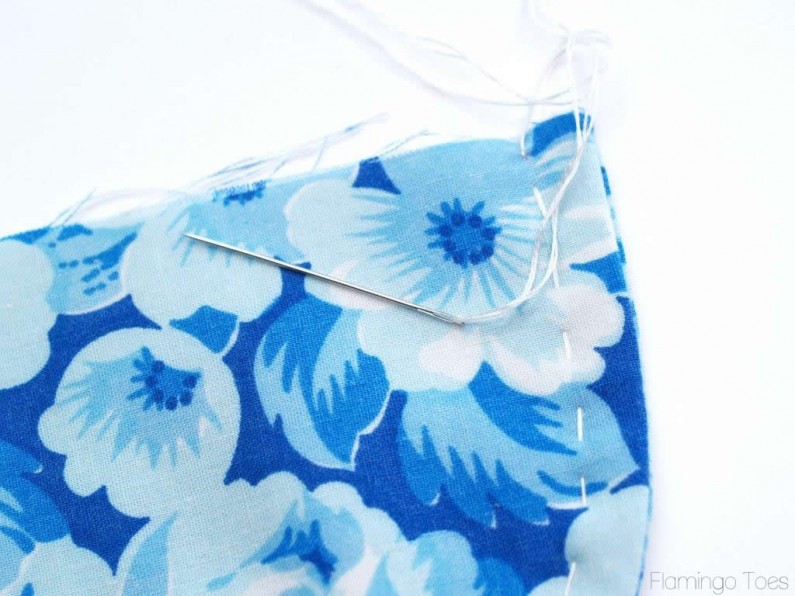
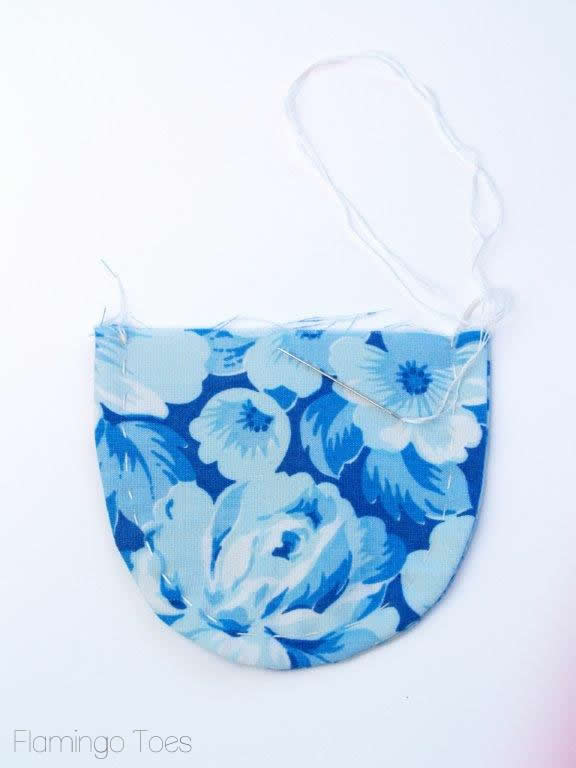
Thread a needle with 2 strands of embroidery floss. Sew a running stitch about 1/4″ inside the sewn seam around the sides and bottom.
Repeat for all your other little scallops.
Start with a long strip of twill tape or binding. Here’s a little “how to” for finishing off the end of your tape.
1. Fold the two ends in at an angle to make a little triangle.
2. Fold the little triangle down onto the tape.
3. Fold the tape in half, with the triangle ends tucked in.
4. Now you have a clean little edge to your tape!
Once your end is sewn, sew the tape together to give yourself a little room to tie or fasten your bunting. Mine has a little strip on each end of about 12″.
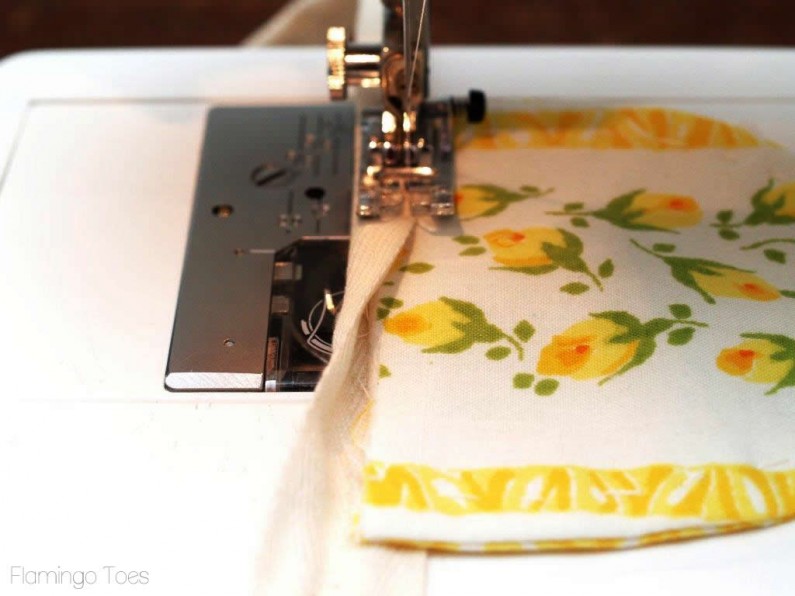
Place the raw, open end of the bunting onto the tape and fold the tape around it. Sew along the edge, adding bunting pieces as you go. Make sure the space between each bunting is the same.
Finish your twill tape the same way as the beginning – and now you have a super cute little bunting – all full of pretty little scalloped fabric pieces.
So fun right?
Hang it up with some pretty frames and artwork – and then plan to make up some more!
I’d love to know what you think!!
Linking up at Sunday Scoop, Today’s Creative Blog, Met Monday, Tutorials & Tips Tuesday, Quilt Story, Shabby Creek Cottage, My Repurposed Life, 504 Main,Everything Etsy and the other fabulous parties on the party page – make sure you check them out!



Love love love this!! I am always on the hunt for vintage sheets. The ones you have are so good! The colors are so pretty :)
so sweet! pretty and sweet!
Soo cute…That would be fun to decorate an art fair tent!
Um, could this be any cuter??? Where do you find these vintage sheets?? I need to shop where you do!!
The gallery is coming along SO great! I can’t wait to see the final reveal!
Bev – How cute and sweet and nostalgic!! Looks perfect with your embroidery hoop art. Great job and great tutorial.
Judy
Hey! I am hopping over from Polka dots on Parade! I just love this project you did! who doesn’t love a good vintage sheet project! and I think its even better that hand stitched the pieces they look so pretty! great job!
This looks awesome!!! We would love it if you would link up at our linky party:
http://www.lifewiththecrustcutoff.com/two-girls-and-a-party-linky-party-21/
Live every Wednesday to Sunday.
Hosted by:
http://www.lifewiththecrustcutoff.com/ Parrish @ Life with the Crust Cut Off
http://thissillygirlslife.com/ Dana @ This Silly Girl’s Life
We hope to see you there!
Bev,
I Love this!! I plan on making one this summer. I just need to increase my vintage sheet stash!!
Thanks for sharing!
That is such a lovely idea and it looks great! Would be fantastic for retaining portions of old sheets that are beyond their original use!
So cute! Love it. :)
Well is that too cute and will be adding to my craft room. Thanks for sharing.
That is perfectly Summery! And a fun use for twill tape
Another thing to do with my stack of vintage sheets. I love it. Thanks.
Lookin’ good!!
They are pretty!
Love this banner–so pretty!!I featured you today on my Kick-Off Friday post. Have a great weekend!
http://craftivitydesigns.blogspot.com/2013/06/kick-off-friday_21.html
Erica @ Craftivity Designs
This is so adorable! I hang onto every little scrap of vintage fabric for cool things like this. The hand stitching is the perfect touch. :)
Have a fabulous weekend!
~Kim
This is so pretty and a great way to repurpose the vintage sheets and show them off.
Love this Bev!! I have been collecting vintage linens this will be great to use for them!!
I love this! I’m obsessed with vintage sheets…so many fun things you can do with them!
So cute! I’m always looking for more things to do with my vintage sheets. Thanks for sharing!
I love your site and your creativity ! Where could I look to find vintage sheets? Thanks so much!