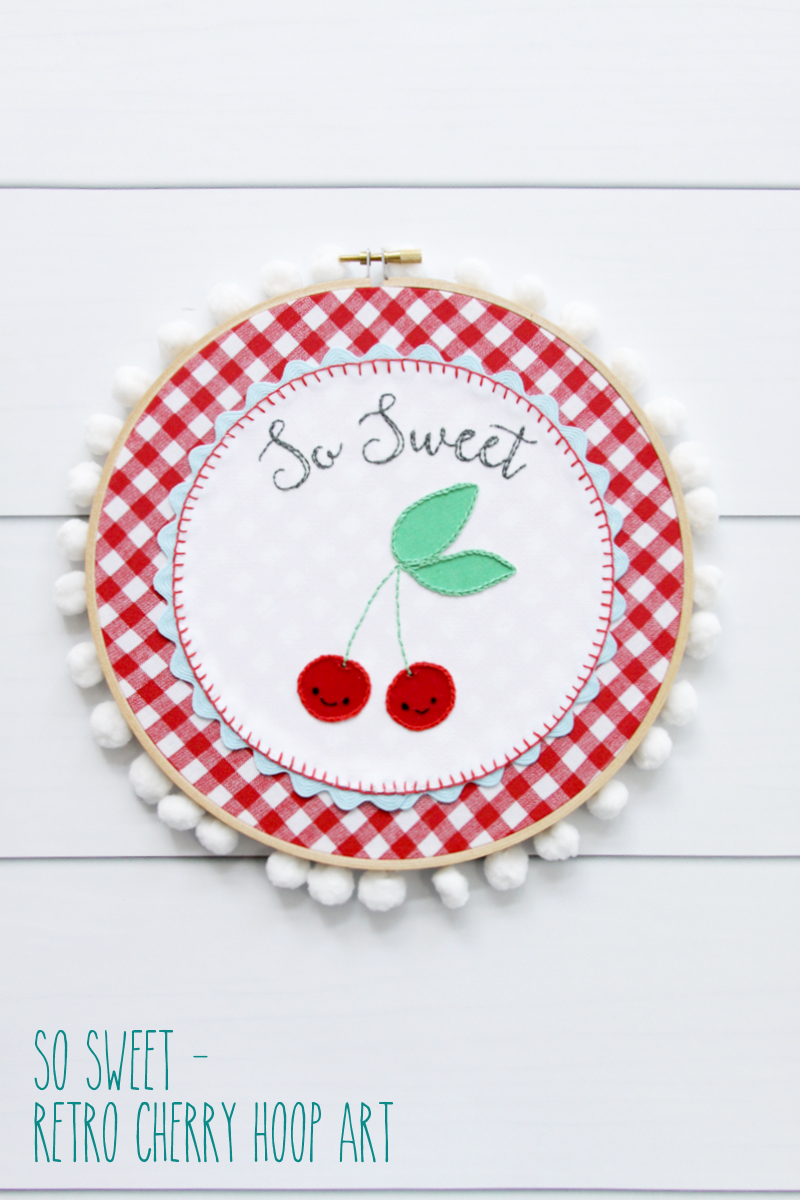
Happy Monday! I hope you all had a great weekend! I know it’s supposed to be getting fallish around here, but it still feels like Summer! If the temps are in the 90’s, I don’t feel like donning my scarves and buying mums yet. Though I will admit to indulging in everything pumpkin spice. It is September after all!
I’ve been working on some fun new retro things for my kitchen, and this new So Sweet Retro Cherry Embroidery Hoop Art is going to be perfect in there, with all the red, aqua and pinks I have going. Plus, you can never go wrong with gingham right??
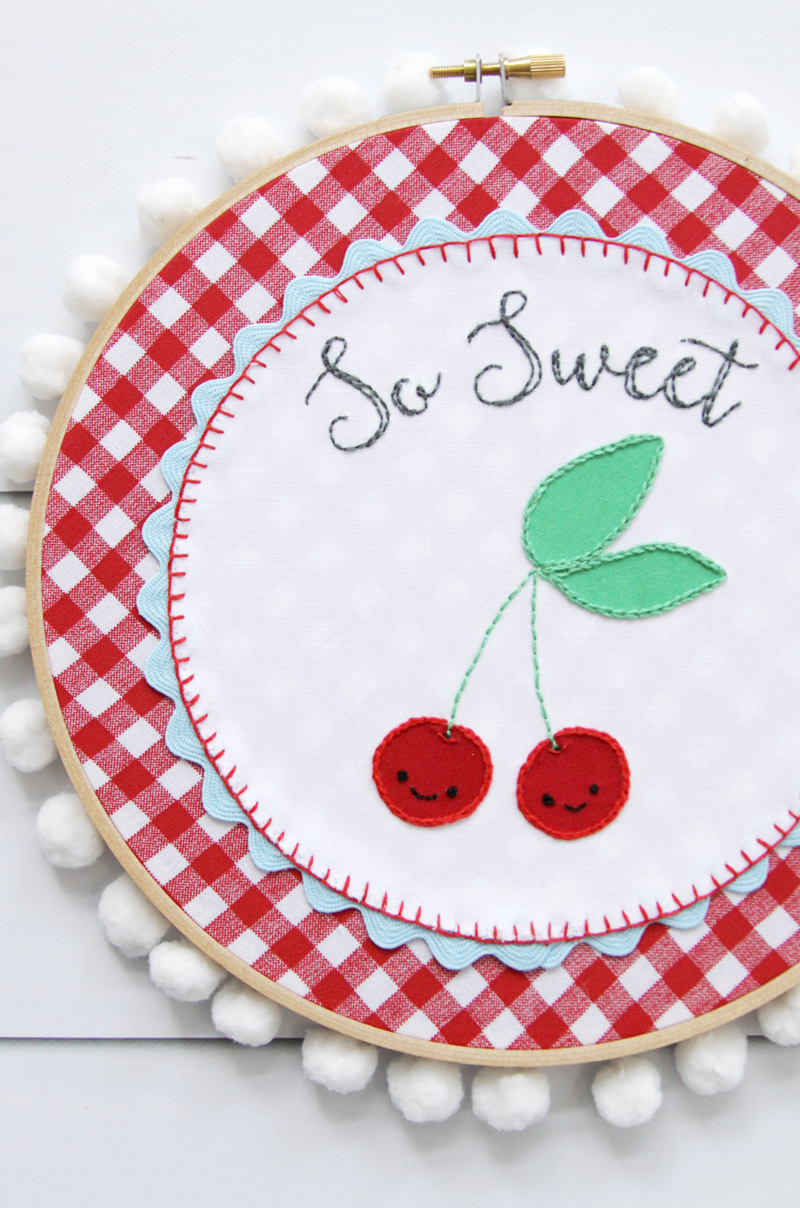
If you haven’t done embroidery before, this would be a great project to start with. The stitches are nice and basic so a beginner can do them, and it’s an easy project to take along on vacation or even to the park. It has such a cute retro style to it too!
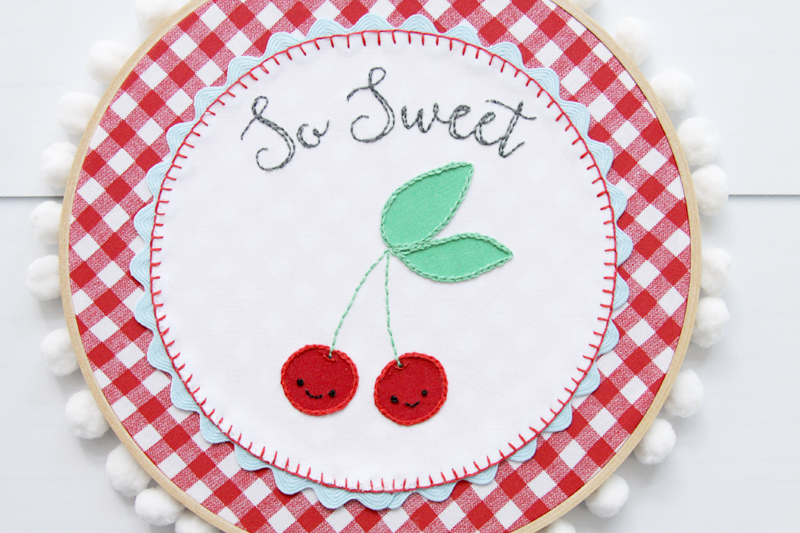
Here’s how to make your very own So Sweet Retro Cherry Embroidery Hoop Art!
Materials:
- 8″ embroidery hoop
- 10″ square of gingham fabric
- 7″ piece of white fabric
- blue rick rack
- fusible webbing
- fabrics scraps in red and green
- DMC Embroidery Floss – 310, 413, 666, 3812
- white pom pom trim – 1 yard
- hot glue
- transfer pen
- So Sweet – Retro Cherry Embroidery Hoop Art Pattern
Start by printing out two copies of your pattern – you’ll need one to cut and one to trace. Iron fusible webbing to the back of your red, green and white fabrics. Cut out the leaves, cherries and white circle.
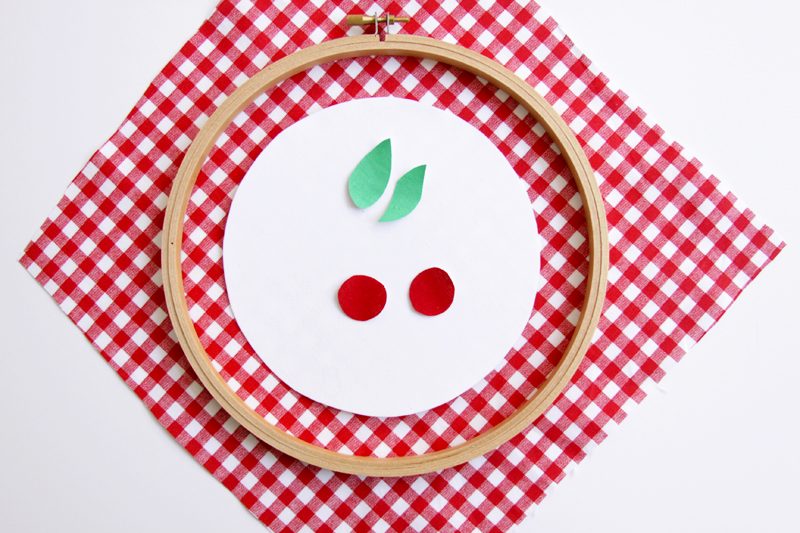
Remove the paper backing from the white circle. Place it in the center of the gingham fabric and iron down just the center section. Starting at the bottom, tuck half of the rick rack under the edge of the circle, then iron that portion down. Keep going around the circle until the entire piece is fused and edged in rick rack. Trim off your extra rick rack and tuck the ends into the white fabric.
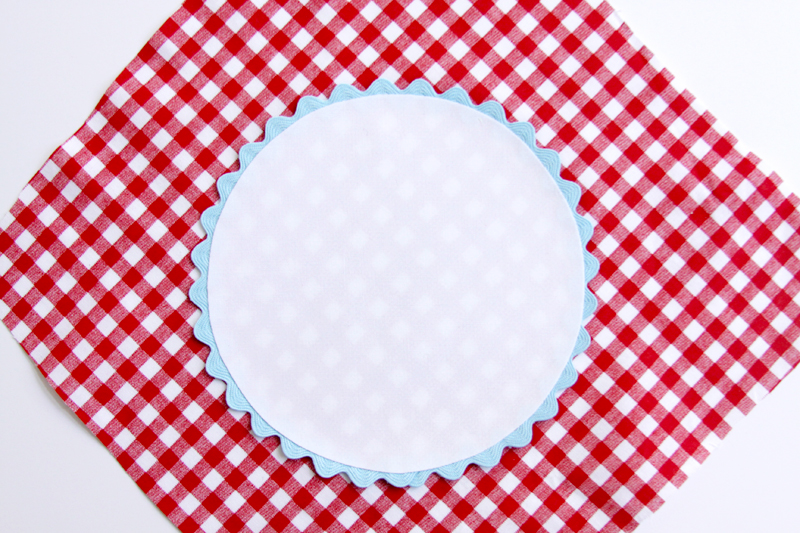
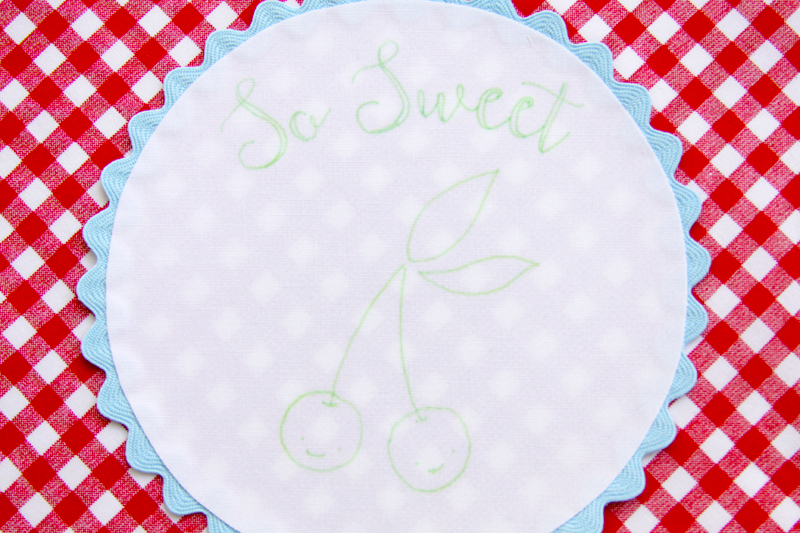
Using your transfer pen, trace the wrong side of the other pattern. Iron the pattern onto the white circle.
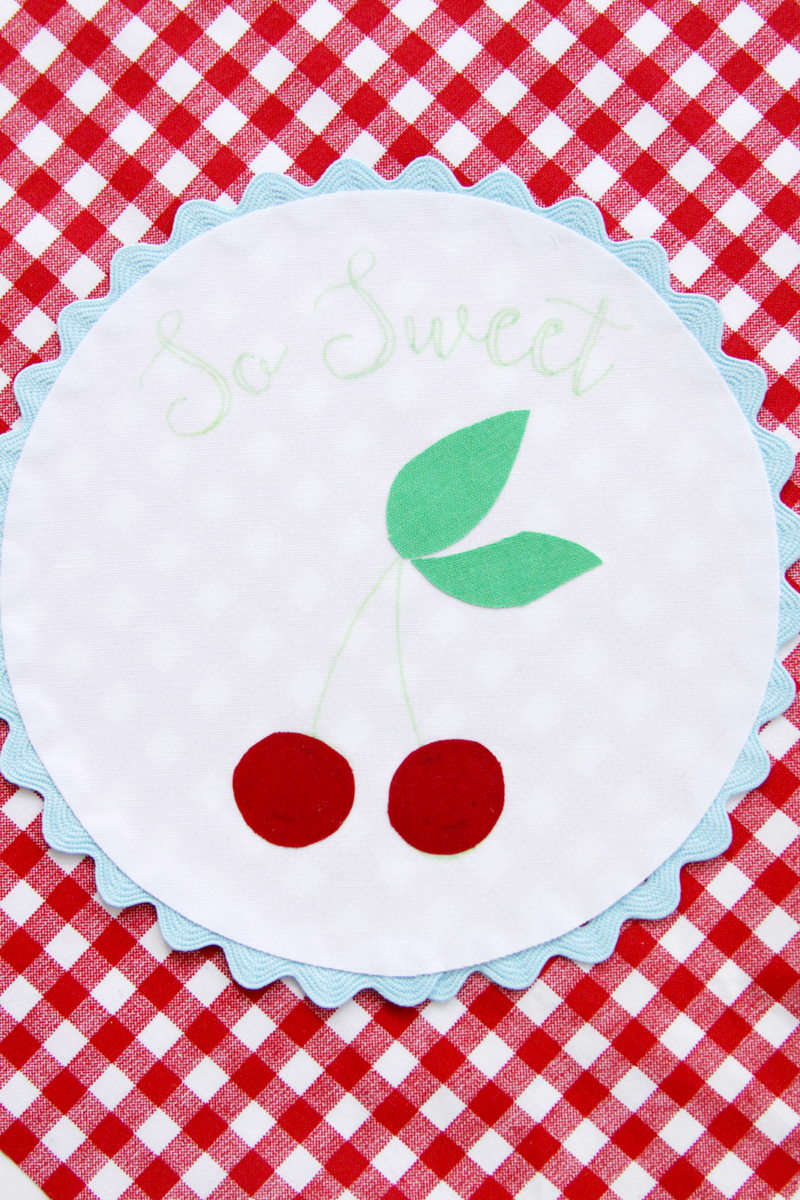
Remove the paper backing from your cherries and leaves and iron them in place. You’ll need to redraw the little stem lines and the smiles on the cherries.
Place your gingham fabric inside the embroidery hoop and tighten. You’re all set to stitch now!
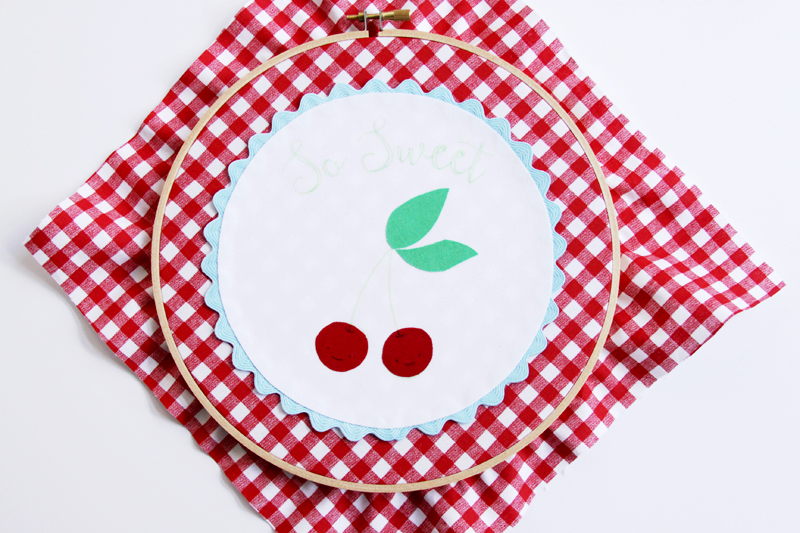
All stitches use three strands of embroidery floss. If you need help with the stitches, check out my Embroidery Tips page.
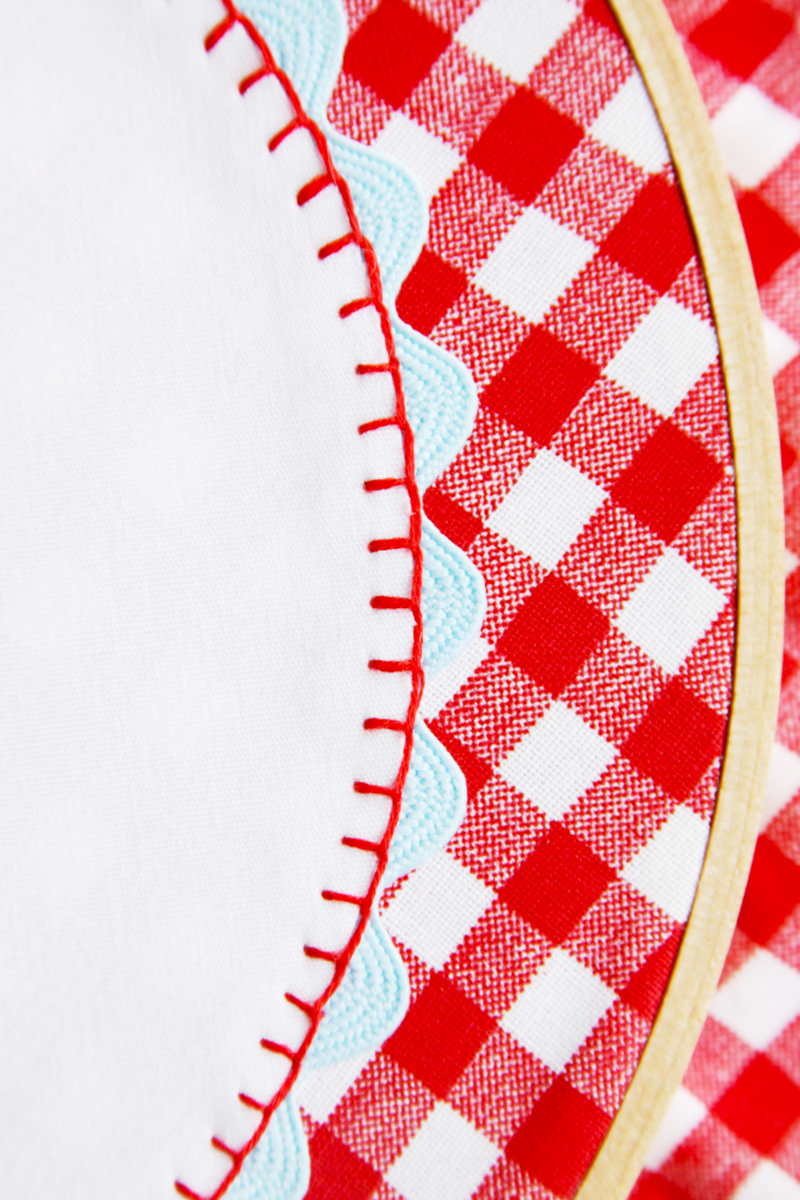
Begin by stitching a blanket stitch with red floss around the entire white circle.
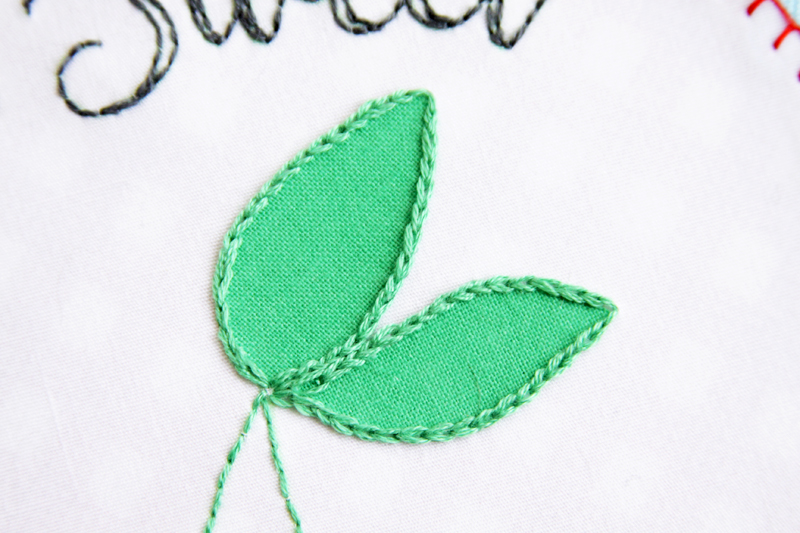
Outline the leaves with a chain stitch and stitch the stems with a back stitch.
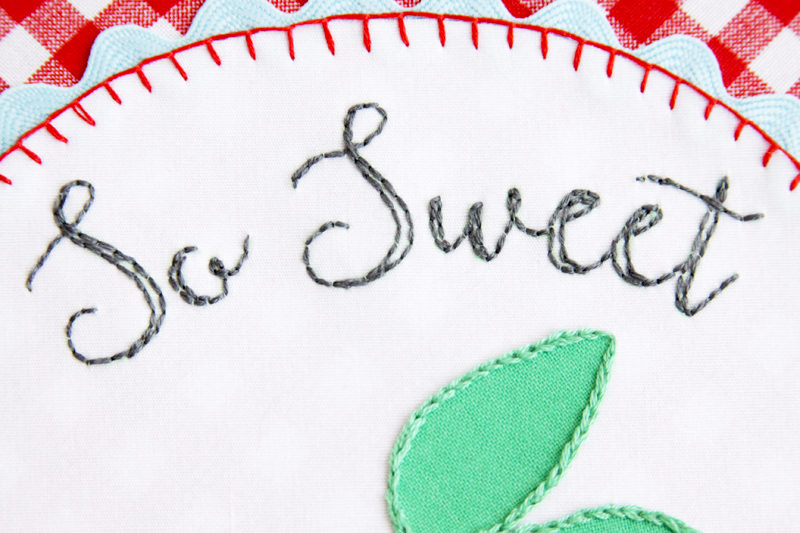
The letters are all done with a back stitch as well.
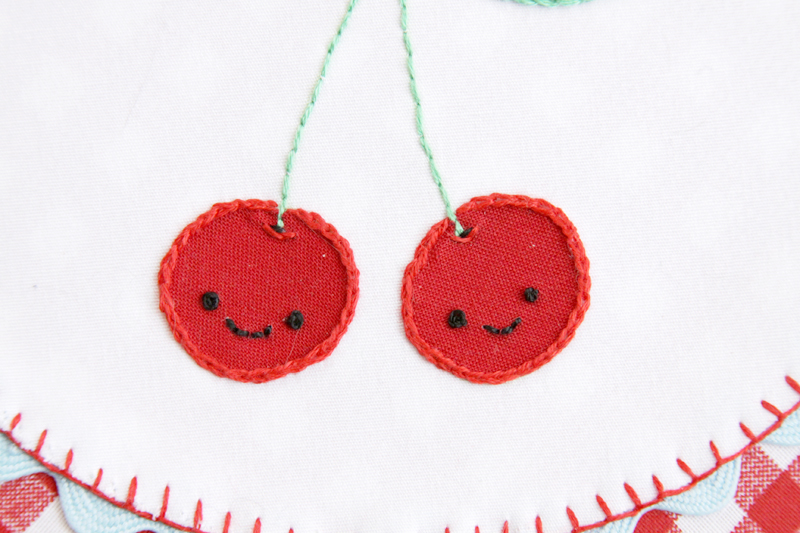
For the cherries, outline them with a chain stitch. Fill in the little curved lines at the top with back stitching in red, then do a single little black back stitch just above that. The eyes are made with French Knots and the smiles are back stitched.
Finish off the back of the hoop. If you need help on that, I have an easy tutorial for you. I added some pom pom trim to the edge of the hoop because everything’s cuter with pom pom trim. :)
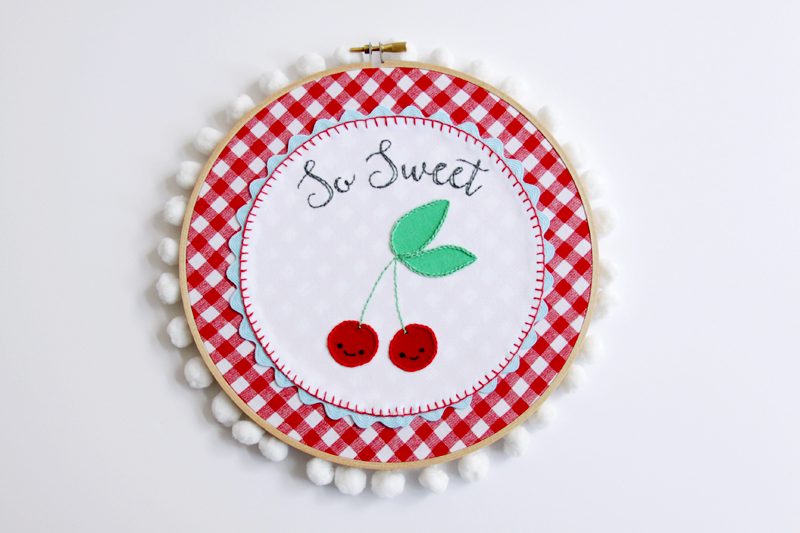
That’s it! So cute and summery right?
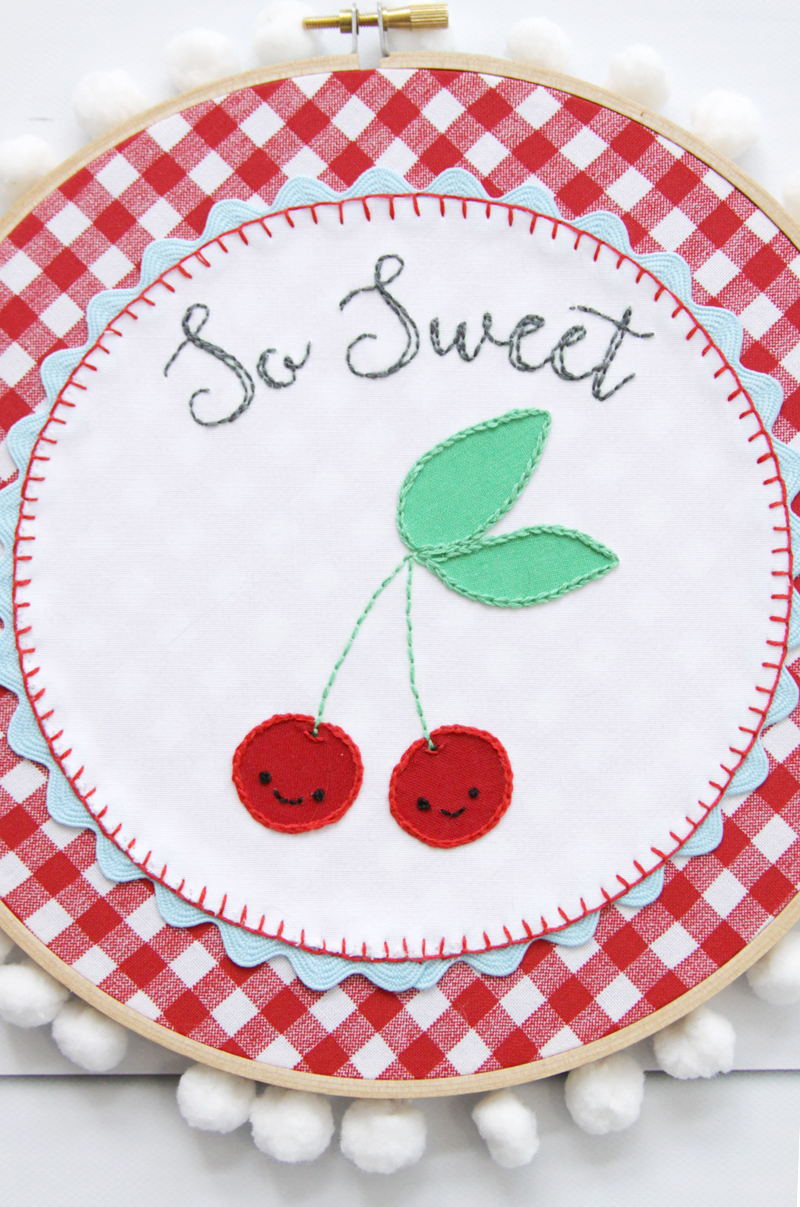
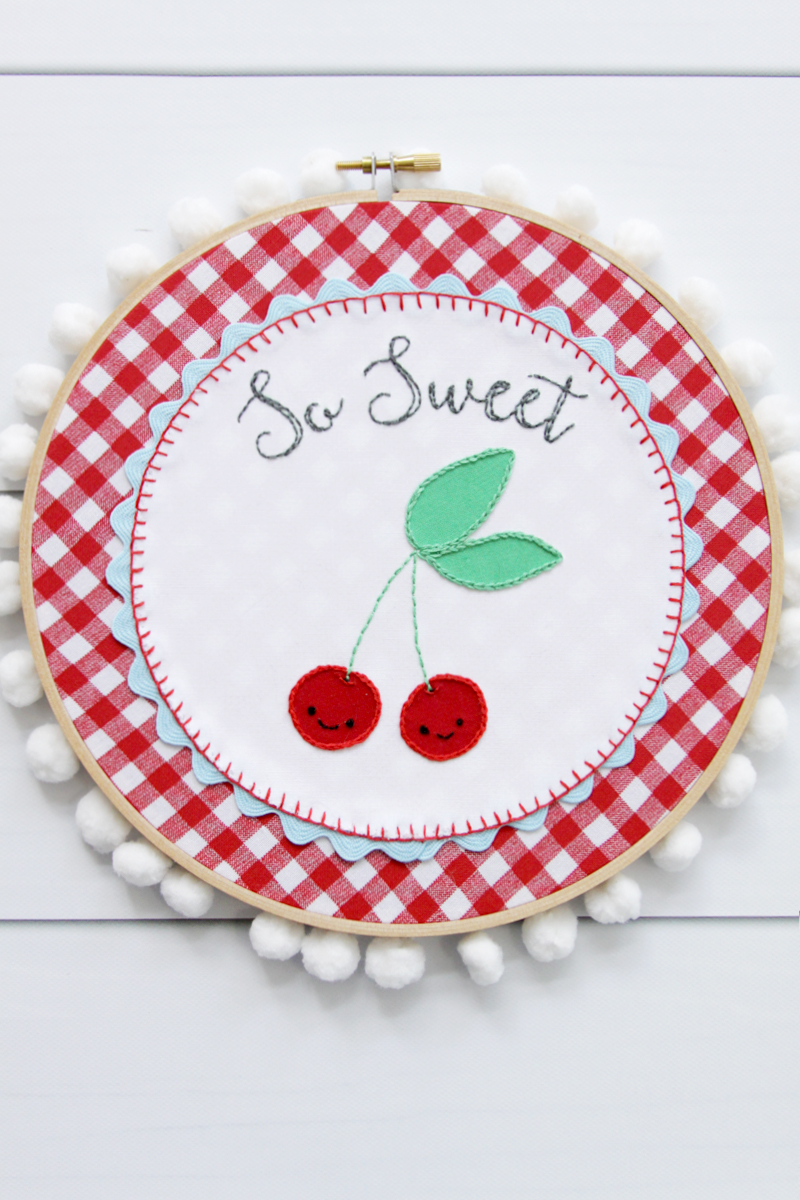
I’d love to see it if you make one up!
You might enjoy these other projects
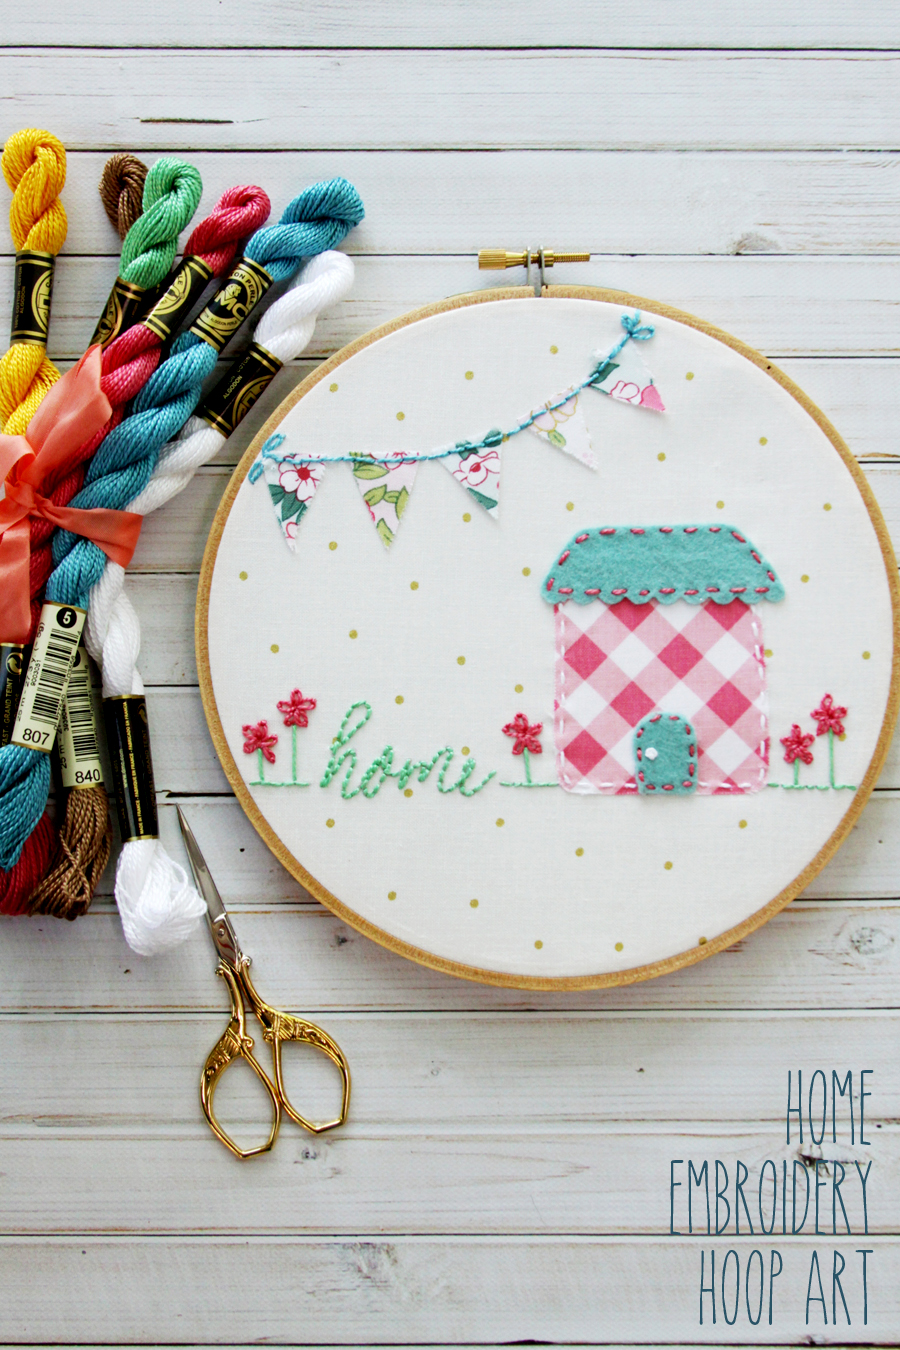
Sweet Home Embroidery Hoop Art
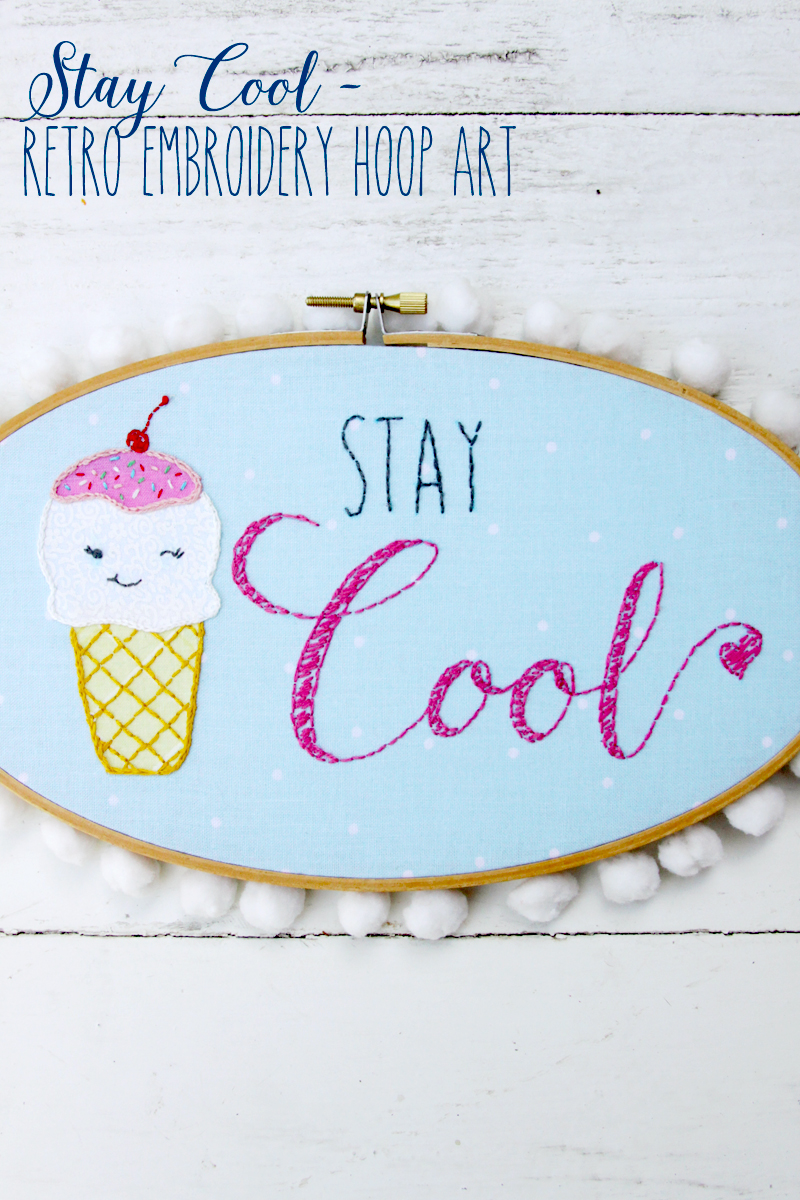
Stay Cool – Retro Ice Cream Embroidery Hoop


This is so doggoned adorable, couldn’t be more perfect for my retro kitchen of sorts. Thank you so much Bev for sharing this, will have lots of wonderful projects to keep me busy this winter and out of the kitchen for food. I don’t need to be eating. Love all your embroidery projects, perfect for gifts and decorating our home.
Have wonderful Fall weekend
Oh stop it Bev! Your embroidery hoops are just non stop cuteness and I am forced to keep pinning them!
Every time I see a lovely hoop design at a link party I find I click and I’m back here and it’s you again.
Seriously though, your seemly endless stream of sweet/pretty ideas are a joy to look at, pin and convince myself I will have a go at one day!
This is just adorable! What a pretty way to add some retro decor to your kitchen. Thanks for sharing at Snickerdoodle. I’ll be featuring your lovely Retro Cherry Embroidery Hoop Art at tomorrow’s party.
This is seriously adorable! Pinned and shared