Stitch up your own flowers no matter the weather outside with this Sweet Mason Jar Vase Hoop – Free Embroidery Pattern!
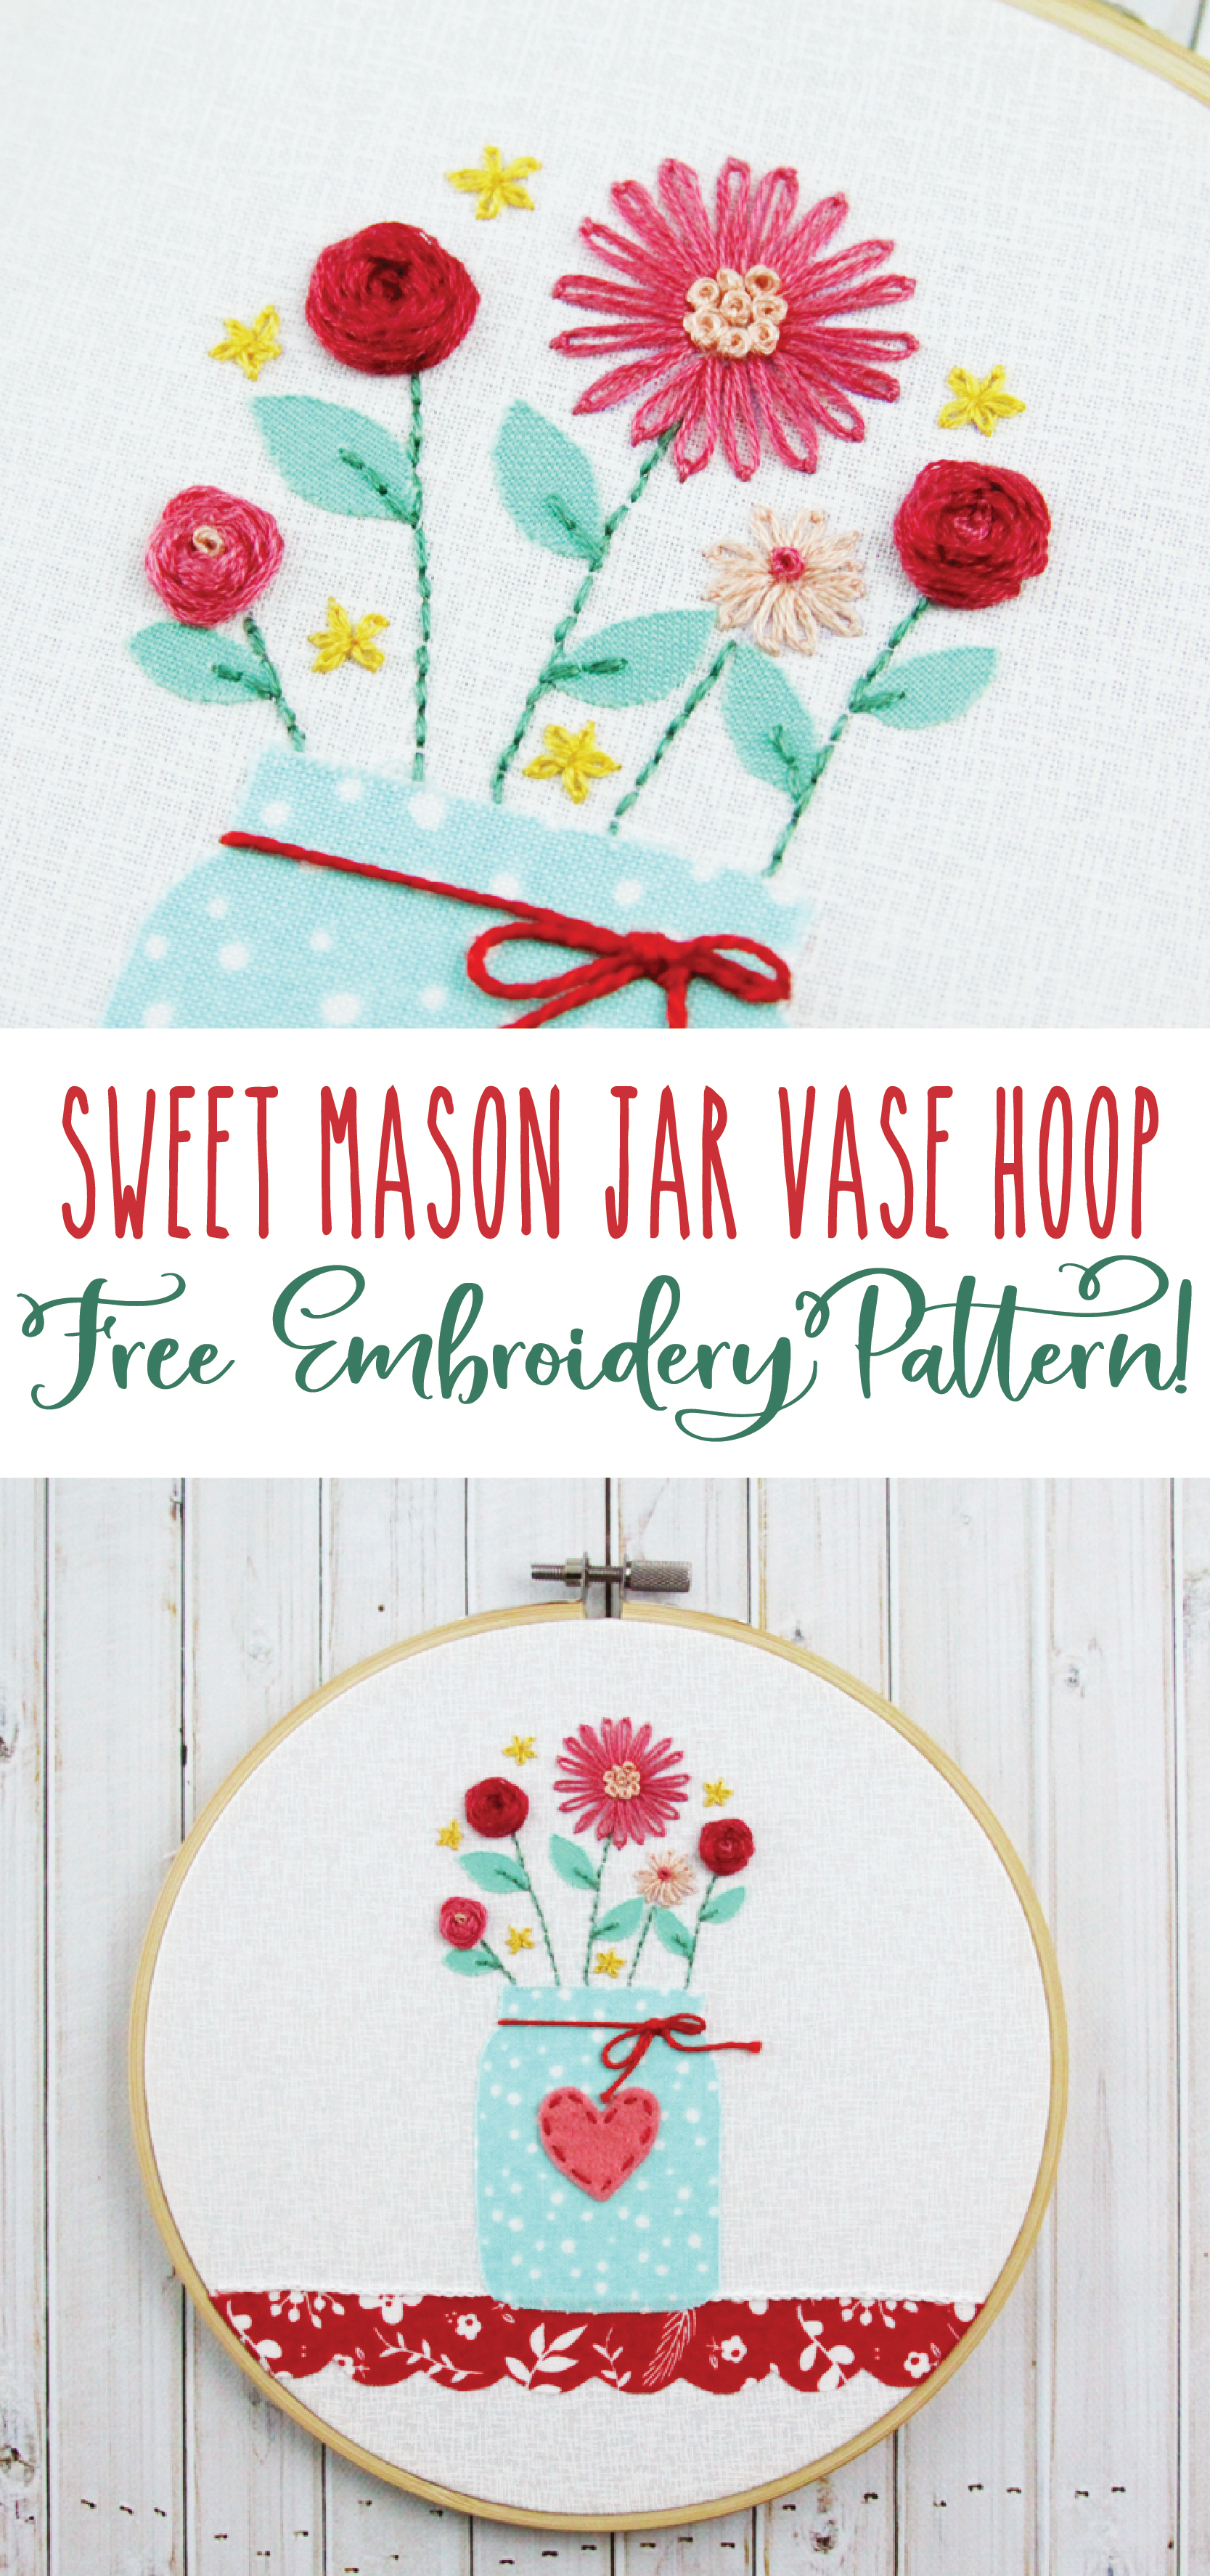
I had so much fun designing this new hoop art for an embroidery class I taught last week at a conference! It’s a great beginner project – the embroidery is nice and basic and you can really have fun with your fabrics coordinating colors and prints.
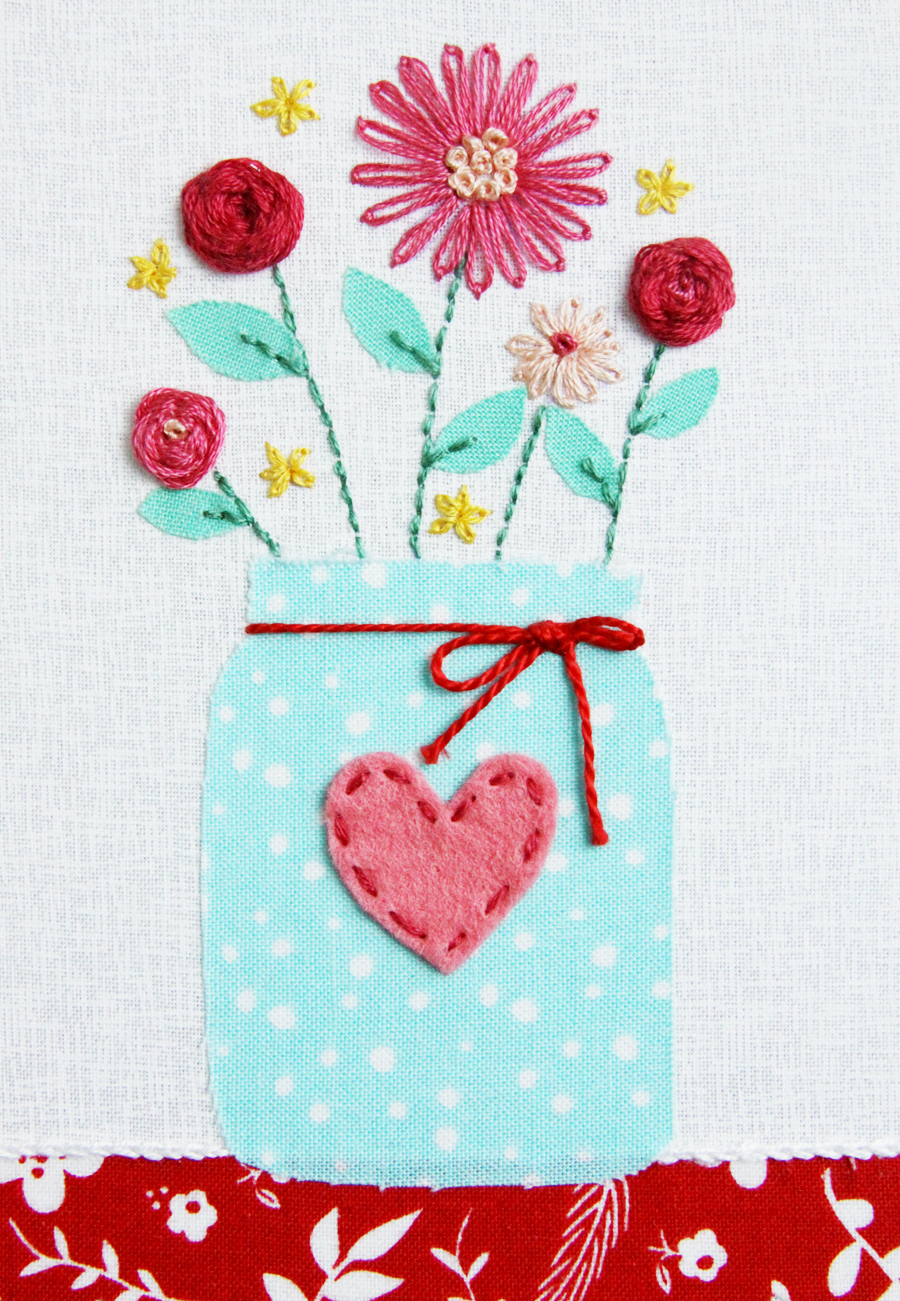
I chose a red/aqua colorway for my main hoop, but for the class I prepped some other fun combos – navy and teal, yellow and pink and green and the sweetest strawberry print! If you look through the Instagram hashtag, #snapflamingotoes you can see a bunch of them.
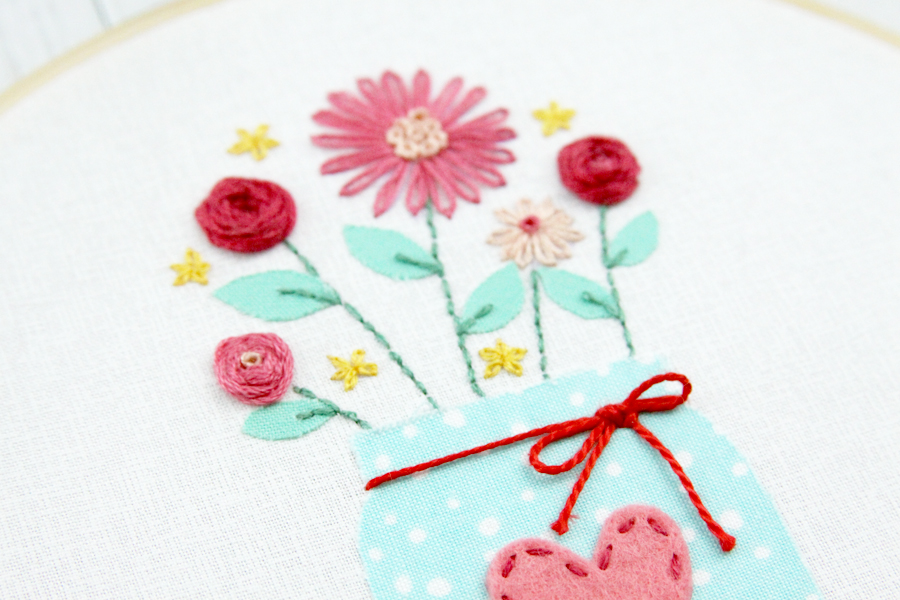
Sweet Mason Jar Vase Hoop – Free Embroidery Pattern Tutorial
Materials:
- 7″ embroidery hoop
- 10″ background fabric – I used White Mini Hashtags from Riley Blake Designs
- Fabrics for mason jar, scalloped border, leaves and heart. See pattern for sizings.
- Small piece of wool felt for heart
- HeatnBond Lite
- DMC Floss – colors: 309, 335, 725, 754, 964, 3815
- DMC Pearl Cotton – Red
-
Mason Jar Flower Vase Pattern
Steps:
- Transfer the embroidery design to your background fabric
- Iron fusible webbing on the fabrics for the mason jar, leaves and scalloped border. Cut out the shapes and remove the paper backing. Iron in place, according to the pattern layout.
- Iron a small amount of fusible webbing to the wool felt and cut out the heart. Iron the heart in place on the mason jar.
- Embroidery stitches:
- The stems and small amounts on the leaves are a back stitch and 3 strands of floss.
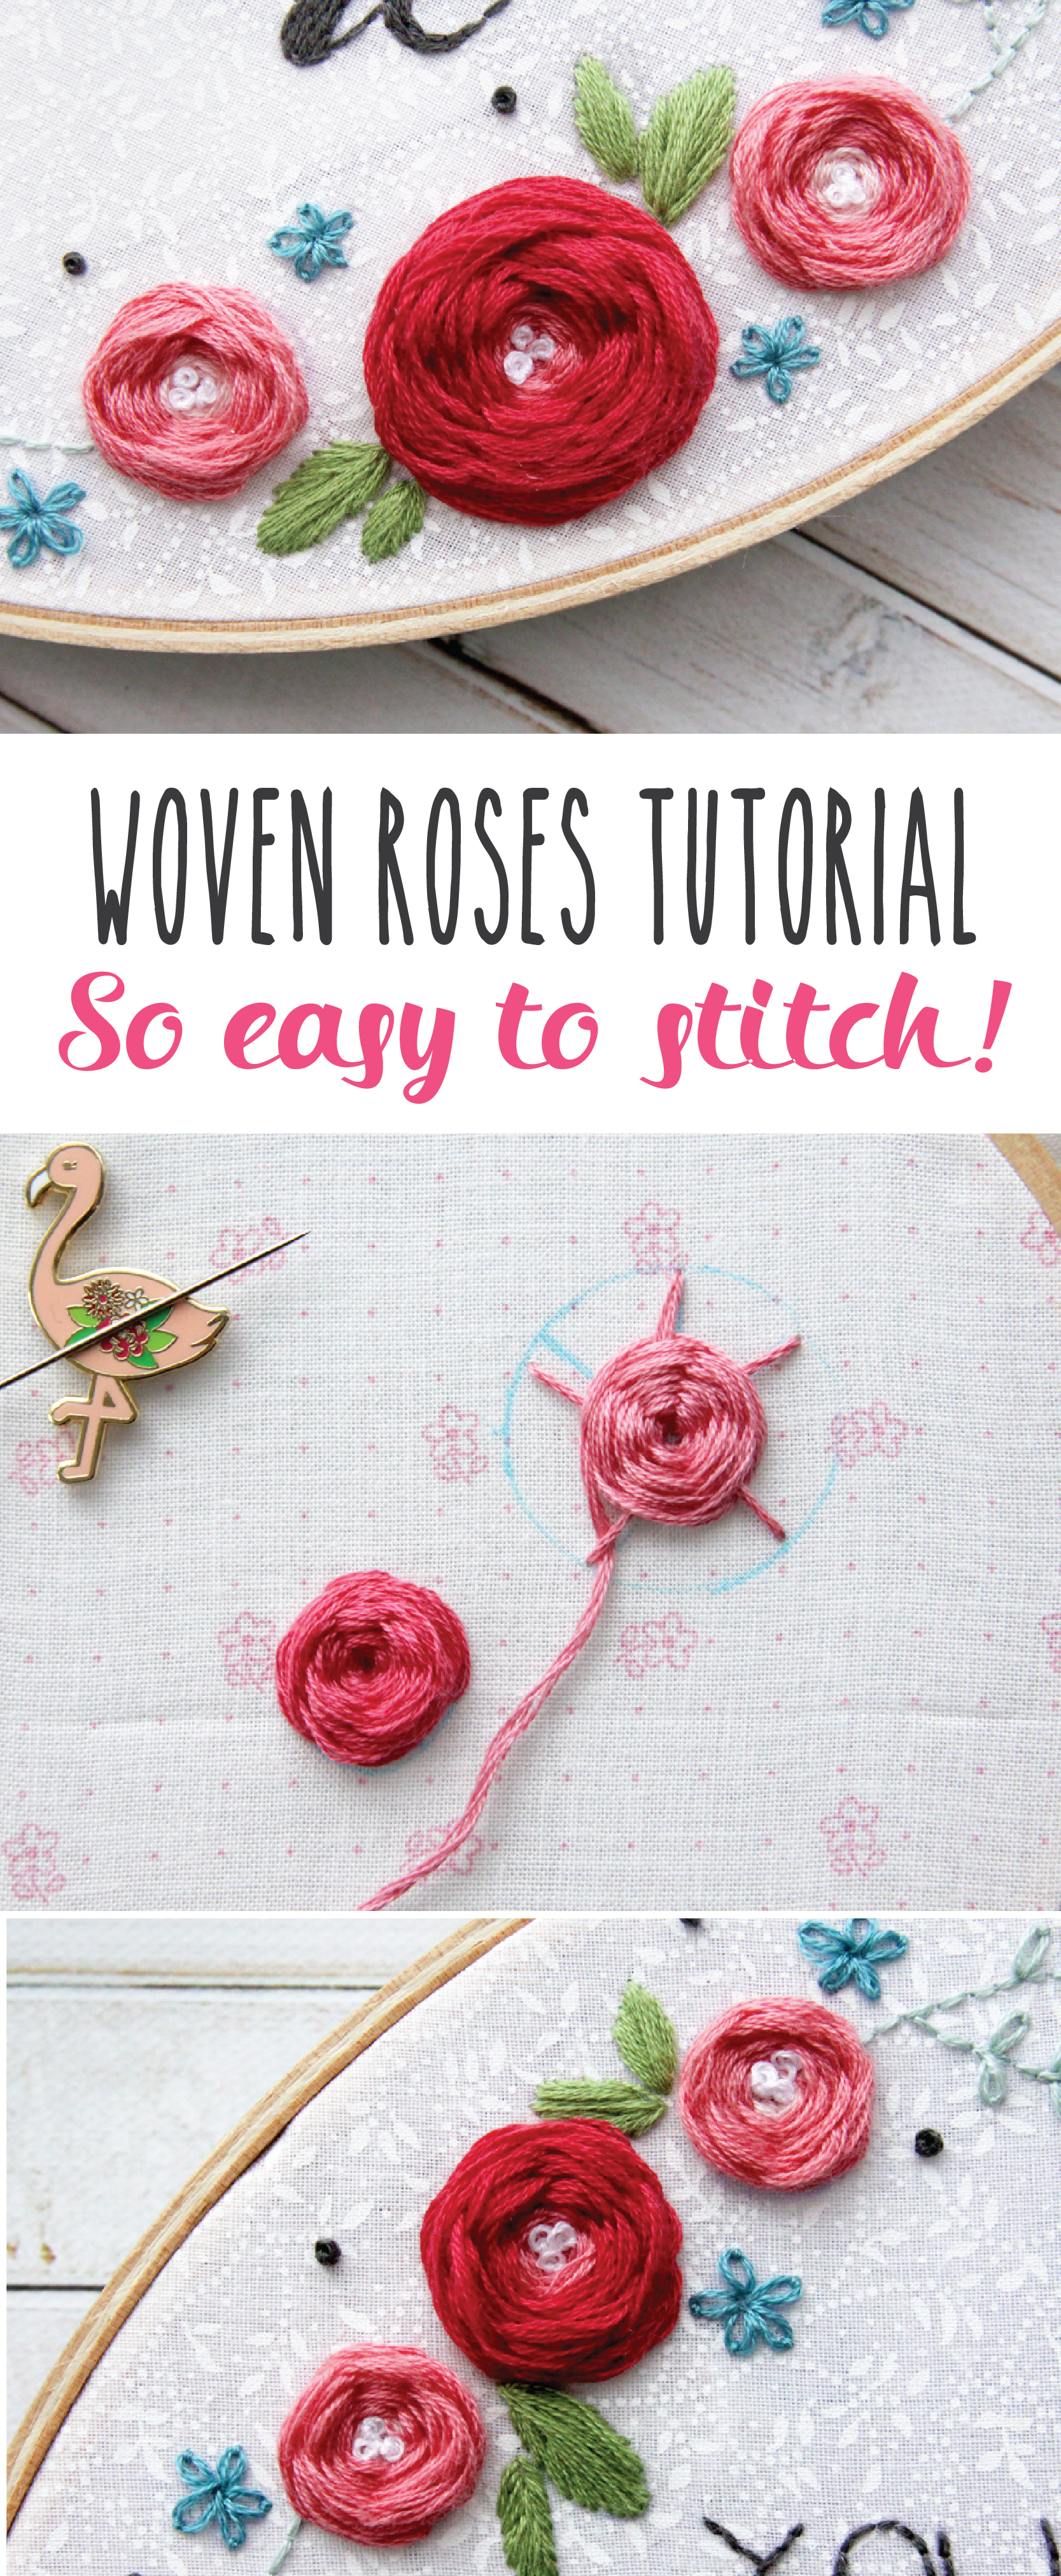
- The 5 point stars are embroidered with woven roses and 6 strands of floss.
- The large and small looped flowers are all done with lazy daisies. The large flower is 3 strands of floss and the small flower and tiny daisies are 2 strands of floss.
- The centers of the flowers are French Knots made with three strands of floss.
- Outline the heart with a running stitch.
- Optional – stitch a row of chain stitches across the top of the scalloped border.
- Once your stitching is completed, run a length of pearl cotton around from back to front at the neck of the mason jar. Tie a small bow and make a small stitch around the knot to hold the bow in place.
- Finish the back of your hoop.
Super fun right? I love that you can change up the fabrics and threads and have a completely different look!
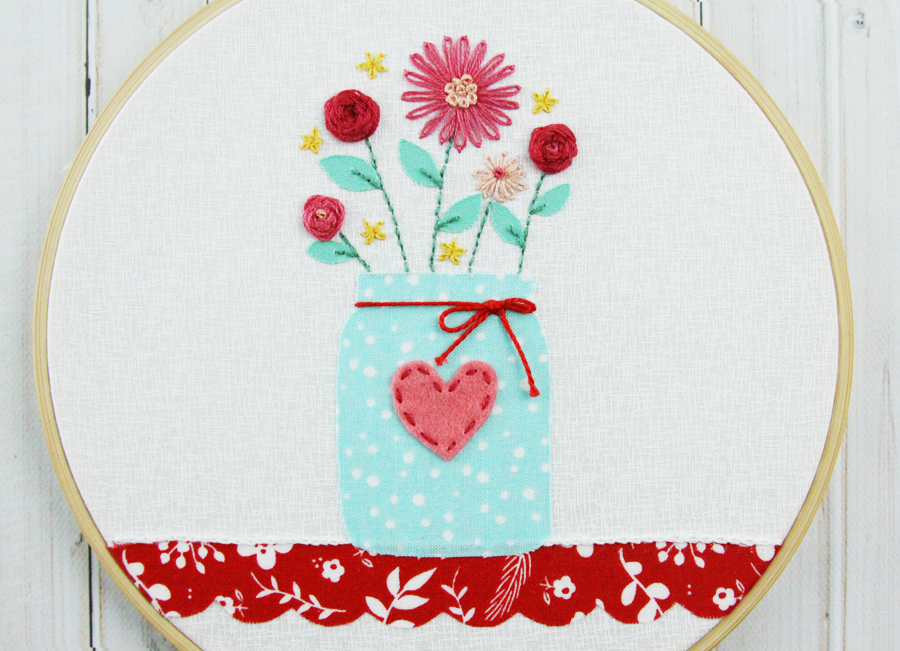
I’d love to see your version if you make one up!

In other exciting news – if you’re on Facebook I’ve started a brand new Facebook group called Flamingo Toes Stitch and Share group! It’s a group where you can share your crafty adventures and encourage other stitchers and sewers. I’ll be sharing sneak peeks in there, along with giveaways, and more fun things as well. I’d love for you to join the fun!
You might also like
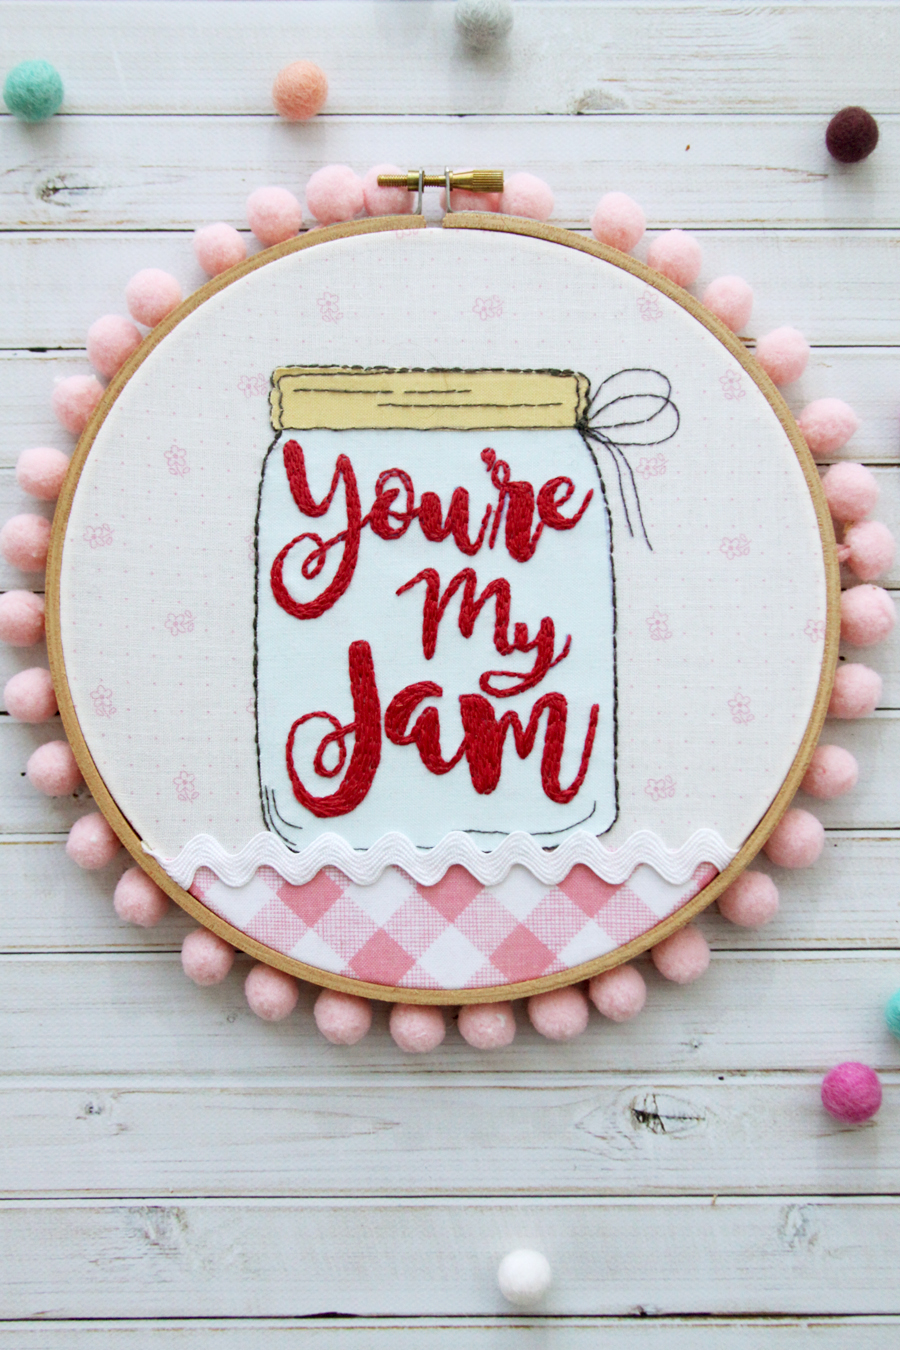
You’re My Jam Embroidery Hoop Art
Woven or Wagon Wheel Roses Embroidery Stitch Tutorial


Thanks so much for sharing this sweet pattern!!
This is so cute! :)
Your class was so fun, and I actually completed my project. Hooray! I did just realize that I didn’t stitch around the heart, so I’ll do that before I frame it. It turned out so cute! Thanks for sharing your amazing talent with all of us. You are amazing my friend!
I love your creations! I found your blog through Artful Blogging :) I am wondering, do you frame your projects or leave them in the loops?
Thank you so much Debbie! I usually leave mine in the hoops and finish the backs. They’d be cute framed too though!
I love blue mason jars and this stitching is so darn cute! Thanks for sharing with SYC.
hugs,
Jann
Such a pretty project. I will be featuring this tonight at my Swing into Spring party that opens at 8pm EST. Please stop by and pick up an I’ve Been Featured button. Thanks. http://diybydesign.blogspot.com
This is SO, so beautiful! What a great gift idea for family and friends! <3 Thank you bunches for linking up and sharing with us this week!
Hi Bev, I think I remember this sweet pattern from last year, but I’m glad you shared it last week at Share Your Style #207. Will be sharing this week at #208, thank you!
Hugs,
Barb :)