One of my favorite things is sewing up projects with new fabric lines – and this line is sooooo sweet! (haha see what I did there??) I’ve made up this new Sweet Ice Cream Mini Quilt to show off See Kate Sew’s new Doll fabric! It’s a fun line from Riley Blake that includes doll panels and coordinating prints – all covered in sprinkles and waffle patterns!
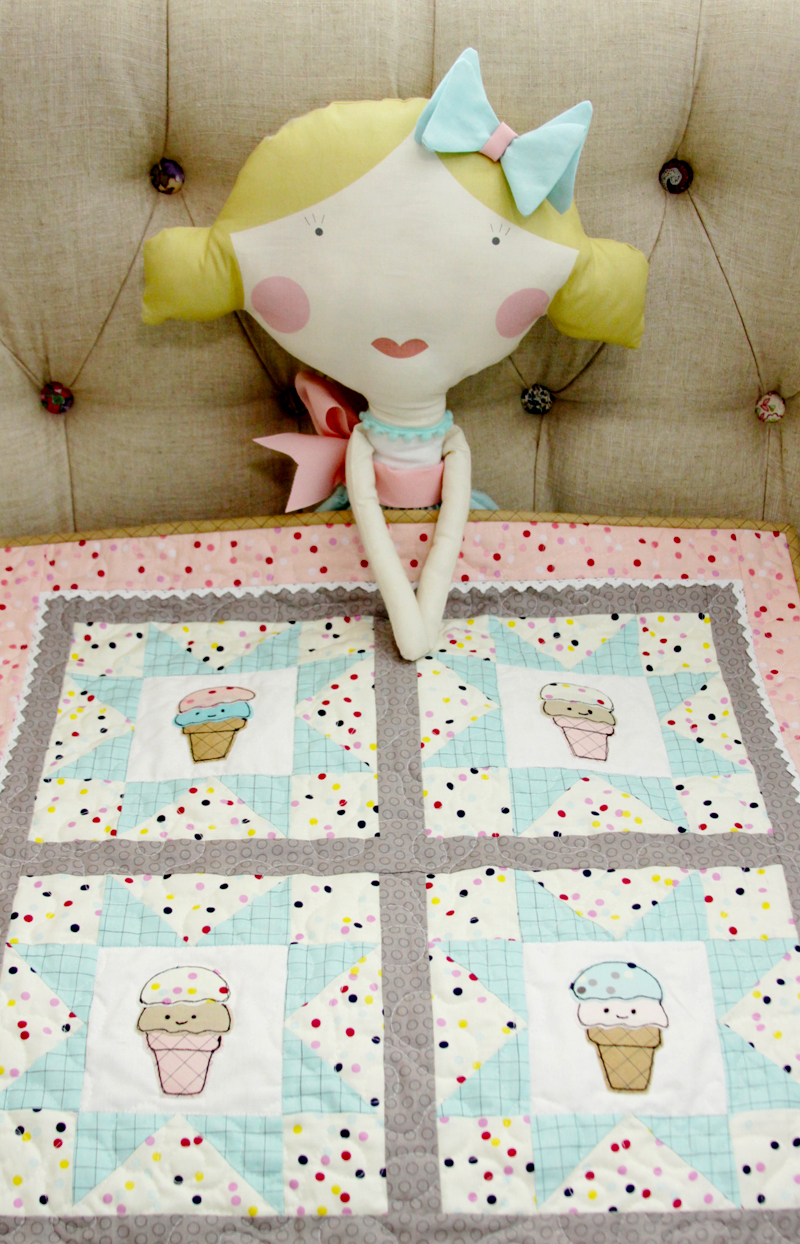
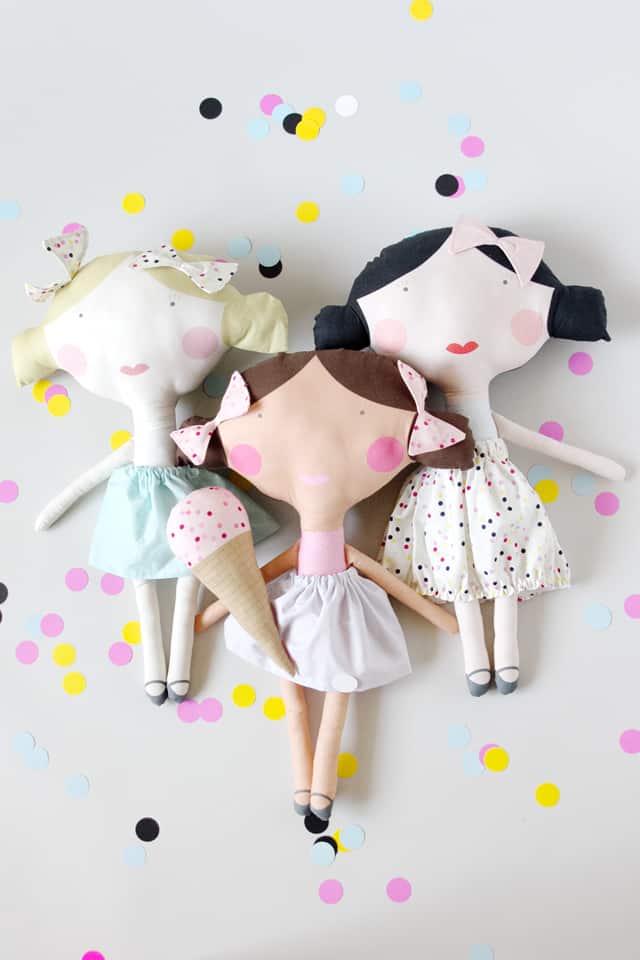
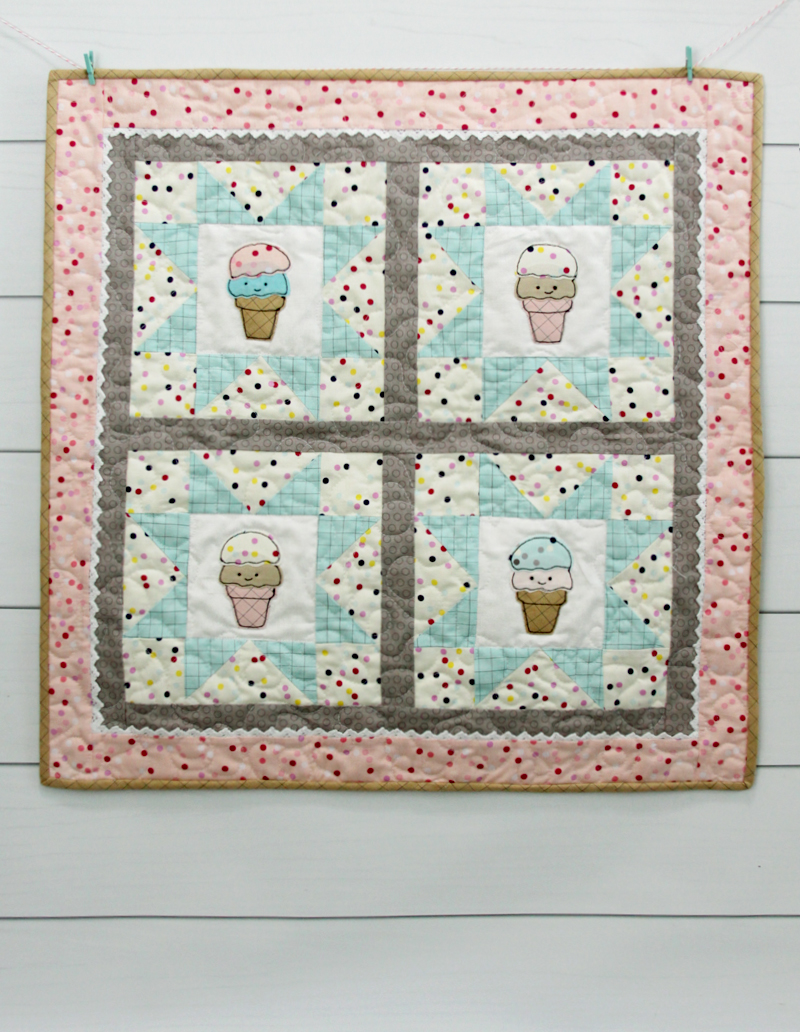
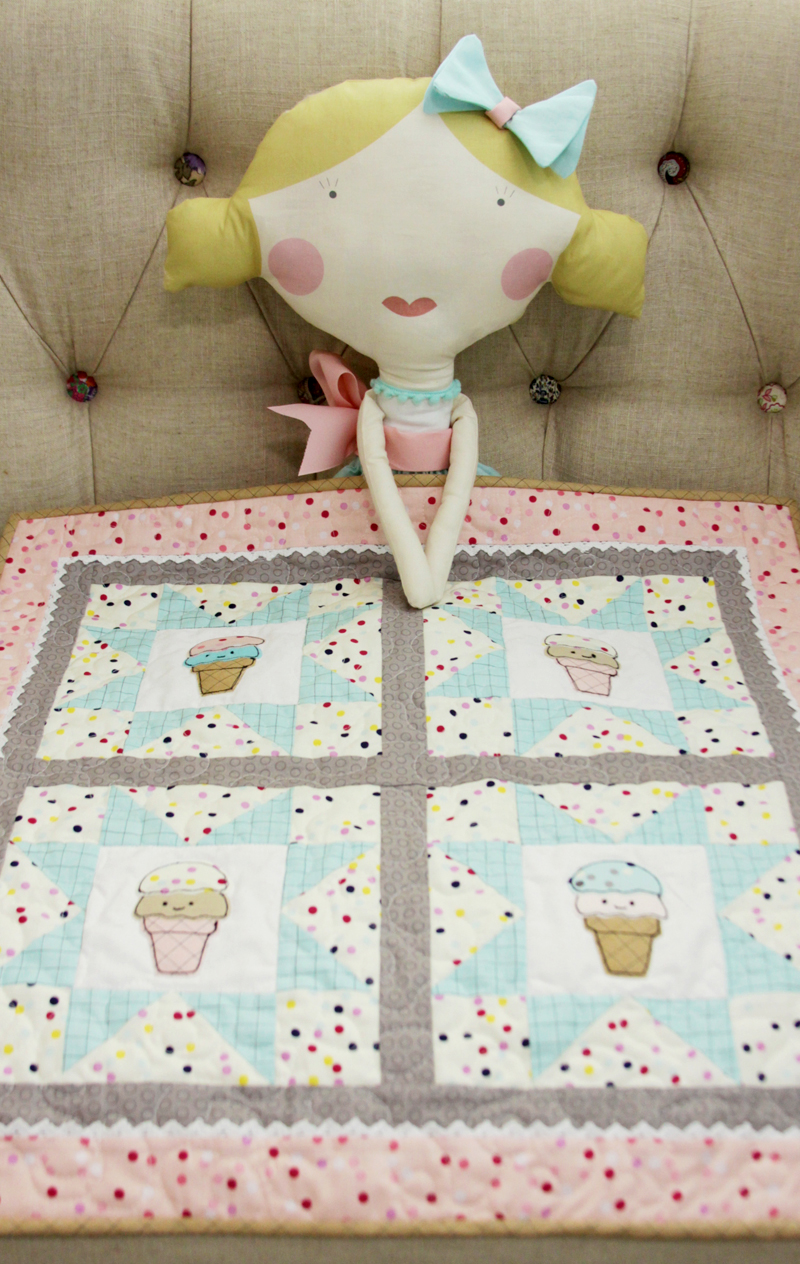
I just had to make up a mini quilt with the coordinating fabrics – it’s just perfect as a little doll quilt or just a fun mini wall hanging for an ice cream fan. (which of course I totally am.) I love how it looks though with the little doll that comes on the panel fabric!
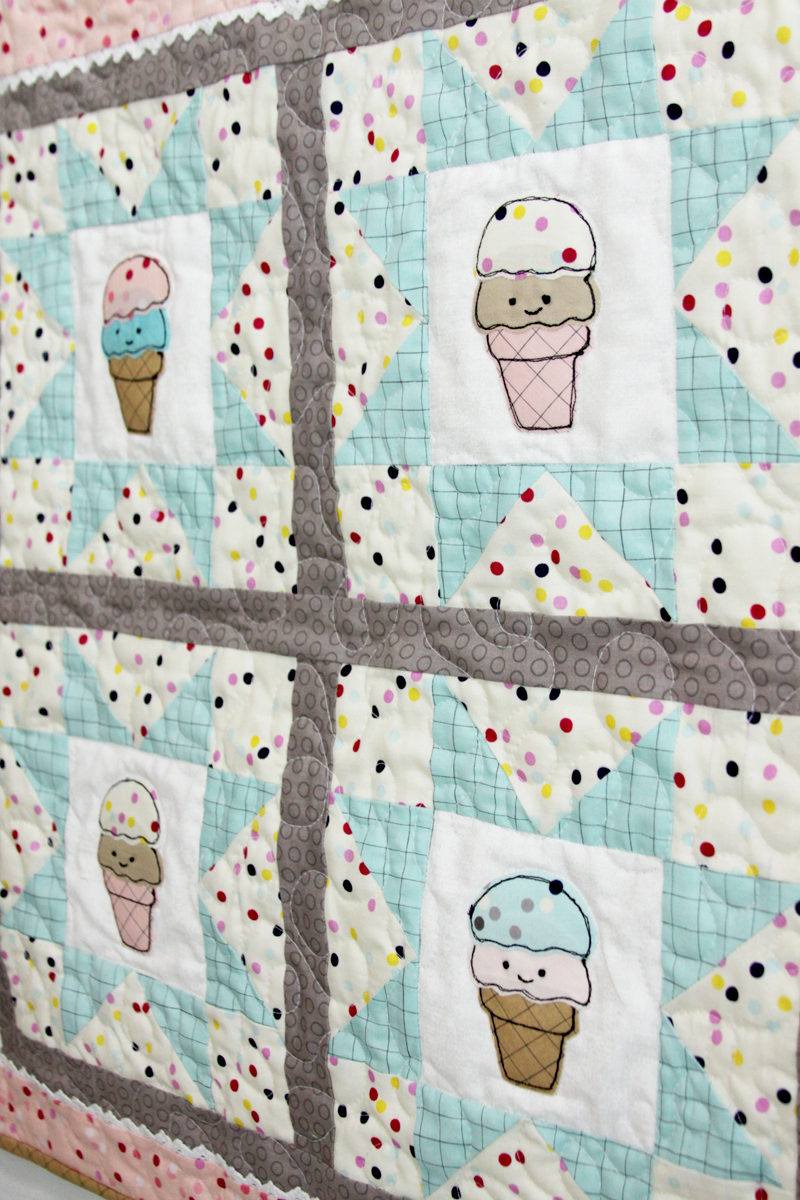
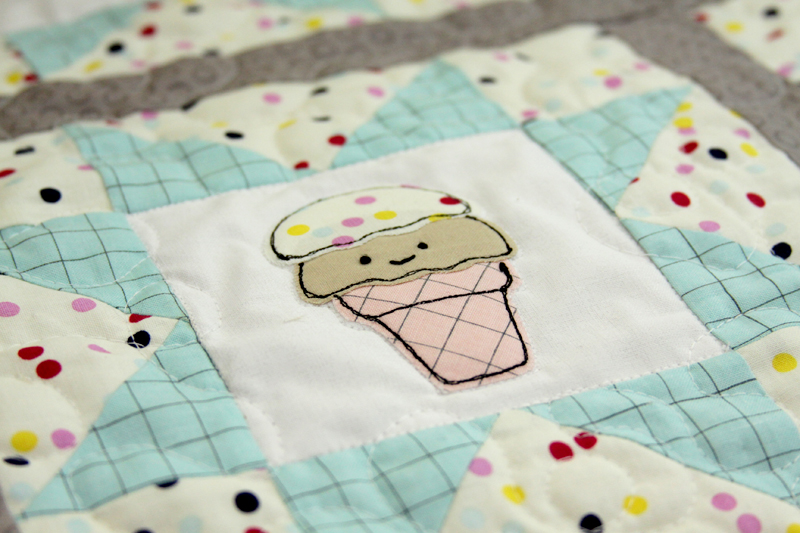
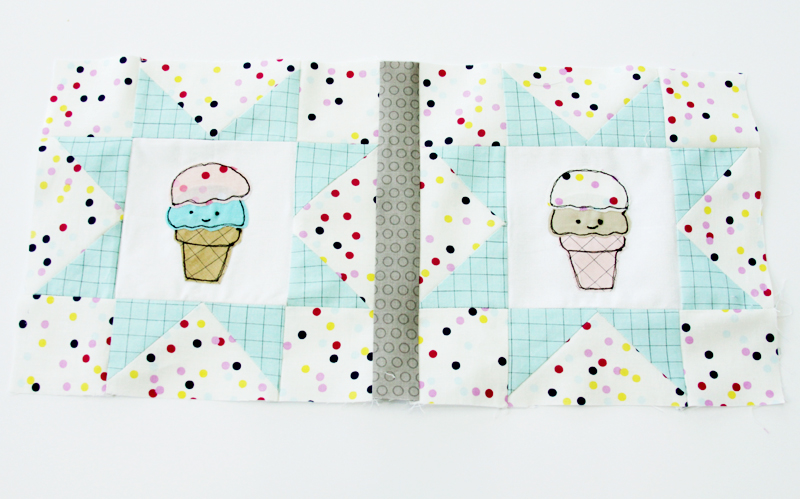
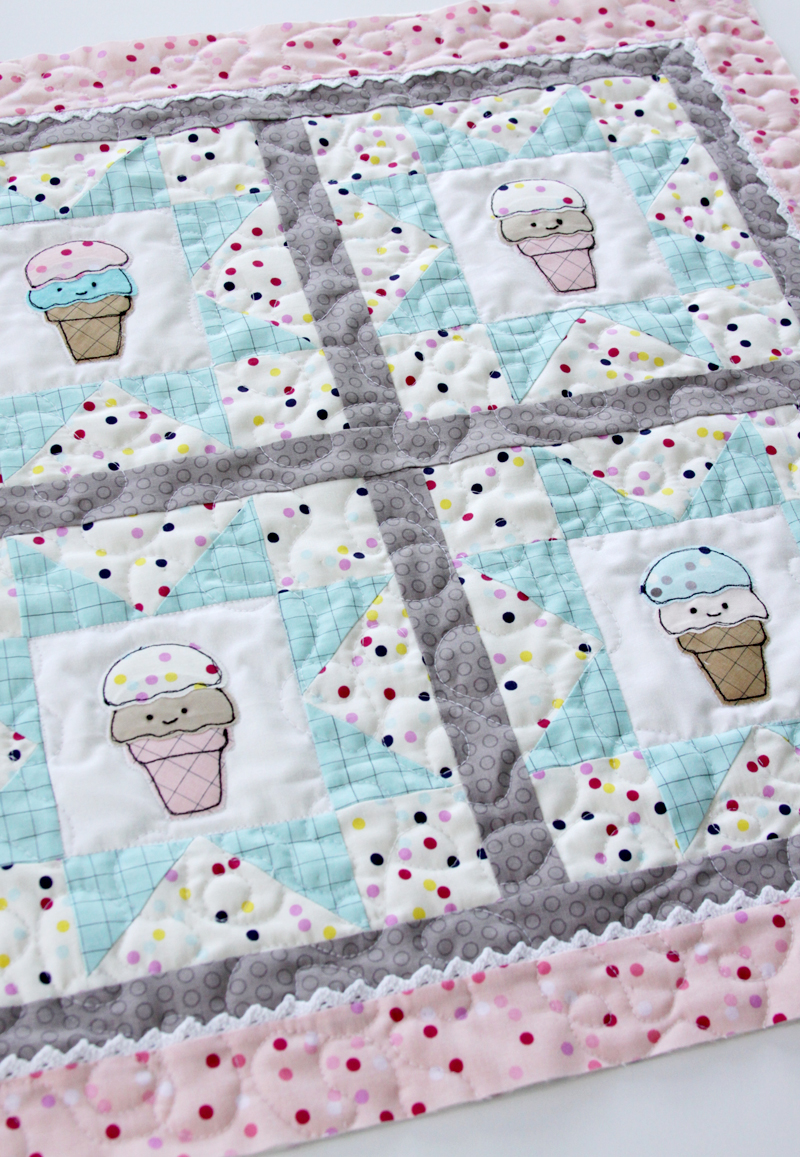
I had to embroider little faces on the ice cream cones – because everything is cuter with a little smile!
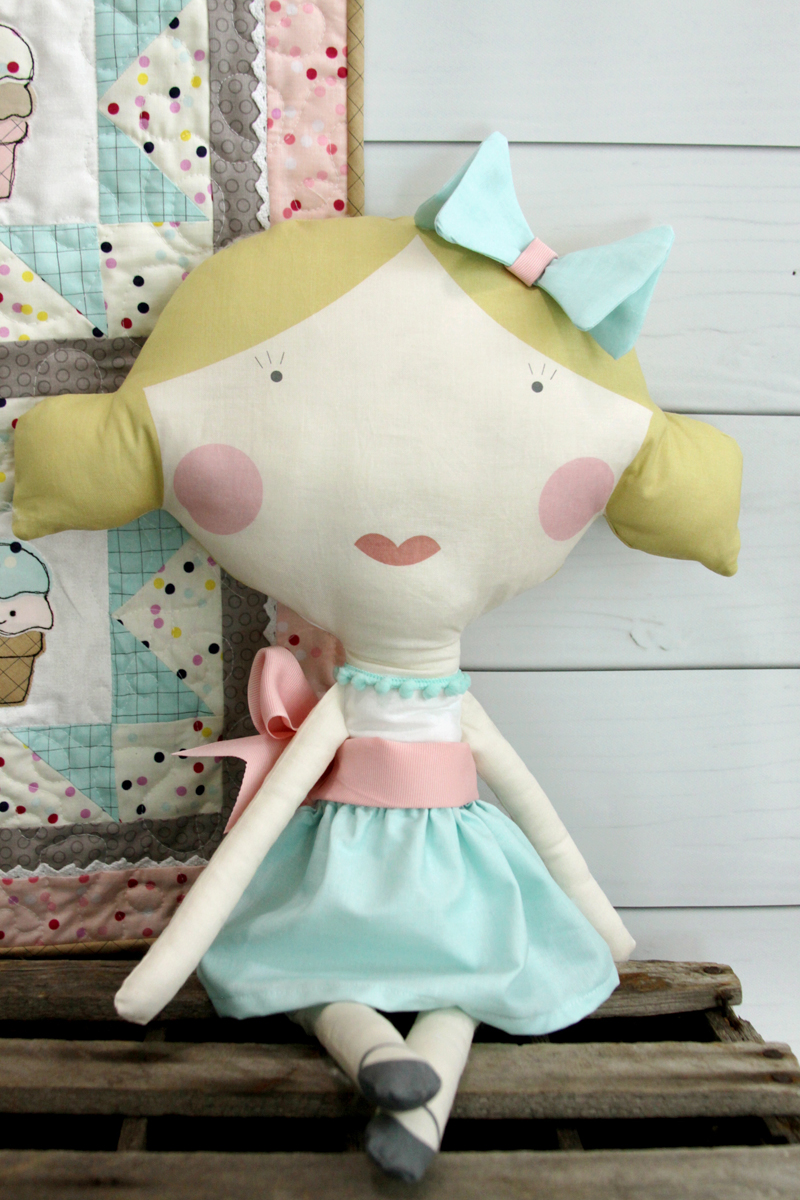
It’s a super easy quilt to put together! I have a tutorial for that but not the doll – you don’t need one for that. The doll panel comes with a boy and girl and a little ice cream cone – and the instructions are printed right on the panel. Super simple!
(This post contains affiliate links.) :)
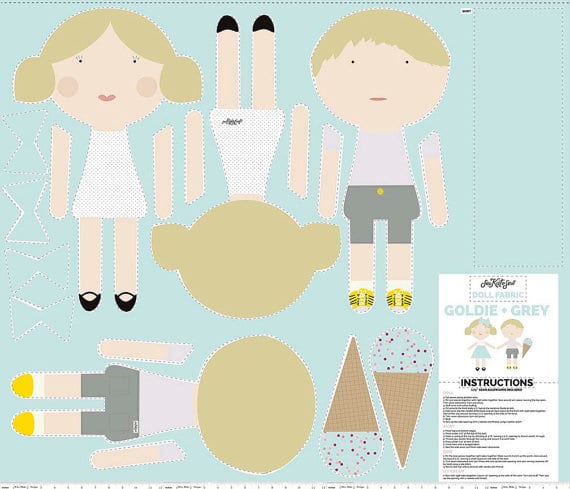
I used the Goldie panel but it also comes in a Rosie or Olive panel!
So let’s get started on the Mini Quilt Tutorial! (makes one 23″ mini quilt)
Materials:
- Doll Sprinkles Cream – 1 yard
- Doll Sprinkles Blue – 1/2 yard
- Doll Sprinkles Pink – 1/8 yard (or fat quarter)
- Doll Waffle Cone Pink – 1/8 yard (or fat quarter)
- Doll Waffle Cone Blue – 1/4 yard
- Doll Waffle Cone Brown – 1/2 yard
- White fabric – 1/4 yard
- pink fabric – small scrap
- blue fabric – small scrap
- Gray Circle Dots Sashing – 1/4 yard
- batting – 24″ square
- Black DMC Pearl Cotton
- lightweight fusible interfacing
- 3 1/4 yards of 1/2″ wide crochet lace
- Ice Cream Cone Patterns
Cut out your fabrics to these measurements:
- Doll Sprinkles Cream – cut one 2 1/2″ strip by the wof and one strip 5 1/4″. Cut the 2 1/2″ strip into 16 2 1/2″ squares. Cut the 5 1/4″ strip into 4 5 1/4″ squares, also cut one piece 24″ x 24″ for backing
- White fabric – cut one 4 1/2″ strip by 18″ – then cut this into four 4 1/2″ squares
- Blue Waffle Cone Fabric – cut two strips 2 7/8″ x wof (width of fabric). Cut this strips into sixteen 2 7/8″ squares
- Gray Sashing – cut 4, 1 1/2″ strips
- Pink Sprinkles Border – cut three 2″ strips x wof
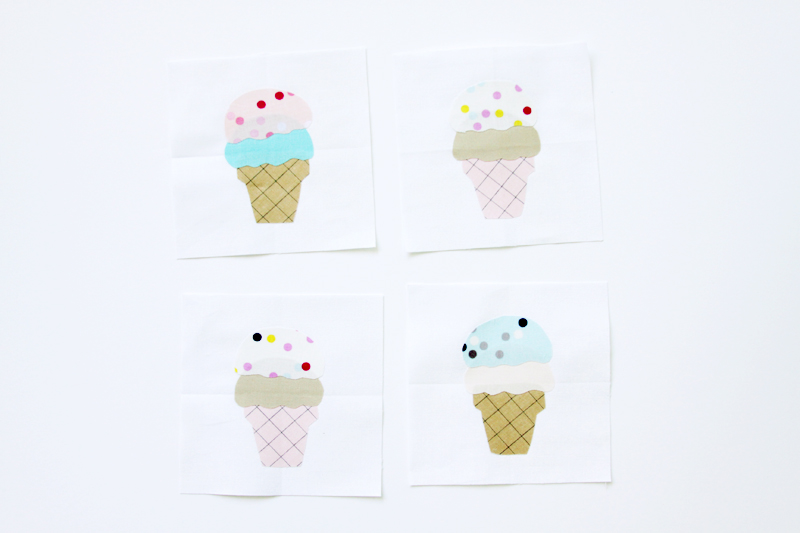
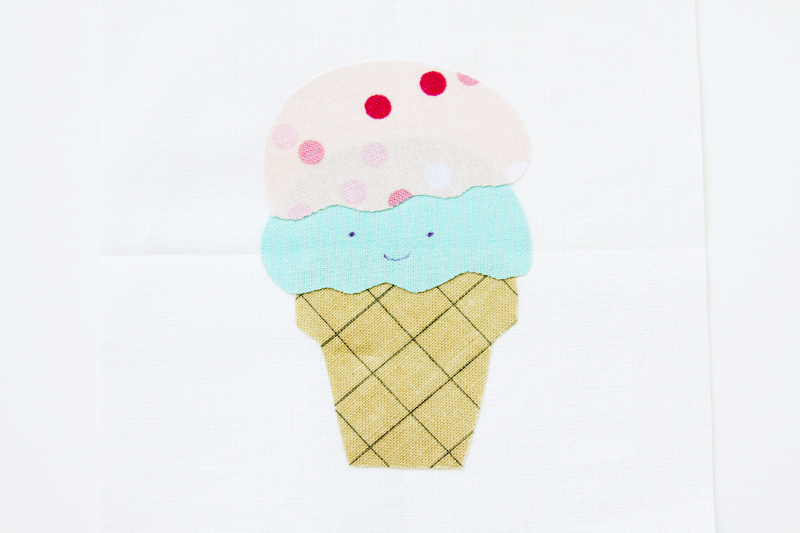
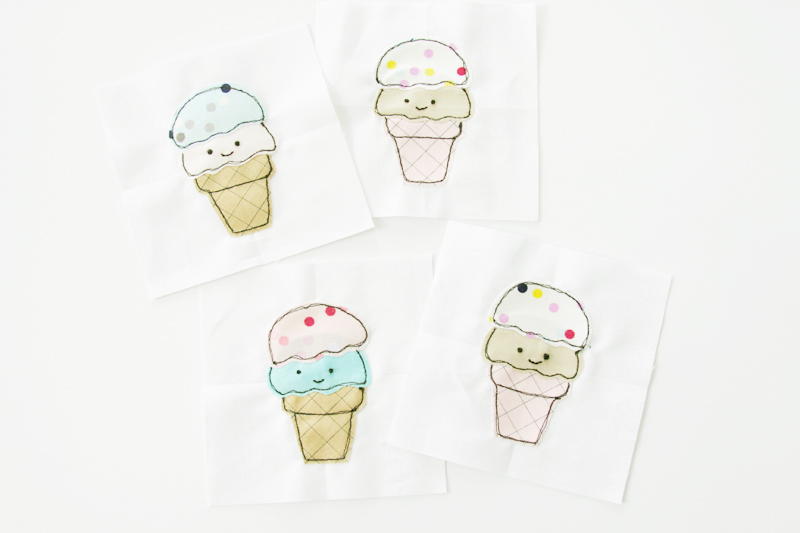
Cut out your ice cream cones from an assortment of waffle and sprinkle fabrics. For each cone you’ll need two “scoops” of fabric – one solid and one with sprinkles. Fuse each of the ice cream cones in the center of one of each of the white squares.
On each of the solid fabrics, draw a small face.
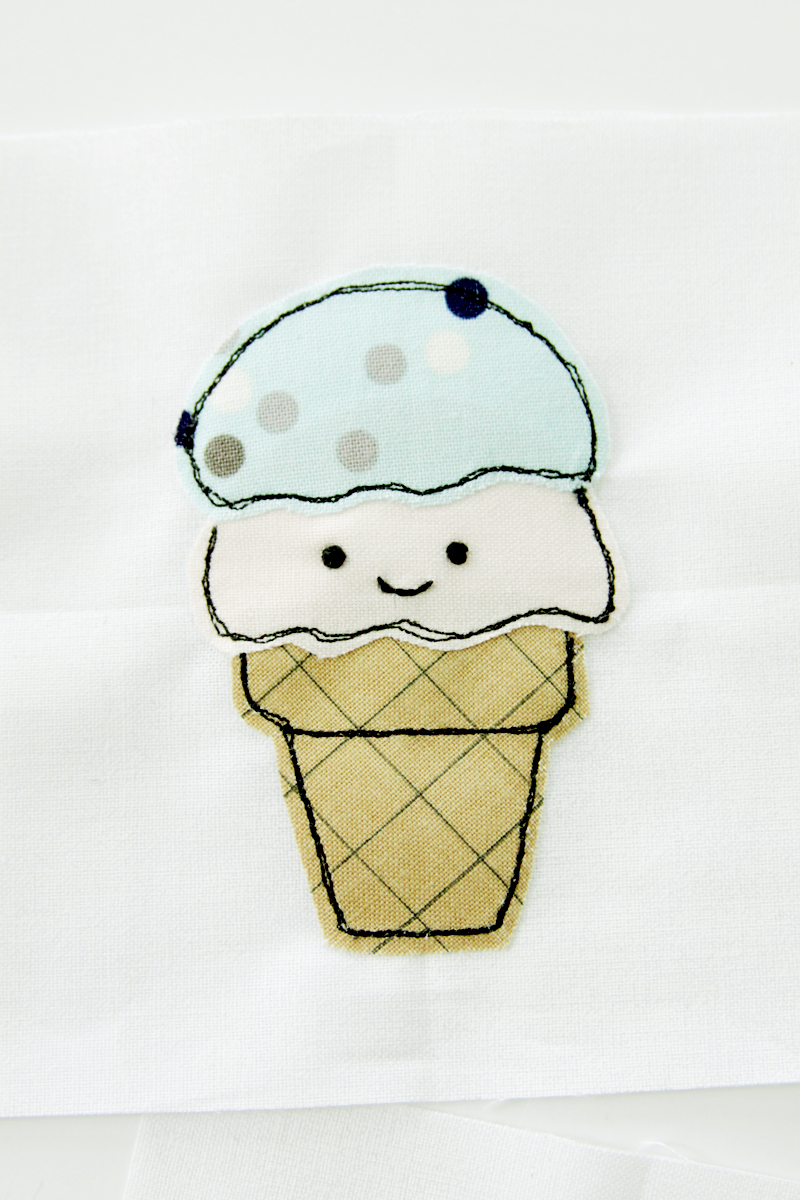
Embroider the faces on each of the cones. Use French Knots for the eyes and a back stitch for the smile.

Put contrasting thread in your machine and use your free motion foot. Stitch around the cones and ice cream with a free motion stitch, going over the outlines twice.
Repeat for all the ice cream cones.
Create a sawtooth block for each cone. This is a great tutorial if you need one.
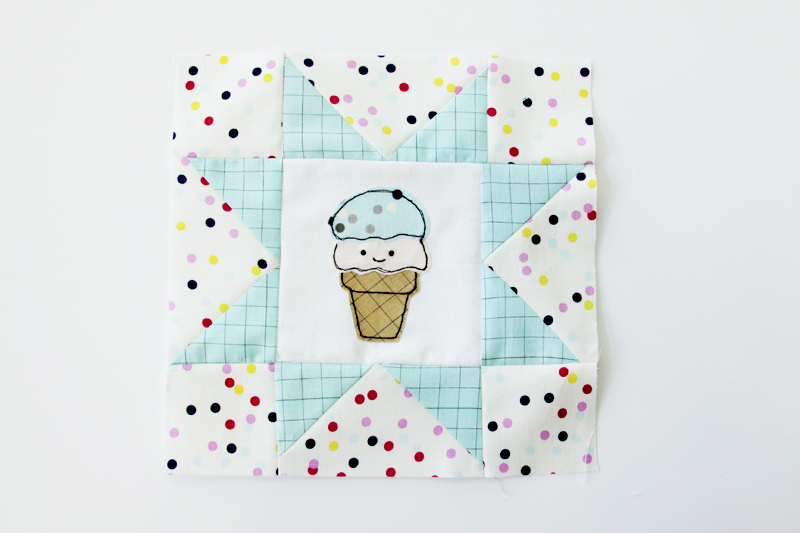
Sew two blocks together with a strip of sashing.
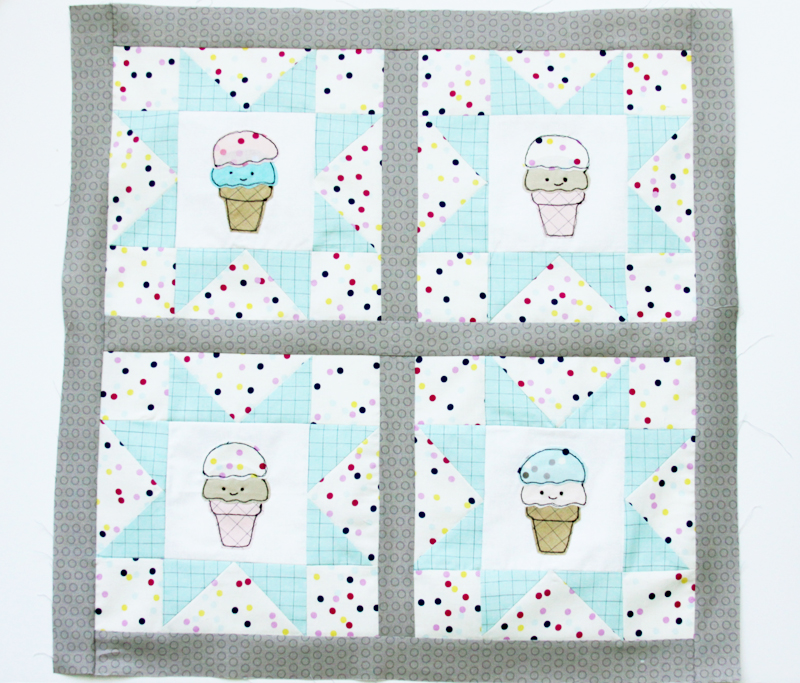
Repeat for the other two blocks. Sew the two groups together with sashing between them, then add sashing around the outside as well.
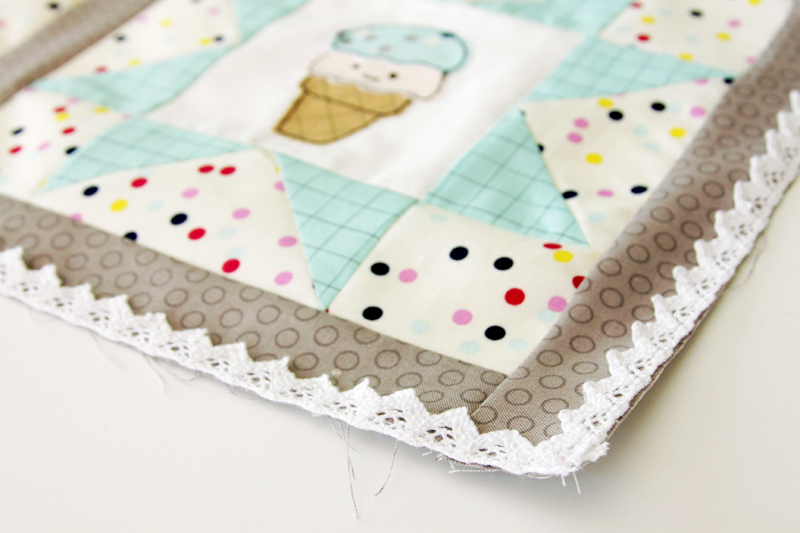
Sew a border of crochet lace around all four sides of the sashing, with the lace pointing in towards the center of the quilt.
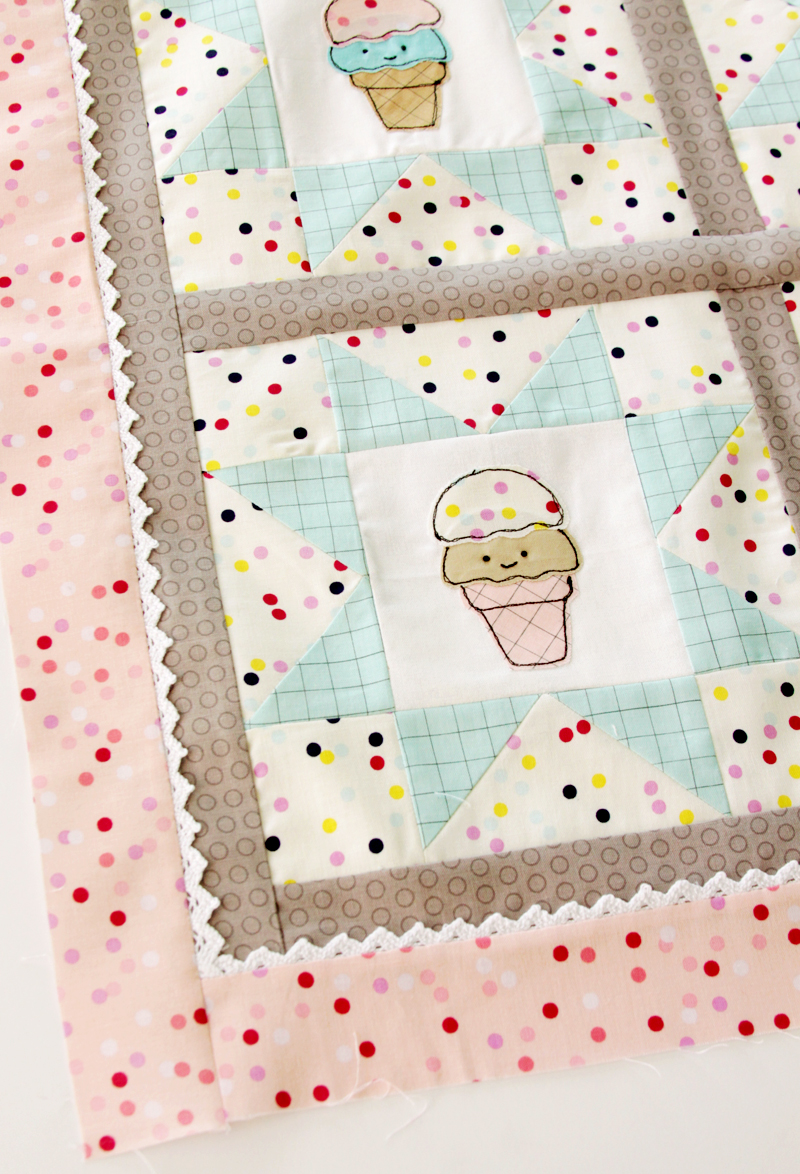
Sew border pieces to the top and bottom of the quilt, then to the sides of the quilt.
Quilt the mini quilt as you like – I did stitching around each cone and white block, then a free motion meandering around everything else.
Bind the quilt by cutting the brown waffle cone material on the bias. All done!
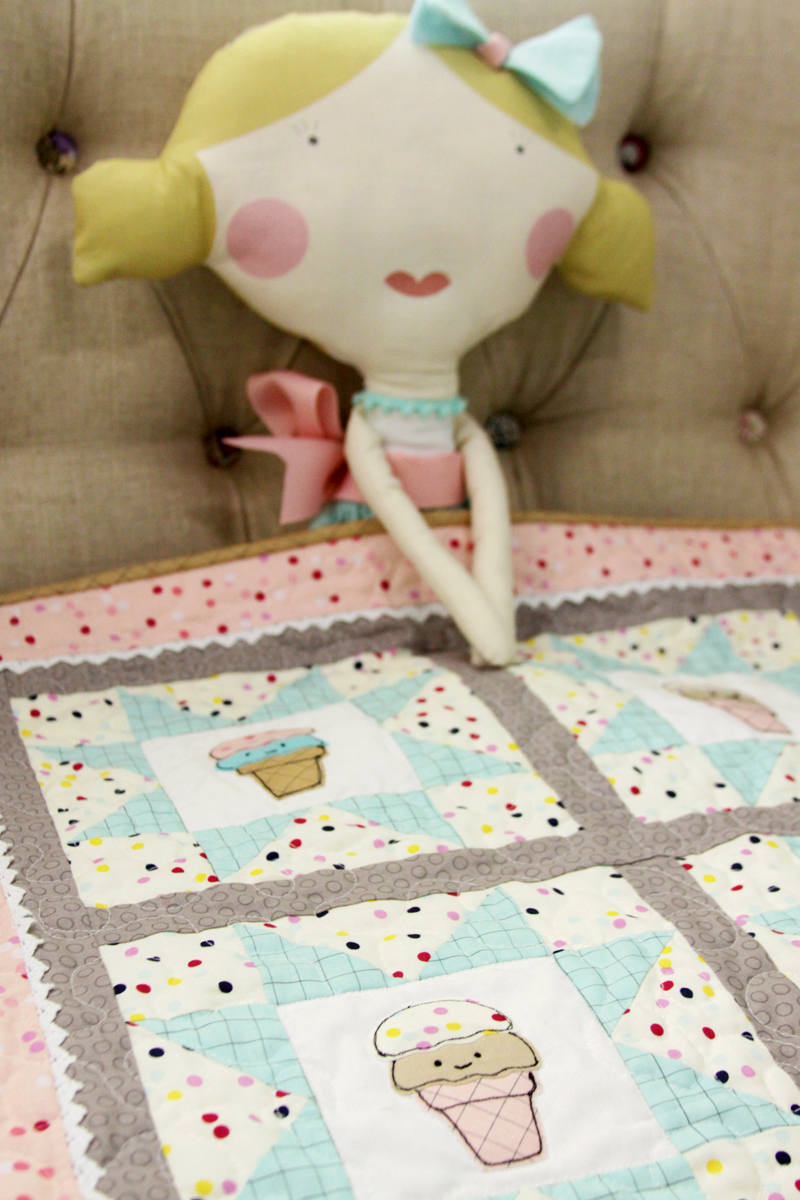
It looks so cute by itself, or as a little lap quilt for the doll!
I can’t resist those little smiling cones!
You can check out See Kate Sew for more projects on the Doll Fabric blog hop – they are all so cute!!
You might also like
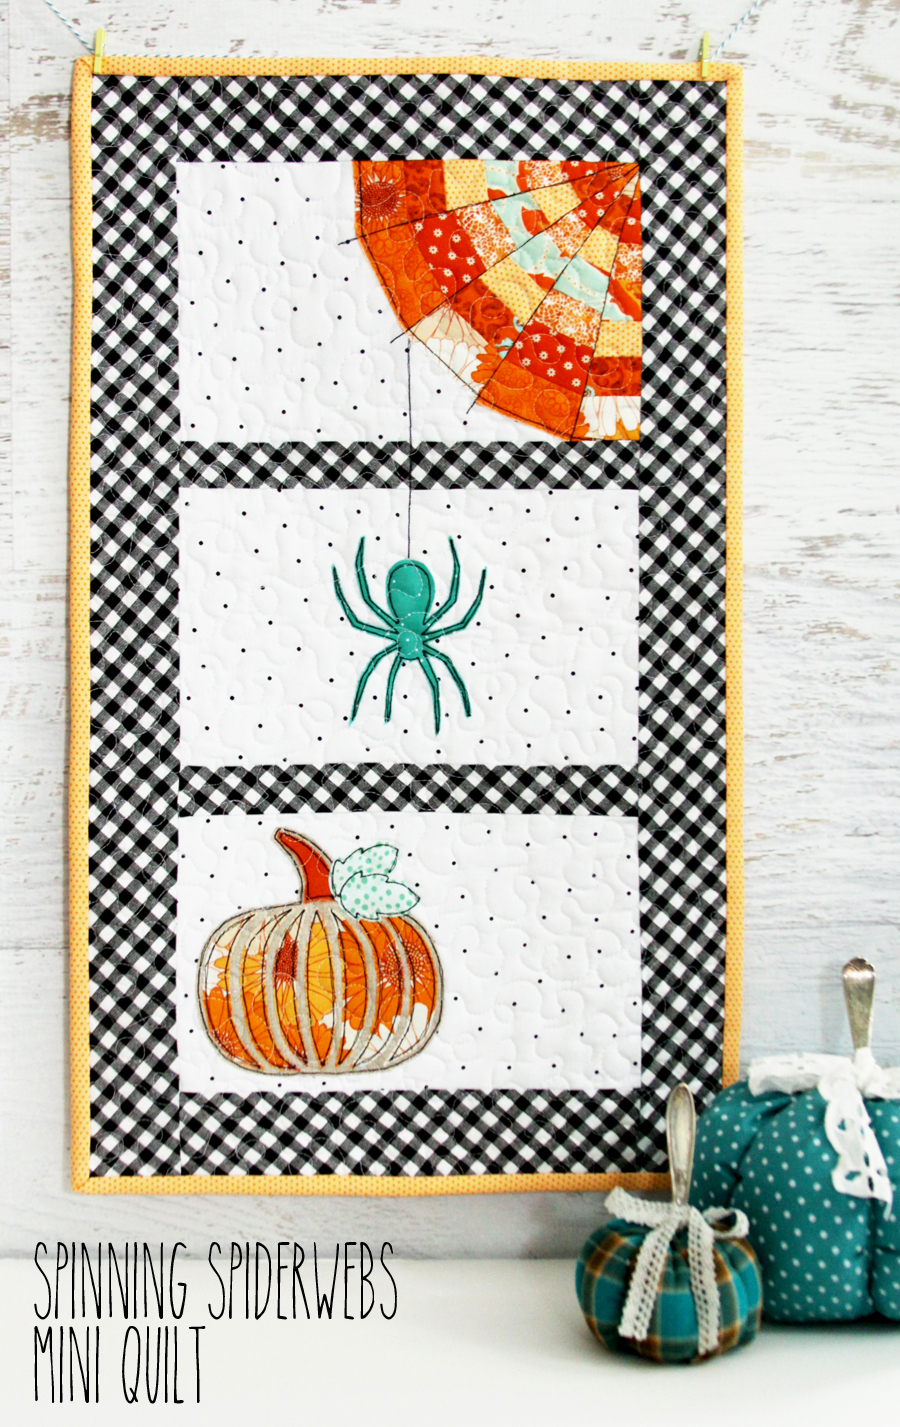
Spinning Spiderwebs Mini Quilt
Mason Jars Applique Mini Quilt


I love the idea .
That fabric is adorable! I love the cones you made. Those doll panels must be pretty convenient.
This quilt and doll are so sweet and so adorable!
fabulous Bev, as always! thanks so much for sharing on craft schooling sunday!
Such a great project, I don’t know what I like more, the doll, the quilt, or the way you quilted the ice creams. Maybe all of them together :)
Cheers,
Emese
Cute!
This is such a gorgeous set. The doll looks super cute and easy to make and the quilt is VERY sweet, the little faces on the ice-creams really do make it. My daughter would love these!
I love the looks of this cute quilt and am very interested in making this for my 2 year old niece. But not able to locate the ice cream cone template, could you tell me where I can find them? Not to sure if I will be able to free hand them.
Hi Hollie!
I’m so glad you like the quilt! You can find the pattern template in the Materials list – it’s the last item. If you click that link it will open the pattern in a PDF and then you can print it or save it to your computer. If you need any more help with it let me know! :)
Thanks!