Ahhhh Summer. It’s almost here. I’m very ready for it to get here. Not so much for the weather because hey, southern CA here, but more for having the kids home, trips to the beach, and our Great Road Trip coming up. (More on that soon.)
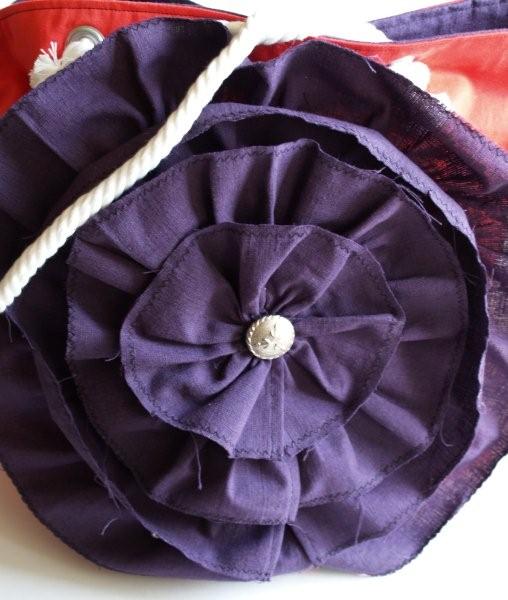
So to get ready for summer I thought I’d start with a great big tote bag, with a great big flower on it. :)

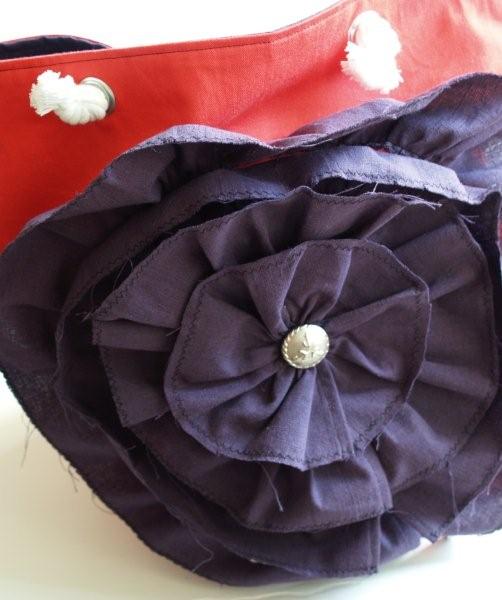
Colors might be hard to tell – every body’s computers are different. It’s purple and a bright coral.
Want to make one? Sweet! Here’s what you need.
• 2 rectangles for the outside of the bag – 20″ tall x 18″ wide
• 2 rectangles for the inside of the bag – 20″ tall x 18″ wide
• interfacing – 4 strips – 3″ tall x 18″ wide
• 3″ fabric strips for the rose (same fabric as lining) – this kind of depends on how big your flower is. I used about 1/4 of a yard of 60″ fabric
• 4 grommets + tool
• rope for straps – mine are 34″ each
• button for center of flower
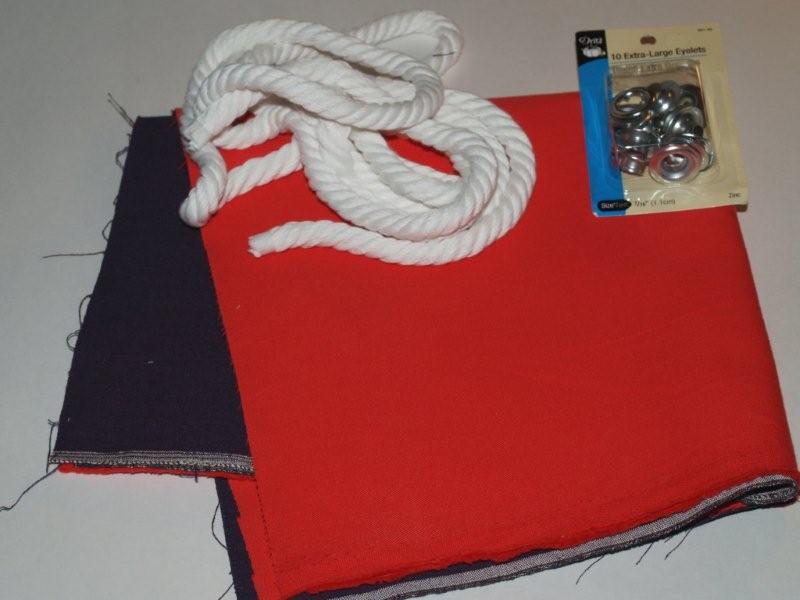
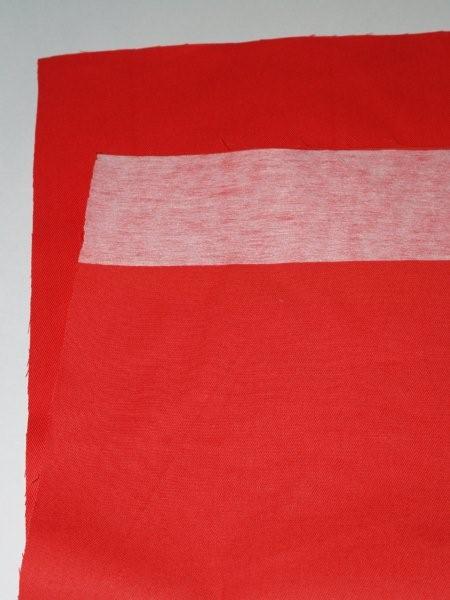
Start by ironing your interfacing to the top of each fabric rectangle, on the wrong side. This will stabilize the top just a bit for the grommets.
Trace the circles for your flower strips on to one side of your outside fabric. I just scrounged for bowls that were about the right size. Mark your circles with a fabric marking pen. You want to make sure your circles are closer to the top than the bottom of the rectangle, because part of that lower section will be folded and used for the bottom of the bag.
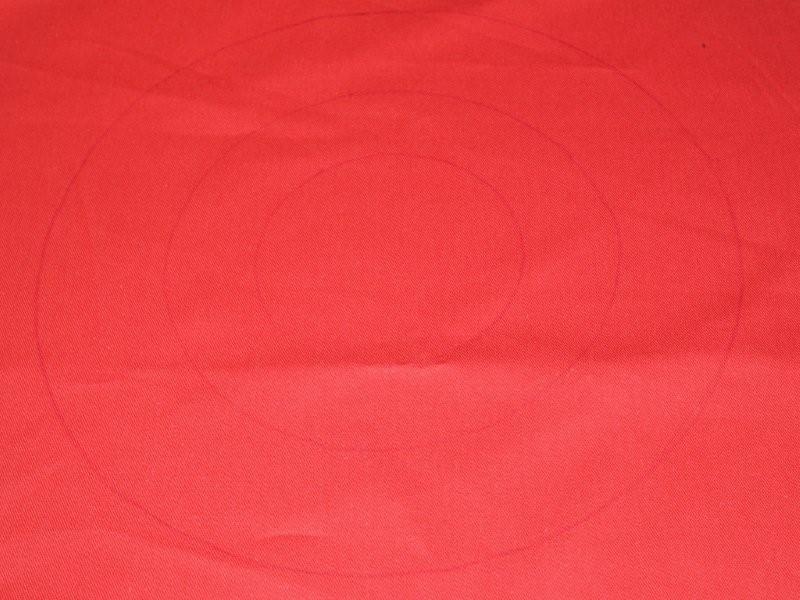
(Squint. They’re there)
To figure out how much fabric I needed, I employed my extremely limited math skills. And if I can do this, so can you. Actually, you might all know this, at which point, I’ll feel like a dunce. But if you do, just humor me.
Measure the diameter of your large circle. (One side to the other in the center). Now multiply that number by 3.14. So if you large circle is 10 inches, you get 31.4. That is your circumference. I round up at this point. So 31.5 inches. Now you want to multiply by 1.5 or 2, depending on how full you want your ruffle. I recommend 2. So then we have 31.5 x 2 = 63. We need for the large circle 63″ x 3″. Piecing if necessary. I didn’t want the large circle to be pieced, so I just did 60″. You’ll need to do this figuring for each circle.
Whew. Yucky math part over.
For each strip I zigzagged the long sides of the rectangle and turned under the short sides. ( I really prefer raw edges in case you haven’t noticed.) I sewed a light gathering stitch on one long end, about 1/4″ from the edge. I then sewed the ruffle to the line for the largest ring. I tried to sew right over my ruffle stitching so you wouldn’t really see it.
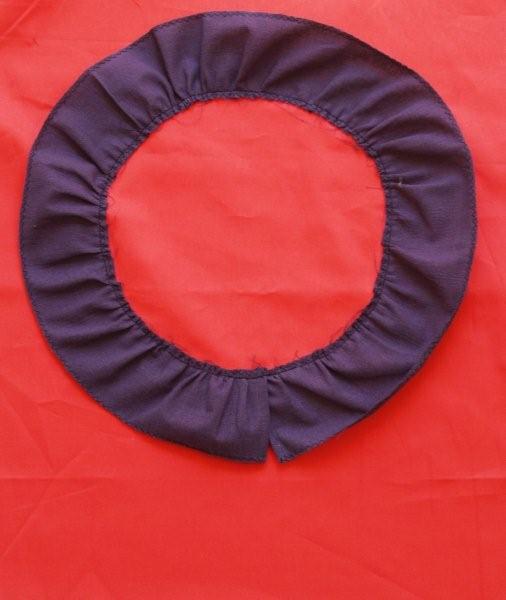
Now just repeat each of those steps for each ring.
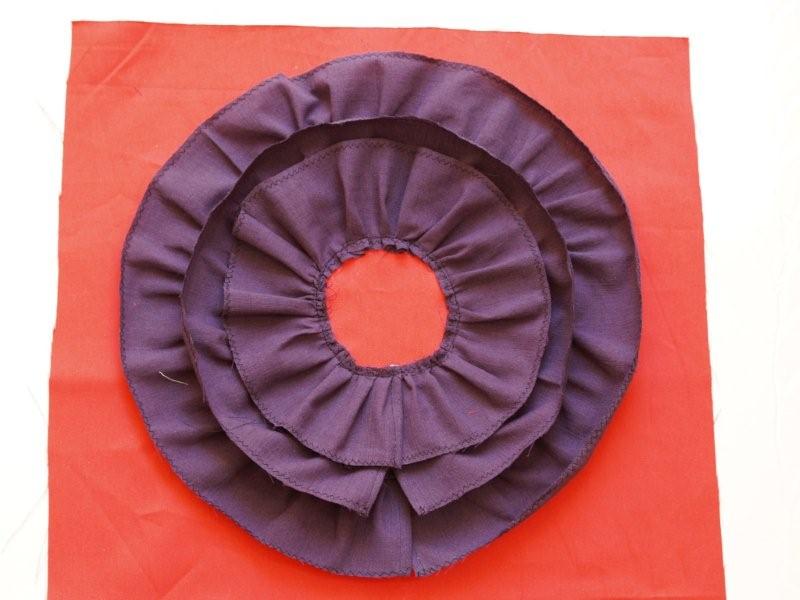
The last ring is ruffled very tightly and sewn on so that you can’t see any of the bag in the center.
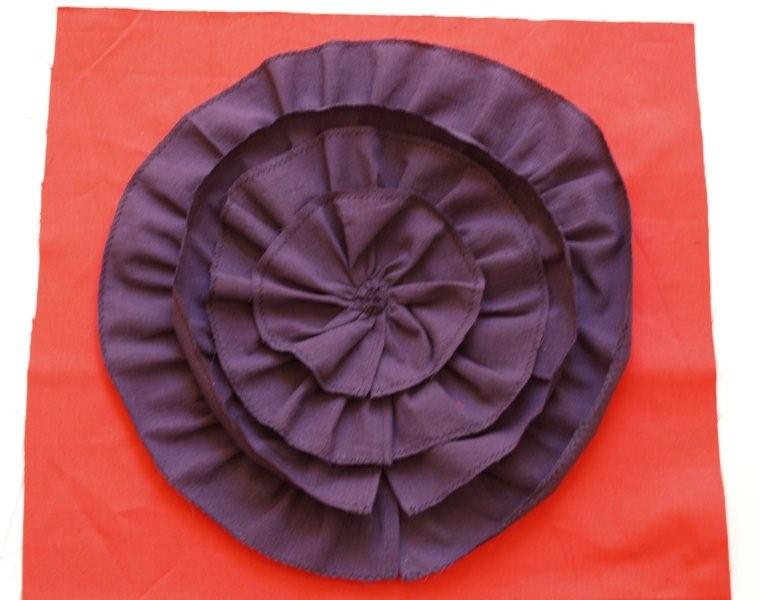
(You would want to add your button on at this point. I didn’t realize it needed it until I was taking the pictures at the end.)
Next step is sewing the bag together. Put the two right sides of the outside of the bag together and sew the two sides and the bottom. Leave the top open. Press the side seams open and the bottom seam to one side.
Make a triangle at the bottom on one side, so that the side seam and bottom seam are touching. Press it down. Measure and run a line with your marking pen where the triangle is 5″ across. Sew across this line.

You can see you might need to clip that side seam so it lays flat. Repeat for the other corner. This makes the bottom of your bag.
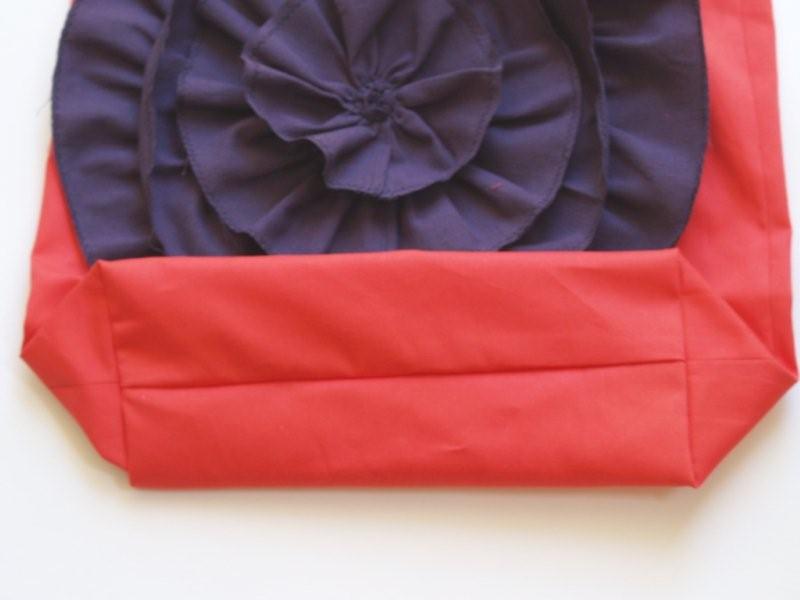
Now you will repeat these steps for the lining. Sew your side and bottom seams and sew your triangles for the bottom.
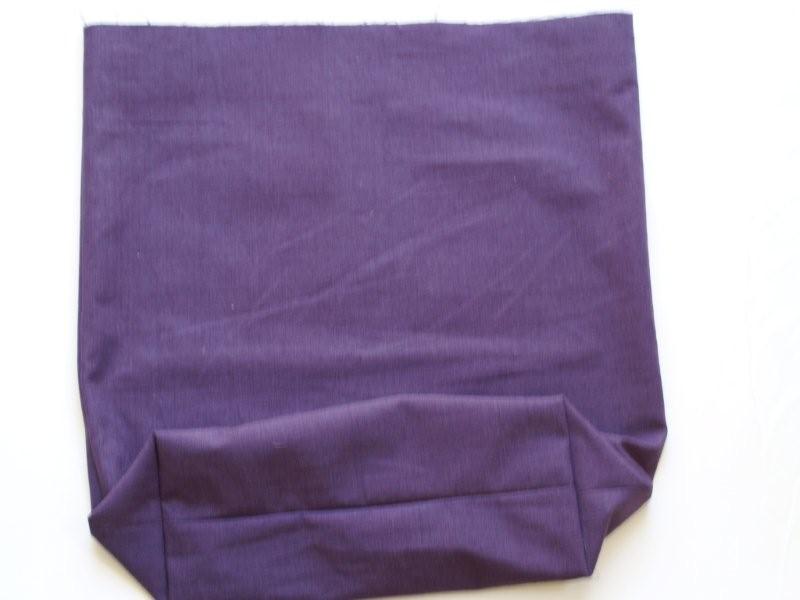
Now to sew them together! Put your two bag pieces together, right sides together. Sew a 1/2″ seam around the top, leaving an opening for turning. (I always leave too small of a hole. I have no idea why.)
Turn your bag right side out through the hole and press the top of the bag. Press under the opening as well. Sew a top stitching seam around the top, 1/4″ from the edge. This will finish off the top and sew the opening closed, all in one fell swoop. :)
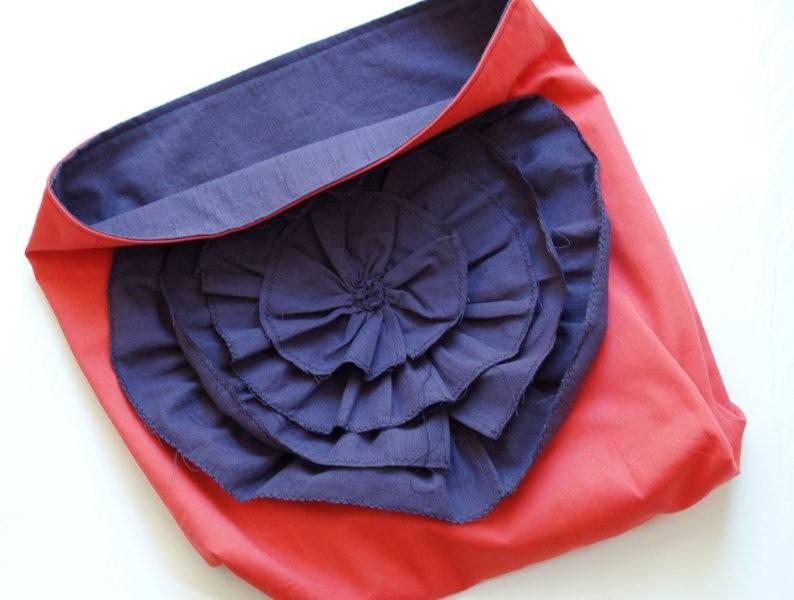
Time for grommets. Don’t be afraid. You can do this. :)
Measure the placement of the grommets. I measured mine 1″ down from the edge and 5″ from each side.
Make a small dot, then center the barrel of your grommet over this dot and trace around it.
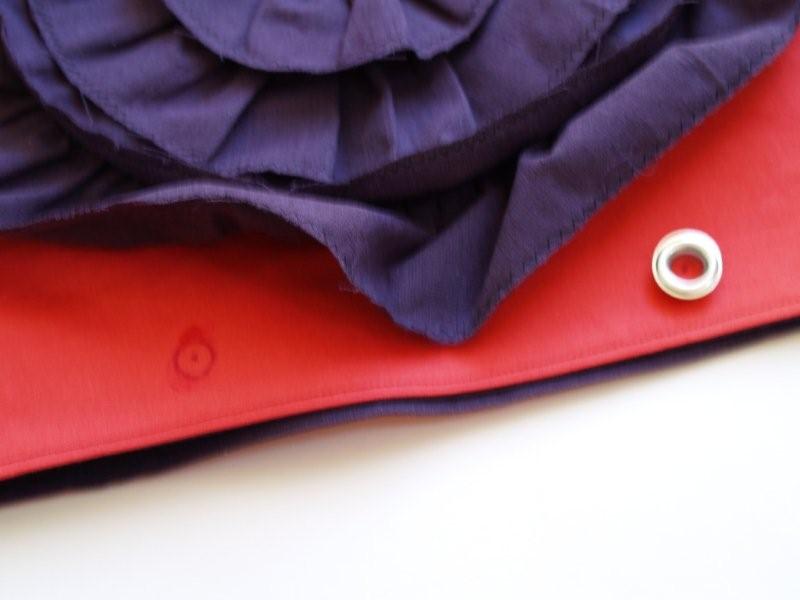
Cut out these small circles.
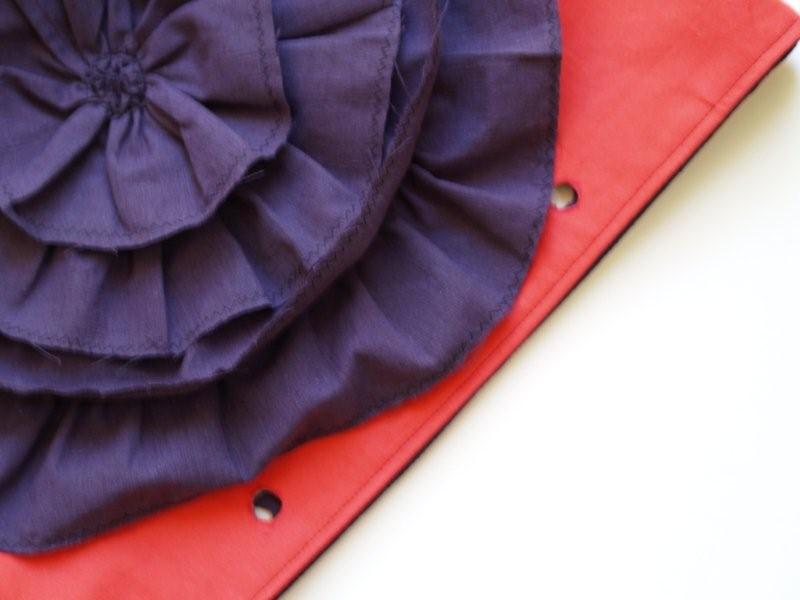
The order of the grommets goes this way, from top to bottom..
The top of the tool, the teeth of the grommet, the fabric, the barrel of the grommet, and the base of the tool.
(the small circle represents the bag)
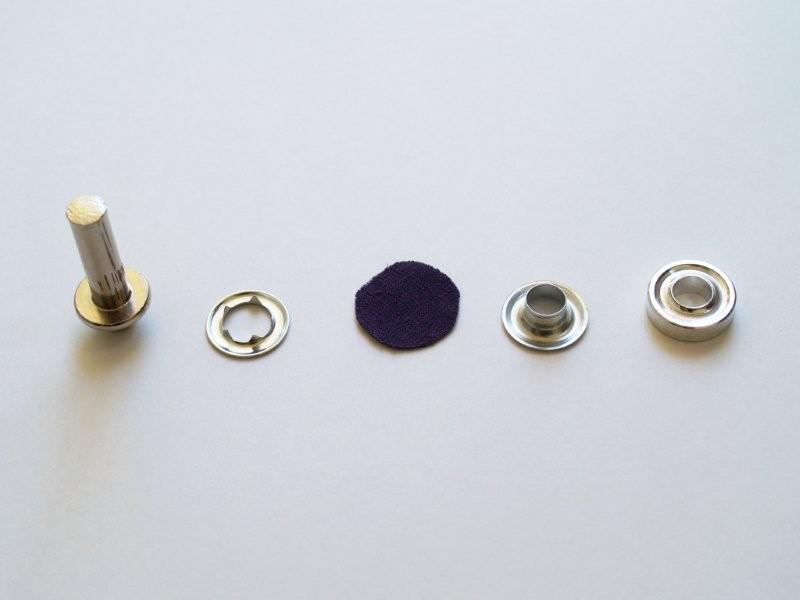
Place the pieces on the bag.
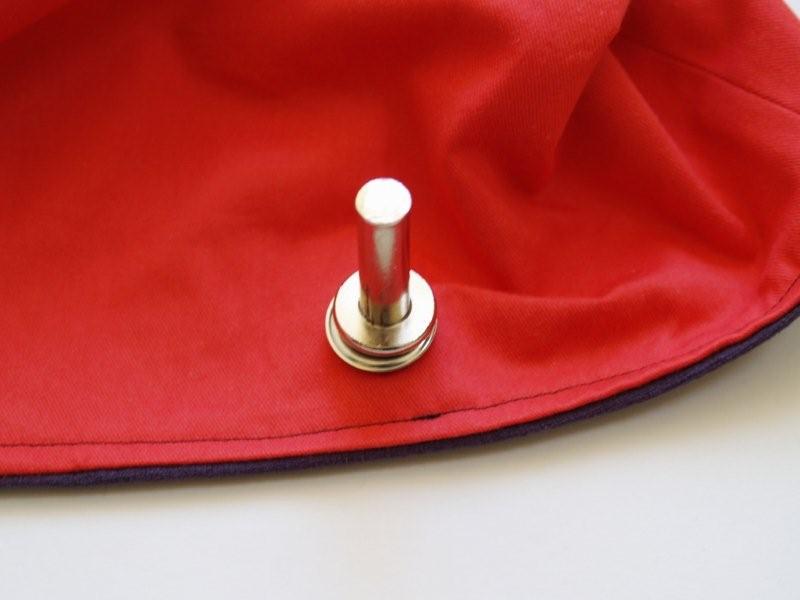
Now hammer the grommet together. I found that it works best to put the pieces down on a towel on concrete. You need a very hard surface in order for it to work.
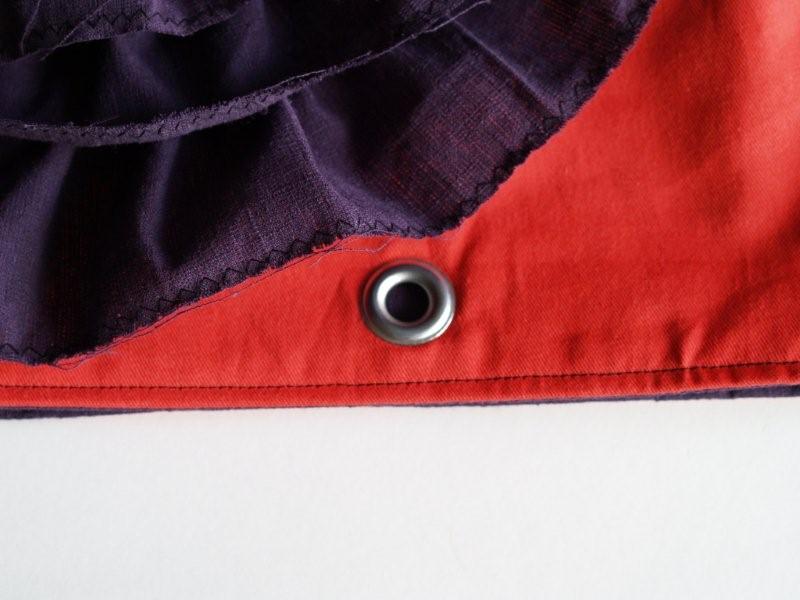
Pretty easy right? Now do it three more times. :)
Once all your grommets are in, tie on your handles. I just pulled them through the grommets and knotted them.
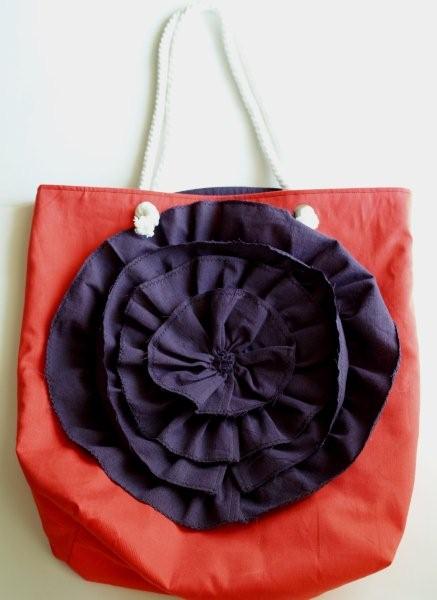
(Super cute but needs a button. :)
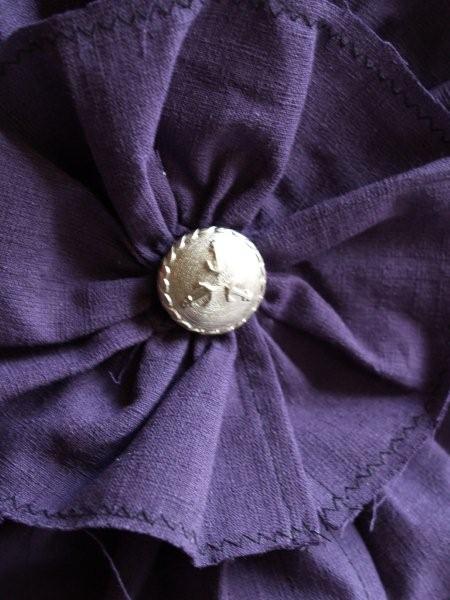
I found this little guy (with anchors!) in my stash. Perfect!
And we have a super cute bag that will hold tons of summer paraphenalia. :)

Now I have a confession to make. I goofed on my first grommet. I put it on wrong side out. Check out this photo.
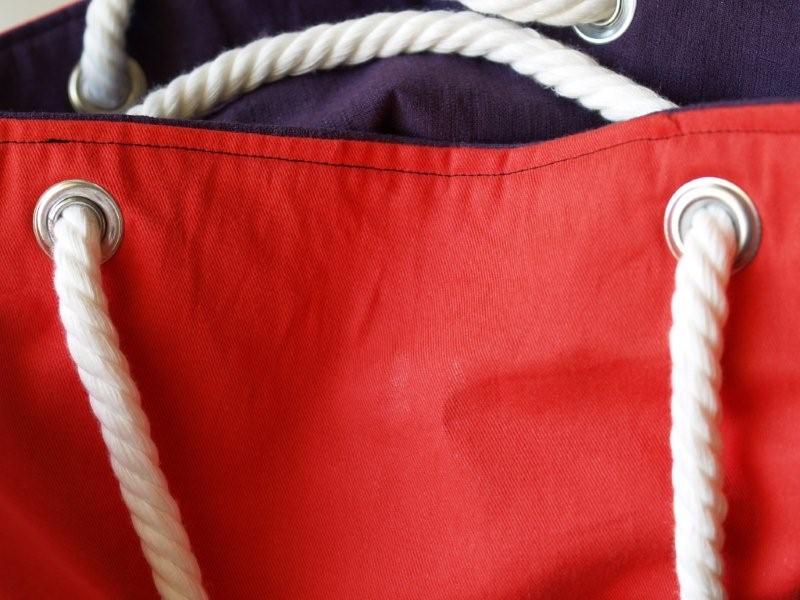
The left grommet is wrong side out. It curves in instead of out. Oops. I realized my mistake after it was on. I decided that I’d do the rest the right way and no one would see the difference on the back of the bag under my arm. :) Oh well. haha. Mr. F.T. said I should have done them all backwards but I just couldn’t do it.
I hope you give it a try – send me a picture or a link if you do! I’ll show off your super creation. And as a little side note – this was waaaaaay cheaper then the $58 Boden bag. Love that.
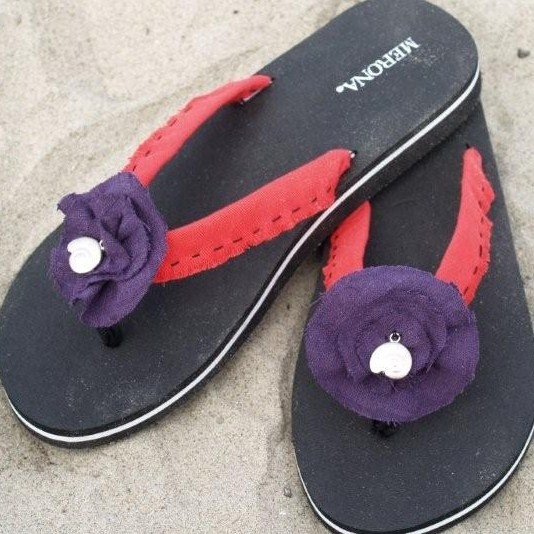
Guess what’s coming on Thursday??? Matching flip flops. I can hardly wait. :)
***** Updated: Click here for the link to the matching flip flops! *****


Aww, I love the big, bold flower. What a great summer bag. Thanks so much, I’ll be linking.
Hi I’m your newest follower! I love this bag and will be making it…when I find time.
I found you through Blue Cricket Design.
So stinking cute! I might have give this a shot. Love the coral color BTW!
Great bag! Thanks for the tut and for linking up with Sugar & Spice.
Wow, great tutorial and flower!
That looks awesome! I love that huge flower. I am definitely a sucker for flowers :) I have a link party on my blog on saturday (it is still open from last weekend) that I would love for you to check out http://www.iamonly1woman.blogspot.com
Love this!! Absolutely love it!! I have been wanting to make a new purse for the summer and now I have my inspiration!! Great job!!
I love it! You did such a good job. I love the attention to detail. You are one talented lady.
Oh, I love this! so, so cute!
Great bag! Can’t wait to see the flip-flops.
I love this idea. So very cute and summery!! Love that huge flower.
Ruth
I L.O.V.E this bag!!!! I don’t sew much but I may have to drag the sewing machine out for this one!!! If I do get around to making it I will link your post up to it and tell every one it was your idea!!! :)
What a great bag. Love the flower
I love these bags and was hoping to find a tutorial for one. It’s fabulous! I am featuring it at somedaycrafts.blogspot.com. I am also am naming you a “BLOG TO WATCH.” I will have your button at the top of my blog for the next few days. I see you gaining A LOT of followers in the next couple of months! You have great blogging potential.
Wow – thanks so much! I’m really honored. :)
Oh my gosh, I LOVE this! I just put it on my “to-do” list. Absolutely beautiful!
Wonderful bag, and great tutorial.
But girl, you haven’t trimmed any of your threads????
Nancy, Thanks for stopping by – I like it frayed like that. :)
But you could easily do the same flower and hem the edges before you gather the strips. That would look great too.
This turned out fabulous!! Great tutorial… i want this bag!!
~Alison
Oooh! Another Boden Bag! Love love love! Fabulous job and great tutorial! Thanks so much for joining The Sunday Showcase Party. I greatly appreciate it! Hope you are enjoying your week! ~ Stephanie Lynn
Hi Beverly! Just wanted to let you know I’ll be featuring your bag today! Stop by and grab a featured button if you like! Thanks again for linking to The Sunday Showcase Party! ~ Stephanie Lynn
I love this bag!! thanx for tutorial!